
How to Combine a Pergola With Raised Planters
Pergola and garden planning
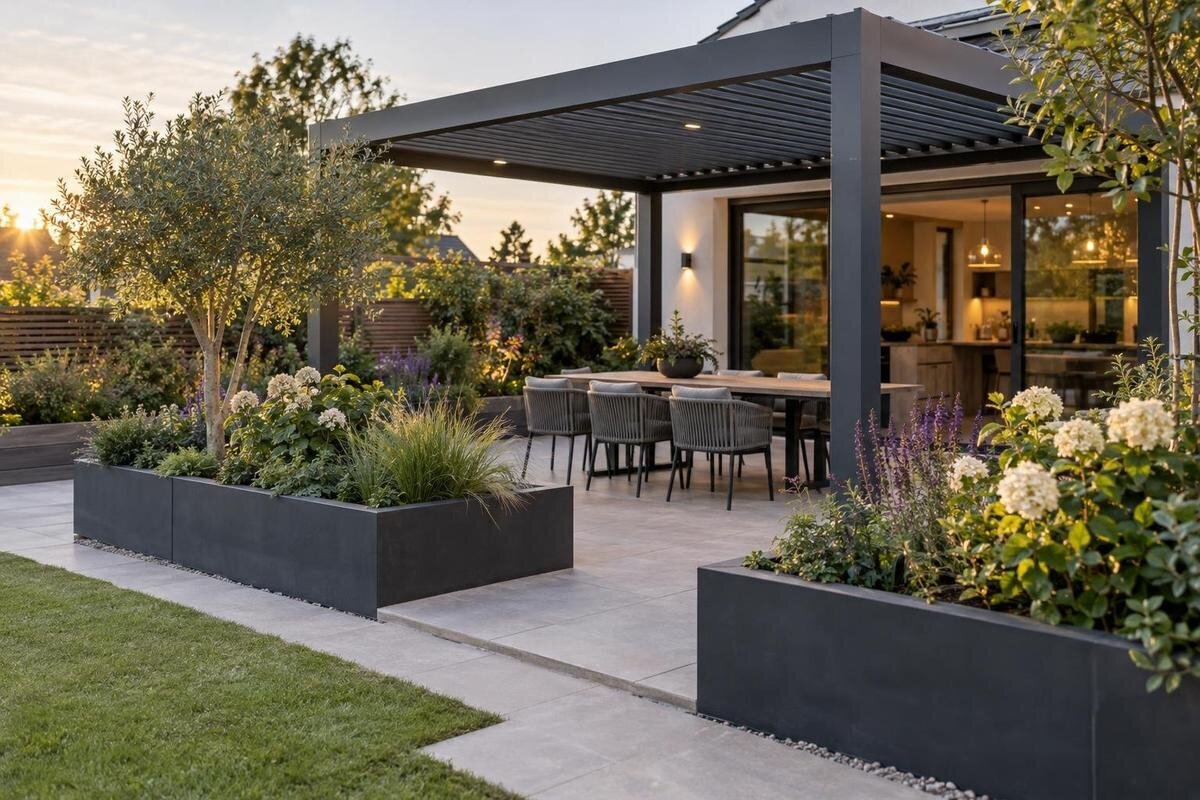
Raised planters can make a pergola seating area feel more planted and clearly bounded, but they also take up floor space and hold soil and water close to a structure. The most reliable layout keeps the planter plan separate from the pergola plan until both have been measured. Mark the frame, usable root area, paths, drainage route and maintenance access on the same drawing. That reveals conflicts before beds are built or a pergola is installed, without treating a planter as part of the frame.
01
Draw the pergola and planter footprints separately
Start with a dimensioned drawing of the patio or garden, including doors, steps, existing drains, paving edges, gates and the routes people use to reach the seating. Show the pergola’s full outside footprint, every post location or wall attachment line, and the furniture it will cover. Include chair pullback and a route around occupied seats, not just the table outline. This separates the structure’s footprint from the genuinely usable floor area and keeps a planter from appearing to fit only because the drawing leaves furniture out. Note level changes and fixed obstructions rather than assuming the ground is one uninterrupted rectangle.
Draw each raised planter as an independent outline. Record its outside width and length, height, interior planting dimensions and whether its base is open or closed; a rim or overhang can occupy more patio than the root zone. Keep the frame, bed, seating and circulation on separate drawing layers so you can adjust one without shifting everything else by guesswork. When considering Bloomcabin Pergola, request the exact model’s dimensioned installation drawing and transfer its footprint and support positions to your plan. Distinguish overall dimensions from distances between supports, since those measurements answer different questions about where a bed can fit.
Keep a clear route through the seating area
Planter placement should guide movement without turning the pergola into a narrow enclosure. A bed along one edge can mark a boundary while leaving an open approach; shorter beds at an end can define the seating zone without occupying the whole perimeter. A continuous box around every side uses more floor area and can cut off access to chairs, doors or the rest of the yard. Compare each outline with the actual route from the house, including how people pass one another and carry drinks, cushions or gardening tools.
Keep the main entry gap aligned with the usual route rather than making people thread between a post and a box. Account for everyone who uses the patio, including anyone using a mobility aid, and preserve access to frequently used seats without requiring other people to stand up. If a bed sits close to a wall, plan to tend it from the accessible side instead of leaving an unusable strip behind it. When evaluating Bloomcabin Lean-To Pergola, use the proposed attachment location to map the route from the house. A direct doorway-to-seating route may be more useful than matching planters on both sides.
02
Size each bed for the plants’ root needs
Choose the plants before setting planter depth and width. Root requirements vary with plant type and expected mature size, so base the usable soil volume on the needs of the specific plants rather than on the planter’s outside dimensions or a standard box height. A shallow decorative trough may suit a different planting plan than a bed intended for larger, long-lived plants. Check expected root spread as well as depth: plants placed closely together can compete for limited volume even when their leaves look small at purchase. If species have different soil or moisture needs, consider whether they belong in separate beds.
The construction affects how much growing space is actually available. In a bed with an open base, roots and excess water may interact with the soil below; a closed-bottom container limits that connection and depends on its own depth and drainage details. Show the interior length and width, usable soil depth and any internal divisions on the drawing. An elevated planter may stand tall while offering only a shallow planting compartment, so overall height is not a measure of root space. If plant choices are still undecided, leave dimensions provisional until a nursery, horticulturist or landscape professional can help confirm that the intended mix fits.
Give planter water a suitable drainage route
Give every planter a defined route for excess water. Water leaving the bed should move to a suitable landscape or drainage area without collecting beside a pergola support, house wall, door threshold or main walking path. A drainage opening is only part of the plan: show where the water lands and what surface receives it. This is easy to overlook on a paved patio, where runoff cannot simply soak through the surface as it might in an open garden bed. Include water from routine irrigation as well as rain in your layout.
Mark existing drains and surface slopes before choosing a bed position, and do not cover a drain that needs regular access. Confirm that the planter’s construction and growing medium suit the selected plants and allow its outlet to stay clear. When comparing Bloomcabin Bioclimatic Aluminum Pergola with your layout, request documentation showing any roof-water discharge points as well as the frame dimensions. Treat planter runoff and roof runoff as separate routes; neither should be assumed to drain through the other system. If water could pool beside a foundation or repeatedly cross a busy walking route, have a qualified landscape or drainage professional review the arrangement.

03
Keep raised planters independent of pergola supports
Keep a raised bed structurally independent from the pergola. A soil-filled planter is not a substitute footing, brace or anchor, and a box should not conceal a post base, attachment point or area that needs inspection. Show supports and planter walls as separate objects, then preserve the clearance specified for the chosen model. A gap that looks generous on a plan may be difficult to reach once foliage fills in, so consider both the planter’s dimensions and future plant growth. Do not fill soil against supports to make the two elements appear joined.
Set support locations from the pergola’s installation drawing before deciding where permanent planters will go. Keep planter walls unattached to posts unless the manufacturer approves the specific connection, and position watering outlets so they serve the planting area rather than wetting the supports. Use the Bloomcabin Pergola product page to identify the model when requesting its installation requirements. Ask the installer which areas around each support must remain exposed and accessible, then mark those areas on the plan. If a filled bed will sit on an existing deck or another structure, have a qualified building professional assess the proposed location and filled weight before committing to it.
Reserve space for cleaning and plant care
Maintenance access belongs on the plan, not in leftover space. Decide how each side of a planter will be reached for planting, pruning, replacing plants and checking the bed. If only one side is accessible, make the usable interior and planting choice work from that side; a box between a post and a wall can otherwise create a thin strip that is difficult to tend. Allow room to carry the tools you use and remove cuttings without blocking the usual route. Consider access after chairs and other patio furnishings are in place.
Leave room to sweep leaves, remove spilled soil, clean the paved surface and reach a drain or connection without moving a heavy planter. A gap is useful only if you can reach into it with the cleaning tools you intend to use; a slim decorative separation may still collect inaccessible debris. When reviewing the bioclimatic pergola option, obtain its service and operating clearances and mark them separately from gardening access. If the selected system has moving components, keep planting outside its stated operating area. Allow for foliage growth when checking these spaces, and avoid putting a permanent bed where servicing would require removing soil or established plants.
04
Plan for mature plant size and actual light
Choose plants for the light conditions at the exact bed location, not for a generic idea of a pergola. An overhead structure can change how much direct sun reaches a planter, while nearby buildings and trees add their own shade. Observe the area at times relevant to the plants you want and in more than one part of the day. Match those observations to the plants’ stated light needs, and ask a local nursery or horticulture professional about seasonal conditions if you are unsure. Do not assume every side of the pergola has the same exposure.
Plan for mature height and spread above the soil line as carefully as root space below it. A plant that fits when purchased may later lean into a chair path, interrupt a view across the patio or grow into an area that needs to stay open beside the frame. Mark final plant centers and expected spread on the drawing, then reserve a practical pruning route. Check the view from seated as well as standing positions. Taller plants can sit toward an end only if their mature width will not close the main approach or hide supports that need inspection.
Coordinate planters carefully with a wall-mounted pergola
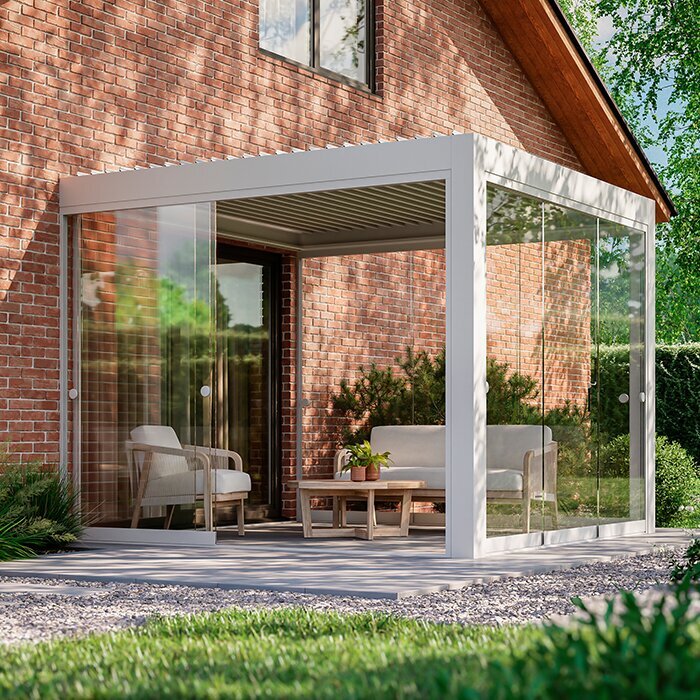
A wall-mounted pergola adds a facade line to the layout, so coordinate the planter with both the frame and the house. Mark the planned attachment line, door and window swings, vents, access panels and any existing drainage details on the wall. A planter should not cover parts of the facade that need inspection or restrict a door or window. The exact attachment location and wall suitability are questions for the pergola installer or another qualified professional, not details to infer from a product photograph or the shape of a planter.
Keep the bed’s outer wall independent of the house and allow the gap required for inspection, cleaning and water movement. A narrow channel between a planter and siding can trap leaves or make it difficult to see where water is going, so draw the actual gap instead of depicting the bed directly against the building. For the Bloomcabin Lean-To model, discuss the proposed attachment location and adjacent planter height with the installer before fixing either position. Include the finished soil level and mature foliage height in the wall elevation drawing. Those measurements help reveal conflicts with windows, vents or access panels that a floor plan alone may miss.

05
Plan irrigation and planter materials separately
Choose planter construction for outdoor exposure, wet growing medium and the maintenance you are prepared to do. Material, lining and finish decisions belong to the planter design; do not assume a pergola frame or a shared color scheme makes a planter suitable for soil contact. Leave enough access to inspect, repair or clean the outside of the bed, and avoid details that trap wet leaves against the frame or house. Where the bed sits on paving, check that its base will not obstruct the surface’s existing drainage path.
Plan watering before planting. Mark a hose route or proposed irrigation route so it does not cross the main walkway, snag on chairs or disappear behind a permanent box where it cannot be checked. Keep valves and connections reachable, and coordinate a fixed water line with the appropriate installer. For visual coordination with Bloomcabin Bioclimatic Aluminum Pergola, compare the selected pergola finish with actual planter samples rather than relying on screen colors. Matching colors is optional: a contrasting planter can still look intentional when its proportions suit the seating area. Choose the watering arrangement and planter construction for practical use before settling on their appearance.
Test the arrangement before installation
Before building, recreate the layout at full scale with tape, string or temporary markers. Put the furniture in its intended place, walk every approach and check whether the planting area, drain, wall and supports remain reachable. If tending the bed would require stepping over a seat or blocking the entrance, revise the outline while the change is still on paper. A short site test can also reveal differences between the drawing and the actual paving edge, door swing or level change. Try the route with the tools you expect to use for watering and cleaning.
Make the final drawing show the frame footprint and support locations, full planter dimensions and usable root volume, mature plant spread, circulation, maintenance clearances, irrigation access and arrows for water flow. Keep separate notes for items a qualified professional must confirm, such as frame placement, wall attachment, existing-surface capacity and drainage design. If you select the regular pergola listing, label the plan with the exact configuration and drawing revision used. Have the pergola installer and planter contractor work from the same layout, with responsibility for each component clearly recorded. This reduces the risk of one installation blocking space reserved for the other.
Frequently asked questions
How much space should I leave between a planter and a pergola post?
There is no universal gap. Follow the clearance and access information for the exact pergola model, and leave room to inspect and clean around its supports. Include the planter wall and the mature spread of nearby plants in your measurements. If the required clearance is not clear, ask the installer before placing a permanent bed.
How deep should a raised planter be?
That depends on the plants you intend to grow and their root requirements. Use the planter’s usable interior depth and width, not its outside measurements or overall height, and account for the plants’ mature size. If you have not chosen plants yet, keep the dimensions provisional until a nursery or horticulture professional can help match the planting plan to the available root volume.
Can a raised planter drain onto a patio?
It can only work if the water has a suitable route and does not collect by a support, wall, doorway or walking path. A drain opening alone does not show where water will go. On paving that cannot absorb runoff, mark the discharge route and keep existing drains accessible. Ask a qualified landscape or drainage professional to review the plan if the route is unclear.
Can raised planters go beside a wall-mounted pergola?
They can be considered in the same layout, but the planter should remain independent of the wall attachment and leave access to doors, windows and any areas that need inspection. Show the planned attachment line and the bed’s full outside dimensions on one drawing. A qualified installer should confirm the proposed wall location and any model-specific clearance before permanent beds are built.
Will plants under a pergola get enough light?
It depends on the site, pergola design and the plants. Nearby buildings and trees also affect light, and conditions can differ from one side of the structure to another. Check the light at the actual planter location and compare it with the selected plants’ stated needs. Do not assume that every bed beneath a pergola receives the same amount of sun.
Raised planters can define a pergola seating area without surrounding every edge. The strongest layout gives the plants adequate root space, directs excess water away from vulnerable areas and leaves room to move, garden and clean. Keep the beds independent of the frame, and judge their size by mature planting as well as the empty boxes. A well-placed bed should bring greenery closer to the seats while leaving the patio comfortable to use as the plants grow.
