
Planning a Pergola Around an Extendable Dining Table
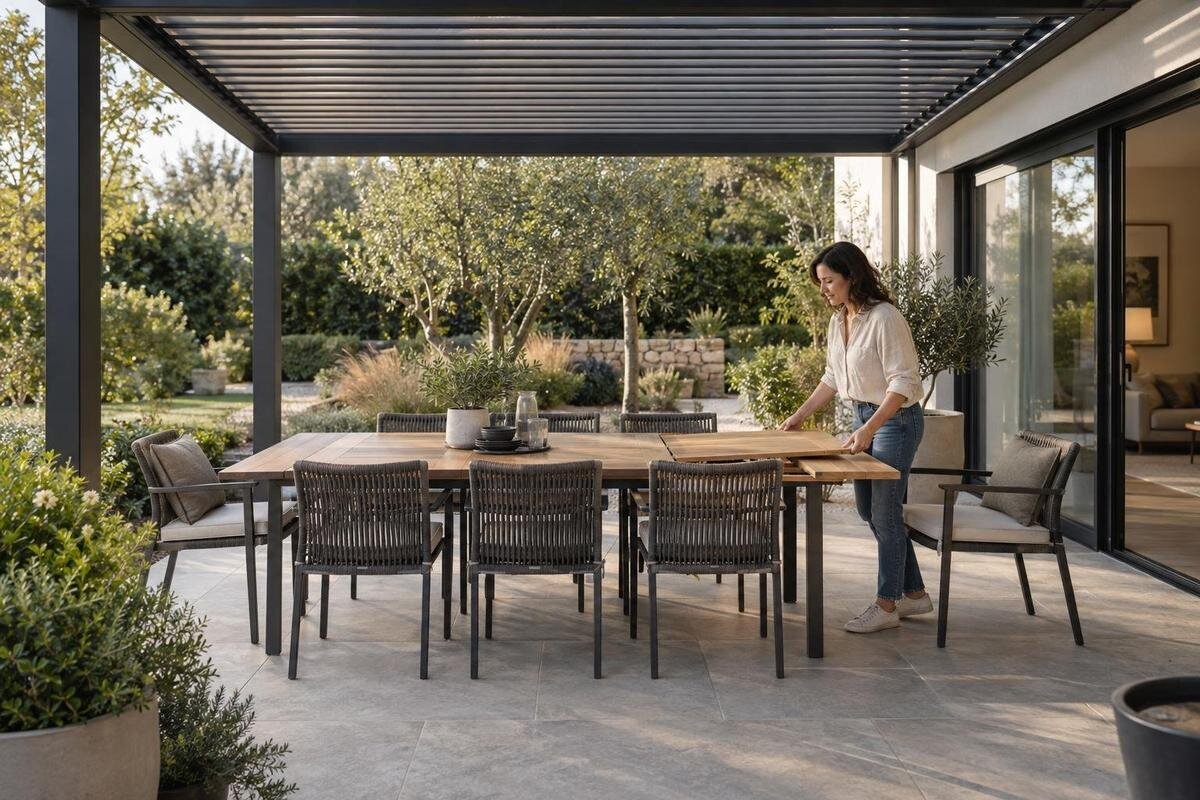
Outdoor dining layout
An extendable dining table has two footprints, and its chair and serving space changes with each one. A pergola layout that works only while the table is closed can feel crowded as soon as the leaf goes in. Measure the table in both configurations, map actual chairs at rest and in use, then draw the route between the house, table, and exit. Treat the sketch as a concept until the selected pergola’s exact dimensions and support positions are confirmed.

Measure the table in both configurations
Measure the table itself rather than relying on a catalog label. Record its length and width with every leaf stored and with the longest arrangement you actually intend to use. Measure the widest points of the tabletop, including fixed end caps or extensions. Note how the table opens: a design that slides apart before a leaf is inserted needs temporary room to move, even if you later position it closer to a wall. If it has several extension stops, record the one you use most often as well as the maximum for larger gatherings. This keeps the drawing tied to your furniture, not a generic table category.
Also mark the locations of legs, the pedestal or base, stretchers, and any center supports in both states. Those parts affect where chairs tuck and where a seated person’s legs fit, even when the tabletop outline appears clear. Check whether the base moves with the extension or stays in place; added tabletop length does not necessarily create equally usable seating along every edge. Record where a removable leaf is stored and whether you need access beneath the tabletop to operate the extension. The Bloomcabin Pergola listing states a 97–258 sq ft range. Keep that listed area separate from your furniture measurements: your drawing needs the table’s actual length, width, base positions, and usable seats before you can compare it with a particular pergola configuration.
Draw the closed and extended footprints together
Use a measured sketch or mark the layout full-size on the patio with removable tape. Start from one fixed reference, such as the house wall or a straight patio edge, and keep that reference for both table positions. If the table stays in place as it extends, show the shared position; if you move it, draw both positions. Label the closed and extended outlines with their dimensions so it is easy to see which part of the patio the extension uses. A sketch does not need to look like a construction drawing, but its measurements should be clear enough to compare with the site.
Use separate lines or marks for the two tabletop states, and add an arrow to show the extension direction. Record the distance from your fixed reference to one table corner so you can reproduce the position on the patio. If both ends move, show how far each travels rather than placing all the added length at one end. If you make an illustrative sample rather than a measured plan, label it “concept” so it cannot be mistaken for a drawing of your patio or a specific pergola. For a house-side layout, include the listed Bloomcabin Lean-To Pergola among the wall-mounted models you compare. Show the proposed pergola outline as a separate layer, leaving unconfirmed dimensions clearly marked rather than adjusting the furniture drawing to make an assumed size fit.
Map the chairs in use, not only when tucked in
The tabletop outline is not the full dining footprint. Use the chairs intended for each seat; an armchair, a side chair, and an end chair may take up different space. Place each chair at the table, pull it out far enough for someone to sit down, and test the position with a person seated. Mark the farthest point of the chair and allow for the space the person’s legs occupy. A chair pushed neatly under the table shows storage, not the room needed to use that seat.
Draw chair positions for both table sizes, including any seats added when the table is extended. Distinguish the occupied position from the farther pull-back position used when someone stands up. These zones may overlap a route differently: a person could pass behind a seated diner but need to wait while that diner gets up. Check end seats especially carefully, since an added chair may sit near a table leg or share corner space with a side chair. If you own more than one chair style, map the ones you will actually use. When considering the Bloomcabin Bioclimatic Aluminum Pergola listing, use these marked chair zones to identify which clear dimensions you need from the configuration drawing. Do not substitute the tabletop width for the full width of occupied seating.
Keep a route clear when chairs are occupied
Draw people’s movement separately from the furniture. Trace the usual way from the house or kitchen to the table, then show how someone reaches the seats and continues to an exit or gate. A route that looks open with every chair tucked in may disappear once diners sit down. If people have to pass behind an occupied chair, mark that crossing and test whether someone can wait or turn there without asking the diner to move. The shortest line on the sketch is not always the most practical route.
Walk the proposed route with the actual chairs in place. Have one person sit while another follows the route carrying an empty tray or serving dish. Test the return trip, too: someone leaving the table with dishes may meet a person coming outside. Identify a place where either can pause without stepping into a chair’s pull-back zone. If someone in your household uses a mobility aid, include their usual approach, turning space, and access to a seat in the trial rather than testing only with a person walking unassisted. When reviewing a regular Bloomcabin model configuration, check support positions along the entire route, not just beside the table. A clear approach from the house is of little use if a post obstructs the turn into the dining area.

Include serving and setup space
A dining route should account for more than getting from the door to a chair. Trace how platters and drinks reach the table, which side someone uses to serve, and where items can be set down temporarily. If you use a side table, serving cart, or other drop surface, draw its full footprint and the side from which it is accessed. A route that ends at a crowded table edge is not especially useful if a person has to shift a chair every time a dish is brought out.
Check the setup you use for an ordinary meal as well as the one used for guests. The larger table may need extra chairs and a different serving position, while opening it may require room that is not needed once the leaf is in place. If the leaf is stored separately, mark its storage spot and the path for carrying it to the table. Account for the extra chairs before guests arrive, too: chairs waiting beside the table can obstruct the space needed to open it. Give them a temporary location outside that working area. Include only equipment you really use, but do include it: a serving surface placed at the edge of a layout can take away the space you had counted on for chairs or circulation.
Plot pergola supports and fixed patio features
Keep the pergola outline separate from the furniture and walking zones. The outer boundary and the unobstructed floor area are not the same thing: supports can interrupt a chair envelope or a route even when the table fits inside the roof outline. On the plan for the exact configuration, mark each support’s position and the outside of its base where that information is available. A center point alone can hide the space a support occupies. Include any frame projections that affect the area where people move or sit.
Add the fixed features already on the patio: walls, steps, railings, gates, fixed planters, and doors with their actual opening paths. A chair that clears the table can still block an entrance, and an open door can use floor space your sketch had treated as free. Show changes in level as well as obstacles; a route should not rely on diners pulling chairs toward a step or off the paved surface. Measure to the nearest projecting part of an obstacle, such as a planter rim, rather than only its base. The Lean-To Pergola product page identifies a wall-mounted model. Have a qualified professional review the wall, proposed mounting, and site conditions before relying on that arrangement, and keep the confirmed structural layout separate from the furniture-access checks.
Test the largest dining arrangement first
Use the fully extended table and all the seats you intend to use as the first fit test, even if that arrangement is only for occasional gatherings. It reveals the largest planned footprint and shows whether the added chairs interfere with the route or access to other seats. Be explicit about the number and type of chairs in that setup. If a seat will not be used, do not quietly leave it out of the drawing and then treat the layout as a fit for a larger gathering.
Check which direction the table extends into the available patio space. An extension pointed toward a narrow passage or fixed boundary may compete with chair pull-out or serving access; a different orientation may leave those areas clearer. If you regularly use an intermediate table length, test that arrangement after the largest one. Its seats may fall in different positions relative to the table base and pergola supports, so it is not automatically convenient just because the longest setup fits. The bioclimatic pergola listing provides another model to compare with these layouts. Mark which seats you want inside the pergola footprint in every arrangement, including their occupied chair positions. That makes your coverage preference explicit without assuming the model name guarantees shade or weather protection at each seat.
Choose an orientation that suits everyday dining
The longest side of the table does not have to follow the longest side of the patio. Choose an orientation that leaves room for the table to extend and lets diners reach their seats without blocking the usual route. Think about where people enter the dining area and which side is easiest to use for serving. Centering the table can create equal space on both sides, but it is not helpful if those spaces are too narrow for the chairs or if the table interrupts the path from the house.
Check how the everyday position works before settling on the layout for a gathering. If the table must be shifted to open, show that movement as well as its final extended position. A table that fits once it is open may still be difficult to extend if a chair, post, or fixed feature blocks the opening motion. Rotate or reposition the table on the sketch and reassess chair access, serving, and circulation each time; a change that improves one side can create a pinch point somewhere else.
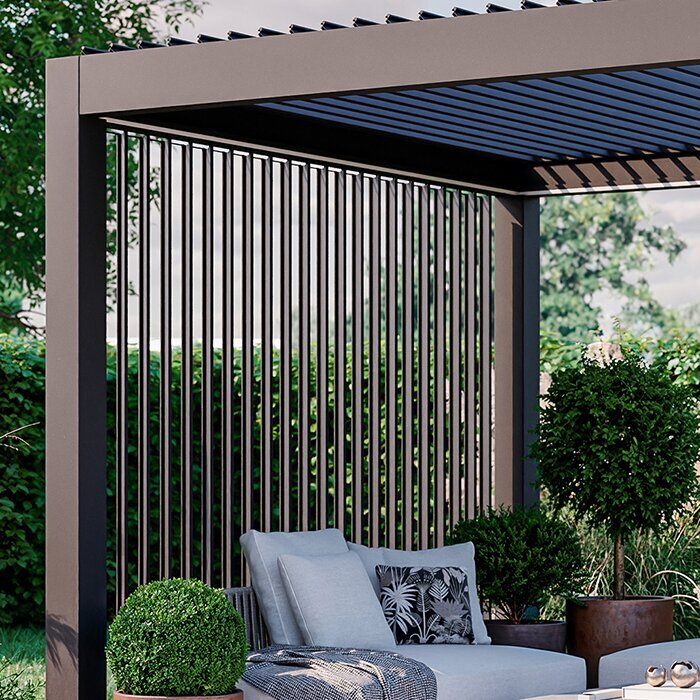
Compare usable dimensions, not square footage alone
A listed square-foot range is a starting point for comparing product sizes, not a furniture layout. Equal areas can have different proportions: as a concept example only, a 10-by-12-foot rectangle and an 8-by-15-foot rectangle each cover 120 sq ft, but they offer different widths for chairs beside a table. Neither example represents a supplied product configuration. Overall area also does not reveal the clear space between supports. A table can fit inside the outer outline while its chairs or serving route conflict with a post. For a wall-side arrangement, compare Bloomcabin’s wall-mounted pergola model with both the length and width of your occupied dining layout. Ask which dimensions describe the outside frame and which describe the unobstructed space, so you are comparing like measurements.
Compare your measured plan with verified information for the configuration you are considering. Keep the pergola’s outside dimensions, support positions, and unobstructed areas distinct on the drawing, then overlay the table, occupied chair zones, and routes. Ask for any dimensions or layout details you still need rather than estimating them from a product name or total area. If the fit depends on leaving out a chair or squeezing a route, reconsider the table orientation, seating plan, or pergola configuration before treating the drawing as workable.
Test the layout on the patio before choosing
Mark the table positions with removable tape and place the actual chairs around them. Rehearse the change from an everyday meal to the extended setup in the order you would normally do it: move chairs aside, retrieve the leaf if needed, operate the table according to its instructions, and arrange the additional seats. This checks the temporary working space as well as the finished layout. Use the number of people required by the furniture instructions rather than assuming one person can handle the extension. Then sit in the intended seats, walk the serving route, and open nearby doors and gates. Record exactly where you had to pause, shift furniture, or change direction. Revise those points on the sketch before repeating the trial.
Keep a short record of the table dimensions in both states, chair types and count, pull-back zones, serving route, and fixed obstructions. Add photos of the marked layout if they help explain a tight corner, but retain the measurements; a photo alone can conceal distances. When discussing the Bloomcabin Pergola product page and your selected configuration, pair that record with a dimensioned drawing showing support positions. Separate questions about furniture fit from questions that require professional site assessment. For example, whether an end chair clears a post is a layout check, while the proposed support installation requires qualified review. Date or label revised sketches so an earlier table position is not mistaken for your final choice. The useful result is a traceable plan showing both dining arrangements and any dimensions still awaiting confirmation.
Frequently asked questions
Should I plan around the table’s closed or extended size?
Draw both. The extended arrangement reveals the maximum table and seating footprint you intend to use; the closed arrangement shows whether everyday dining is convenient. Include the chairs and routes in each drawing, rather than treating the tabletop as the whole space requirement.
How much space should I leave behind dining chairs?
There is no single measurement that suits every chair and patio. Place the actual chair at the table, pull it out as needed to sit and stand, and mark its farthest point. Then test the route with someone seated and another person passing through.
Can part of an extended table sit outside the pergola footprint?
That depends on how you want to use the dining area. Mark which seats you want inside the pergola footprint, including the space occupied by their chairs, then draw the table, supports, and routes together. A seat outside that footprint still needs usable patio space and clear access. Being inside the footprint does not by itself guarantee shade or weather protection.
Does a pergola’s listed square footage show whether my table will fit?
No. Square footage alone does not show the width and depth of a particular configuration or where its supports stand. Compare your measured layout with verified dimensions and support positions for the exact configuration under consideration.
Should I center the table under the pergola?
Not necessarily. A centered table can leave too little room for a route or chair pull-out on one side. Position it according to the extension direction, the way food reaches the table, and the clear space needed for the chairs you actually plan to use.
Plan the pergola around two usable dining arrangements, not just the tabletop. The extended setup reveals the space needed for added seats and serving; the closed setup shows whether everyday meals remain convenient. A layout that also allows you to open the table, bring in extra chairs, and move comfortably around occupied seats gives you a practical basis for choosing a pergola configuration.
