
Replacing an Old Awning With a Pergola: What Changes?
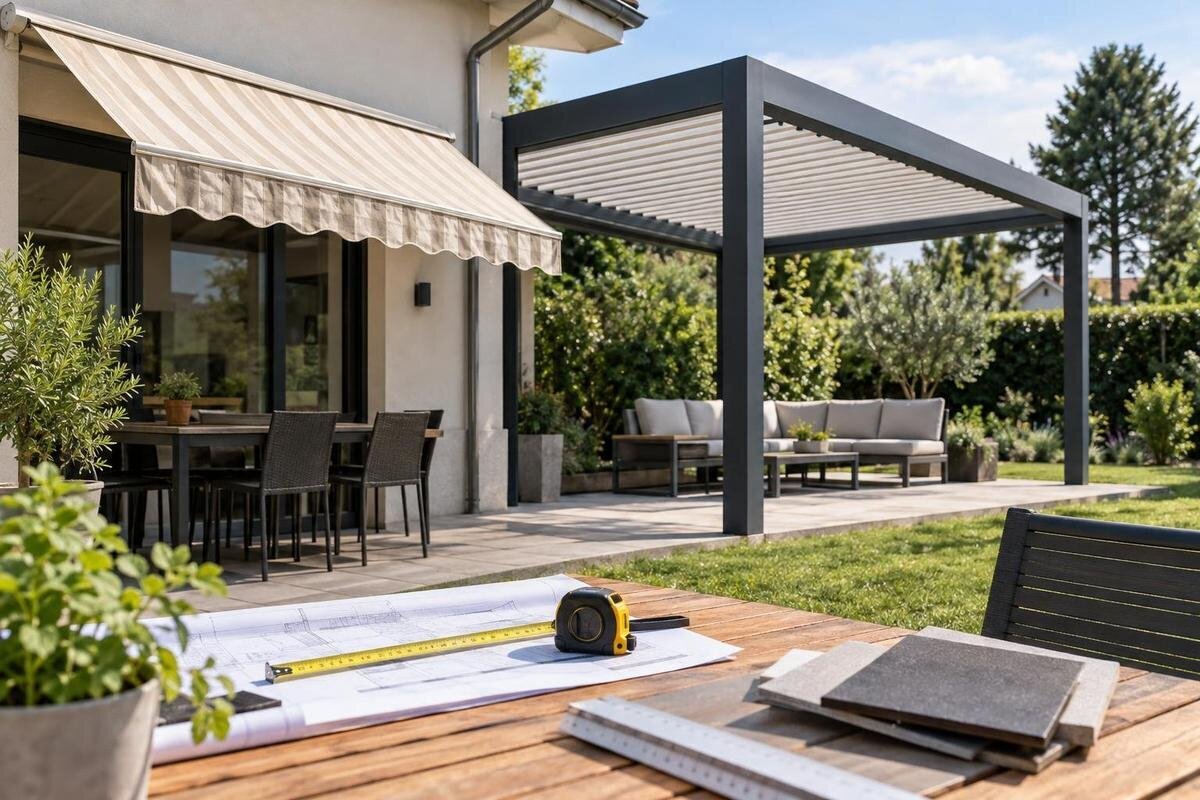
Pergola project planning
Replacing an old awning with a pergola is a construction project, not simply a like-for-like swap. The old bracket pattern, wall finish, patio surface, drainage route and any wiring all become part of the new plan. A sound conversion starts by recording what is there, then specifying what must be removed, repaired, retained and newly supported before the pergola is ordered.
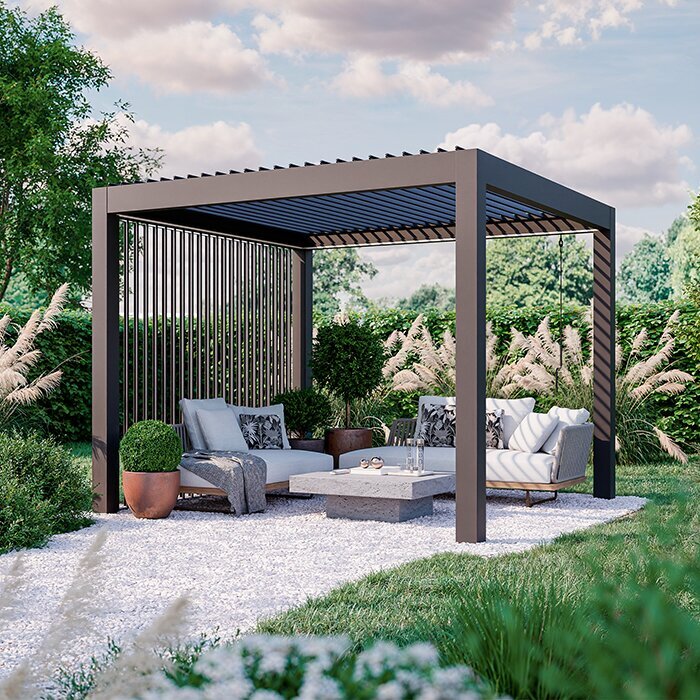
Plan the pergola layout around the existing patio
An awning’s width and projection describe the cover that is there; they do not set the positions of a pergola’s supports, wall attachment or finished edges. Decide what the new structure should cover and what must remain clear, including door openings, walkways, windows, outdoor equipment and areas a crew needs to reach. Mark those boundaries on a simple plan showing the house wall and patio edges. Include the furniture you intend to keep, with room to pull out dining chairs and move between seating areas. A support could interrupt a route that was unobstructed beneath the awning, even when the overall covered area looks similar. If the Bloomcabin Pergola listing is on your shortlist, request a drawing for the selected configuration and compare it with that plan. Use the old awning’s outline as a reference for how you used the patio, not as the required outline of its replacement.
Photograph the existing installation before anything is disturbed. Take wide views of the patio and wall, then close-ups of brackets, visible wiring, patches and obstructions. Record the awning’s width, projection and attachment height as reference measurements, not as promised pergola dimensions. Note where each measurement begins and ends, and flag anything you could not measure confidently. This record helps the people preparing a quote understand the site as it stands and gives you a useful baseline if removal reveals a concealed condition.
Record every visible awning attachment
Identify what you can see without disturbing the awning: count the brackets, note their spacing and height, and record any posts or ground connections if present. Photograph the hardware and note the awning model if its label or paperwork is available. If the awning has a motor, switch or controls, record their visible locations and where cables appear to enter the building. These notes document the existing installation; they do not test its strength or establish whether the wall behind it is sound. If attachment details are unclear, have a qualified professional assess them before removal.
An old bracket location was selected for the awning, so it does not establish that the point suits a different structure or its layout. The Bloomcabin Lean-To Pergola page identifies a wall-mounted option you are considering, but it cannot confirm what is behind your siding or whether existing fasteners can be reused. Make a photo record of each attachment point and have the proposed new connection reviewed against the actual wall assembly. Distinguish the brackets that will come off with the awning from anchors or other hardware that may remain in the wall. Ask the removal contractor to explain how those remaining pieces will be addressed and which decisions require a wall specialist. Record the agreed treatment of each location, including any that need inspection after removal. Do not plan to reuse anchors solely because they look intact or sit in a convenient position.
Inspect the wall and define repairs after removal
Once the awning comes down, the newly exposed area may show holes, faded paint, compressed siding, cracked sealant or signs of past moisture. Record what is visible before patching or covering it, and distinguish observed conditions from suspected causes. A mark on the surface alone does not show whether an issue extends behind the finish. If material is loose or damaged, moisture is present, or the wall condition is uncertain, pause the attachment plan and ask a qualified contractor to inspect it. The purpose is to understand the actual wall before deciding what the next installation can rely on.
Put wall restoration into the project scope rather than leaving it as an informal task. Specify who removes the brackets, disposes of them and repairs the exposed finish, cladding, trim or paint. Identify any work that needs a separate trade and who will arrange it. Discuss the appearance of the repaired area as well as the work needed to address damage: a small paint patch may remain visible against an older finish, and replacement siding may not match exactly. Ask the contractor to define the area included in refinishing and show the proposed finish where practical. Do not assume the new structure will conceal every old hole or bracket mark. If you are considering the Bloomcabin Lean-To Pergola model page, request a drawing of its proposed wall attachment so the repair contractor can distinguish areas that will remain exposed from those affected by the new installation.
New support locations and patio repairs
Use the selected configuration’s drawing to locate proposed supports; do not guess their positions from the old awning brackets. Mark those locations on the site plan alongside the patio edge, doors, walkways, steps and any equipment that needs access. When discussing the Bloomcabin regular pergola listing, ask for a drawing of the exact configuration under consideration. A product name by itself does not establish the support arrangement or show whether those positions work on your site.
The patio surface does not reveal everything below it. Pavers, a slab and a deck can have different construction beneath the visible finish, so appearance alone cannot establish whether a proposed support location is suitable. Have a qualified contractor assess the surface and any work needed for the planned layout. Clarify whether the project includes lifting or cutting the existing finish, preparing support locations, and repairing or matching the patio afterward. Ask how much surrounding surface may need to be disturbed and whether spare matching pavers or decking are available. If pieces will be lifted for reuse, agree who stores them and protects them during the work. Also define when the area can be used again and who will keep unfinished openings separated from household access routes. If another professional needs to assess what is below the surface, include that responsibility before authorizing finish work that could otherwise need to be opened twice.

Plan for rainwater and drainage changes
Treat water management as part of the conversion layout. The old awning’s edge and coverage affect where rain reaches the wall and patio; removing it can expose areas differently. The selected pergola may handle water according to its particular configuration, so do not infer a gutter, drain or discharge route from a product category or photograph. Mark roof gutters, downspouts, exterior drains, door thresholds and places where water has been a concern on the site plan. If you already have photos of pooling or overflow during rain, include them with notes about where and when the problem appeared. Existing water problems should be identified separately from changes proposed for the pergola, so the quote does not silently assume that a new cover will solve them. This gives the supplier and contractor a clearer basis for reviewing the proposed position.
For Bloomcabin Bioclimatic Aluminum Pergola, ask for the selected configuration’s water-management details, including whether and how water is directed and where it exits. The product name alone does not answer those site-specific questions. Get clarity before deciding whether drainage work is needed, and identify who will arrange it. If adjustments are part of the project, state their locations and finish repairs in the quote. Pergola installation and drainage work may have different scopes or contractors, so confirm the handoff rather than assuming one party covers both.
Measure clearances from fixed reference points
Measure the available area against the house and patio, not just the awning’s old dimensions. Record wall length, available projection, vertical clearance and the locations of proposed supports shown on the selected drawing. Use feet and inches consistently, and say which surface each measurement refers to. Mark anything that may interfere with the layout or access, such as window and door openings, exterior lights, vents, outlets, faucets, service panels, gutters and downspouts. Also note door swings and the space needed to reach equipment or maintain existing features.
The bioclimatic aluminum pergola listing shows a size range of 97–258 sq ft. Area alone does not give you a configured unit’s width, projection, wall interface or support locations, so it cannot confirm fit. Compare the measurements at your home with a drawing for the configuration you are considering, and ask for clarification if the drawing does not identify a clearance. A site plan that captures obstacles as well as open space helps prevent a layout from looking workable on paper while blocking a door, window or service point.
Coordinate electrical work and existing controls
If the awning has a motor, light or control switch, include it in the removal plan. Photograph visible wiring and note the locations of controls, but do not open electrical enclosures or disconnect wiring as part of your survey. Have a qualified electrician assess what needs to be disconnected, made safe or retained. Tell the electrician whether cables or controls are near the proposed pergola area. Keeping this information in the project record helps separate electrical work from wall repairs and structure installation instead of leaving responsibility unclear on removal day.
Decide before finalizing the project whether you want power for any new equipment. Ask the pergola supplier whether the selected configuration can accommodate your intended items, then have an electrician determine the appropriate scope for the property. Do not assume an old awning motor, switch or wiring can be reused for a different purpose. Record who is responsible for disconnecting the old equipment, assessing existing circuits and handling any new electrical work. If you do not want new power, state that too, so the quote and installation plan do not rely on an unspoken assumption.
Separate demolition, repairs and installation in the quote
Send quote providers the measured plan, site photos, awning details and a clear description of what you expect to be removed. Identify the pergola model and configuration under consideration; if you are considering the Bloomcabin Bioclimatic Aluminum Pergola product page, name that model in the request so everyone is discussing the same product. Ask the provider to distinguish product supply from site work, including awning removal, disposal, wall or patio repairs, support preparation, drainage changes and electrical work. For each task, establish whether the quoted amount covers a defined scope or is an allowance pending inspection. Request separate descriptions of any optional work, such as refinishing a larger wall area to improve the appearance of repairs. This lets you compare the base conversion with appearance upgrades without losing track of necessary work. Do not assume a product listing includes property-specific services or that an installation quote includes demolition.
Ask each provider to state what is excluded, who handles concealed conditions and how a change to the agreed scope will be documented and approved. Confirm who patches old fixing points, restores finishes and clears debris, and whether the quote assumes the wall and patio are ready for installation. Two quotes can describe different amounts of work even if they name the same pergola. Comparing the written inclusions and exclusions makes it easier to identify a missing repair or a task that has been left between contractors before the work is scheduled.

Verify approvals and insurance for your property
Requirements depend on the property and the proposed work, so check with the relevant city or county building department whether a review or permit applies to your project. If the property is in an HOA or condo community, is rented, or includes shared areas, ask the association, owner or property manager what approval is needed. Confirm the rules for your address and scope rather than relying on a neighbor’s project or general product information. A wall attachment, appearance change and work to shared property may raise different questions for the people reviewing the project.
Ask your insurer directly whether it needs notice or documentation for the planned alteration and how the work may affect coverage. Give the people reviewing the project the same site plan and written scope, and ask what additional information they need. Keep responses and approvals with the final drawing, and record who is responsible for submitting each request. Do not treat one review as proof that every other approval or assessment is complete; ask each organization to clarify what it covers before setting the work sequence.
Coordinate removal, repairs and installer handoff
Bring the conversion information together before demolition or installation: measured site plan, before photos, attachment locations, visible service points, notes about the wall and patio, selected product drawing, and a written list of removal and repair responsibilities. Confirm that the drawing shows the intended footprint, support or wall locations and clearances, and that drainage and electrical questions have an owner. Date the latest version and share it with the people doing the work. If something remains unknown, label it as an open question rather than letting an old measurement or assumption pass as a confirmed site condition.
If the Bloomcabin Lean-To Pergola listing is under consideration, identify that model in the final project record and include the reviewed drawing of the proposed wall attachment. Agree on inspection points between awning removal, repairs and pergola installation, rather than treating them as one uninterrupted appointment. After removal, the responsible contractor should document newly exposed conditions and identify any changes needed before the next crew arrives. Decide who can approve additional work and how revised costs or scheduling will be communicated. Before installation, confirm that the agreed repairs and site preparation are complete; use photos and the written scope to record any outstanding items. At handover, retain the final drawings, repair records, product documents and a list of unfinished work with the responsible party named. This preserves information about old fixing points that may no longer be visible and gives you a clear record of what was removed, restored and installed.
Pergola conversion FAQs
Can the pergola reuse the awning's old anchors?
Not on the basis of appearance or location alone. The anchors were part of the awning installation, and their condition, the wall behind them and their suitability for a new connection need to be assessed. Have the proposed attachment reviewed by the pergola supplier and a qualified site professional.
Can a wall-mounted pergola go where the awning was?
Possibly, but the old position does not confirm that the wall or the new layout is suitable. Compare the selected pergola's proposed wall interface and clearances with measured site conditions, and have the wall assessed before relying on it for a new attachment.
Will I need to replace the patio?
Not necessarily. The surface and what lies below it, its condition, and the new support locations all matter. Ask a qualified contractor whether the existing patio can remain and, if work is needed, who will handle removal, repairs and finish restoration.
What should I send with a pergola quote request?
Include wide and close-up photos, a measured site plan, visible attachment locations, notes about the patio and wall, and any known wiring or drainage details. Also state what the awning contractor will remove and what you expect the pergola project to include.
Should the awning come down before I order the pergola?
Agree on the sequence with the people responsible for removal, wall assessment and pergola installation. Removing the awning may reveal conditions that were hidden, so define how those will be recorded and addressed before demolition. Have any motor or wiring assessed by a qualified electrician.
A dependable conversion plan makes clear what the awning crew removes, what the repair contractor restores and what the pergola installer receives as a finished site. Treat old fixings as evidence to assess, not ready-made anchors, and keep the measured layout, drainage questions and written scope aligned. That gives every contractor a clearer handoff and helps prevent an unfinished wall or patio repair from surfacing as a last-minute surprise.
