
Retractable Pergola Screens: Planning the Storage and Side Guides
Pergola planning guide
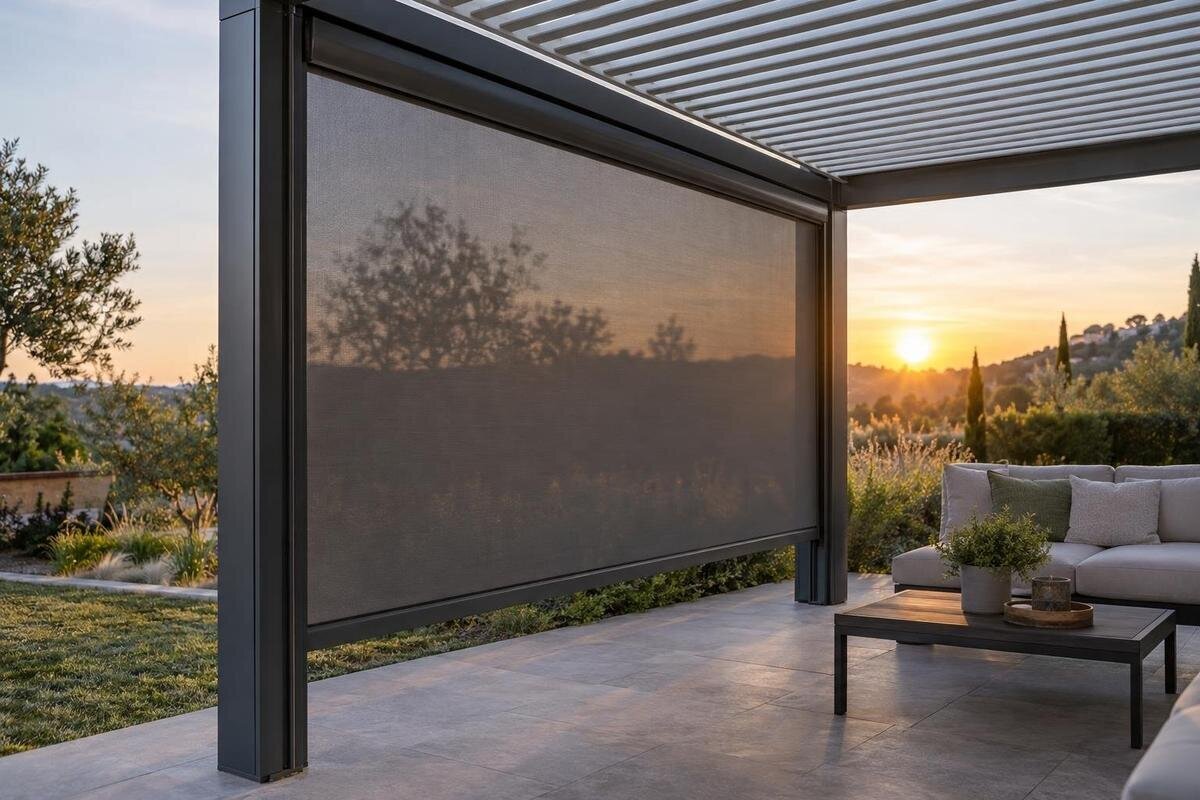
A retractable pergola screen needs a place to go when it is open. The cassette or gathered panel, side guides, bottom bar, operating parts and access panels all occupy space, even when the fabric is no longer across the opening. Plan those pieces against the pergola frame, walking routes and nearby fittings before choosing a system. The key is to verify a screen design for the exact frame and obtain drawings of both its deployed and retracted positions; a pergola listing or attractive image alone cannot establish compatibility.
Choose the retraction direction before measuring
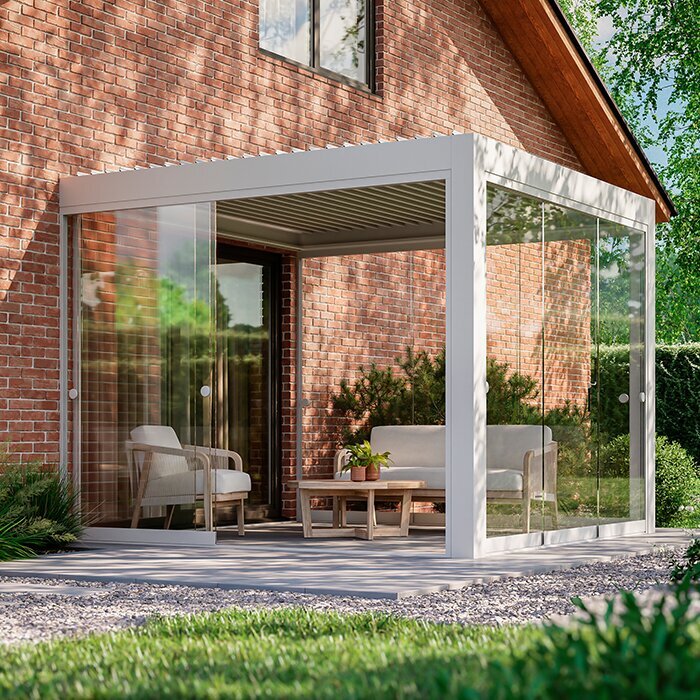
Begin by identifying how the screen moves. A vertical roll-down system generally stores fabric on a roller inside a head housing; a side-retracting design may gather the fabric and its leading edge near an end post. Other systems use different arrangements. Each creates a different parked footprint, so “retractable screen” is not enough to show where the hardware goes. Record the travel direction, fixed guide locations and the position of every part when open before measuring the bay or comparing fabrics. Even two screens made from similar material can have different rollers, guide profiles and mounting requirements.
Treat compatibility as the first filter, not an assumption based on a rectangular bay. The screen supplier or pergola manufacturer should identify the permitted screen design for the exact frame and configuration, plus its mounting method. Request an elevation and a cross-section showing the housing, guides and travel path in both positions. If you are considering the Bloomcabin Pergola, ask which screen systems, if any, are approved for the configuration you intend to order. A product listing alone does not establish accessory compatibility or inclusion. Ask which face of each post the system occupies and whether that changes clearances on either side. If no approved drawing exists, don’t plan around a generic accessory photo.
Map the screen’s parked position
On an elevation, locate the cassette or parked fabric relative to the beam, roof edge, post faces, and any fascia, gutter or trim. Depending on the approved design, the housing may project below, beside or beyond a frame member; record the actual profile rather than assuming it sits flush. Show end caps, the drive or manual operating hardware, and any service panel. A dimensioned section through the beam is more informative than a front elevation alone because it shows depth as well as height. Ask whether the housing stays in place year-round and whether the specific system calls for a cover; a retracted position does not automatically mean the fabric is enclosed.
Then mark the parked position on a plan of the patio. Draw the edge of a table, a door swing, the route between house and yard, and the place where a bottom bar or side stack will rest. Check the sightline from usual seated and standing positions: housing may remain visible after fabric rolls away, while a side stack can narrow a passage. If the bay is also a route to the yard, show furniture in its normal arrangement rather than measuring an empty patio. When comparing configurations of the regular pergola model, request the usable opening for each proposed screened bay, rather than working from an overall area figure. Include any projection into an adjoining passage so you can compare layouts on the same basis.
Measure the complete hardware envelope
Separate the nominal bay size from the opening left for people and views. A side guide can occupy part of each jamb; a head housing or bracket can reduce clear height; a bottom bar or track can change the usable threshold. The effects depend on the screen design and on whether parts sit on the face, within a recess or outside the frame. Ask the supplier to state the finished clear width and height with the screen installed, and to show where each measurement starts and ends. For an enquiry about the Bloomcabin Bioclimatic Aluminum Pergola, have those dimensions labeled on the proposed screen layout. Keep the space occupied by hardware and the usable opening as separate figures, including any hardware that remains below the housing when the screen is raised.
For a site check, note the opening at the top, middle and bottom, and photograph each proposed mounting face straight on and from the side. Record trim, brackets, handles, downpipes and changes in floor level; note any wall or post that is not a simple flat plane. Include one view that shows what lies above and beside the opening, not only a close-up of the post. Those observations help the installer compare real conditions with the manufacturer’s required mounting area and alignment tolerance. Don’t invent a setback or cut back trim to make a drawing fit. Have the approved screen supplier or qualified installer resolve conflicts and identify finish work before the frame or screen is ordered.
Give the side guides an approved mounting surface
Side guides keep the screen edge on its intended travel path; they are not interchangeable decorative strips. Depending on the approved system, a guide may mount on the face of a post or sit against another specified surface. Either arrangement needs the mounting face, fasteners and alignment prescribed by that manufacturer. Ask how much of the opening each guide occupies, whether it can be removed for service, and what surface conditions the installer needs. A recess may reduce projection but is not automatically possible: it must appear in the screen and frame details before trim or finishes are built around it. Show the guide’s full profile, not just its centerline, on the plan.
Check both guide lines from top to bottom on the drawing and at the site. A post cap, cladding joint, wall return, latch or adjacent panel can interrupt a guide or prevent its cover from opening. Confirm that it can be reached for inspection without dismantling unrelated parts, and that the screen edge and lower bar have the clearances the manufacturer specifies. For a proposed screen on the Bloomcabin Lean-To Pergola, include a close-up of any wall return or trim beside the intended guide location. Ask the installer to show how the approved guide detail meets that surface and whether any finish work is needed. Avoid fixing a guide to a moving roof component or any unapproved surface.

Coordinate the bottom bar with the walking surface
At the bottom, confirm how the screen finishes at the walking surface. A drop-down screen may end with a bar that meets a sill, floor or specified catch; another design can have a different bottom detail. Don’t assume it seals against an uneven patio, or that a track can be set into paving. Request the manufacturer’s section showing the bar, guide ends, threshold and any stated gap. This avoids a late surprise where hardware occupies a doorway or a track crosses the route from house to yard. Ask which parts are intended to touch and which remain clear; the installer should not have to infer that from a photo or generic illustration.
Mark the landing area on the plan and keep it distinct from a door threshold, step, drain, rug edge and primary walking line. If a bottom track or catch is proposed, discuss drainage, debris removal and how it is crossed before choosing a location; don’t alter paving or create a recess without an approved construction detail and suitable professional advice. Check hinged doors at full swing and sliding panels across their entire travel. Give a parked bottom bar a deliberate resting place rather than one where it blocks a chair, storage area or daily route. In a screen enquiry for the Bloomcabin Pergola model, include photos of the walking surface and any level changes. Ask for the proposed bottom detail to be shown against those actual conditions.
Resolve screen runs at corners
When screens meet at a corner, treat the meeting as its own detail. Two guides may need separate mounting faces; a post cap, corner connector or trim can occupy the space where a guide would otherwise sit. Fabric edges may meet, overlap or remain separated according to the approved system; never assume a continuous wrap or sealed corner from the word “screen.” Note whether the corner post is shared and ask for a plan and elevations of both adjoining sides, with guide widths, final edge positions and clear opening marked. The drawings should show what happens when each screen is fully retracted as well as fully deployed.
Decide whether the two sides need to operate independently and where each leading bar, handle or control would end up when parked. Their paths must not collide or leave one screen inaccessible behind the other. If only one side will be screened, draw the open corner and the route to doors, furniture and the yard; if two are planned, check the effect on the usable opening on both sides. When discussing the bioclimatic pergola model, label the adjoining bays on your plan so the supplier can assess the proposed corner arrangement. Ask whether either screen must be moved before the other can operate, and have any such restriction recorded with the layout.
Check roof fittings and objects along the travel path
Look above the fabric path as well as along it. A cassette, bracket or guide may compete for space with roof components, fascia, a gutter, lighting, a fan, a heater or wiring already planned for the pergola. The screen should not be attached to or routed across a moving part unless the manufacturer expressly shows that detail. Put every proposed fitting on the same drawing and ask the relevant suppliers to resolve overlaps before installation. For a powered screen, confirm approved mounting and service access with its provider; have electrical work and equipment connections handled by a qualified professional rather than improvising around the screen. Show existing wiring routes for review, not as a place to fasten hardware.
At ground level, mark planters, furniture, door handles, steps and anything that can enter the screen’s travel path. Keep the path clear through its full movement, not just at the final stops, and check that a person can reach the intended manual control without leaning over an obstruction. Seasonal items may move, but permanent lights, built-in seating and fixed outdoor fixtures belong in the layout from the start. For a proposed screen on the Bloomcabin bioclimatic aluminum model, send a combined layout showing these objects rather than separate sketches that hide potential overlaps. Include furniture in use: a pulled-out chair or an open storage lid may occupy space that appears clear on a static plan.
Leave room for inspection and cleaning
Maintenance access is a layout dimension, not a later convenience. Find out which parts need inspection or cleaning: fabric, guide channels, roller or cassette ends, lower bar, fasteners and, where applicable, drive or control components. The manual should identify what an owner may clean and what needs a service professional. Request the access method and required working space in the design drawing, including whether a cover lifts, slides or comes off and which side must stay reachable. Avoid placing permanent trim, lights or a neighboring wall so close that approved access becomes impossible. A sales rendering may not show these service details, so ask for a separate maintenance view.
Guides can collect leaves, dust and outdoor debris, and a tight enclosure can make visual checks awkward. Plan a reachable route to the full guide length and both ends of the storage housing; don’t assume access from the terrace if one side faces a wall or fixed furniture. Ask how fabric removal or repair is handled without disturbing the pergola or adjacent finishes, and whether routine tasks require one side or both. In a screen layout for the lean-to pergola model, show the space between the proposed housing and the wall, including trim or other projections. Have the provider identify the service access needed there. Follow that system’s care instructions and avoid unapproved tools, cleaners or disassembly.

Review the stored screen from everyday viewpoints
Look at the parked system from places where you spend time, not only from outside the patio. A head housing can remain a visible line under the frame; a side stack or guide can change the appearance of an open bay. Sketch the view from the house, seating area and yard, marking the housing, guides and posts. If a finish or full-size component sample is available, compare it beside the frame in actual light; a small fabric swatch cannot show the scale or shadow of the cassette. Treat a product photo as illustrative unless it documents the exact configuration. Note whether any head housing sits in a direct sightline from the main room.
Consider the two positions separately: fully retracted, when the fabric is out of the opening but hardware remains, and deployed, when fabric and bars occupy part of the view. If you need a partially deployed position, ask whether the system permits intermediate stops and what remains visible at the intended height or width. Decide which edges should stay visually open and whether stored hardware will sit beside a fascia or fixture. These checks concern appearance, but they can also reveal a physical conflict with a light or door before installation. Review the drawing from standing and seated viewpoints rather than judging the setup from a single straight-on image.
Confirm the exact configuration before ordering
Before ordering, give the screen supplier or installer a scaled plan, elevations and clear photos of every intended bay. Identify the exact pergola model and configuration, which sides will be screened, direction of travel, floor and wall conditions, doors, furniture and nearby fittings. Ask for the approved screen designation and drawings showing fully retracted and deployed envelopes, clear opening, guides, bottom termination, attachment surfaces and maintenance access. If a drawing omits a cassette end, corner or threshold, request a detail rather than filling the gap with a generic assumption. Label the inside and outside faces on each view so the mounting side cannot be misread.
Keep a practical record with the installation documents: model and accessory identifiers, clearances, operating instructions, care requirements and the supplier’s published use limits. Ask what to do before adverse weather only from the actual screen documentation; fabric type or pergola category is not a substitute for stated operating guidance. Confirm mounting questions with the relevant manufacturer and qualified installer, and electrical work with a qualified professional where powered equipment is involved. A sound layout leaves the full travel path clear, accounts for all retracted hardware and makes routine inspection possible without guesswork. Recheck the final drawing after any change to lights, trim or furniture.
Frequently asked questions
How much clearance does a retractable pergola screen need when it is open?
There is no universal clearance figure. The head housing or side stack, guide profiles, end caps, bottom bar and service access vary by system. Use a dimensioned drawing for the exact frame, and distinguish the space taken by the hardware from the clear opening left for use.
Can I add a retractable screen to a pergola I already own?
Only after the pergola manufacturer or screen supplier confirms the screen design and mounting method for your exact frame. Existing posts or beams may not have the approved attachment details. Ask for a drawing and have the actual site conditions assessed rather than choosing a screen by bay width alone.
Do side guides have to be mounted on the posts?
Mounting details vary by approved system. A design may use a specified post face or another mounting surface; a recess is not automatically possible. Don’t cut cladding or fasten a guide to a convenient surface unless the system drawing and installer confirm that detail.
Does a retracted screen disappear completely?
Usually the fabric rolls into a housing or parks at one edge, while some hardware remains visible and takes up space. Ask for a drawing of the fully retracted system and confirm whether a cover is part of the specified design. A product photo may show a different configuration.
How should I plan for screen maintenance?
Check the system manual for which parts need inspection, what cleaning is permitted and how service is carried out. Keep the specified access to the full guides and storage housing, and find out which work is suitable for an owner and which needs a professional.
Treat the parked screen as part of the pergola’s footprint, not as an invisible extra. A coordinated plan shows where the housing and guides sit, how much usable opening remains, what the bottom edge does at the threshold and how each serviceable part can be reached. With the exact screen design checked against the exact frame and site, the open and closed layouts can both work without later surprises.
