
Pergolas for Wedding Venues: Seating and Service Routes
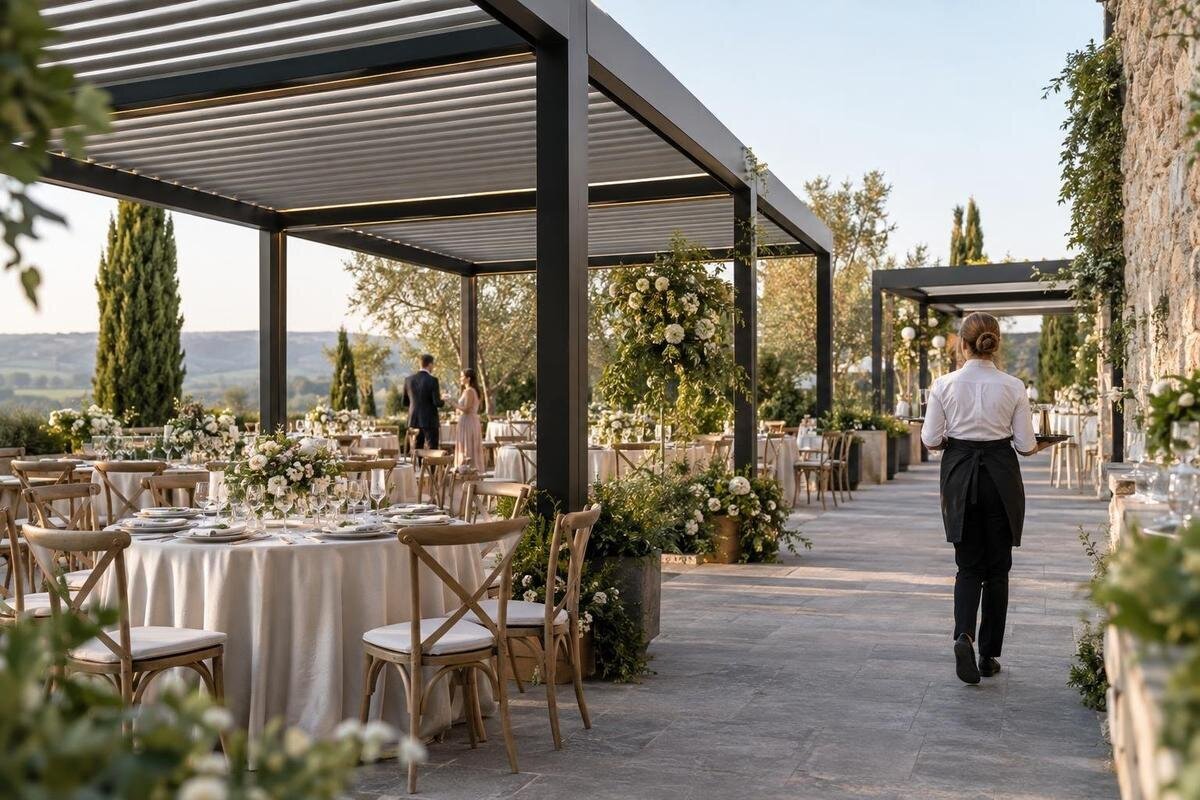
Wedding venue planning
A wedding-venue pergola has to work within a real event, not just look complete in a rendering. The same area may be asked to frame a ceremony, support a dining layout, and remain clear for caterers and guests moving between spaces. Plan from the venue’s measured floor plan, draw each event phase separately, and test the routes and furniture on site. A pergola’s listed area alone cannot establish a seating count or whether a location works for a particular event.

Define the pergola’s role in the event
Decide what the pergola area is expected to host: ceremony seating, the couple and officiant, a signing table, a cocktail-hour gathering, or reception dining. A venue may need one use or several at different times. Mark required uses, optional uses, and layouts that will never operate simultaneously. That distinction matters: chairs, tables, a serving station, and an aisle cannot all claim the same floor area in one setup. Ask the venue manager, planner, caterer, and rental lead to agree on the event sequence and the practical conditions each use requires. Use a representative booking to make the brief concrete: its proposed guest count, meal format, ceremony location, vendor arrival times, and available indoor rooms. Note whether another event or regular venue operation will occupy nearby space that day. These details reveal which areas can genuinely be shared and which must remain available throughout, even while the pergola area is being reset.
Start with a current, dimensioned floor plan and check its measurements on site. Mark doors and their swings, steps, ramps, existing paths, service entrances, fixed furniture, trees, drains, utility access points, and any area that cannot be used. Note changes in level and surfaces that may constrain the project, but leave structural and anchoring decisions to the responsible installer or qualified professional. Record which items are fixed, which can move, and who can authorize changes. A dated plan gives the planner, installer, and reviewing professionals a shared reference instead of relying on an old sketch or setup photo.
Lay out ceremony seats, aisle, and sightlines
On the ceremony plan, draw each chair row to the actual chair footprint, along with the front focal area, any signing or sound equipment, and the full aisle from entry to exit. Show spaces for wheelchair users with companion seating integrated among other guests, rather than in a location with a poor view or difficult approach. Trace a step-free route from accessible arrival points to those seats and nearby guest facilities. Ask an accessibility professional to confirm the necessary clearances and maneuvering space for this site; do not copy a width from another venue or infer a guest count from the pergola’s square footage.
Check sightlines from front, middle, and end seats, as well as from each designated accessible space. Mark proposed supports shown in the project drawing so they do not obstruct views of the couple, officiant, or aisle. Consider where photographers and videographers can stand without blocking movement. An on-site mock-up with the actual chairs can reveal awkward row spacing or an aisle that disappears once guests gather. Repeat the view check from the far corners and any standing area, and identify where late arrivals wait and how ushers reach empty seats without interrupting the ceremony. Include the processional and recessional in the rehearsal: where participants assemble, how they enter, and where they gather afterward. Check that the wedding party's waiting position does not block guest arrival or a service door. Allow the photographer to test the planned group-photo location so guests leaving their seats do not immediately collect in the aisle.
Fit reception tables and service clearance
Reception planning needs the occupied footprint, not just the tabletop. Draw each table type with chairs in use and pulled back, then include any dance floor, band or DJ position, buffet, bar, cake or gift table, and speech area the venue plans to use. Ask the caterer for dimensions of its tables, carts, and service equipment. Mark the number and type of seats in each version, but keep the count subject to the complete layout review. A dining plan may need different aisles and working space than a ceremony plan, so prepare separate drawings for different arrangements. Test the proposed meal format, too. For plated service, show where servers approach tables and collect dishes. For a buffet, draw the queue, the serving position, and the return route to seats with plates in hand. Locate drinks and dish-return points deliberately; putting every station near one entrance can concentrate movement even when the tables themselves fit.
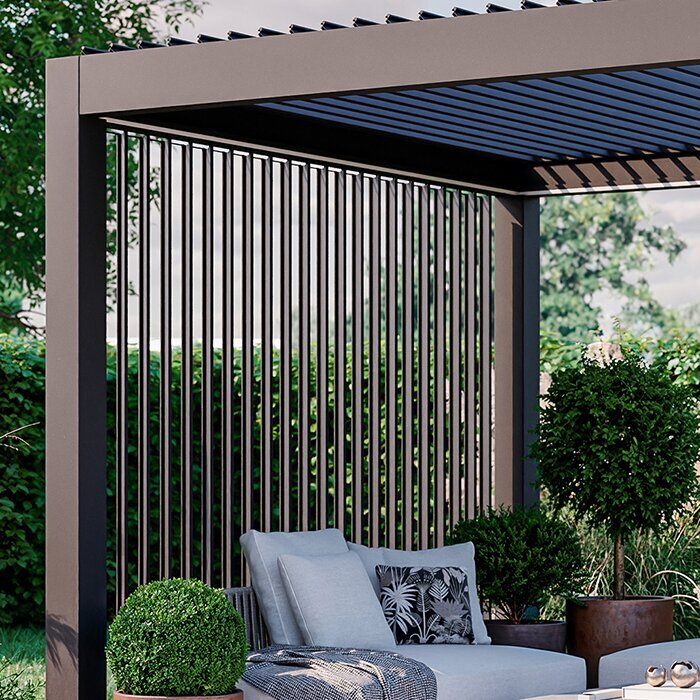
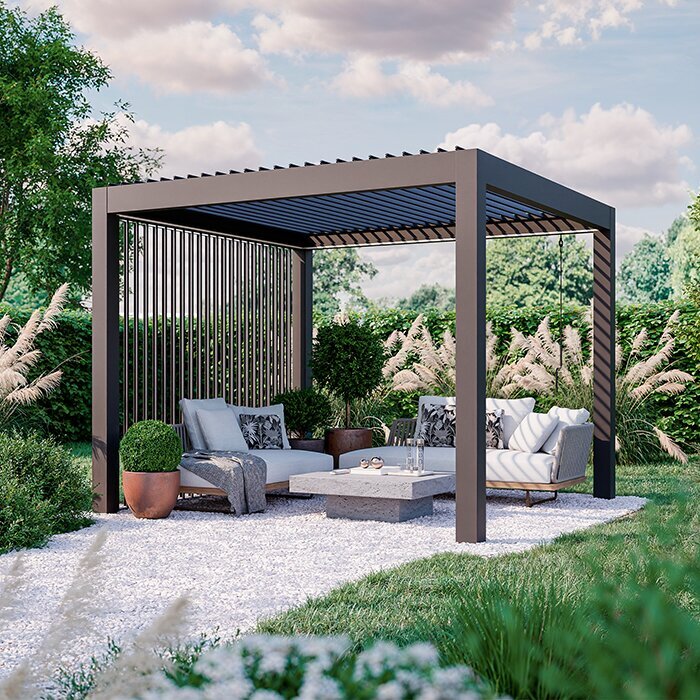
Compare the furniture with the exact proposed pergola dimensions and the support positions shown on the project drawing. The Bloomcabin Bioclimatic Aluminum Pergola is listed in an area range of 97–258 sq ft; that range is not a seating-capacity figure and does not show how a particular table plan will fit. Request dimensions for the selected configuration, then draw tables, chair movement, guest aisles, and staff passage to scale. Check the corners as well as the center, and ask the caterer to review working clearance with its actual equipment before confirming the layout.
Separate guest circulation from catering routes
Use one plan layer for guests: arrival point, accessible route, ceremony, cocktail area, dining, restrooms, and other venue destinations. Show where people may queue, wait for a procession, or gather for photos; a path that looks open on an empty drawing can be blocked by a receiving line or cocktail crowd. Mark doors, ramps, thresholds, corners, and narrow connections, then trace the whole route rather than drawing a straight line through seating. Have venue staff walk it in both directions and note where people naturally pause. Examine the busiest transition rather than only steady movement: guests leaving the ceremony may meet others approaching a bar or restroom. Place welcome signs, seating charts, and guest-book tables where people can stop without occupying the through-route. Include a waiting position for anyone needing assistance, with a clear connection to their destination rather than an isolated space behind the seating.
On a different layer, map catering and vendor movement from the actual loading or service area to the serving position, then to dish return and waste staging as the operator plans. Ask the caterer about cart width and turning needs, and where trays and supplies can wait without occupying guest access. If a wall-adjacent location is under consideration, the Bloomcabin Lean-To Pergola is identified as a wall-mounted model. Treat it only as a candidate for review: assess the exact route, wall conditions, and installation requirements for the project. If guests and carts must share a passage, agree on how that movement will be managed.
Review access, fire, and venue requirements
Before finalizing the pergola location, confirm which accessibility, fire-safety, planning, and venue requirements apply to this site and event. The operator, qualified access and fire-safety professionals, planner, and applicable local reviewers can clarify which drawings and information they need. Do not use a nominal structure area to set guest capacity or clearance; actual furniture, routes, event operations, and project review all matter. Send the same current plan and both ceremony and reception versions for review, and keep occupancy assumptions provisional until the responsible people have assessed the complete layout.
Mark doors, exits, gates, emergency access points, and equipment or routes that the venue identifies as needing to stay available. Include temporary elements such as cords, heaters, lighting stands, décor, portable bars, and vendor queues; each can affect usable circulation. The Bloomcabin Pergola listing identifies a product under consideration, but it cannot establish approved occupancy, code compliance, or suitability for the venue. Save review notes with the marked plan, and revisit the review if the location, model, layout, or vendor equipment changes.
Assess the site and plan for weather changes
Inspect the proposed location with the people responsible for installation. Verify the measured area, slope or level changes, drainage, paving, nearby trees, known utilities, overhead obstructions, delivery access, and room to assemble without closing an essential route. A photo cannot show what lies below a surface or how it was built. Ask the qualified installer or engineer to assess support, anchoring, and any site preparation for the exact design. Record restrictions on when work can happen. Keep these decisions separate from event-layout sketches; a furniture drawing is not an installation assessment.
Write a weather-contingency plan alongside the seating plan. A pergola name or image does not establish rain protection, wind suitability, shade, or safe operation in every condition. Ask the supplier for product-specific performance and operating information, and have site exposure and installation considered by the responsible professionals. Show the alternate location, furniture moves, vendor notification responsibility, and the route guests will use if the outdoor setup changes. The bioclimatic pergola listing is a named product to evaluate, not evidence of a particular weather capability. Identify who makes the changeover decision under the venue’s operating policy.
Coordinate lighting, AV, décor, and vendors
Build a vendor plan for lighting, sound, and power before finalizing furniture. Ask the officiant, musicians or DJ, photographer, caterer, and venue team about equipment, operator positions, and whether a separate control or staging spot is needed. Put outlets or proposed power access, equipment footprints, and cable paths on the drawing. A qualified electrician and production professional should determine the appropriate supply and safe setup; do not improvise electrical installation or route cords across guest and service paths. Confirm who supplies, tests, removes, and stores each item.
Décor can change how the space works. Flowers, fabric, signs, lighting, AV hardware, portable fans, or heaters may occupy a route or be proposed for attachment to the structure. Do not hang or fasten anything to the pergola unless the exact product documentation and responsible professional confirm an approved method for the project. A wall-mounted Lean-To model also raises a building-interface question that a product listing cannot settle. Put attachments, floor-standing items, and removal tasks on the vendor sheet, then walk the area for loose cables, stands, and décor that may have moved into circulation.
Plan the changeover between event phases
List the event phases in order, such as ceremony, guest transition, cocktail hour, dining, and cleanup, and draw the pergola area for each one. For every change, specify which guests remain, where others go, what furniture moves, where it is stored, which vendors must finish first, and who releases the next setup. Plan staff positions and a pause in guest movement when furniture or equipment crosses a route. A changeover is not simply a new floor plan: its sequence must fit the venue’s schedule, staffing, storage, and access to the rest of the event.
Rehearse the change with the people assigned to do it, using the real chair and table types, carts, and storage point. Time the steps on site rather than copying a generic turnover estimate, then allow the buffer the operator requires for checks and delays. Mark furniture stacks, staff-only passages, and guest waiting points on the diagram. When comparing a layout for the Bloomcabin Pergola product page, use the selected configuration's project drawing to check the furniture-moving route around its supports and adjacent features. Tell the setup lead what cannot move and who signals that the area is ready for guests. Establish the order of work: remove ceremony items, move furniture, position reception equipment, then complete cleaning and vendor checks. Assign each task to a named role so two crews do not arrive at the same narrow passage at once. Decide which optional décor or furniture moves can be omitted if time runs short without compromising essential routes or the reviewed layout.
Test the layout before setting guest capacity
Before confirming a guest count, walk through each proposed setup at full scale. Place representative chairs and tables, identify where people sit, stand, and queue, then walk the routes with venue staff and, when appropriate, an accessibility professional. Have the catering team take its actual service cart through turns and doors. Check the ceremony aisle, access to seating, entry and exit, staff working space, and transition to the next phase while furniture is in use. Record pinch points, obstructions, and adjustments, then repeat the test after a meaningful change.
Keep the structure’s exact dimensions and support positions in the rehearsal record. Match the listed bioclimatic model to its selected-configuration drawing, and verify that the site plan uses the same model and dimensions as the product and installation review. If the dimensions, placement, or event furniture changes, update the plan and repeat the affected parts of the test. Set the final guest number only after the whole arrangement—not just the seating blocks—has been checked against operator requirements and applicable access, fire, and planning review.
Prepare a project file and assign responsibilities
Keep one project file as the source of truth: a current measured site plan; separate ceremony and reception layouts; furniture and equipment footprints; guest and service-route layers; site photos and unresolved conditions; changeover roles; and notes from access, fire, planning, and installation reviews. Add the exact product name, selected dimensions, drawings, and supplier correspondence when known. Date each revision and identify who approved it so vendors do not set up from a superseded diagram. Label provisional routes or locations clearly, and give the setup lead access to the current version.
For each pergola under consideration, ask the supplier what project information is needed to assess the proposed use, location, configuration, and installation. The Lean-To Pergola product page identifies a wall-mounted option, but suitability is confirmed for the specific project; do not infer it from a model name, area range, or photo. Assign an owner for venue coordination, installation questions, vendor setup, routine checks, and removal or storage of event equipment. Include site preparation and professional review in the project scope rather than treating a product page as a complete installation specification.
Frequently asked questions
Can I calculate the guest count from the pergola’s square footage?
No. The listed area does not account for furniture, aisles, accessible routes, service space, site conditions, or applicable venue requirements. Set the count from a complete, measured layout reviewed for the specific event and location.
Can the ceremony and reception use the same pergola area?
They can be planned as separate uses of one area, but each needs its own drawing. Check the furniture, routes, vendor needs, and changeover sequence for both; do not assume the ceremony layout can simply be relabeled for dinner.
Should caterers use the same route as guests?
Map guest and catering routes separately first. If they must cross or share a passage, ask the venue and caterer to test that arrangement and agree on how movement will be managed. Keep accessible routes and essential access in the review.
Does a pergola guarantee rain protection?
No. The product name or an image does not establish weather performance for a particular model, configuration, site, and installation. Confirm product-specific information with the supplier and responsible professionals, and document an alternative event plan.
What should be ready before selecting a pergola?
Gather a verified site plan, intended event uses, furniture and route layouts, site information, and the venue’s operating requirements. Then request product-specific dimensions and installation information and arrange the applicable access, fire, planning, and site reviews.
A useful wedding layout accounts for guests in their seats, staff serving, and the next setup still to come. Use measured drawings for each phase, keep guest and service routes visible, and rehearse the changeover with the people who will carry it out. With site conditions and applicable reviews included, the venue can judge whether a particular pergola and placement work for its event plan, rather than relying on area alone.
