
Planning an Accessible Path to Your Garden Shed
GARDEN SHED PLANNING
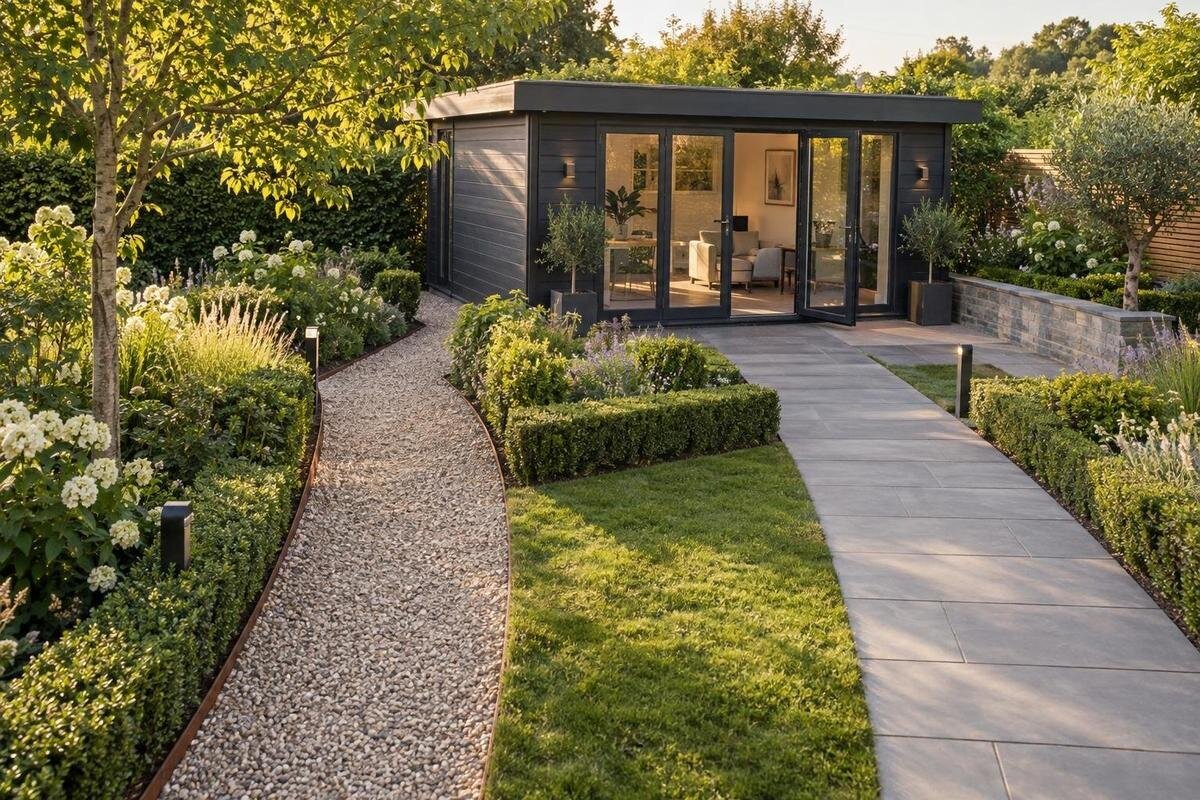
An accessible path to a garden shed works best when it is planned alongside the building’s position and entrance, not added as a narrow strip afterwards. Start with the person who will use the shed and the route they actually take through the garden. Then consider clear width, turns, surface, slope, drainage and room at the door as one connected journey. The aim is a firm, predictable approach that suits the user’s mobility needs and remains practical to maintain; there is no single layout that works for every site or person.
Choose the shed position and route together
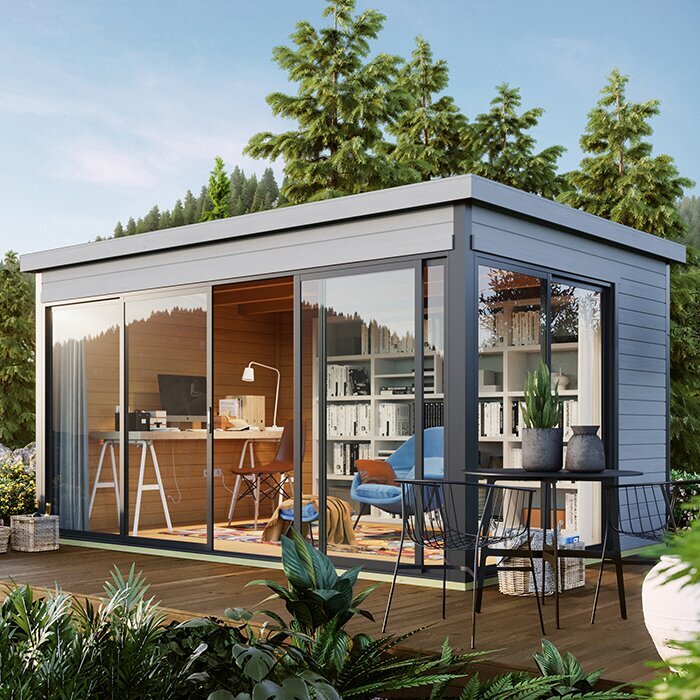
Begin at the place the person actually starts: a rear door, side gate, parking area or another regular point. Trace the usual journey to the shed on a site sketch, noting gates, garden beds, trees, taps, bins, clotheslines and steps. A route that looks direct on paper may pass through a tight gate or across ground that becomes soft after rain. Decide which uses matter most: frequent access to tools may call for a different approach from occasional visits. Include the last few metres at the entrance; reaching the wall is not the same as having room to pause, line up and enter. If several people use the shed, consider the person with the greatest manoeuvring needs rather than planning for an average user.
Mark the proposed shed footprint and entrance on the same sketch, then check that the route fits without using space needed for the door, planting or maintenance. If the Verdana 1 garden house listing is on your shortlist, check its stated dimensions and entrance arrangement with the seller before fixing the location; ask if a detail is not shown. The model name alone does not tell you where the door sits or how much clear space it needs. Make sure there is room to approach with a mobility aid, stop, operate the door and leave again. A shed placed close to a fence can remove that space even if the path itself is wide, so compare a few possible positions before settling on one.
Map the whole journey, not just the last few metres
Draw a continuous route from the regular starting point to the shed door rather than measuring only the straight-line distance. Mark every change in surface, width, level and direction, including a gate, a narrow strip beside a fence, a lawn crossing or a lip where two materials meet. A generous main path will not make up for a short step or loose section that interrupts movement. Note movable obstacles too: hoses, pots, bins, chairs or a wheelbarrow. Decide where they can be stored so the route stays clear during ordinary garden use, not just on the day you measure it. If there is more than one possible route, compare the awkward transitions on each one, not only the length.
Use the same drawing to compare shed orientation. For the Verdana 2 garden house listing, verify the actual footprint and entrance position, then see how they fit the route; do not assume the building can face any direction without affecting access. Leave room to approach squarely and to continue, turn or reverse after entry, as suits the user. If a fence or garden bed constrains the entrance side, test another position on paper before buying. Consider maintenance access as well: a route that is clear now may narrow as plants grow or items are stored alongside it. Planning these details together helps avoid a path that ends at the wall rather than at a usable entrance.
Assess the slope along and across the path
Check both the slope along the route and its side-to-side fall. A path that feels manageable in one direction may take more effort to stop or turn on, while a crossfall can draw a wheeled aid towards the edge. Small changes at a gate, root, drain or doorway can matter more than the general slope of the garden. Avoid judging levels by eye alone: note the high and low points, and have them measured if the route is noticeably sloped or an error could make the approach difficult. Consider how the surface behaves when wet as well as dry. These checks are especially useful where the user relies on a wheeled aid or needs a steady surface to change direction.
Choose the gentlest continuous line the site allows, rather than compensating for uneven ground with a steep, short ramp at the shed. For the Durano garden house listing, check the stated dimensions and entrance details against measured site levels to see whether the path can meet the doorway without an abrupt step. Do not infer that from the model name or an image. If the proposal needs substantial excavation, fill, retaining work or a ramp, ask a qualified access professional or builder to assess the gradients and transitions, and check any applicable local requirements before ordering or building. Drainage also needs consideration, but it should not be solved by making the path uncomfortably steep.
Measure the clear width at every pinch point
Measure the usable width at the narrowest point, not simply the nominal width on a plan. Include gates, fence posts, downpipes, edging, planted borders and anything else that projects into the route. Allow for branches and foliage at the height of the person using it as well. Think about the space occupied by the mobility aid while moving, not only its parked width. If someone needs to walk beside another person or carry tools, include that in the brief rather than hoping it will fit later. Marking the proposed edges on the ground can reveal pinch points before work starts, particularly where the path passes between a building, fence or garden bed.
There is no single width that suits every user and mobility aid, so compare the proposed clearance with the person’s actual equipment and usual way of moving. Doorway clearance is a separate measurement from path width. If the Veltor 1 garden house listing is under consideration, check the stated overall and opening dimensions, and ask for clarification if the usable clear opening or threshold is not described. A wide route does not prove that the entrance will be easy to use. Record both measurements, along with the space needed to turn just outside the door. If other people or objects also need to pass, account for that movement rather than choosing a width solely from the aid’s dimensions.
Allow room for turns and the entrance approach
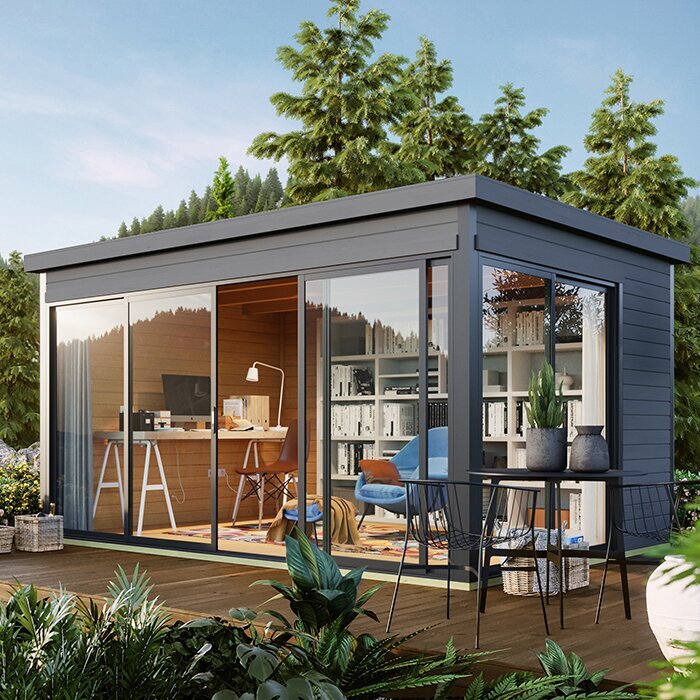
Turns need more room than a straight section of path. A wheelchair, scooter or walking frame may need a wider arc, space to straighten before a gate, or room to pause while the user changes direction. Mark each bend and look for corners where a fence, planter or shed wall could block the manoeuvre. Fewer abrupt changes can make a route easier to follow, but a curved path can also work if it provides a clear line and does not narrow sharply at the inside edge. Check whether the person can turn around or retrace the route if the shed is closed. A simple sketch may not show how much room the equipment occupies while moving.
Allow a firm, clear area at the entrance for approaching, positioning, handling the latch and managing the door; the space needed depends on the door and the user. With the Orello 1 listing, check the actual entrance and door details, then draw the door’s movement on the same plan. A door leaf can occupy space that looks available when it is closed, and a tight corner may leave nowhere to manoeuvre. If access is shared, invite the intended user to review a marked-out route at full scale before the site is fixed. A practical review can reveal an awkward turn or blocked approach that is easy to miss on paper.
Choose a firm, stable path surface
Choose an outdoor finish that stays firm, stable, even and slip-resistant in the conditions the path will face. A well-laid hard surface can be easier to roll over, but a slick finish or abrupt joint can still be difficult. Pavers may work when they are well supported and even; loose gravel can shift under wheels and feet, while bark, deep mulch and soft lawn can become inconsistent with weather and wear. Stepping stones leave gaps and changes in level. No material name guarantees a good result: texture, joints, edging, maintenance and preparation all affect how the path feels in use. Consider how the finish behaves when damp and who will be able to keep it level and clear.
Plan the transition into the shed at the same time as choosing the path finish, so there is no loose strip, abrupt lip or soft patch at the door. Keep soil and mulch from spilling onto the route, and avoid borders that create a raised edge for a wheel or walking aid to catch on. If the Modano 1 listing is on your shortlist, treat its product details and the path specification as separate checks: confirm the building dimensions and entrance information, then choose a surface to suit the user and site. Do not infer access performance from a product image or model name. A finish that needs frequent sweeping or re-levelling may also be difficult to keep usable, so include upkeep in the choice.
Check the doorway, threshold and door swing
Treat the shed entrance as part of the route, not a detail to solve after the path is built. Confirm the clear opening with the door in its normal open position, the threshold height and shape, the handle position, and whether the door swings into the approach. A person may need room to stop, reach the latch and move through without the door blocking a turn. Check that the path and any entrance area meet without a step or loose transition, while leaving the door free to open as intended. Product descriptions and illustrations may not answer every question, so verify the usable dimensions and configuration rather than relying on appearance.
Before purchasing the M Timber Garden Shed, check the available product information for the actual door configuration, opening and threshold details; ask the seller or installer if something important is missing. Confirm that the approach works with the way the door opens and with the user’s reach, rather than choosing a building solely because its entrance looks convenient in a photograph. If you are considering a change to the building or door, ask whether it is possible and what it means for the finished opening. Do not assume a modification can be made without affecting the product. Settling the entrance arrangement before laying the path helps avoid a mismatch between the doorway and the finished surface.
Plan for rain, irrigation and drainage
Rain and irrigation can change whether a path remains usable. Look at where water runs from the surrounding garden and where it could collect at a low point, gate or shed doorway. The path should not funnel water against the entrance or leave a puddle where someone needs to turn. Drainage needs attention, but adding a noticeable crossfall or steep slope may make the route harder to navigate. Check what happens after ordinary rain, and note downpipes, garden taps, sprinklers, nearby tree roots and areas where soil washes onto the path. If a drain must cross the route, ask a qualified professional to specify a secure, even crossing that will not catch wheels or walking aids.
Coordinate the proposed shed position, path level and water management on one site plan. For the Timber Tool Shed S listing, check the stated footprint and entrance details rather than assuming anything about its base or roof drainage from its name or an image. Ask the seller or installer what site preparation the chosen model needs, then plan the route so it remains clear of any required work area. If the site needs substantial drainage or ground changes, have the approach reviewed before ordering. A last-minute change to the path slope is not a reliable substitute for understanding where water will go.
Keep the route clear and visible over time
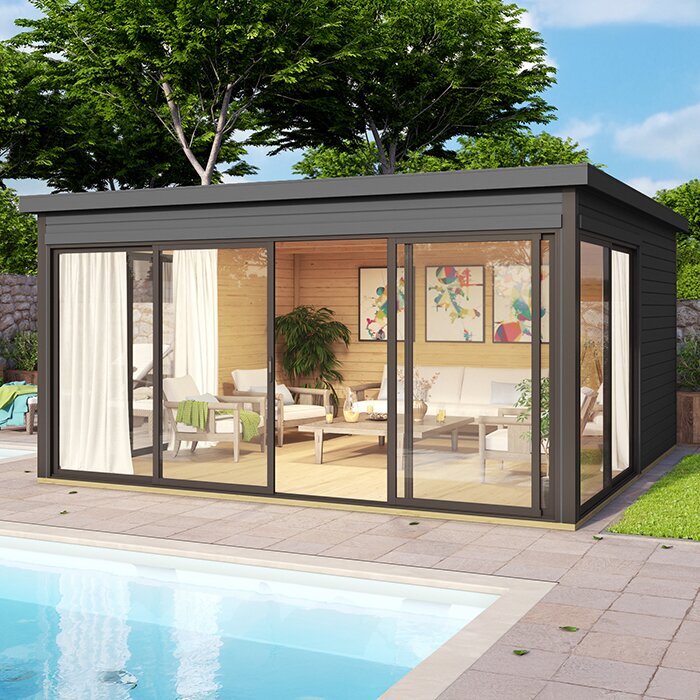
An outdoor path needs to stay usable after installation. Plan how vegetation will be kept back and where pots, bins, hoses and garden tools will be stored so they do not gradually narrow the route. Check for soil wash, loose pavers, surface cracking or sections that settle, particularly after heavy rain or garden work. Leaves, algae and wet debris can make an otherwise firm path slippery, so include straightforward cleaning in the garden routine. Choose a route people can realistically keep clear, rather than one whose usability depends on frequently shifting obstacles. Recheck the narrowest points as planting grows and outdoor storage changes.
Visibility matters when the shed is used early, late or in a shaded part of the garden. Make edges and changes in level easy to see, and consider a visual contrast between the path and nearby garden without adding raised edging or loose decorative stones. Place outdoor lighting so it helps show the route without glare or a cord in the walking line. If fixed electrical lighting is wanted, ask a qualified electrician for advice rather than improvising outdoor wiring. Review the route if the user’s mobility aid or household needs change. Maintenance and visibility are part of an access plan, not just details that affect the garden’s appearance.
Verify the plan before ordering or building
Before ordering, make two checklists: one for the approach and one for the building. For the path, record its clear width at pinch points, turns, level changes, surface, drainage and the space needed at the entrance. For the shed, confirm the actual external dimensions, door position and clear opening, threshold and any required base or installation details from the product information. Images and model names are not substitutes for measurements. If a detail that affects access is not available, ask the seller or installer to clarify it before you commit. Keep the route sketch and the answers with your planning notes so the people preparing the site are working from the same information.
Agree how the path and shed will meet, who will prepare the ground and whether the finished path height will align with the entrance before work is scheduled. This matters particularly if a ramp, retaining work, drainage changes or a non-standard entrance is proposed. Ask a qualified access professional, builder or other relevant professional to check complex levels and any applicable local requirements; a general article cannot determine compliance for a particular site. If possible, mark the planned route at full scale and invite the intended user to review it with their usual aid before finalising. Coordinating these details at the buying stage is easier than discovering that the door, turn or surface does not work once the shed is in place.
Frequently asked questions
How wide should an accessible path to a garden shed be?
There is no single width that suits every person, mobility aid and turn. Measure the narrowest clear point, then check the space needed at gates, bends and the entrance. If the project must meet a formal access requirement, ask a qualified local professional to check the applicable requirements.
Can compacted gravel work for a garden shed access path?
It may work if the finished surface stays firm and even, but loose or poorly maintained gravel can shift, wash away or leave ruts. Consider the user’s mobility aid and how the surface behaves when damp, and factor in the effort needed to keep it level and clear.
What gradient should the path have?
Avoid choosing a gradient by eye or relying on a generic figure. The route, crossfall, transitions, drainage and user’s mobility needs all matter. Have the proposed line measured, and seek qualified advice if the site is noticeably sloped or a ramp may be needed.
Do I need a clear area outside the shed door?
Allow room to stop, position a mobility aid, manage the latch and move through without the door blocking the route. The space needed depends on the door’s operation and the person using it, so check the actual entrance details and include the open door in your plan.
Is a ramp always the best way to deal with a level change?
No. A ramp is one possible response, but its gradient, transitions, available length, drainage and turning space all affect whether it works for the user. Ask a qualified access professional or builder to assess the site and any relevant local requirements before choosing or building one.
A useful garden shed access path is a complete journey: clear from the usual starting point, firm underfoot or under wheels, manageable at bends and connected to an entrance that can be reached and operated. Plan the shed position, route and door together, then verify the measurements and site conditions before work begins. That coordination makes it more likely the finished approach will suit the person using it, not just the garden plan.
