
Can You Put a Garden Shed on Existing Paving?
Garden shed planning
A paved patio can look ready for a shed, but its appearance does not show whether the pavers are stable underneath or whether the shed’s base and fixings are compatible with them. The answer is yes, sometimes—if the whole support area, drainage and anchoring meet the requirements for the exact model. Check those points before you order or book installation.
01
Can existing paving serve as a garden shed base?
An existing paved area can sometimes serve as the base for a garden shed, but not simply because it looks hard and flat. The full area that supports the shed must meet the chosen model’s installation requirements and remain stable. Pavers may sit on different underlying preparations, and a surface designed for everyday foot traffic does not prove that the material beneath it is suitable for a structure. Borders, cut-outs, drains or changes in paving can interrupt the support area. The question is about the construction beneath the whole base, not whether a few pavers feel firm. Ask whether the paving has a continuous bed and adequate edge restraint, but do not assume either from its appearance. Records or photographs from when the area was built can be useful, particularly where the paved area has been extended. They may still need to be considered alongside an on-site assessment. Treat the paving as a possible base to assess, rather than a completed foundation.
Before ordering, locate the installation guide for the exact model. Confirm whether it permits paving, which parts of the shed need support, and whether a floor or base frame changes those requirements. For a candidate such as the Verdana 1 garden house, identify the model and look for current, model-specific base information; a product name or photo cannot establish suitability. If the guide does not address paving, ask the supplier or installer to confirm using your site measurements and photos. Get clarity before committing, as the answer may be that the paving needs work or a different base.
Signs the paving may be unstable
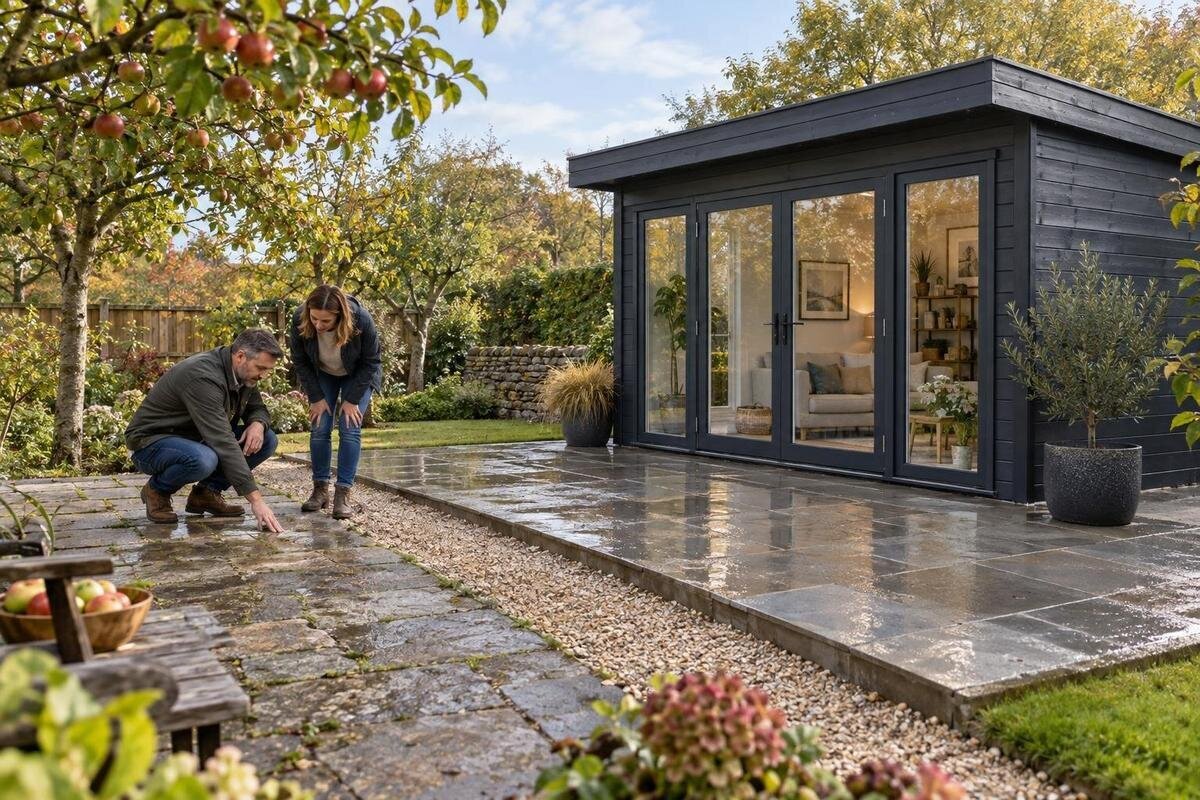
Inspect the full footprint, including the edges where the shed’s support would sit. Look for pavers that rock under normal foot traffic, sit proud or low, have cracked, or show joints that have opened or lost material. Note patches that have been relaid and changes near garden beds, drains or retaining edges. A firm-looking centre does not compensate for movement at one side. Check a little beyond the outline too: the surrounding surface can reveal a pattern of settlement. Photograph concerns and mark them on a sketch so a paving contractor or installer can relate them to the proposed layout.
Look again after rain if you can. Puddles, washed-out joints or recurring movement can point to a drainage or settlement issue, but they do not reveal the cause by themselves. Do not cover a loose area or assume a shed will hold it in place. The top of the paving cannot show every condition underneath, so visible defects are a reason to investigate, not a full assessment. For a candidate such as the Verdana 2 garden house, compare its base requirements with what you can establish about the site; the product listing is not a substitute for that check.
02
Measure the footprint and access space
Measure the usable paved area, rather than relying on the patio’s total dimensions or a product name. The installation drawing may distinguish the outside walls, floor area and the part that needs support; check what each measurement describes. Compare the specified footprint with the paving layout, including edges, cut-outs, inspection covers and changes in surface. Note whether the required support points land across joints or near an unsupported edge, then ask the manufacturer or installer whether that arrangement is acceptable. Mark the intended outline on the paving with removable tape and measure from fixed boundaries on more than one side. This makes it easier to spot a tapered patio, out-of-square corner or inspection cover that a single width-and-length measurement can miss. Keep the recorded measurements with the model drawing. A shed that fits between fences can still lack a continuous, suitable base.
Fit also includes access in daily use. Check how the entrance opens, where you will stand to use it, and whether there is room to move stored items in and out. Allow for clearances shown in the product instructions and practical space to assemble and maintain the shed; a drain, step, fence or narrow path can affect the layout even when the base itself fits. Do not assume roof projections and base lines occupy the same footprint; use the drawing’s definitions. Compare a candidate such as the Durano garden house with its own current drawings, rather than assuming a larger paved area provides all the necessary access.
Check for level and even support
Check the surface over the complete support area, not at one convenient spot. A straightedge and spirit level can help reveal high pavers, dips, abrupt steps and whether the surface falls in one direction; inspect across and along the intended footprint. A reading at the centre does not show whether corners or edges sit in the same plane. Notice whether neighbouring units move independently too. Flatness and level are related but not identical: a smooth-looking fall can still leave the support area uneven. Where the paving includes a visible fall, check whether it is uniform or interrupted by local dips. A long straightedge shows local variation; it cannot confirm that the construction beneath the pavers is sound. Record where high or low points occur so advice relates to the actual footprint. Compare the surface with the manufacturer’s requirements rather than treating one measurement as a universal standard.
Some paved areas are intentionally laid to drain water, so the existing fall may conflict with the shed’s requirement for an even, level base. Check the tolerance in the installation information for the exact model and ask how to handle any mismatch; there is no universal allowance that suits every shed. Avoid compensating with loose wedges, stacked offcuts or an improvised layer unless the maker permits it and a qualified installer confirms the method. For the Veltor 1 garden house, as for any option, use the relevant installation information rather than assuming the pavers can be adjusted through the shed frame.
03
How water drains around the proposed site
Look at what happens to water around the paved area during and after rain. Note where runoff from nearby ground travels, whether water collects in low spots, and whether drains or channels remain clear. Check if the intended footprint would sit where water is directed from an adjacent path or garden bed. Consider the ground beyond the paving too, since water crossing it may be channelled along an edge. Signs such as recurring damp patches or silt can prompt further investigation, but they do not diagnose the cause on their own.
A gentle fall can help paving drain, but it does not remove the need to meet the shed’s base-level requirements. Do not solve ponding by blocking a drain or adding material around the base without checking where the water will go. Follow any moisture-management or clearance requirements in the model’s installation information. Also consider where splashback and runoff could reach the paving after the shed is in place, without assuming the shed will solve an existing water problem. Keep drainage access available for maintenance. Any proposed change should preserve a clear route for water rather than merely moving it to a neighbouring surface. If water regularly stands on the footprint or the runoff route is unclear, ask a drainage or paving professional to assess it before installation. For the Orello 1 garden house, as for any model, consider the site’s actual water behaviour rather than judging it on a dry day.
Confirm how the shed will be anchored
Securing the shed is a separate question from whether it can stand on the pavers. Follow the fixing details for the exact model and confirm that the specified method is compatible with both the paving units and the material beneath them. An anchor placed only into a loose paver or a joint is not automatically equivalent to a fixing into a suitable substrate. Pavers can crack or shift if a fixing method is unsuitable, and the instructions may require a particular base or support arrangement. Do not choose a generic fastener just because it appears to fit.
Ask who will assess the anchoring and who is responsible for the fixing work before you order, especially if an installer is involved. The method can depend on the shed’s instructions, the paving construction and the site’s exposure to wind; do not infer a fixing method from the model name. Tell the installer about services or pipes that may be below the paved area before drilling is considered. A candidate such as the Modano 1 garden house still needs a fixing plan confirmed for this site. If those details cannot be agreed, pause rather than relying on the shed’s weight.
04
Questions to settle before ordering
Gather a short site record before choosing a model: usable dimensions, paver pattern and joints, perimeter conditions, slope, signs of movement, and where water goes after rain. Take clear photos from each side and close-ups of cracks or uneven joints. Keep any information you have about how and when the paving was built, but do not guess at the depth or materials beneath it. Have the product’s base drawing and installation information in front of you as well. That lets a supplier or installer respond to the actual combination rather than a vague question about a paved base.
Ask whether the exact shed may sit on the existing paving, what the support area must be like, how level it needs to be, and which anchoring arrangement is allowed. Clarify whether the answer assumes sound paving over a particular underlying construction, and who will check that on site. For the M timber garden shed, or any other option, make sure the information relates to the selected model; a category page or photograph alone may not answer base questions. Record any conditions attached to the advice, such as repairs or a different fixing method, before confirming an order.
If the paving does not meet the requirements
If paving rocks, has settled, is cracked across the proposed support area, leaves standing water, or cannot be anchored as required, do not proceed on the assumption that the shed will make it stable. First find out why the surface is in that condition. A paving professional may recommend lifting and relaying affected areas, rebuilding part of the paved area or choosing a different base; the right response depends on what lies beneath and on the shed’s requirements. Repairs should restore a base that meets the shed’s stated requirements, rather than merely improve the visible finish. Ask what area needs to be addressed and how the repaired section will join the surrounding paving. Let repairs settle or be inspected as advised before treating the work as ready for installation. If the necessary work is extensive, another site on the property may be easier to prepare.
An extra sheet, loose bearers or a second layer of pavers does not automatically correct movement, unevenness, drainage or an unsuitable anchor point. Any added platform becomes part of the support arrangement and should be approved for the chosen shed, not treated as a universal workaround. If you are comparing models while revisiting the site, use a listing such as Timber Tool Shed S only as a model to check against its own installation requirements; a different name or footprint does not solve a base problem by itself. Recheck the plan after any repairs.
05
Coordinate site preparation and installation
Once the base has been assessed, coordinate the work before choosing an installation date. Confirm whether repairs, drainage changes or anchoring work need to happen first, and who is arranging each part. If an assembler is involved, ask whether their work includes checking the foundation or whether they expect a ready base; do not assume both tasks are covered. Check the route from the access point to the site for narrow gates, steps and obstructions, and ask what clearance is needed for components and assembly. This can reveal a practical access problem before you order.
Mark the proposed footprint on a sketch or with a removable marker, then check door operation, access and drain locations against it. Keep photos and written responses with the product’s base information, and tell the installer if the paving is repaired or altered after assessment. A changed surface may need another check. Agree on the fixing method before anyone starts drilling. These coordination details help clarify what must be ready on site without treating an installation booking or delivery arrangement as proof that the base is suitable.
Deciding whether to use the paving
Use a simple decision rule: proceed only when the exact model’s instructions allow the base arrangement, the paving covers the required support area, its condition and level meet the stated requirements, drainage is understood, and the fixing method has been confirmed. Pause if even one of those points is unanswered. An unknown base beneath the pavers or unexplained movement is a reason to investigate, not to guess. Consider the checks together too: correcting an uneven area may affect drainage or the planned anchor positions.
If the paving fails a check, decide whether it can be repaired, whether another base is required or whether a different site would be easier, then confirm the revised plan with the supplier or a qualified installer. Keep the measurements, photos and advice with the order details so everyone is working from the same version of the site. If you change models or choose a different base option after assessment, repeat the compatibility check; dimensions and fixing points can vary. The aim is a clear decision for one shed on one paved area, with no unresolved base question left for installation day.
Frequently asked questions
Can a garden shed go straight on pavers?
Sometimes. The exact installation instructions must allow it, and the full support area needs to be stable, suitably level and compatible with the required fixings. Check how water drains around the site too. If the base requirements or the condition beneath the pavers are unclear, get advice before ordering.
Do the pavers need to be perfectly level?
There is no single tolerance for every model. The support area needs to meet the manufacturer’s stated requirements for level and evenness. A paved surface laid to drain water may not suit those requirements, so check the guide rather than relying on a general rule or improvised packers.
Can I anchor a shed into paving?
Only if the shed’s instructions and a qualified installer confirm a method that suits both the pavers and what lies beneath them. A fixing into a paver or joint is not automatically secure. Tell the installer about any services below the paving before drilling is considered.
What are signs that paving may need attention?
Rocking, sinking, displaced or cracked pavers, opened joints, recurring movement and pooling water all warrant investigation. They do not identify the cause or prove the whole area is unsuitable. Ask a paving professional to assess concerns before covering the surface with a shed.
Should I order a shed before checking the paving?
Check the site against the selected model’s base requirements first. That can show whether the paving is ready, needs work or is not the right base. If you later change models or base options, check the dimensions and fixing requirements again.
Existing paving can save groundwork only when it matches the chosen shed’s documented base, level, drainage and fixing requirements. A neat finish is not enough to establish that. Check the whole support area, follow the instructions for the exact model and have a professional resolve any uncertainty about the paving beneath or the anchoring method. If those points do not line up, repairing the site or choosing another approved base is more dependable than forcing the shed onto a surface that has not been assessed.
