
Choosing a sturdy greenhouse: 12 quality checks
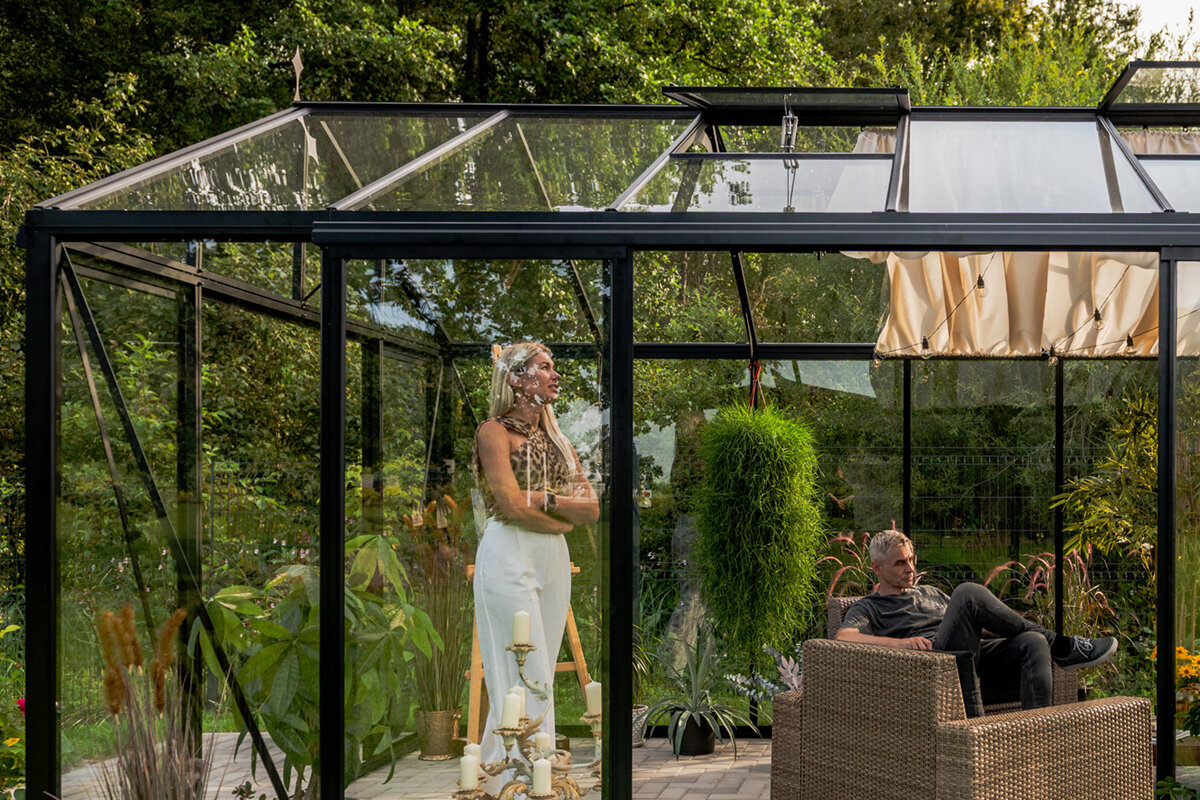
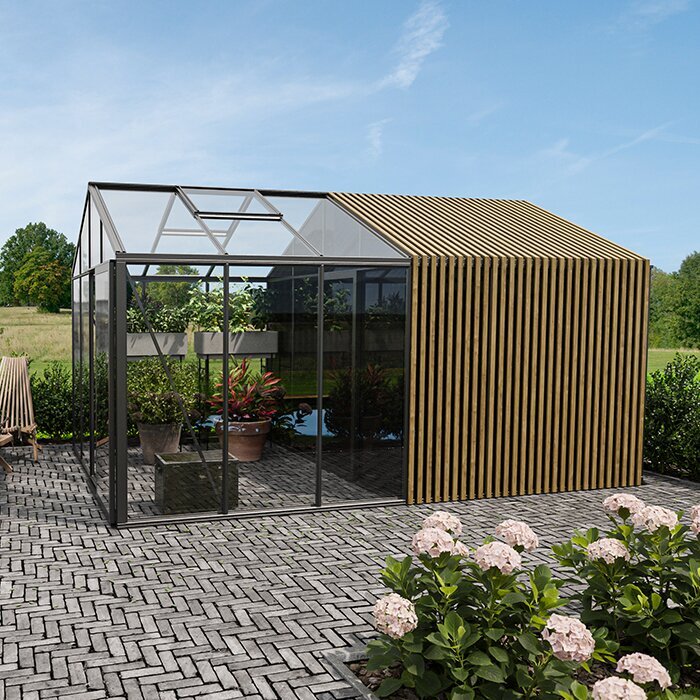
A sturdy greenhouse is chosen by looking beyond colour, shape and floor area. The components must operate together: a strong frame is of limited value with uncertain anchoring, and good glazing needs compatible profiles and properly installed seals. Prioritise clear construction information over brochure photographs alone.
Where the greenhouse will stand also changes what it must cope with. An open, freestanding position differs from shelter beside a wall or among thick hedges. Factor in prevailing winds, possible snow, ground conditions, access and working room so the assessment reflects the eventual installation site.
Twelve practical criteria are gathered here into one pre-purchase assessment. They support careful reading of specifications, reveal matters that still need clarification and make comparisons more consistent. Rather than declaring one design suitable everywhere, they provide a sound basis for choosing according to your circumstances.
Checks 1 and 2
Assess frame profiles and roof form first
Loads from the glass or panels, the frame itself and the weather travel through the structure to the foundation. Examine the profile design rather than accepting a general material label. Useful signs include visible reinforcement, clearly identified structural uprights and sensible profile continuity around roof edges and corners. Documentation should show how forces reach the base.
Roof geometry determines how the structure is organised. Gable, lean-to and polygonal forms create different connection and bracing needs. Inspect the ridge, eaves and side junctions, where several parts meet. An intelligible design makes installation and later inspection easier. Consider each junction separately as well as in the completed structure. Screws, brackets and bearing surfaces that remain visible are easier to check while assembling. Confirm that the installation sequence keeps these points reachable, so alignment can be verified and the connection inspected again if necessary.
Ask for elevations or installation drawings rather than judging structural profiles and braces solely from marketing images.
Relate the roof shape to site conditions and your interior plans, not merely the patch of garden available.
For an independent structure, you might examine a standard-version Classic greenhouse whose framing layout can be readily understood.
Checks 3 and 4
Examine joints and bracing closely
Some of the most revealing construction features are easy to miss in photos: bolted connections, corner pieces, upright joints and the frame-to-base transition. They should locate components precisely and stay accessible. See whether the description names the connectors used and whether the assembly order makes sense. Vague information prevents a reliable comparison.
Bracing controls movement that the frame should not make. The right arrangement depends on the structure’s form, measurements, position and installation. Coherence matters more than the sheer number of parts. Establish which members provide support, where they sit and whether they interfere with entrances, shelving or trained plants. On transparent walls and roofs, inspect every panel junction, where edges, supports and framing converge. Clear instructions should explain insertion and restraint. The chosen grid should also reflect maintenance needs and the sections you can genuinely reach from outside.
Use drawings to verify the treatment of corners, roof junctions and the frame’s attachment to its base.
Plan interior fittings only after identifying the braces and profiles that occupy the usable space.
For a position beside the house, a regular full-size Lean-To greenhouse is worth considering once the wall junction and foundation have been properly resolved.
Check 5
Evaluate glazing within the structural design
Light levels, appearance, cleaning and enclosure behaviour are all affected by the glazing. Consider the nominated glass or panel type alongside its framing and support system, rather than choosing on transparency alone. Edges should be protected and fittings should appear purpose-designed, not improvised. Specifications need to explain both the material and installation method clearly.
Panel division deserves equal attention. A finer grid introduces extra framing, while broad panes require a convincing support method. Neither is automatically superior because looks, construction and cleaning access interact. Determine whether individual pieces remain reachable and how dirt can be cleared from the roof, eaves and profile grooves. Seals should be assessed by their role in the assembly, not treated as a box-ticking feature. They belong on the intended contact lines without obstructing upkeep. Confirm the installation sequence for panes, gaskets and cover strips to expose practical differences between otherwise similar designs.
Consider the specified material, panel arrangement and restraint system as a package, rather than choosing by looks.
Before ordering, confirm how every transparent element, joint and profile can be reached for cleaning and upkeep.
A standard-form Classic greenhouse makes it straightforward to assess the relationship between its glazing pattern and frame.
Check 6
Check fixings, seals and water drainage
Glazing becomes functional only when the retaining components hold it correctly. Look for a defined arrangement of strips, clips or other specified fittings. It must locate each panel securely without introducing needless installation difficulty. Study the roof and wall junctions too, as precision there is a useful indicator of care throughout the design.
Drainage is a functional consideration, not just a finishing touch. Rainwater needs planned routes rather than places where it can sit around joints. Check guttering, eaves and downpipe options, as well as drainage near the foundation. Site slope determines the suitable solution, so consider paths and levels early. Before constructing the base, accurately check the proposed location’s levels and diagonals. Small discrepancies can complicate base alignment. Relate the greenhouse position to paths, bed edges and runoff. A dimensioned sketch helps you spot adjustments needed around the door and work area before they become problems.
Documentation should explain each glazing restraint and show that panels remain reachable for maintenance or eventual replacement.
Trace rainfall all the way from the roof into the garden, avoiding persistently damp ground around the base.
For a greenhouse planned against a façade, assess the regular full-size Lean-To greenhouse alongside the building’s own drainage arrangements.
Checks 7 and 8
Do not underestimate foundation and anchoring
A correctly levelled greenhouse begins with its supporting base. The foundation should correspond to the particular model, ground and anchoring arrangement. Establish the preparation work and specified dimensions beforehand. Accurate, level groundwork simplifies assembly and helps the doors, frame and glazing remain properly aligned after installation.
Anchors secure the frame to the base and should be chosen well before construction day. Locate the specified attachment points, then match the materials and technique to the real substrate. Challenging soil or uncertainty about boundaries may justify specialist input, while applicable project controls should be checked with the relevant authority. Walk mentally through the entrance carrying your usual equipment. Passage width is only one factor: the door must still move freely with nearby pots or open containers. An uncluttered entry improves everyday use and keeps beds or outdoor furniture from narrowing the working route.
Before choosing a footprint, measure the site together with its access, foundation perimeter and required working clearance.
Base decisions should account for soil, fall and attachment method; catalogue installation pictures cannot assess your particular site.
Every freestanding Classic greenhouse requires groundwork accurately arranged for the specified anchors.
Check 9
Assess doors and entry routes in real use
Frequent handling makes the door an important part of the assessment. Inspect its direction of travel, usable opening, handle, closure and guidance for moving parts. Check that it works with your proposed paths while you are carrying soil, tools or planters. Reserve adequate space outside and note any obstacles already present.
The doorway must also integrate cleanly with the primary frame without becoming awkward or overly sensitive in operation. Obtain guidance on adjustment and care, then compare its location with beds, shelves and water points. Small entrance details shape long-term convenience. When drawing the interior, keep access routes to vents and doors distinct from planted zones. Crops that grow taller at certain times may change what can be reached. A layout with some flexibility can adapt without covering ventilation openings or structural members, keeping the greenhouse orderly and accessible as its use changes.
Draw the entrance on your site plan, then test whether wheelbarrows, watering cans and produce baskets will move through easily.
Reserve manoeuvring space inside and outside, particularly near paths, terrace edges and closely planted beds.
With a regular full-size Lean-To greenhouse the entry arrangement must accommodate both the adjoining wall and nearby paths.
Checks 10 and 11
Plan ventilation and interior together
Vents are operational features as well as structural openings. Examine how side or roof windows fit into the frame and how each one is controlled. Set aside reachable operating positions before committing to tall beds or fixed shelves. Airflow will reflect vent placement, doorway use, planting density and the site’s exposure.
Shape the interior around your crops and normal tasks. Square metres tell only part of the story; also inspect standing height, circulation and available positions for beds or benches. Doorways and structural members remove some options. Drawing everything to scale can reveal where an apparently generous structure becomes cramped or a vent is obstructed. Add four questions to the review: Can glazing be reached for inspection and cleaning? Where will roof water go after leaving the base? Are attachment points unambiguous during construction? Is the maintenance and installation information detailed enough to plan before purchase?
Plot beds, paths, a work zone and the water source at scale before confirming the overall greenhouse dimensions.
Make certain that tall crops, supports or shelving will not obstruct the operation of windows and doors.
The standard-size Classic greenhouse offers a practical reference for drawing circulation and interior areas to scale in advance.
Check 12
Assess documentation, assembly and care realistically
A proper quality review includes the material supplied for construction and ongoing upkeep. Helpful instructions set out each stage, necessary tools and worthwhile checks after completion. Study them while deciding what to buy, not when the packages arrive. You can then determine whether to organise the work yourself or seek assistance.
Upkeep is simpler when moving components, drainage, panes and frame sections remain accessible. Seek instructions for routine inspection, washing and dealing with accumulated dirt. Retain receipts and documentation for later enquiries. If a guarantee is offered, examine its written coverage, obligations, exclusions and responsible parties. Create one consistent comparison sheet before deciding, recording the same observations about the glazing, structure, entrance, base and paperwork for each option. Missing information then becomes obvious, while an appealing visual feature is less likely to dominate the decision. These notes also make discussions with an adviser more focused.
Compare assembly instructions, parts lists and care guidance before deciding; complete information provides planning confidence.
Record outstanding matters about maintenance, replacement components and construction, then apply the same list to every offer.
For a garden position close to a wall, review a wall-attached full-size Lean-To greenhouse through the complete instructions for its assembly and upkeep.
Comparison
Quality comparison decision matrix
Apply the matrix when forming a preliminary shortlist. Although model-specific documentation must still be examined, it keeps structural questions consistent across the options and distinguishes observable details from personal reactions.
| Check area | What to examine | Question for comparison |
|---|---|---|
| Frame | Follow profiles, corners and load-bearing lines | Where are the key load-bearing members? |
| Roof | Check transitions, form and panel integration | How are ridge and eaves constructed? |
| Glazing | Consider material, layout and fixings together | How is each panel retained? |
| Base | Match foundation requirements and fixing points | What preparation does the site require? |
| Access | Plan door operation, opening space and use | Does the entrance suit your routes? |
Build an informed decision in five stages
Begin with the proposed garden position, then move into model specifications. This sequence avoids committing to an appealing design before confirming its use, access and foundation.
01
Record the site
Take dimensions for the site, route in and relevant heights. Record shade, prevailing wind, gradients and surrounding obstacles to judge positioning realistically.
02
Sketch the use
Map out intended crops, beds, storage and work paths. These choices shape the required footprint, standing room, entrance location and vent access.
03
Clarify the base
Compare the soil and proposed foundation with the model instructions. Resolve drainage and the anchoring approach before setting an installation date.
04
Compare details
Review specifications together, applying an identical question set to framing, connections, panel restraints, doors and roof details.
05
Resolve open points
Settle questions about installation, maintenance and local controls before purchase. Consult the relevant council or state or territory authority about current planning matters affecting the site.
Buying checklist: twelve checks at a glance
Bring the list to site inspections, advice sessions and model reviews. Eight concise sections, together with the final section’s extra questions, cover twelve distinct indicators of quality.
01. Images or technical documents clearly identify structural members and frame profiles.
02. Ridge, eaves and corners form logically connected construction areas.
03. Visible bracing can coexist with the intended internal fit-out.
04. Glazing type, panel division and fixing are clearly described.
05. Site planning accounts for seals, roof junctions and rainwater movement.
06. The specified foundation, levelling and anchors correspond to the ground and model.
07. The entrance location, clearance and width suit real gardening tasks.
08. You have reviewed vent access, maintenance, installation information and written conditions.
Common questions when assessing greenhouse quality
What indicates that a greenhouse frame is sturdy?
Trace how profiles run, how the corners are formed and which members carry loads. Their integration with the foundation, glazing and roof matters most. A material label is not enough; use drawings, junction details and the planned construction sequence to make the comparison.
Is a heavy greenhouse automatically better?
Not necessarily. Mass does not reveal whether the joints are sound or whether the design suits the location. Give greater weight to coherent engineering, appropriate glazing, correct installation and a compatible base. No single measurement can represent the complete structure.
What role does the foundation play in stability?
The foundation supplies a flat, supportive platform and transfers the structure’s connection into the ground. Incorrect sizing, alignment or attachment can affect doors and glazed panels. Use the instructions for the particular model and carefully evaluate actual site conditions beforehand.
Which greenhouse-door details deserve attention?
Inspect the usable opening, direction of travel, handle, guides and manoeuvring clearance. Picture routine trips carrying pots, harvested produce or bags of soil. Even a soundly constructed door becomes inconvenient when beds and pathways leave insufficient access.
Could my greenhouse require official approval?
Requirements depend on the state or territory, council controls, the property and the proposed position. Ask the appropriate planning authority or council to confirm the pathway for your project. Investigate setbacks, site constraints and design provisions before arranging either the foundation or order.
Should I clarify insurance before buying?
Ask your insurer if you want the greenhouse included under an existing policy. The insurer can identify the construction, foundation and location information it requires and confirm the protection your particular contract provides.
Compare greenhouses
Compare systematically, not on first impressions
Greenhouse strength comes from details that operate coherently. Connections, framing, drainage, glazing, the entrance and foundation each warrant scrutiny. A structured pre-purchase review will show more clearly which option aligns with how you intend to use the site.
Allow time to study the paperwork, map the garden and resolve unanswered matters. Bloomcabin has a range of greenhouse solutions that can be considered against these criteria. Above all, ensure the chosen model, foundation and installation plan are compatible, and observe all applicable guidance.
Explore suitable constructions and check product details against your personal buying checklist.
