
How Much Clear Space Should You Leave Around a Garden Shed?
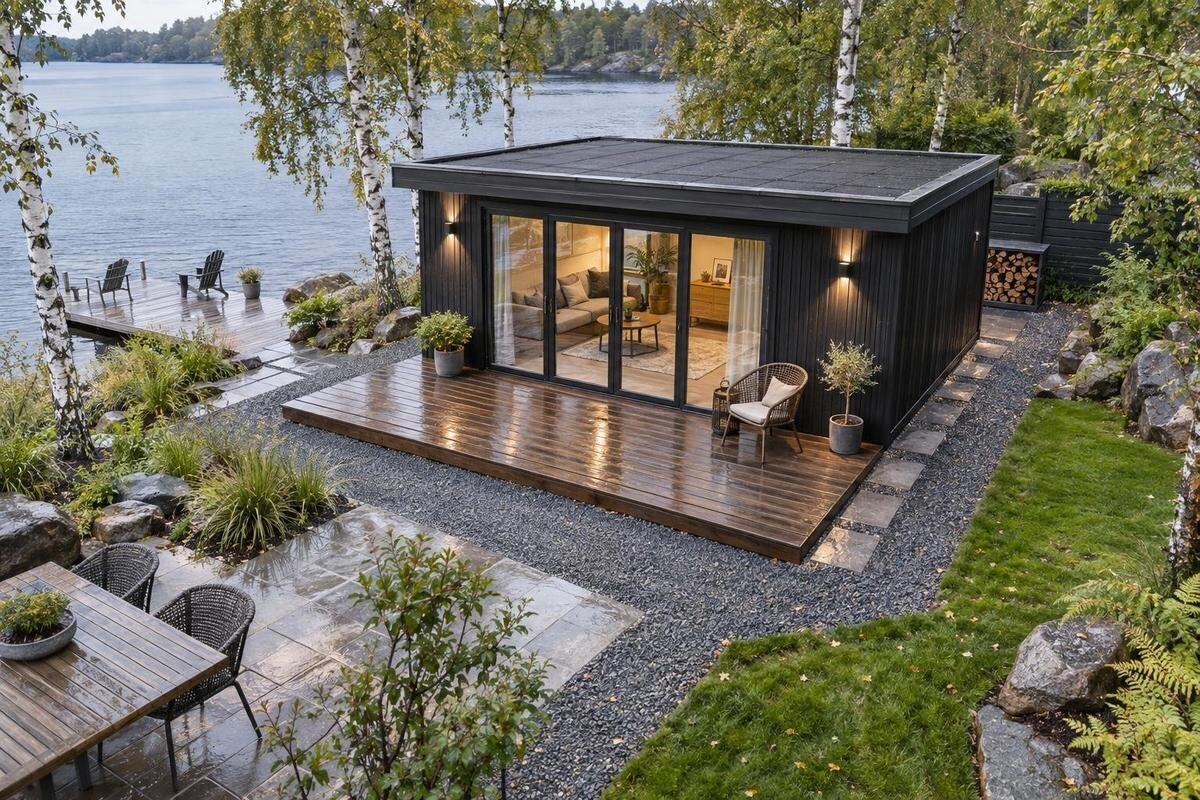
Garden shed site planning
Clearance around a garden shed is about how the space works once the building is in place, not simply whether its base fits between fences. You need room for the door, the things going in and out, and the upkeep required by the product. The useful gap can differ on each side, so plan it around real tasks instead of adding an identical strip everywhere. A measured outline gives you a better basis for choosing a site and a model than judging from a photograph.
01
How much clear space is a useful starting point?
There is no single clearance that suits every garden shed. The right allowance depends on the outside size, door design, what you store and whether you need to work beside the walls. For a first sketch, around 600 mm along a side used for occasional access can be a practical starting point; allow about 900 mm or more on the main entry or working side. If you will manoeuvre bulky equipment, open a wide door or do regular hands-on maintenance, expect to need more. These are layout allowances, not a prescribed minimum or a guarantee that every task will fit.
Think of the space as separate zones rather than a uniform border. The approach route may need to be generous, while a side used only for a periodic visual check might take less, provided the product's siting and care instructions allow it. Measure from the building's outermost point to the nearest obstruction, and make sure the usable width stays clear where people will walk or work. A garden bed, fence post or stored bin can reduce a gap that looks adequate on a plan. On a compact block, consider whether a person can reach the far corner from the front; a side strip that ends at a blocked corner may not provide useful access. If you cannot reach a side, confirm what access is needed before choosing a close-fitting position.
Measure the shed's full outside footprint
Measure the full outside envelope rather than relying on floor area, interior dimensions or a photograph. Product drawings may describe width and depth at different points, so confirm exactly what each figure includes. A roof overhang, gutter, trim or projecting fitting can extend beyond a wall; where it affects the route or the available site, include that furthest point in your sketch. Check the units and whether the listed dimensions are approximate. For any option, including the Verdana 1 garden house, use dimensions confirmed in its product information or ask the seller if a figure is unclear; don't estimate from the name or image.
On a simple top-down plan, draw the outside footprint, then add the clearance beyond each side. Label the building dimensions and access strips separately; otherwise, an overall site width can be mistaken for the shed's footprint. If one edge projects farther than another, include the point that affects the route or available space rather than assuming the walls define everything. Measure to the fence, wall, paved edge or other fixed obstacle at the narrowest point. An angled fence can leave a generous gap at one end and very little at the other. Keeping the measurements separate makes it easier to compare candidate sites on the same basis.
02
Allow for the door and the items you carry
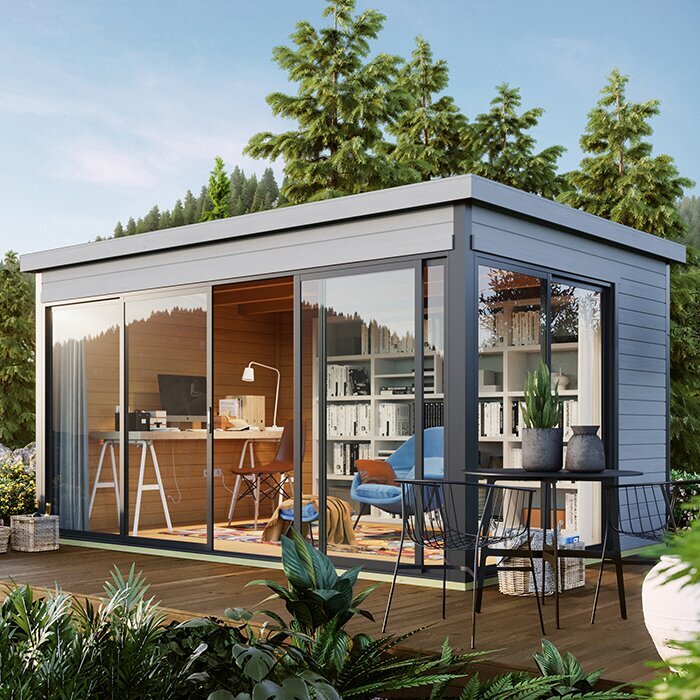
Door clearance is part of the space you need for practical use, even though an open door is not part of the shed's fixed outline. For an outward-opening hinged door, mark its swing area and leave room for someone to stand while operating it. A sliding door has no swing arc, but its track and opening area still need to stay unobstructed; paired or folding panels can require a wider working zone. The arrangement varies by model, so check the drawing and written description rather than inferring it from an image. When comparing the Verdana 2 garden house, confirm the opening layout before placing its door side against a fence.
Consider what you will take through the doorway. A mower, shelving unit, long-handled tool or storage tub may need more room than the door leaf's width because you need to approach, turn and keep a steady hold. Check the usable opening dimensions in the product information: the shed's outside measurements do not tell you whether an item will pass through. Leave a clear place to pause while loading or unloading, and keep the route immediately outside the entrance free of pot plants, awkward steps and other obstructions. If the approach looks cramped on your plan, turning the shed may help more than widening every side.
Plan a clear route from the gate to the shed
Map the route from a gate or the house to the shed as well as the gap around the building itself. A wide perimeter strip is little help if the approach narrows at a gate, bends around a raised bed or crosses a step while you are carrying something. Measure bottlenecks and turning points, not just the straight section. Think about the largest item you carry regularly and whether you need to push it, lift it or turn it before entering. A wheelbarrow, mower or full storage box may need a wider, smoother route than a person walking empty-handed. Use the route people will actually follow, rather than the shortest line on the plan.
Where possible, plan an approach with a stable, reasonably even surface and enough room to pass without brushing against corners or catching on loose objects. Consider how rain and everyday garden use affect the route: a low spot, hose crossing or gate that cannot open fully can make a clear-looking strip awkward to use. Do not count a narrow gap behind the building as your main access route if there is no practical way to reach it. For an option such as the Durano garden house, set its confirmed outline against your actual path and gate measurements rather than assuming one route will suit every size or orientation.
03
Leave workable room for maintenance
Routine care is easier when you can reach the surfaces and fittings that the product's instructions say to inspect or maintain. Check whether the manufacturer calls for access to particular sides, around the base or near the roof edge, and whether a task needs room for a person to stand rather than just reach an arm through. A narrow gap can make cleaning awkward or prevent you from seeing the area properly. Do not assume you can move a fence panel or climb over an obstacle later; that can turn ordinary upkeep into a bigger job. The access you need depends on the building and its care guidance, so include those requirements in your layout.
Prioritise the side where maintenance work is most likely instead of leaving a broad empty strip everywhere by habit. If a wall needs to be accessible for inspection or care, allow room to work and keep permanent items out of that zone. Where the instructions do not specify a gap, ask the seller or installer how your proposed arrangement could affect upkeep. Use a candidate such as the Veltor 1 listing to identify the dimensions and care guidance you still need to confirm, rather than assuming a particular clearance from its name. Distinguish occasional visual access from regular work that needs a person, tools or materials beside the shed.
Count nearby structures and everyday obstacles
Nearby structures and garden features can take up more of the usable gap than their footprint suggests. Include fence posts, gates, wall projections, downpipes, retaining edges, steps, outdoor taps, bins and air-conditioning units in your plan. A gate needs room to open; a tap or access cover needs to remain reachable; a downpipe may affect where you can walk. Mark anything fixed or used regularly, then check that your intended strip is not blocked at ground level or higher up. A clear path on the ground can still be awkward if a fitting or eave narrows it above. Looking across the space from more than one angle can reveal conflicts before you order.
Movable objects matter too. Pots, wheelie bins and garden tools often drift into the space left for access, so decide where they will live rather than treating the shed's clearance as spare storage. Check whether a fence or existing structure affects access or the care described in the product information. For the Orello 1 garden house, confirm the outside dimensions and any siting guidance before drawing a tight position. Keep practical access planning separate from local requirements about a boundary or structure: a gap wide enough to walk through does not establish that a location meets the rules that apply to your property.
04
Match the clearance to what you store
Plan for the way you expect to use the shed, not a vague idea of storage. List the largest or most awkward items: a mower with its handle extended, long garden tools, a folded table, boxes, bikes or a hose reel. Check their actual dimensions and the clear doorway, then allow for the space needed to approach, turn and put them away. If you use the shed weekly, a route that requires shifting pot plants each time will quickly become frustrating. If you only retrieve small items occasionally, a narrower side route may be adequate. How often you use something and how it is handled should influence where the widest clear area goes.
Also think about how you will arrange items inside. A tall object may need to be tilted to clear the doorway, while shelving or stored gear can reduce the passage once everything is in place. Leave enough space outside the entrance to set down a load without blocking the route. Allow for realistic changes, such as new tools or a different storage layout, without reserving a strip so large that it makes another part of the garden unusable. When considering the Modano 1 garden house, compare the product details you can confirm with a short inventory of your own contents before settling on a footprint.
Check the ground and keep services accessible
Ground conditions can shrink usable clearance. A slope, soft patch, raised edging, drainage channel or uneven paving may make one side difficult to walk along, even if the plan shows enough width. Check the proposed footprint and access strips for obvious low spots or places where water collects after rain. Do not assume a narrow gap will stay dry or firm without checking the site. Siting and base requirements depend on the product and the ground. If the surface slopes, seems unstable or needs substantial preparation, ask the supplier or a suitably qualified installer what needs to be resolved before ordering.
Mark services and features that need ongoing access, such as drain covers, water points, irrigation controls or utility equipment. Do not plan to cover a hatch or leave someone without a route to it. If the proposed position is close to buried or overhead services, check what is there with the appropriate provider before work begins; this guide is not a service-location or foundation plan. For the M timber garden shed, or any other candidate, confirm the siting requirements rather than assuming a compact outline removes the need to assess the ground and surroundings. This keeps everyday clearance decisions separate from technical questions that need local site knowledge.
05
Test the layout at full size
A full-size layout is a useful final test. Mark the measured outside footprint with removable markers, add the planned access strips and outline the door's operating area. Walk in from the gate carrying the bulky item you expect to store; if it has wheels, move it along the intended route. Open the actual gate and any nearby doors to see whether their movements overlap. Check the narrowest gap at several points, including beside fence posts and projections, then stand where you would load or work. A plan may look generous while a bend or post makes the route awkward. If you cannot test the actual door, use its confirmed drawing rather than guessing.
Repeat the layout with another size or orientation if the first option blocks a route or leaves no workable maintenance area. For a product page such as Timber Tool Shed S, use confirmed measurements before marking an outline; a model name or photograph cannot establish the footprint. Record the outside length and width, the door side, the clear width of each path and the positions of obstacles. Keep the sketch with your order notes so you can compare options consistently and revisit a measurement if needed. Testing the actual plot may show that turning the shed or choosing a different footprint works better than squeezing every side to its narrowest possible gap.
Confirm the details before ordering
Before placing an order, confirm the dimensions, door layout, clearance guidance and what each measurement refers to in the product information. If a detail is missing or unclear, ask the seller rather than estimating from a photograph. Check whether the shed is supplied for assembly or arrives in another format, what work area may be needed, and how components would reach the site. These details vary, so do not assume that a route suitable for the finished shed will also suit unloading or assembly. Ask the supplier or installer what needs to stay clear during their work and what should remain accessible afterwards.
Treat usability and permission as separate questions. A gap wide enough for a person does not establish the required distance from a boundary, drainage easement, service or neighbouring structure. Requirements can depend on the property and local rules, so check with the relevant council or authority before finalising a position where those issues may apply. If the site has a slope, difficult access or nearby services, involve an appropriately qualified professional. Once the dimensions, practical routes, care access and local checks all fit, you can compare positions and models based on how the shed will actually be used.
Frequently asked questions
How much space should I leave around a garden shed?
For a first sketch, allow about 600 mm along sides used only for occasional access and around 900 mm or more at the main entry or working side. Treat these as planning allowances, not a standard. Add room for door movement, stored items and maintenance, then check the product's siting instructions.
Do I need the same gap on every side?
No. The entrance and the side you use to move items or carry out maintenance may need more room than a side that only needs occasional access. Check the product's instructions before leaving any side difficult to reach.
Should I measure from the wall or the roof edge?
Use the outermost point that affects your available space or access. A roof edge, gutter or fitting may extend beyond the wall. Check what the product's stated dimensions include, and ask the seller if that is unclear.
How much room do I need in front of the door?
Allow for the way the door opens, a person standing there and the largest item you expect to carry through. For outward-opening doors, include the swing area. If you need to turn or manoeuvre equipment, leave more space than the doorway width alone suggests.
Is access clearance the same as a boundary setback?
No. Access clearance is the practical space needed to reach, use and maintain the shed. It does not confirm that a position meets any local requirements. Check with your council or relevant authority where boundary or other site rules may apply.
Clearance is easiest to judge when you draw the shed's real outside dimensions, then give each side a purpose: approach, doorway, maintenance or occasional access. A full-size layout exposes narrow points that a floor plan or product photograph can hide. When the door works, the intended items can move in and care remains practical, you can compare garden sheds on evidence rather than squeezing a structure into the first empty patch.
