
How to Connect a Garden Shed to a Deck or Terrace
Garden shed planning
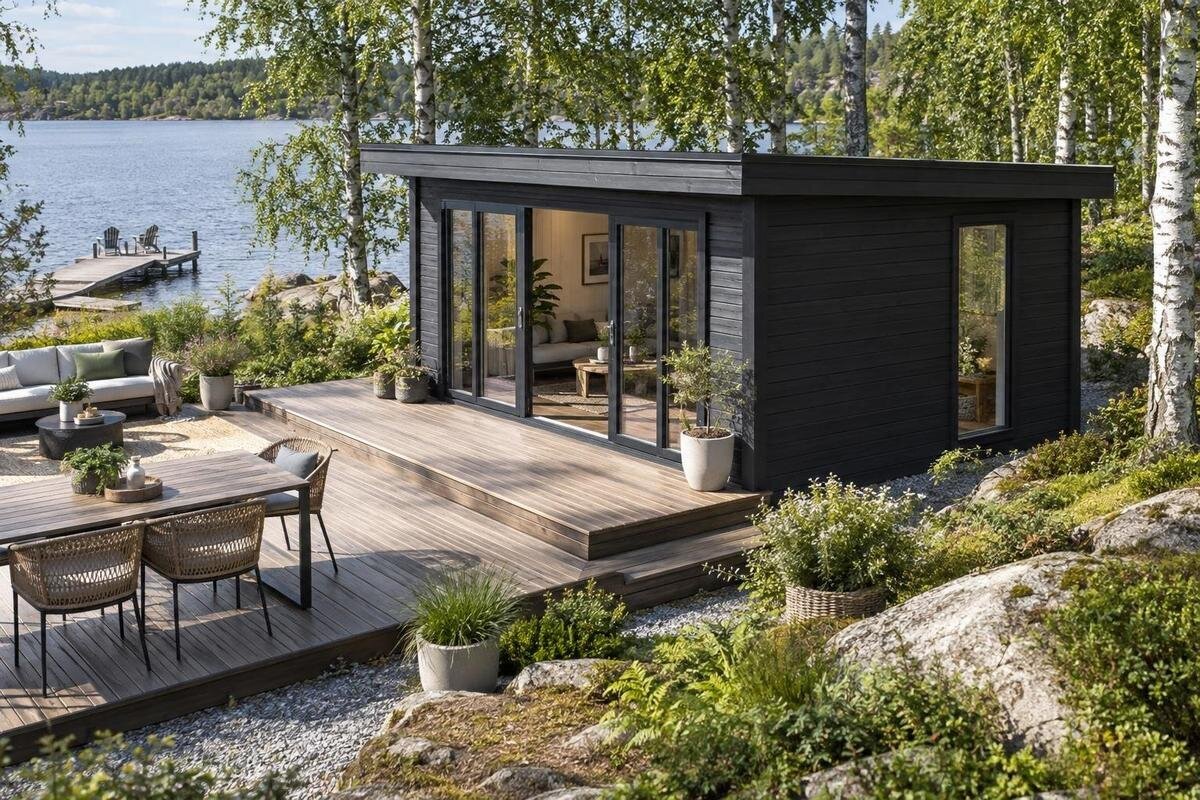
Connecting a garden shed to a deck or terrace is less about making two structures look continuous than about planning a clear, weather-aware route between them. The arrangement depends on the shed entrance, finished surface levels, drainage, support requirements and room for installation and later maintenance. In many plans, the deck and shed sit close together but remain separately supported; any direct structural connection needs to be allowed by the product documentation and designed for the site. Decide how you will use the route and check the site before choosing a model or ordering materials, then ask a qualified builder to review details that affect structure or water flow.
01
Decide what connected means in your plan
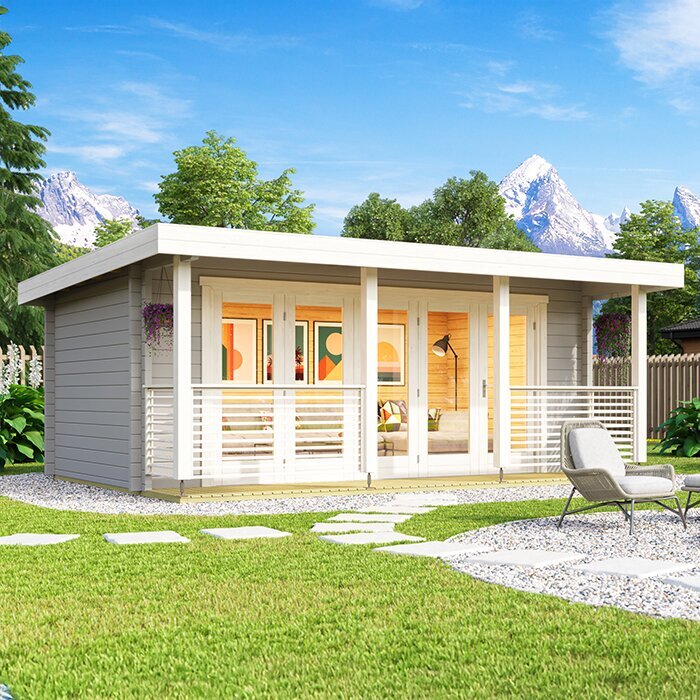
A connection can mean three different things: the shed sits near the deck, a path or landing links the two, or the structures are physically fixed together. Each choice changes the planning task. Visual alignment does not require a shared frame, and a convenient walking route does not automatically need a structural joint. Define the intended result first: a dry route for carrying garden tools, an entrance opening towards an outdoor sitting area, or a shed placed beside an existing terrace. That purpose helps you compare layouts without treating every connection as a build-together project, and keeps the buying decision tied to how you will use the shed.
Sketch the shed, deck and approach as separate outlines, then mark where people will walk and where rainwater may travel. Include the entry, the door’s opening area, roof projections shown in product documents, nearby fences or garden beds, and room for assembly and future repairs. Decide whether the plan needs a path, a landing or a visible gap; the suitable detail depends on levels and construction. A listing such as Verdana 1 garden house is one candidate to investigate, not evidence that its footprint suits your site. Confirm its drawings and installation requirements before a model name or photograph shapes the layout. Write the purpose into your brief so it remains clear if the layout changes.
Position the entrance around the route
Place the shed entrance so the route from the deck is direct enough for the way you will use it. A storage shed opened while someone carries a mower, pot or box needs a different approach from a space entered occasionally. Check whether the door swings out, slides or opens another way; the product drawing, not a thumbnail, should settle that. Allow room for the full opening and for a person to stand clear, and avoid routing everyday movement through the space where the door or handle must be used. The aim is a workable connection to the entrance, not simply two edges that line up.
Mark the opening on the plan, then add likely furniture, pots, steps, rails and downpipes near it. These can narrow the usable route even when the deck itself looks generous. Think through an ordinary trip in both directions: approach with items, open the shed, turn, then close it again. A candidate such as Verdana 2 garden house still needs to be checked against its actual door position and opening details; the product name alone tells you neither. If the entrance faces away from the deck, decide early whether a different orientation, a short path around the side or another position solves the problem without blocking maintenance access. Keep the proposed route clear of permanent storage, and do not assume a listing image shows which side should face the deck.
02
Measure the full footprint before ordering
Measure the complete space occupied by each structure, not just the floor area you hope to use. For the shed, distinguish internal dimensions from the external footprint and check any roof overhangs, door projection or other parts shown in its drawings. For the deck or terrace, measure the finished edge and include posts, rails, steps and fixed furniture where relevant. Plot both outlines on a site plan with actual distances to boundaries, trees, gates and existing services. This exposes conflicts before you order and helps show whether the route will remain clear once the structures are in place.
Use the current product dimension drawing and installation information rather than estimating from a lifestyle image or model number. Look for any stated base dimensions, assembly clearance and limits on where openings can face; if information is missing or unclear, ask the supplier or installer. If you are considering Durano garden house, treat it as a model to measure against your plan, not as a promise about size or suitability. Record verified external measurements beside the proposed deck edge and have the builder confirm the set-out before ordering materials. When comparing models, compare external dimensions with external dimensions, not an advertised floor area with the deck footprint.
Coordinate the finished surface levels
Draw a side view as well as a plan view. A deck surface, paved terrace and shed entrance can finish at different heights, and the difference may create a lip, step or awkward slope where they meet. Measure proposed finished levels, not bare ground alone: decking, paving and their supporting build-up affect the final surface. Check the threshold and door operation against that level, including whether the arrangement could direct water towards the entrance. Do not decide the transition from a product photo; the opening and surface heights need to be read from relevant drawings and verified on site.
Agree how the change in level will be handled before the deck edge is fixed. A small landing or path may make the route clearer, while a step may need deliberate placement; no single detail suits every shed and site. If a level route matters for anyone using the space, tell the designer or builder at the beginning so it can be considered with thresholds, gradients and drainage rather than improvised later. Compare a candidate such as Veltor 1 garden house only after checking its entry arrangement and base requirements. Ask for a simple section drawing showing the finished surfaces, doorway and proposed transition, so the contractor and supplier are working to the same levels.
03
Keep the structures separate unless a joint is designed
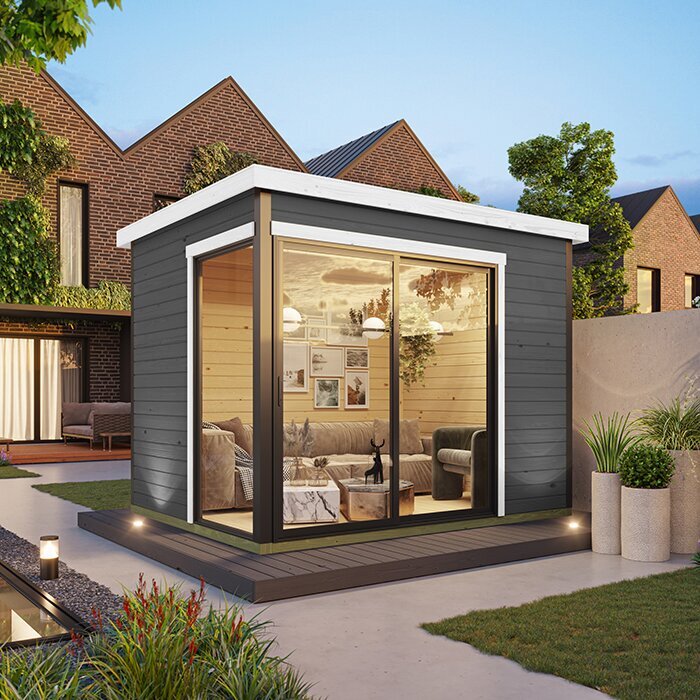
Unless the plans and instructions specifically provide for a shared structure, design the shed and deck as separately supported. They may respond differently to ground conditions, loading and weather, so a rigid connection can pass movement from one to the other or place forces on a wall not intended to carry them. A garden-shed wall should not be treated as a deck support, ledger or brace by default. Keeping a planned separation can also leave room to inspect and maintain each structure. Whether any gap or bridging element is needed depends on the products, levels and site conditions, not on a universal rule.
Before anyone fixes the structures together, identify what supports each one and who is responsible for designing the interface. Check the shed assembly information, base requirements and any supplier guidance; then have a qualified building professional confirm that a proposed joint is permitted and properly detailed. A path or separate landing across the gap needs its own suitable support and stable surface; it should not rely on an unapproved wall connection. Do not rely on screws, sealant or trim to turn two separate products into one designed assembly. The same caution applies when extending an existing deck to meet a new shed. For Orello 1 garden house, consult the supplied information rather than inferring a connection from its name or image.
Plan drainage at the meeting point
Consider where rainwater goes at the junction, not only how the two edges look on a dry day. A shed roof can discharge towards a deck or terrace, while paving or decking can direct surface water back towards the shed if levels are poorly coordinated. Check the actual roof and drainage information for the chosen shed and map expected flow across the site. Avoid creating a low pocket where water and debris collect beside the base or across the doorway. Existing downpipes, drains and garden slopes belong on the plan, even when they seem outside the small area being connected.
Leave a way to inspect and clean the edge after installation. Leaves, soil and garden debris can gather where a wall meets a deck or where a paved strip runs tightly against a structure; trapped moisture can make maintenance harder. Required clearances and drainage details depend on the system, so follow the supplied instructions and ask a builder to review finished levels. If you compare Modano 1 garden house, check its product information for siting and base requirements rather than assuming an image shows drainage or ground clearance. Decide who will manage surface run-off and any drainage work before construction begins. Make sure the finished layout does not hide an existing drain or prevent it being serviced.
04
Check the shed base and deck supports
An existing paved terrace may look like a ready-made base, but appearance alone does not establish whether it is suitable for the shed or deck supports. Check what lies beneath the surface, whether it is stable and level, and whether the area drains as intended. A new deck may use support points different from the shed’s base, so consider both plans together without assuming one surface can take the other’s loads. Record visible cracks, uneven areas, soft ground and buried services, then get a qualified installer to assess anything that could affect the foundation or fixing method. Covering an uneven area with decking does not resolve questions about what supports the structures.
Read the shed’s installation information before buying, including any stated base preparation and permitted support arrangement. Confirm that a proposed base fits the measured footprint and leaves access for the door, drainage and assembly. A listing such as M Timber Garden Shed identifies a product to research, but its title does not confirm what its base needs or whether your existing terrace is appropriate. For the deck, ask the builder to explain how supports relate to the ground and nearby structures. If the site needs levelling, excavation or repairs, resolve that scope before the deck edge and shed position are locked in, so the agreed surface heights are realistic.
Allow for cleaning and future maintenance
The materials meeting at the edge affect appearance, cleaning and future access. Timber boards beside a painted or clad shed, or paving beside a timber base, can create a narrow ledge that catches leaves and dirt; the exact maintenance needs depend on the selected materials and installation. Choose an edge that can be inspected and cleaned rather than concealing the junction behind fixed trim. If the shed needs space around it for assembly, ventilation or routine checks, preserve the clearances in its instructions instead of closing them in with decking or garden edging. Include access for routine work on both structures, even where the visible join looks neat.
Compare colours and finishes after the practical details are settled. Samples viewed outdoors may look different from online images, and a neat visual line is less useful if it blocks a door, traps water or prevents access to an edge that may need repair. Ask what maintenance applies to the specific material interface and whether a proposed trim or seal is compatible with the manufacturer’s instructions; do not assume a generic sealant solves movement or drainage. When reviewing Timber Tool Shed S, use the product information to confirm its construction and care requirements rather than reading them into the model name. Plan for the deck and shed to remain serviceable as separate components.
05
Coordinate delivery, ordering and construction
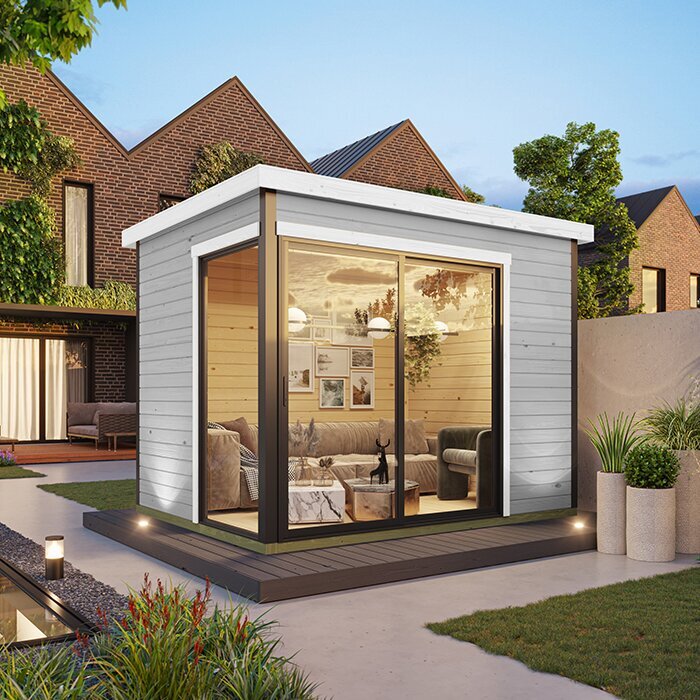
Ordering becomes easier when the site plan, product dimensions and installation sequence agree. Before buying, check delivery access from the street or driveway to the final position, space for unloading and assembly, and whether gates, steps or soft ground make the route difficult. Confirm current product measurements and installation requirements with the supplier; do not rely on a size remembered from an earlier listing. If a deck is already in place, measure its actual finished edge and level on site. For a new deck, use the proposed finished dimensions, including edging and supports, in the set-out, and allow room for the people assembling the shed.
There is no universal build order. Installing the shed first may preserve assembly access, while building the deck first can make a finished threshold easier to coordinate; either sequence can create complications if dimensions, drainage or access have not been agreed. Have the installer or builder coordinate the sequence with the shed instructions and deck plan. Protect finished surfaces during delivery and assembly, and assign responsibility for checking measurements at the handover between trades. Put the agreed shed position, door orientation, deck edge, finished levels and any separate transition in writing before materials are ordered; changes after one structure is fixed can affect the other.
Confirm site requirements and record the detail
Before committing to construction, check what approvals, boundary conditions, easements, drainage constraints or service locations apply to the site and proposed work. These matters can vary, so do not assume that a small garden shed or an existing terrace removes the need for a local check. Ask the relevant local authority, building certifier or qualified building professional what applies, and provide the proposed plan rather than describing the project only as a shed beside a deck. Resolve access or drainage issues before the product is ordered; a change in position may alter both the shed choice and deck layout.
Keep a written brief for the installer: verified external dimensions, entrance position, base requirements, deck’s finished edge and height, intended walking route, water-flow plan, and the agreed approach to structural separation or connection. Ask who will verify each item on site and what must be ready before either structure is assembled. If a detail remains uncertain, pause that part of the order until product information and qualified advice agree. A clear brief is more useful than a sketch showing two rectangles touching: it records what the route must do and what each structure is expected to rely on. Keep a copy with the product instructions for later maintenance or alterations.
Frequently asked questions
Can I attach a garden shed directly to a deck?
Only if the shed’s instructions and a site-specific design explicitly allow it. A shed wall or base may not be intended to support deck loads, and the structures can move differently. Unless a qualified professional confirms the joint, plan separate supports and a transition that suits the finished levels.
Should the deck touch the shed wall?
Not by default. Follow the shed’s stated clearances and allow for drainage and maintenance access. There is no single gap that suits every product and site; ask the installer or builder to confirm the appropriate detail before fixing the deck edge.
Which structure should be built first?
There is no universal order. Installing the shed first may preserve access for assembly, while building the deck first can make it easier to coordinate finished levels. Have the installer compare both options with the product instructions, delivery route and site plan.
How can I avoid water collecting between the shed and deck?
Plan where roof and surface run-off will go, and check the finished levels, existing drains and nearby slopes. Avoid directing water towards the shed base or doorway. A builder can review drainage details for the particular site and construction before work begins.
What should I measure before ordering?
Check the shed’s verified external footprint, any projections shown in its drawings, the entrance position and its opening area. Measure the deck’s finished edge and level, the route between the two, and the space needed for assembly, delivery and maintenance.
A practical connection starts with a clear route and a measured plan, not with fastening two structures together. Verify the shed’s footprint and base information, coordinate the entrance and finished levels, and resolve drainage, support and site requirements before ordering. A path, landing or professionally designed joint may all create the link you want; the suitable option depends on the product and site. When the installer has an agreed plan for both structures, the deck and shed can work together while remaining accessible for maintenance.
