
How to divide a 20–30 m² garden shed into functional areas
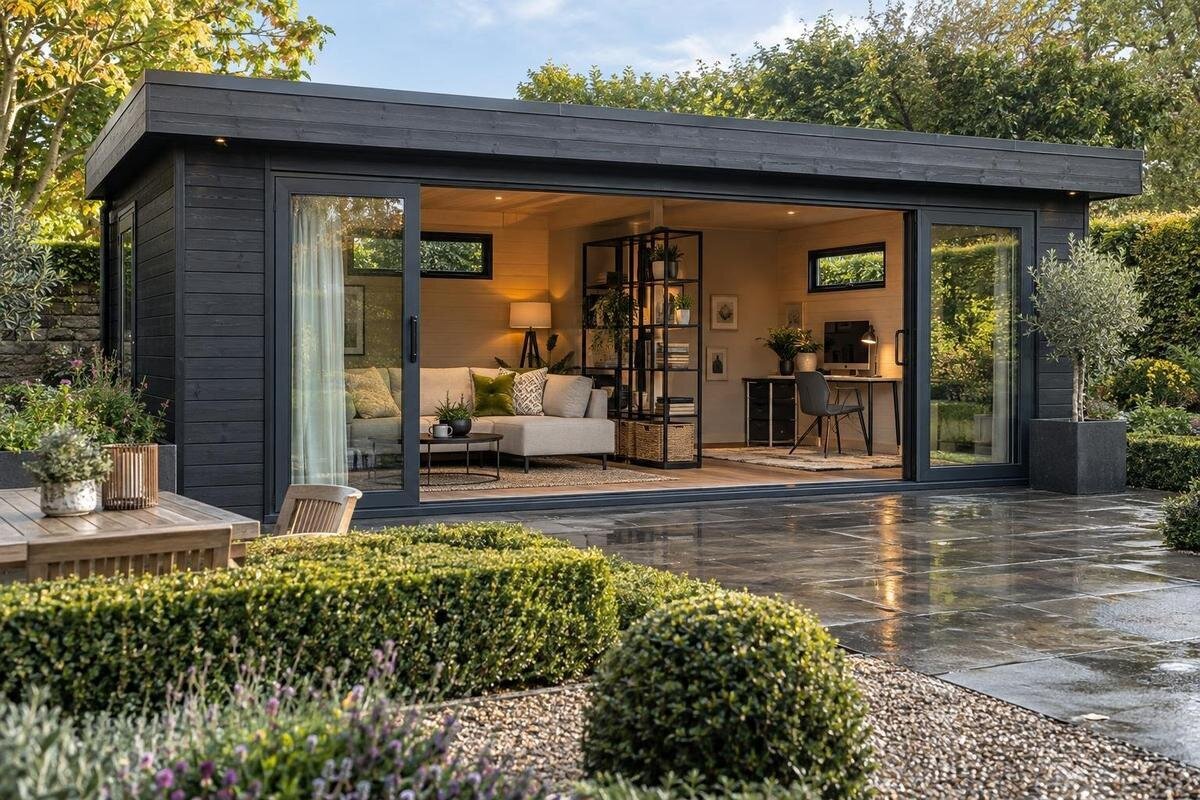
Garden shed planning
An area of 20–30 m² can give a garden shed room for more than one activity, but usable space depends on its proportions, openings and the items you need to move. Treat the interior as a set of connected work areas rather than a grid of equal-sized rooms. Storage, a clear route and a bench or other work area can coexist only if each is planned around real tasks. Before ordering, list those tasks, confirm the internal dimensions and test how people and equipment move through the space. That makes it easier to compare garden sheds on practical fit, not just headline floor area.
01
List the jobs the shed needs to do
Start with a written inventory of the jobs the shed must support, not a sketch of furniture. Separate storing an item from using it: keeping a mower takes a different arrangement from servicing it, and storing potting supplies is not the same as potting at a bench. Add regular tasks, occasional jobs and things that may be brought in only seasonally. For each activity, note its main equipment, whether you need a work surface, and how much room you need to stand or manoeuvre. Mark one or two priorities if not every use can happen at once. This turns a broad wish for a multipurpose shed into specific space requirements.
Group tasks that share supplies or happen one after another. A repair bench may sit near tool storage; potting materials may be easier to manage beside the surface used for that job. Keep disruptive activities apart where practical: noisy maintenance and a quiet desk, for instance, compete for comfort even if each fits on paper. Avoid creating a separate zone for every object. The aim is to reduce repeated trips and stop one task from spreading across the main route. Consider timing as well: a desk area and a repair area may share floor space if they are never used at the same time. This activity list also helps distinguish permanent fixtures from items you can bring out when needed, leaving more of the floor flexible.
Confirm internal dimensions before assigning zones
Floor area alone does not tell you how a shed will work. Two hypothetical plans can both measure 20 m²—5 m by 4 m, or 8 m by 2.5 m—but the longer, narrower outline changes where a bench, storage and a route can sit. Before drawing, check what the advertised area refers to and confirm the clear internal dimensions for the model you are considering. Note any posts, recesses or other features that reduce usable floor space. A rough rectangle based only on the headline area can make a layout look workable when an actual doorway or wall position leaves too little room.
Draw the interior to scale and mark each wall, entry, window and fixed feature in its true position. Add door movement or panel space where relevant, along with any service points you already know about. Keep this base plan separate from furniture ideas so you can reuse it to compare different arrangements. Record the scale and date of the information used, especially if you are comparing versions or options, so measurements from one plan are not accidentally applied to another. If you assess the Verdana 1 garden house, treat it as a candidate only after confirming its actual internal measurements and layout details; the product name does not establish the proportions or usable floor area.
02
Plan a clear route from the entry to each area
Choose the main route before placing cabinets or work surfaces. It should connect the entry with the areas you use, without requiring you to shift stored items every time you pass. Think about what you carry: a long-handled tool, a container of supplies or another bulky item may need room to turn as well as space to move straight ahead. Avoid making the only path lead through a work zone where tools or materials are routinely left out. A shed can have several useful areas on paper yet feel awkward if everyday movement cuts through the middle of each task.
Mark the route on your scaled plan and test it against the objects that will actually pass through. Include the entry’s opening space and the approach to frequently used storage, not just a clear strip down the centre. Also consider whether two people may need to pass or whether you need to carry an item while another area is in use. If you are assessing the Verdana 2 garden house, use confirmed plan information to locate the entry before allocating floor area to benches or shelving. Where a dimension or opening position is unclear, ask for clarification rather than estimating from a product image. Images can help you recognise a model, but they are not a substitute for measurements.
Put storage where its contents are used
Sort stored items by activity and frequency of use. Keep everyday tools and supplies easy to reach, while seasonal or occasional items can take less convenient positions if they remain accessible. Place storage close to the task it supports, but leave enough working room to retrieve an item without blocking the route. Grouping items also makes it easier to see when a category has outgrown its allocated area. If a collection of tools needs a whole wall, include that wall in the plan rather than treating storage as something that can be added after the work zones are set.
Think about the kind of storage each group needs: open shelving, enclosed cupboards, hooks or floor space will not suit every object. Frequent access may favour an arrangement you can see and reach; dust-sensitive or small supplies may need a different approach. Leave a simple way to return items to their place, because storage that is difficult to use quickly becomes an overflow area on the floor or bench. Do not assume that every wall can take an attached storage system. For a listing such as the M timber garden shed, compare confirmed internal details with your storage plan and ask the supplier about any fixing or wall information you need. Keep bulky items from narrowing the entry or making other equipment difficult to retrieve.
03
Allow room to use the work surface
A bench or desk takes up more space in use than its top alone. Allow for the person standing or sitting there, the tools or materials spread across the surface, and the movement needed to bring a task to completion. If you cut, assemble, sort or repot items, consider where the finished work and offcuts will go so they do not spill into the walkway. Check that doors and storage remain accessible when someone is working. A compact surface may fit neatly on a drawing but still be impractical if there is no room to reach it or set down supplies.
Position the work area near the storage and services it genuinely needs, while keeping it out of the path between the entry and other zones. Try more than one bench orientation on the plan; moving it along a wall can change access to a window, cupboard or door. Include room for a stool or chair if the task involves seated work, and check whether it can be moved without obstructing the route. The label Timber tool shed S does not establish whether a particular bench will fit. Use confirmed internal dimensions and opening positions to test your own furniture and working space, and allow for equipment that may be wider or longer than the bench itself.
Separate dusty, wet and clean tasks
Activities that create dirt, moisture, noise or loose materials can affect neighbouring areas. If you pot plants, for example, keep the supplies and work surface together and avoid placing clean items where soil or water is routinely handled. A repair activity may also need a defined place for tools and materials so they do not gradually take over storage space. These do not always need separate rooms. Distance, a change in furniture arrangement or a movable screen may provide enough distinction, provided the route and access to openings remain clear.
Be realistic about what the building is intended to support. A clean hobby area, a damp task or work that produces dust or heat can have different requirements; do not assume a garden shed is suitable for every activity simply because the floor area is available. Plan where waste, dirty tools and wet materials can be contained or removed after use, rather than allowing them to accumulate at the boundary between zones. Check the product information and ask the supplier about anything it does not explain. When considering Veltor 1, for example, match confirmed details to your intended tasks rather than inferring suitability from the model name. Keep materials that need particular storage conditions according to their own instructions.
04
Use movable boundaries for flexible zones
A zone does not have to be enclosed by a wall. A freestanding cabinet, a marked floor area or furniture placed as a divider can make activities easier to distinguish while preserving an open plan. These approaches are useful when the shed has more than one role or when the contents change through the year. They also let you adjust a layout after you discover how much room a task takes in practice. Make sure a divider does not become a barrier to the entry, a window or the storage you use most often.
Fixed partitions can make an area feel more defined, but they also occupy space and may affect light, air movement or access to services. Consider whether the separation is essential before giving up floor area that might be more useful as a shared work surface or clear route. A low or movable boundary can also make it easier to revise the layout if the shed’s use changes over time. Check the construction details before attaching anything to walls, and seek qualified advice for structural changes. If Orello 1 is on your shortlist, plan only around details confirmed for that model; do not assume a particular internal arrangement from its name or appearance.
Place zones around doors, windows and services
Openings shape the usable plan. Mark the entry and allow for its actual opening path; a hinged door needs its swing space, while other door types need their own clear operating area. Do not position a bench, cabinet or stored item where it blocks a window, vent or access point you need to use. If daylight matters for a task, note where it comes from before fixing the work area in place, and check whether a planned screen or tall storage would interfere with it.
If you expect to use powered equipment, lighting or other services, include their intended locations in the layout before ordering. Keep the proposed furniture arrangement compatible with the access you need, and have electrical requirements assessed by a qualified electrician rather than trying to plan installation from an image. Think about routine use as well, such as reaching controls or keeping a work surface clear of the places where equipment will be used. For Modano 1, as for any option, base your drawing on confirmed positions of openings and services where available. If those details are not clear, ask before deciding where a fixed work area will go.
05
Compare product plans before ordering
Use the same checklist for each garden shed you compare: the stated area and what it measures, internal dimensions, door and window positions, and any features that affect the floor plan. Check whether the dimensions you need are available in the product information; if not, request them rather than deriving them from a photograph. A plan that suits one model may not transfer to another, even if their stated floor areas seem similar. For the Durano garden house, for instance, make a fresh layout using details confirmed for that specific option instead of carrying measurements across from another listing.
The ordering decision also includes practical details beyond the interior drawing. Confirm what is included in the purchase, the delivery and assembly arrangements, what preparation the site may need, and whether access to the intended position is workable. Consider the route from delivery access to the final location, particularly if large components would need to pass through a narrow gate or around established landscaping. Read the terms that apply at the time of purchase rather than assuming that accessories, assembly or other services are included. If your planned use depends on a particular product feature or a change to the building, get that point clarified before ordering. A short comparison sheet helps keep these questions visible while you weigh layout against cost and appearance.
Test the layout at full size before buying
Once a plan looks plausible, draw it to scale with furniture, storage and the working space around each item. If practical, mark key outlines on the floor of an existing space; otherwise, use the drawing to check distances and turns. Walk through the sequence of a typical task: retrieve supplies, carry them to the bench, work, put items away and leave the shed. Notice whether the route stays clear and whether one activity forces you to move another zone’s contents. This test often reveals problems that a list of dimensions alone will not show.
Try the layout with both everyday equipment and the bulkiest item you expect to store or move. If the plan only works when nothing is out, reduce the number of permanent functions, use more flexible storage or reconsider the size and layout of the option. Repeat the check for the way the shed will be used at its busiest, rather than only for a tidy, empty-floor version of the plan. Before placing an order, confirm the usable dimensions, openings, included items and delivery or assembly details that matter to you. If the shed is intended for regular occupancy or a dedicated workspace, verify its suitability and any relevant local requirements with the appropriate authority or a qualified professional.
Frequently asked questions
How many zones should a 20–30 m² garden shed have?
There is no standard number. The right layout depends on the shed’s shape, entry points and the tasks you want to do. Begin with the essential activities, then check that each has enough room without blocking storage or the route through the shed.
Should frequently used storage go near the door?
It can be convenient, provided it does not obstruct the entry or the route to other areas. Place items according to how often you use them and how they move through the shed, rather than filling the easiest-to-reach spot first.
How wide should the main walkway be?
There is no single useful width for every layout. Base it on the people and equipment that need to pass, including the largest item you carry or move. Test turns and access to doors as well as the straight section of the route.
Can I use partitions to divide a garden shed?
Movable screens or furniture can define areas without committing to fixed walls. A permanent divider may reduce usable floor space or affect access to openings and services. Check the building’s details and get qualified advice before making structural or service changes.
What should I confirm before ordering?
Check what the stated area measures, the usable internal dimensions, door and window positions, and any details that affect your planned layout. Also confirm what is included, delivery and assembly arrangements, site preparation needs and any requirements relevant to your intended use.
A practical 20–30 m² garden shed layout begins with the tasks, then makes room for the route, storage and working space those tasks require. Check the actual internal plan for each option and test it with the equipment you will use. A few measurements and a realistic walk-through can show whether the zones will work together before you place an order.
