
Drainage Around a Garden Shed: Keep Water Away From the Base
Garden shed planning
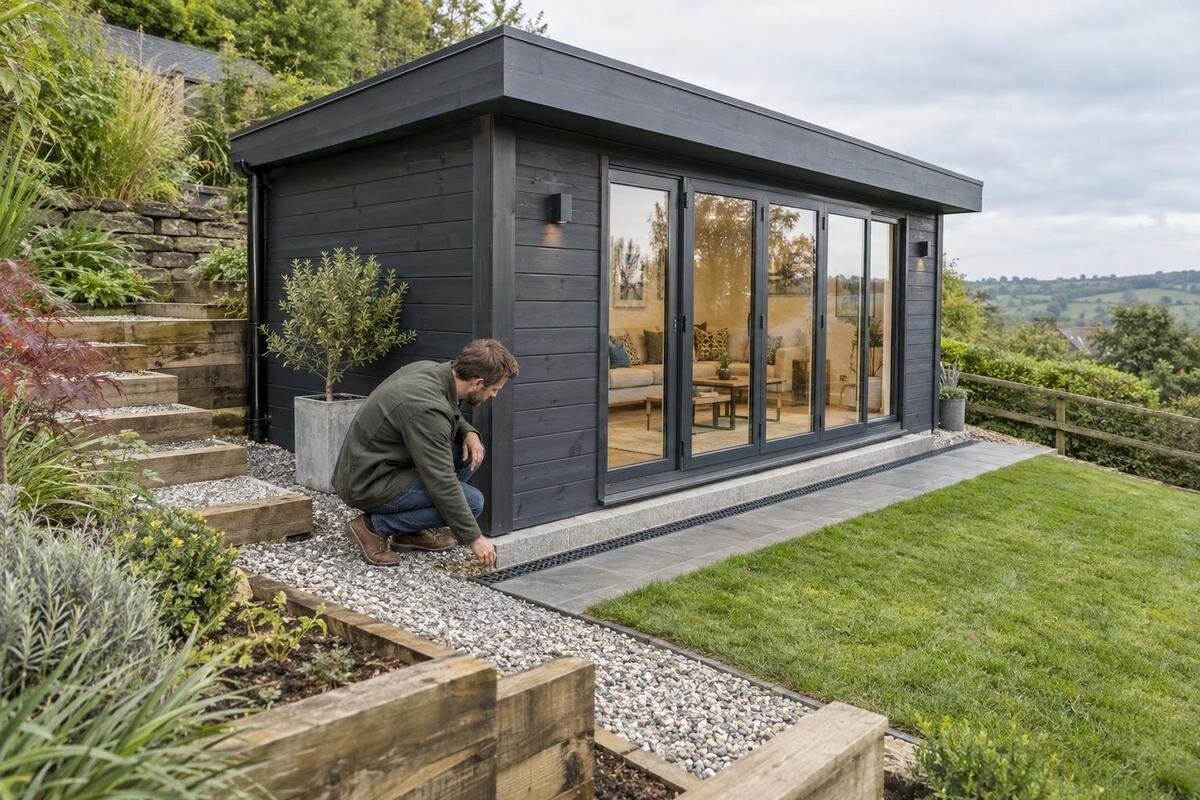
A garden shed can have a suitable base and still sit beside a puddle if runoff is funnelled towards it or cannot leave the area. Good garden shed drainage begins with tracing how rain reaches the proposed position and where it can go afterwards. That site check informs the footprint you choose, the room needed for gutters or drains, and the work to include in your order and installation plan.
Before you order 1
Trace the water sources at the proposed position
Walk the proposed position during or soon after rain, then look beyond the outline of the shed. Notice where water arrives: it may run from higher ground, spread off paving, spill from another roof or collect where soil has settled. Check whether a downpipe, garden tap or irrigation line affects the area too; a leak can create a wet patch that looks like a wider drainage problem. If possible, compare observations from more than one rain event, as a dry spell will not show how the site behaves in wet conditions. From a safe place, note visible flow, standing water and soft ground without assuming the wettest patch is the only source.
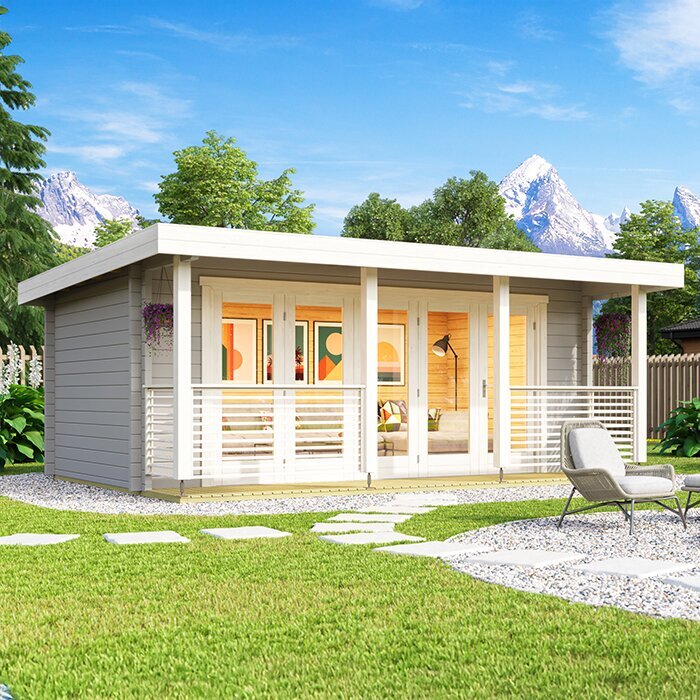
This first check can change which footprint or position makes sense. Plot the proposed base against the water routes, not just against the available flat-looking space. For a candidate such as the Verdana 1 garden house, use confirmed dimensions from its product information to mark the base and roof edge on a site plan; do not estimate them from a small image. Include nearby paving, garden beds and downpipes in the sketch. A footprint that fits on paper may leave no practical route for runoff or room to maintain a gutter. If a water path crosses the proposed base, compare another position or footprint before ordering.
Map where runoff can go
A simple site sketch can make the flow easier to discuss with a supplier or installer. Mark the proposed shed, existing buildings, paved areas, garden beds, drains and any visible low points. Add arrows showing where rainwater travels across the ground and where roof water currently lands. This is not a drainage design or a substitute for measuring levels; it is a record of what you have observed. Note whether water arrives from one direction or several, and whether the route changes when it meets a path, retaining edge or garden border. Those details help reveal whether the shed would sit in the path of runoff or in a place where it can drain away.
Think about the whole route, including its destination. Sending water away from the shed is only useful if it does not create a new problem beside another building, at an access path or at a low point elsewhere. The closest drain is not automatically a suitable outlet, and you should not assume it can accept extra water. If the route is unclear, if water backs up, or if the plan would alter how water leaves the property, ask a qualified drainage professional to assess it. When reviewing a candidate such as the Verdana 2 garden house, use its confirmed footprint as one input to that site discussion, not as evidence that a particular drainage route will work.
Before you order 2
Keep the base out of standing water
The shed base has to meet the supplier’s installation requirements and provide the support the structure needs. Drainage around it has a separate job: preventing runoff from collecting at the perimeter. A base that is prepared correctly can still be surrounded by puddles if the finished ground directs water towards it or forms a shallow basin. The general aim is for surface water to move past the shed rather than gather beside it, but the right levels and layout depend on the site. Do not dig a channel, build up soil or change the base arrangement on guesswork; those changes can affect both the route of the water and the support under the shed.
Check how the proposed finished ground will meet the edges of the base, and whether paving, garden borders or other features could hold water there. Ask the supplier or installer what base details need to be preserved when nearby ground is reshaped. For a listed option such as the Durano garden house, confirm the documented footprint and base requirements before deciding where a drain or surface change can sit. If the product information does not answer a question about the base, request the relevant installation guidance rather than relying on a general drawing or photograph. This keeps drainage planning tied to the actual shed you intend to order.
Plan for water coming off the roof
Rain falling on a shed roof can be concentrated along its edges. If gutters and downpipes are included or planned, they collect that water and deliver it to an outlet; the outlet’s position is therefore part of the drainage layout. Discharging directly beside the base can leave a persistent wet patch or wash away nearby soil. Before choosing a location, consider where the downpipe could run and whether the water can be directed to a suitable destination without crossing an access route or returning towards the shed. Do not assume that a gutter, downpipe or connection is included with a particular model unless its product information confirms it.
Ask the supplier or installer whether the drainage components you are considering are compatible with the shed, where an outlet could sit and what site preparation that arrangement needs. For example, when assessing the Veltor 1 garden house, check the available product details or ask for clarification about roof-edge and drainage provisions; the model name or image alone does not establish them. Make room to access and maintain any gutter or outlet, rather than placing it behind a fence or crowded garden bed. If the design does not use gutters, still plan where roof water will land and how it will move away from the base.
Before you order 3
Account for paving, soil and existing drains
The surrounding surface affects how quickly rainwater moves and where it collects. Paving and other hard surfaces can send runoff towards a shed, while soil and planted areas may absorb some water in one set of conditions but become saturated in another. Compacted ground, garden edging and uneven patches can also interrupt a route that looked clear on a plan. Look at the surfaces on every side of the proposed footprint and note where their edges direct water. A permeable finish should not be treated as proof that the site can absorb all the runoff; how well it works depends on the ground and the amount of water arriving.
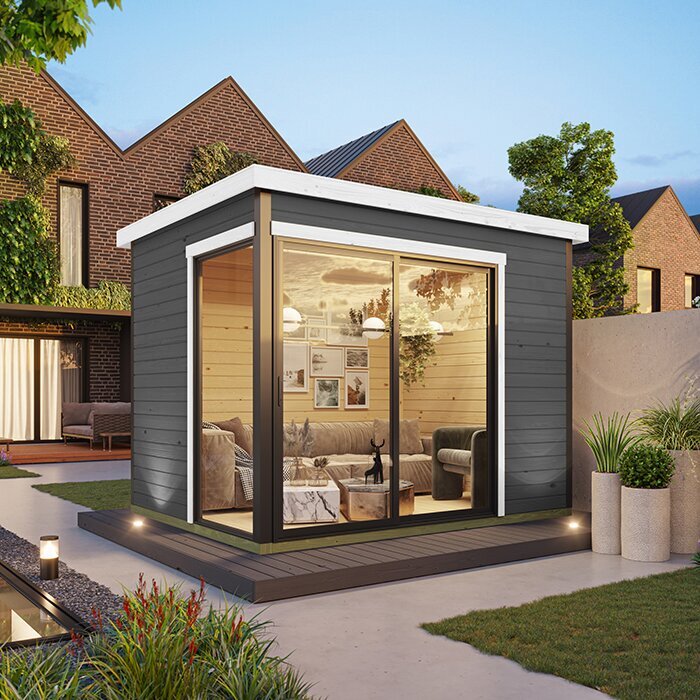
Include nearby drains in your assessment, but do not assume an existing grate or pipe is clear, correctly positioned or suitable for additional flow. A layer of decorative gravel can hide a wet patch without resolving its source or giving water a proper outlet. If the plan relies on soakage, an existing drainage system or a new connection, ask a qualified professional to assess the site and destination. When considering the Orello 1 garden house, compare its confirmed footprint with the paving edges and current water routes before settling on a position. That helps you judge whether any drainage work can be carried out without compromising access around the shed.
Choose drainage with a suitable outlet
Different sites may call for different approaches. Surface shaping can guide water past a shed; a channel drain can collect surface flow; and an underground system may be considered where a suitable destination exists. These are options to discuss, not a one-size-fits-all recipe. Each depends on the ground, the volume and direction of runoff, the existing services and the outlet available. A drain that collects water but has nowhere suitable to discharge it will not solve the underlying problem. Nor should you cover a persistently wet area and assume the water has gone. A qualified drainage professional can assess which approach, if any, fits the conditions at your site.
Ask the professional to explain how the proposed system handles water at the shed edge, where it takes that water and what maintenance it requires. Check whether the work affects the shed base, access or other site features before agreeing to it. A candidate such as the Modano 1 garden house should be assessed using confirmed product details, but the model itself does not determine which drainage method is appropriate. If a proposed outlet or connection raises questions, have the responsible professional check whether it is suitable and whether any local requirements apply. Get the agreed route and responsibilities in writing so the drainage plan remains clear when the shed is ordered and installed.
Before you order 4
Allow room around the shed footprint
The area needed for a shed is usually more than the base outline alone. Confirm the external dimensions, including any roof overhang or other projections stated in the product information, and check where the doors and any planned downpipes will sit. These details affect how close paving, a fence or a garden bed can be without obstructing access or changing the path of water. Do not infer dimensions from a product image. For a listing such as the M timber garden shed, use confirmed measurements to set out the space and compare it with the water routes you have mapped. If information is missing, ask for it before finalising the position.
Leave practical access for inspection and maintenance around the edges that need attention. You may need to clear a drain, remove debris from a gutter or check an outlet, and tight gaps can make that difficult. At the same time, adding a wide channel or access path after choosing the shed can change the layout, so include it in the plan before ordering. Ask the installer what clearances are needed for assembly and future maintenance, and check that doors can be used without blocking the drainage route. The right amount of room depends on the product instructions and site conditions; avoid relying on a universal clearance figure.
Confirm the details before you order
Use the product information and installation guidance to confirm the shed’s external footprint, base requirements and any relevant roof-edge details. Find out whether gutters or downpipes are included, optional or not specified, and ask how any proposed drainage components fit with the structure. A listing such as the Timber Tool Shed S is a starting point for those checks, not a basis for guessing dimensions or drainage features from its name. Match the confirmed details to your site sketch: the base position, roof-water landing points, access around the shed and the intended outlet should all work together. If a key detail is unavailable, ask the seller for clarification before you commit to a position.
Coordinate the order with whoever is preparing the site and installing the shed. Confirm which work is included in each scope: base preparation, surface changes, drains, outlet connections and restoration of disturbed areas may be handled by different people. Agree who will check that the drainage route is ready before the shed arrives and who is responsible for any changes if site conditions differ from the plan. This is particularly useful when the shed and drainage work are being arranged separately. Keep the product requirements and the site plan available to everyone involved, so an installer is not asked to work from assumptions made during the purchase.
Before you order 5
Check the drainage after rain
Once the shed is installed, observe what happens around it during or after a substantial rain event. Look for water standing against the base, flow directed towards the shed, fresh erosion near an outlet or a new low spot beside paving. If gutters are fitted, check that they are carrying water towards the planned outlet rather than spilling at an unexpected point. If a drain is part of the design, note whether water is collecting where it should and whether the route remains clear. These observations help distinguish a one-off wet patch from a recurring pattern. Avoid altering the base or digging beside it before speaking with the installer if you see a problem.
Keep the route working by clearing leaves and loose debris from accessible gutters, channels and grates as needed, following any product or installer guidance. Garden changes can alter drainage too: new paving, edging, raised beds or compacted paths may redirect runoff that previously passed the shed. After landscaping work, check the area again in rain and make sure the outlet still has a clear path. If water continues to pool, backs up or moves towards another structure, have the cause assessed rather than repeatedly adding surface material. Addressing a developing issue early can prevent the drainage layout from becoming harder to understand or maintain.
Agree on the full scope with your installer
A useful quote should make clear what is being assessed and supplied, not simply name a drain or base. Ask whether the site has been inspected, what preparation is included, how roof runoff will be handled and where collected water is intended to go. Clarify who is responsible for checking existing services, managing any excavated material, restoring disturbed paving or garden areas, and arranging any connections. These questions help reveal gaps between the shed order and the drainage work. If one contractor is handling only the shed and another the site drainage, make sure both have the same dimensions, base requirements and agreed layout before work begins.
When comparing quotes, look at the proposed outcome and scope as well as the listed materials. Ask how the plan will prevent water collecting at the base, how the outlet will remain accessible and what happens if the site does not match the initial observations. Confirm who makes decisions about changes and who checks the completed route. Coordinate the shed order with that answer, particularly if a different footprint would affect the position of drains or access. A clear written plan lets you compare options on the work they actually include, without assuming that a particular shed or drainage component will solve a site-specific problem on its own.
Frequently asked questions
Does every garden shed need a drain around its base?
No. A perimeter drain is not a universal solution, and it may not be needed if surface water already has a suitable route away. First identify where water comes from and where it can go. If it collects at the base or there is no clear outlet, ask a drainage professional to assess the site before choosing a system.
Will gravel stop water pooling beside a shed?
Not necessarily. Gravel can change how the surface behaves, but it does not automatically redirect water or provide an outlet. If water continues to arrive faster than it can drain away, it may still collect near the base. The ground, existing surfaces and destination for runoff all matter.
Should I fit gutters to a garden shed?
Gutters can collect roof runoff, but the downpipe outlet still needs a suitable destination away from the base. Check whether a gutter system is compatible with the shed you are considering and how its outlet can be managed on your site. If gutters are not part of the plan, consider where roof water will fall.
How far should a drain be from the shed?
There is no single distance that suits every site. The shed’s documented base requirements, ground levels, drainage route and position of the outlet all affect the layout. Confirm any required clearances with the shed supplier or installer, and ask a qualified drainage professional to assess where a drain should go.
What should I check after heavy rain?
Look for standing water against the base, fresh erosion, wet patches along the runoff route and water collecting at the outlet. If gutters or drains are fitted, check that leaves and debris have not blocked them. If water is still pooling or flowing towards the shed, ask the installer or a drainage professional to investigate rather than changing the base yourself.
Treat drainage as part of the shed layout, not a finishing detail to add after delivery. When the footprint, water routes, outlet and base requirements are considered together, it is easier to compare shed options and coordinate the work before ordering. The aim is straightforward: give rain a clear, maintainable route past the shed without leaving water against its base or shifting the problem elsewhere.
