
Enlarging a window opening: what to plan first
Plan before cutting through
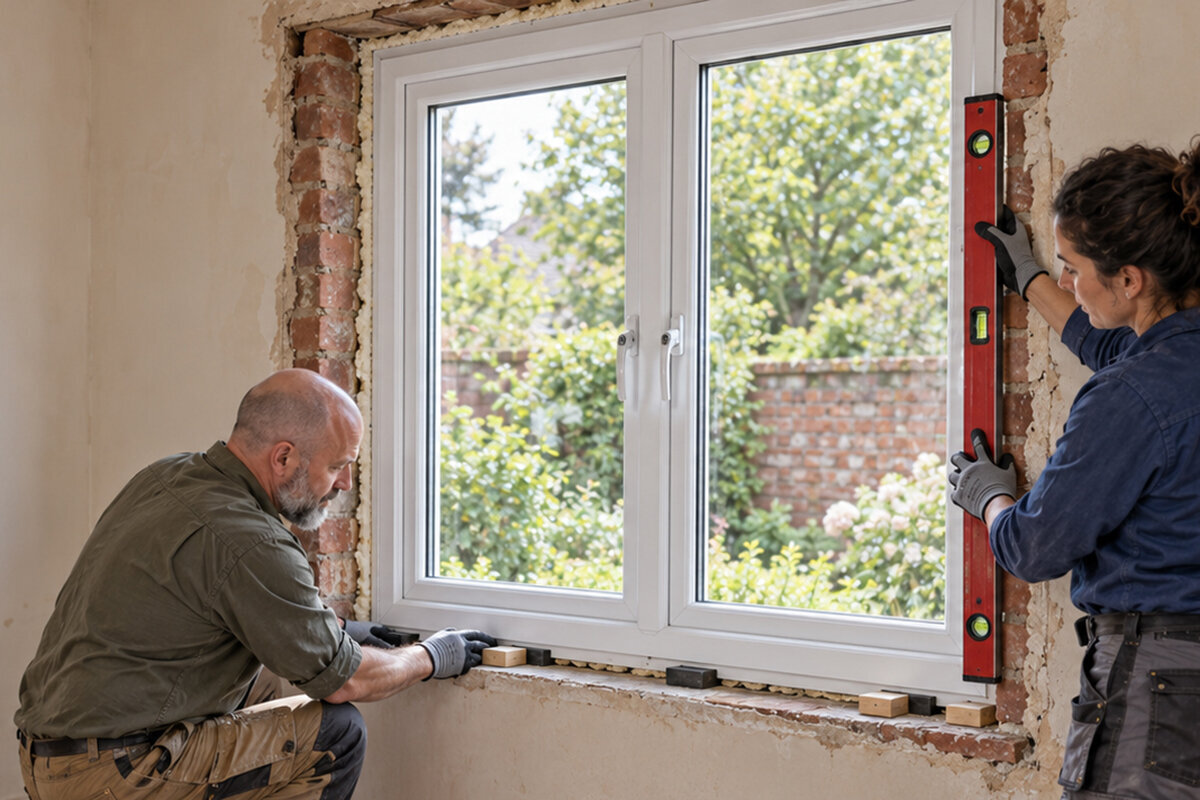
A larger window opening can transform a dark room, bringing in more daylight, a stronger connection with the garden or a wider view. The decision should not begin with the preferred window size, however. Removing masonry brings the structure, external-wall build-up, internal finishes, drainage, window junctions and later installation together. Choosing a unit first or measuring only the visible area can lead to rework that is difficult to resolve neatly. A sound sequence starts with the existing building, then the opening, and finally the window: have the wall and loads assessed, define the target dimensions, draw the junctions, and arrange installation access and the construction sequence. This guide helps you ask the right questions in the right order and compare quotations on an equivalent scope.
Start with the room outcome, not the product
Define the effect you want before sketching the opening. Is the aim to give a small kitchen window more light over the benchtop, open a living room towards the garden or create an exit? Each purpose calls for a different design response. A low, wide opening emphasises the horizontal outlook; extra height can draw daylight further into the room. Extending glazing to floor level also changes the threshold, floor construction and everyday use. Draw the room with its furniture, radiators, curtains, switches and walking routes. This reveals whether the proposed opening is practical and where its daylight will be most useful.
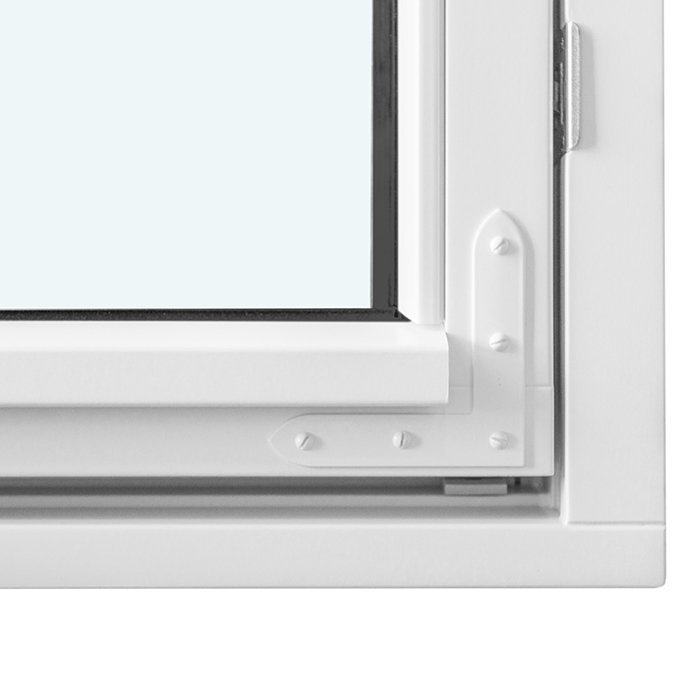
Compare several arrangements before settling on a format. Fixed glazing can preserve a broad, clear outlook, while an opening sash supports ventilation. A planned garden entrance requires a door solution rather than an enlarged window alone, with the threshold, outside paving, hardware and circulation space considered together. One reference for expansive glazing that does not open is a fixed glazed window Its name identifies the basic product arrangement only. The project still requires separate decisions about dimensions, glass, frame and junctions. Note what each option achieves and which adjoining parts of the building it changes.
Assess the existing wall before any removal work
Begin by establishing the role of the wall around and above the existing window. Loads from upper floors, the roof or other construction may be carried through a loadbearing external wall. A seemingly simple wall can also conceal posts, ring beams, lintels, services or work from different building periods. Original drawings, past alterations and cracks provide evidence, but not a substitute for inspecting what is actually there. An appropriately qualified professional should determine what can remain, how the structure will be supported during construction and what will permanently span the wider opening.
Record considerably more than the opening’s width and height. The assessment should identify wall thickness, materials and layers, the existing lintel, floor supports, masonry condition, service runs and nearby junctions. Older buildings often differ from their surviving drawings. Ask the responsible professional which checks must occur before the wall is opened and whether exploratory work is warranted. The feasible sideways or upward enlargement can be established only after the proposed support and its bearing points are understood. Simply taking out the old window does not show that the wall is ready for enlargement.
Separate opening, unit and glass dimensions
Several measurements inform window planning, and each describes something different. Clear internal dimensions concern the opening visible and usable from the room. The structural opening must accommodate the frame, its fixings and the surrounding junction. Confirmed site measurements and the installation approach establish the window’s overall size; the glazed area is smaller again. A desired view or visible opening width therefore cannot simply become the dimension on an order. Show all measurement reference edges together in a sketch, giving the designer, builder and supplier a shared basis for interpreting the dimensions and avoiding misunderstandings.
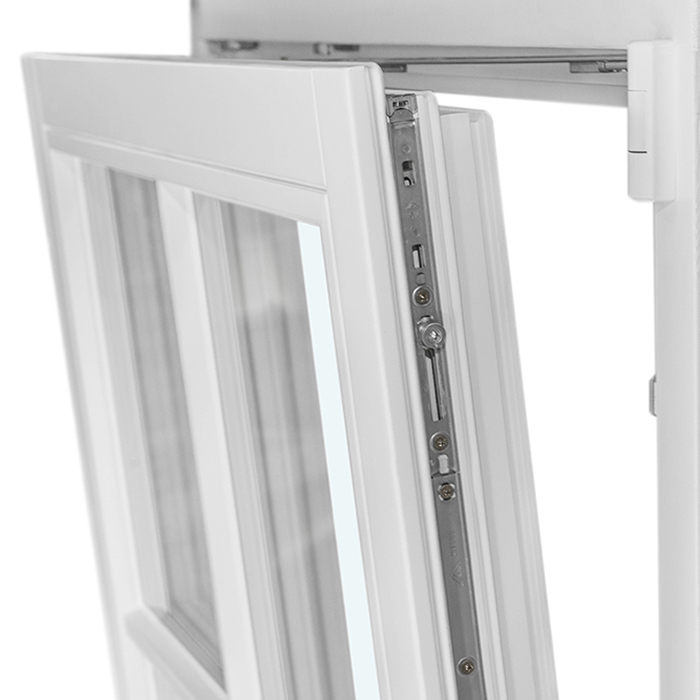
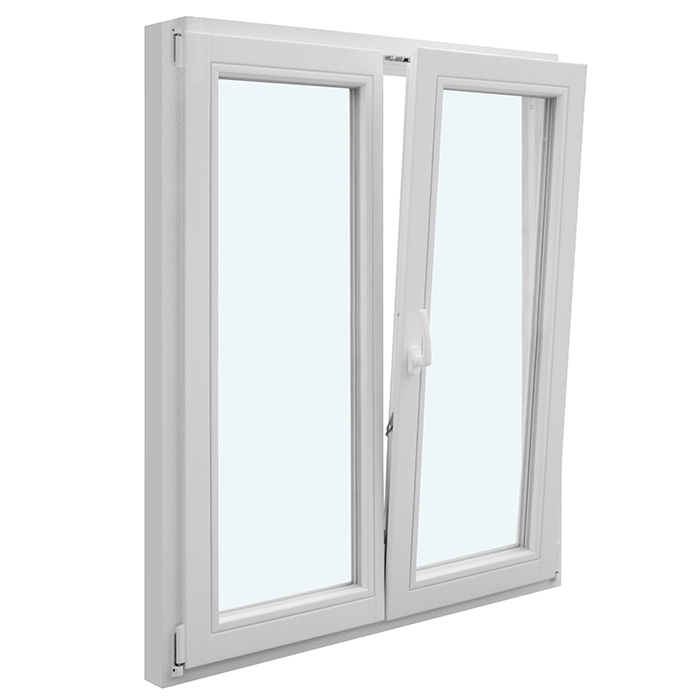
Take measurements at several positions. Reveals may lean, wall thickness can vary through an older building, and new flooring can alter the finished height datum. Decide who will complete the final site measure once the opening is ready and who may approve revisions. In a double-sash design, the division and central section influence the outlook, operation and clear floor space. An inward-opening double-sash window has two sashes that swing into the room, but that description does not determine their proportions, the reveal depth or required swing clearance. Show these matters on approved dimensioned elevations rather than inferring them from a photograph.
Coordinate the new load path and construction stages
Treat the opening as structural work rather than straightforward removal. Drawings should explain temporary propping, the sequence for taking out masonry and installation of the new loadbearing member. Its supports on both sides need sound, properly prepared bearing surfaces. The finished structure may be adequate while an intermediate demolition stage remains unsafe, so temporary conditions must be designed as well. A simple site sequence can mark props, cuts, the route used to bring components in and the point at which the replacement structure may carry load. Include hold points for loose masonry, concealed voids or unexpected construction so these can be assessed before demolition resumes. Align the structural design, builder’s method and window requirements before materials or dates are committed.
Set out responsibilities at every interface. Identify who forms the opening and its bearings and lintel, repairs internal plaster and the external façade, confirms the dimensions, supplies the unit and completes the seals. If the opening extends to the floor, the door threshold may affect the structural work. For wide access, a Patio Life lift-and-slide door can be assessed among the product options. Whether it works structurally and in daily use depends on the confirmed opening, threshold, exterior build-up and complete junction design. Do not let one trade proceed on unverified assumptions made by another.
Plan reveals, insulation and weatherproofing as one detail
Long-term performance depends on treating every junction as part of one continuous system. The reveal connects the room, frame and outer wall. Structure commonly meets insulation at the head, while the sill area must account for drainage and sometimes the floor junction. Moving the sides or head of the opening changes all these interfaces. Rather than asking only whether the frame fits, establish the path of the insulation and sealing layers and maintain it around the perimeter. Detailed sections through the head, jamb and sill communicate this more clearly than a front elevation.
Inspect the construction exposed when the old frame comes out. Existing membranes, insulation and plaster edges may not suit the enlarged unit. Agree how the exterior sheds wind-driven rain, how the sill junction will be built and how the internal seal will accommodate movement while remaining neat. Floor-level glazing must also coordinate with the finished outdoor surface and its fall. Require the materials and responsible parties to be itemised instead of bundled vaguely as “installation”. That allows the work to be checked before plaster, linings or paving hide critical junctions.
Select opening type around everyday use and available room space
Additional glazing need not make every pane operable. Sashes assist ventilation and cleaning but consume space as they swing. Units opening into the room may conflict with benchtops, plants, radiator covers or curtains; outward-opening designs require clear space beyond the façade and must suit the patio, path or garden. Fixed panes create a quieter composition and may sit beside a smaller ventilating sash. Test the arrangement on plan by locating the user, tracing each sash movement and confirming how the outside face can be reached.
The division of a wide window also shapes its use and appearance. Two narrow sashes occupy the room differently from one broad sash, while a centre frame interrupts the outlook differently from side mullions. To compare a design with an existing façade, an outward-opening double casement window For ventilation positioned high in the wall, also compare an outward-opening top-hung window Review access, the operating movement, outdoor clearance and cleaning for each choice. The name of a product does not establish its mounting height or controls. Confirm the opening direction, handle position, sash weight and required clearance on both sides before placing an order.
Evaluate daylight, outlook and privacy together
Orientation, surrounding buildings and shade determine what a larger opening will do. Extra height may project daylight deeper towards an opposite wall, yet enlarging a window facing neighbours can also make privacy more important. Mark the proposed perimeter indoors with removable tape or cardboard and observe it at different times of day. This exercise exposes new sightlines, furniture conflicts and problems reaching the handle. Review the same outline from the garden so its scale can be judged against the whole façade and the pattern of existing windows.
Assess the outlook in both directions. A fixed toplight can brighten the room without exposing more of the lower wall. An offset pane may direct light towards stairs or a work area, although its reveals require accurate detailing. Angled and triangular areas can use fixed glazed triangular and angled windows These forms should be considered after resolving structural support, the route for weatherproofing and their place in the overall composition. Geometry alone cannot compensate for weak detailing; unusual shapes make accurate documentation and coordinated interfaces even more important.
Check the facade, heritage controls and design early
Seen from outside, the alteration changes the composition of the building. Pier widths, sill lines, neighbouring window axes, shutters, downpipes and other façade features all affect whether the result looks intentional. Photograph the complete elevation from a useful distance, then overlay the proposed outline instead of judging it only from indoors. With rendered walls or facing materials, determine how repaired sections will connect visually and structurally to the original work. Select any samples, colours and junction profiles early enough for the façade repair.
Do not infer heritage, planning or shared-property requirements from a building’s age or from work completed next door. Check the site, jurisdiction and ownership arrangements with the relevant authority or strata body before approving the design or ordering. Where traditional proportions matter, one visual reference may be an historic-style outward-opening Kombi casement window The name indicates its traditional styling and outward movement; it does not establish suitability or approval for the property. Give every designer and trade the same existing photographs, elevations and proposed glazing grid so appearance and technical detailing develop together.
Manage sequence, home protection and timing risks
Map the job from initial measurement through to the final finish. Before starting, establish material access, dust containment, the work zone and protection for vulnerable flooring. List anything requiring temporary removal or relocation, including radiator covers, power-point covers and internal blinds. For an occupied room, agree when it can be used and who inspects the daily containment. A photographic record taken beforehand helps distinguish existing damage from surfaces included in the reinstatement. If the new unit will not be fitted immediately, provide temporary security and weather protection for the open building. Once installation is complete, coordinate the inside and outside finishes as one sequence: seals, plaster, sill, façade repairs, paint and any affected flooring.
Place the order only when the dimensions and construction specification have been approved. Bloomcabin has a 4–6 week delivery lead time, subject to order confirmation, but that period is not a substitute for programming the works. Coordinate arrival, protected storage and installer availability so the unit is not exposed on site. After the opening is formed, verify its width, height, plumb, level and planned junction planes. This checkpoint confirms whether the order can proceed without amendment. Programme pressure should never displace measurement checks or temporary protection.
Use consistent scope lines when comparing quotes
A quotation should make its boundaries visible. Ask for separate entries covering structural work, window supply, fixings, junction products, internal reveals, the outside sill, façade reinstatement, waste removal and protection. A comparison table can classify each task as “included”, “by others” or “unresolved”. Record each item once and show whether its design, materials, construction and final inspection sit together or with different parties. This exposes gaps between lintel work, window fitting and finishes before they become variations or delays. Confirm the drawings, dimensions and assumptions about the wall behind every price. Resolve broad phrases such as “junction as required”, and agree who records, decides and authorises changes when hidden conditions differ from expectations.
Prepare an approval checklist before ordering. Include the structural opening, elevation, sash layout, opening direction, handle side, height datums, junctions, outside sill or threshold, assigned responsibilities and work sequence. If the alteration creates an exit, an inward-opening single patio door can replace a window where the interior plan and outdoor space permit. Its title confirms only a single leaf that opens inwards, so assess the full proposal against the checklist rather than relying on its name. Bloomcabin windows and doors carry a 5-year commercial guarantee; review its coverage and conditions for the specific order. Where Australian Consumer Law applies, this guarantee does not exclude the consumer’s statutory rights.
Questions about enlarging an opening
Is sideways enlargement straightforward?
No. First have the wall and its load path assessed. The masonry beside a window may contain structural bearings, loadbearing areas or services. Decisions must follow the construction actually present, the proposed support method and the required junctions—not merely the old unit’s width or work visible on neighbouring houses.
How do the wall opening and window dimensions differ?
The structural opening is the prepared void within the wall. The ordered window dimensions are derived from verified site measurements and the agreed installation and junction design. Clear internal dimensions and actual glass area describe different things again. Label every datum and edge unambiguously on the approved drawing.
At what point should I place the window order?
Order after the structure, opening dimensions, operating type and junctions have been coordinated and the final site measure is confirmed. Then programme the stated lead time. Bloomcabin delivery takes 4–6 weeks, subject to order confirmation. Ordering sooner can turn later variations in the structural opening into avoidable difficulties.
Does enlargement necessarily mean installing a patio door?
No. If the objective is additional light or a broader outlook, the enlarged unit may remain a window. Choose a door when genuine access is required. Its threshold, outside surface, drainage, circulation clearances and opening direction then need to be designed with the whole alteration, not attached as afterthoughts.
Which documents are useful for the planning meeting?
Bring indoor and outdoor photographs, any existing plans and sections, information about previous alterations, measurements of the present opening and a sketch of the proposed outline. Include room views with furniture and wider images of the full façade. Write down your priorities for daylight, outlook, ventilation, access, privacy and use of the space.
Next step
Increasing a window opening is chiefly an exercise in coordination. Start by investigating the existing structure, then design the new load path and confirm the structural dimensions before resolving junctions and selecting a product. Daylight, outlook and operation must be considered alongside the façade, insulation, sill and building sequence. One shared drawing set and clearly allocated responsibilities make quotes more comparable and limit surprises during construction. Obtain suitable professional advice on the structure, existing fabric and proposed work, then configure the window or door from verified measurements.
