
Setting Up a Garden Shed Art Studio: Light, Surfaces and Ventilation
Garden studio planning
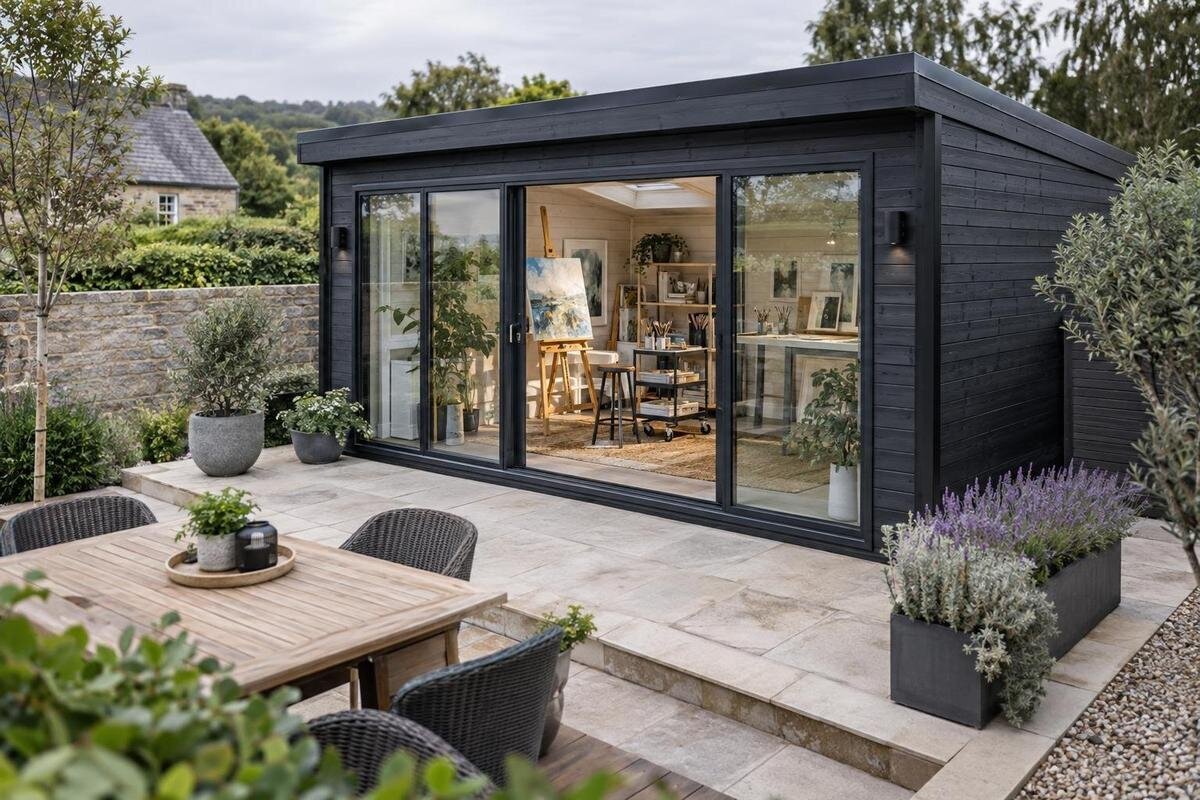
A garden shed art studio works best when its layout supports the work you actually do, not merely when it holds a table and an easel. Before ordering, list your media, the largest pieces you handle, and where you need to stand, sit, clean up or leave work to dry. These details shape the room size, openings, work surfaces and ventilation to look for when buying. Daylight alone is not a complete lighting plan, and a wide table is no help if it blocks circulation or airflow. Compare garden houses using published internal dimensions, drawings, inclusions and assembly information; do not infer those details from a photograph or model name. A simple plan can expose fit problems before you place an order.
Before you order 1
Match the garden shed to your art practice
Begin by defining the jobs the studio must handle. A drawing practice may mainly need a clear table and somewhere to store paper; easel painting needs room to step back, while larger canvases or three-dimensional work call for a different working area. Note whether you work seated or standing, the largest piece you make, how far back you need to stand and how much room an unfinished piece occupies. If you switch between clean and messy tasks, decide whether they can share one surface or need separate zones. This brief is more useful than starting with a favourite shed shape: it connects the purchase to the way you create, rather than to an attractive product image.
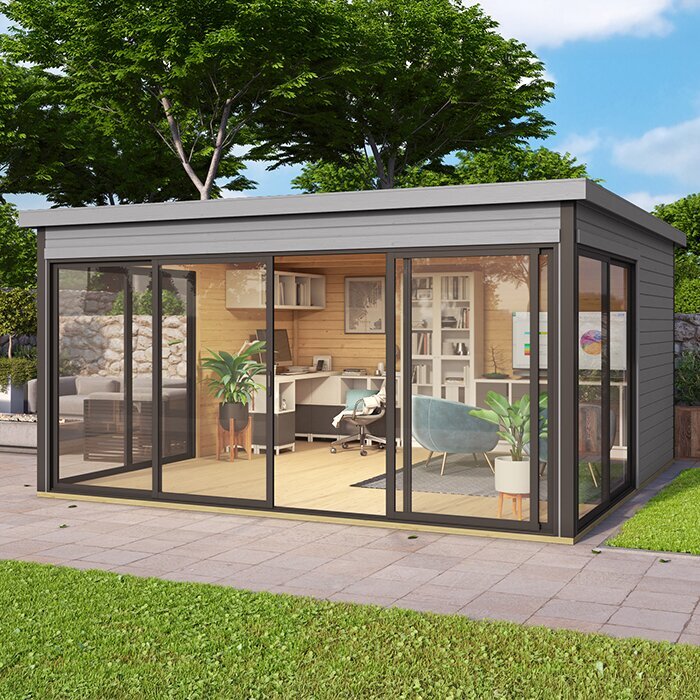
Separate essentials from preferences. Write down the minimum clear area for work, any equipment that cannot be shifted, access to supplies and whether you need a place for drying or photography. Then use those requirements to assess the listing for the Verdana 1 garden house alongside other options. Compare the current product details, dimensions, drawings, opening information, floor details and inclusions for the exact configuration; ask the seller about anything you cannot confirm. Put your must-haves in priority order so a missing detail is easy to spot. This matters if the studio will serve several media: plan for the most space-demanding regular task, then check whether secondary activities fit without crowding the main workspace.
Measure usable floor space before choosing a size
Work from internal measurements rather than the outside footprint. Walls, framing and door openings reduce usable space, so take measurements from a plan for the exact model or ask for them if they are not provided. On graph paper, mark the walls, openings, fixed equipment, bench, easel and cupboards to scale. Include room to pull out a chair, turn a canvas, use the door's opening path and carry materials through. A plan that only fits furniture rectangles can still leave no room for a person to work. Allow access around the largest item you will handle and identify any narrow point on the route from the entrance to the work area.
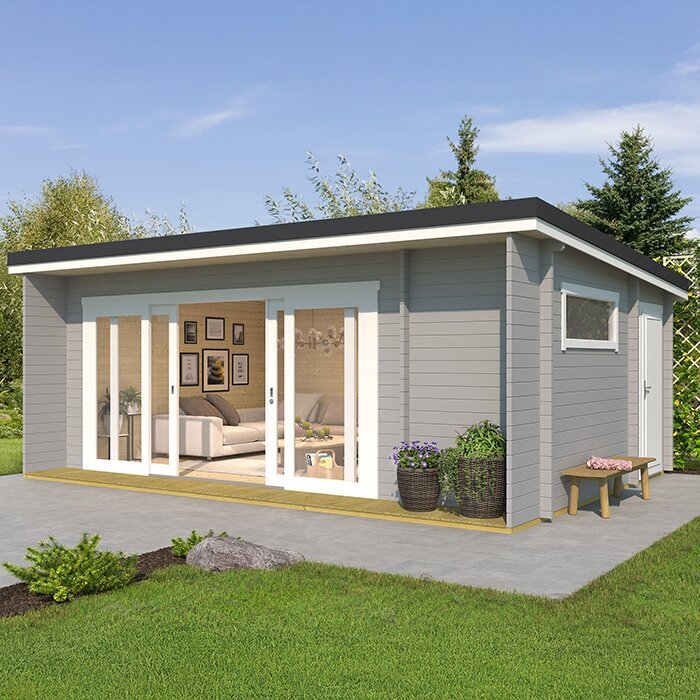
Test more than one arrangement before choosing a size. Keep the main work surface in a position with useful light, but not so close to an entrance that passing through interrupts the task. Map storage depth and door clearance as well as bench length, and note whether wall-mounted storage would be within comfortable reach. If you are considering the Verdana 2 garden house, use its relevant published plan or measurements rather than guessing at the interior area. Request a dimensioned drawing if you need one to make the comparison. Leave some room to move: finished work, a drying rack or a visitor can take up space that is easy to overlook when planning with furniture alone.
Before you order 2
Plan daylight around the work and the site
Observe the proposed site at different times of day, not just when you first inspect it. Trees, nearby buildings and fences can change how much light reaches each wall, and a bright patch may move across the work surface. Decide whether you need steady, even light for drawing, direct sun for a particular task, or a mix; consistent conditions can be more useful than a strong but changeable patch when you are comparing colours. Sketch where shadows fall and note which way you face while working. Revisit the site at the hours you expect to use the studio, and take account of seasonal changes rather than assuming one observation tells the whole story.
Treat windows and glazed doors as details to verify, not features to infer from a product image. Check the actual opening positions and sizes for the chosen configuration, and ask whether another arrangement is available if your plan needs it. Use the listing for the Durano garden house to check the details that apply to your selection, then compare them with your site notes. If daylight needs to reach a particular bench, mark the opening on your plan and consider where the light may fall throughout the day. Also check that any proposed shade will not obstruct access or ventilation, and that changes are compatible with the manufacturer's guidance.
Control glare and add suitable studio lighting
Daylight can be plentiful and still make painting uncomfortable if it creates reflections on a finished surface or throws a sharp shadow across a drawing. Test a mock layout on site, then place the easel or table so you can see the artwork without looking directly into a bright opening. A translucent covering or adjustable shade may soften light, but consider how it affects airflow, access and the amount of light left for detailed work. A portable board or temporary screen can help you trial a position before making permanent changes. Avoid judging colours in mixed light from a window and a lamp; the same pigment can look different as conditions shift.
Plan artificial lighting as a separate layer, rather than using it to avoid checking window placement. General room lighting helps you move around and find supplies; an adjustable task light brings illumination to detailed work without making every part of the room equally bright. For colour decisions, compare lamps using the maker's stated colour-rendering information and test them beside the work. Consider where shadows from your hand or easel fall, and keep lamps out of the main route through the room. If you need fixed wiring or fittings, ask an appropriately qualified electrician to advise on the work. Confirm the electrical arrangements before basing your studio layout on them.
Before you order 3
Choose art studio work surfaces for each medium
Choose surfaces around the processes, not just the word studio. A drawing desk, standing easel, cutting table and wet-work bench differ in height, depth and how you reach across them. Measure the largest paper, canvas or board you regularly use, then allow space for your elbows and the tools you need close by. If you work seated, test chair movement and foot space on the floor plan; if you stand, check that you can step back from the work. A separate small surface for cleaning brushes or mixing materials may save you from repeatedly clearing the main bench, but only if it does not narrow the route through the shed.
Think about clean-up and material compatibility before choosing a finish. A surface exposed to water, paint, adhesives or solvents needs to be maintained and cleaned in a way that suits the material and product instructions; do not assume that a glossy coating is resistant to every chemical or suitable for every medium. Ask what finish is supplied or recommended for any surface you plan to add. When reviewing Veltor 1, compare confirmed room details with the bench or other work surface you intend to fit, rather than assuming one is included. Check the garden house's floor and wall information before planning furniture or attachments.
Make room for drying, storage and movement
Work in progress needs a place that is not the main workbench. Mark an area for drying or curing, plus a safe route to carry a wet canvas, sculpture or stack of prints without brushing against another task. Drying racks and shelves can save floor space, but their depth, access and airflow matter; keep them from blocking windows, doors or planned ventilation paths. Check whether pieces need to stay flat, upright or protected from dust according to the material or maker's instructions. The best arrangement may leave a wall intentionally clear or keep a gap beside the bench, rather than using every available surface for storage.
Keep frequently used tools close enough to reach without leaning across wet work, and place less-used supplies away from the main movement line. If you intend to add shelves, cabinets or wall hooks, check how the structure can accept them before buying fittings. When checking Orello 1, request documented dimensions and fixing guidance if you need them to plan attachments. Separate clean materials from messier supplies where that helps protect work, and avoid storing objects where they obstruct ventilation openings or make the exit difficult to reach. Include the depth of containers and shelves in your layout, not just their outline on a list.
Before you order 4
Plan ventilation for the materials you use
Ventilation depends on what you use and how air can move through the actual room. For low-odour, dry activities, opening a door or window may help refresh the space, but whether that is enough depends on the work, the openings and the conditions at the site. A single opening does not automatically provide adequate airflow, and wind direction or a closed door can change the result. Before ordering, check which openings are included in the selected configuration and where they sit in relation to the bench, drying area and usual working position. Do not count on leaving a door open if weather, privacy, security or your use of the garden makes that impractical.
For paints, cleaning agents, sprays, solvents or other products with specific handling instructions, read the labels and safety data sheets supplied for those materials. Some tasks may need more than ordinary window ventilation, so do not assume a shed with an opening will be adequate; ask the product supplier or a qualified ventilation professional what is appropriate. Mechanical systems and their installation call for professional advice rather than guesswork. For Modano 1, verify the opening details for the exact configuration and ask whether any changes are needed for your ventilation plan. Keep drying racks and tall storage from obstructing air paths, and plan ventilation in line with the instructions for the products you use.
Check the floor, base and comfort requirements
Floor and base choices influence whether your work setup feels stable and whether the room can be used as intended. Confirm what the product includes, what surface or foundation the manufacturer requires and whether the instructions call for a level, prepared base. Do not assume a floor is supplied because a photograph shows an interior, or that any existing patio is suitable. If a press, storage cabinet or other substantial equipment is part of your plan, obtain the floor or load information for the actual model and ask a qualified installer or building professional to assess the site where needed. A rough estimate cannot replace verified information about the floor and its capacity.
Comfort also depends on the documented construction and conditions at your site. Ask what insulation, ventilation, glazing, flooring and weather protection are included or optional; do not infer these from a product name or picture. If you intend to work through hot or cold periods, consider the likely conditions where the building will sit and ask what additions are compatible with the manufacturer's guidance. Compare the documented base, floor and construction details for M timber garden shed with your needs, and record any missing information. Keep art materials within the storage conditions specified by their makers; a garden shed should not automatically be treated as a climate-controlled room.
Before you order 5
Confirm site access, siting and assembly
Check the proposed site and the route to it before ordering. Measure gates, narrow paths, steps, overhanging branches and turns, then ask how the package will be delivered and whether assembly is part of the order. Find out what preparation must be complete before the shed arrives, where components can be placed, and who is responsible for assembly and packaging. These answers can affect where the building goes and when you can set up the studio. If timing matters, ask for current delivery and assembly estimates. Describe any access restrictions clearly and request a response before confirming the order, rather than assuming materials can be carried through every route.
Check siting and approvals for your location before committing to a model or base. Drainage, trees, boundary conditions and local requirements may affect the plan, depending on the property and the work proposed. Ask the local council or a suitably qualified building professional what needs checking; a product listing cannot settle site-specific questions. Avoid changing the structure or adding fixed services until the manufacturer and relevant professional have confirmed that the proposal is suitable. Record the agreed placement, base preparation, assembly scope and any work you are expected to supply, so a gap in responsibility does not emerge after delivery.
Compare the full order before committing
Before paying, compare the complete specification and order details for each candidate. Confirm the chosen size and configuration, stated dimensions, opening locations, finish, floor provision, options, included components, assembly arrangements, delivery scope and exclusions in writing. Ask which documents apply to your exact selection and whether accessories shown in images are included or illustrative. A listing such as Timber Tool Shed S still needs to meet the documented requirements of your studio plan; do not infer that fit from the name alone. Keep the answers with the quote or order confirmation, and ask for corrections before accepting any mismatch between what you planned and what is described.
Give your final drawing a practical rehearsal. Use masking tape to mark the bench, easel, door opening, storage and drying zone on the proposed floor area, then walk the route carrying a large blank board or an empty tray. Check whether you can reach tools, work in useful light, clear the doorway and keep ventilation paths open without shifting the main surface. Revise the plan if one move blocks another task. Once the layout works, use it to confirm the required dimensions and options with the supplier, rather than relying on an untested arrangement. This ties the studio brief to the order and makes the purchase easier to judge against its actual details.
Frequently asked questions
Where should windows go in an art studio shed?
There is no one position that suits every site or medium. Check the sun and shade where you plan to work, then mark the proposed openings on your floor plan. Consider glare and shadows at the times you usually make art, and verify that the chosen configuration includes the openings you need.
Can open windows provide enough ventilation for a garden shed studio?
That depends on the materials, the openings and how air moves through the room. Read the labels and safety data sheets for your art products. Some tasks may need more than ordinary window ventilation, so ask the product supplier or a qualified ventilation professional if you are unsure.
Can I rely on artificial lighting instead of daylight?
You can plan a studio around artificial lighting, but it helps to test the arrangement at your work surface before ordering. Choose general and task lighting for different needs, and check colour-rendering information if you regularly make colour decisions. Daylight can still be useful, but it should not create glare that disrupts your work.
How much bench space does an art studio need?
Measure the largest work you handle regularly, then allow room for tools and for reaching across the surface. Your needs will differ for drawing, wet work and easel painting. Mark the bench on a floor plan and check chair movement, access and clearance around other equipment before choosing a shed size.
What should I confirm before ordering a garden shed art studio?
Check the exact configuration, internal dimensions, openings, floor provision, inclusions and exclusions. Also confirm base preparation, delivery access, assembly responsibilities and any site-specific requirements. Get missing details from the supplier in writing, and check local approvals with the relevant council or a qualified building professional.
An effective garden shed art studio brings together a verified layout, light that suits the work, surfaces matched to the medium and ventilation based on the materials. Measure and draw before ordering, then check the floor, openings, delivery, assembly and site requirements against the exact configuration. If an important question about capacity, the base or ventilation remains unanswered, pause the purchase and seek the product information or professional advice you need. The result is a workspace planned around the art you actually make, rather than an attractive shed whose limitations only become clear after it arrives.
