
Garden Shed Roof Insulation: Space, Ventilation and Moisture
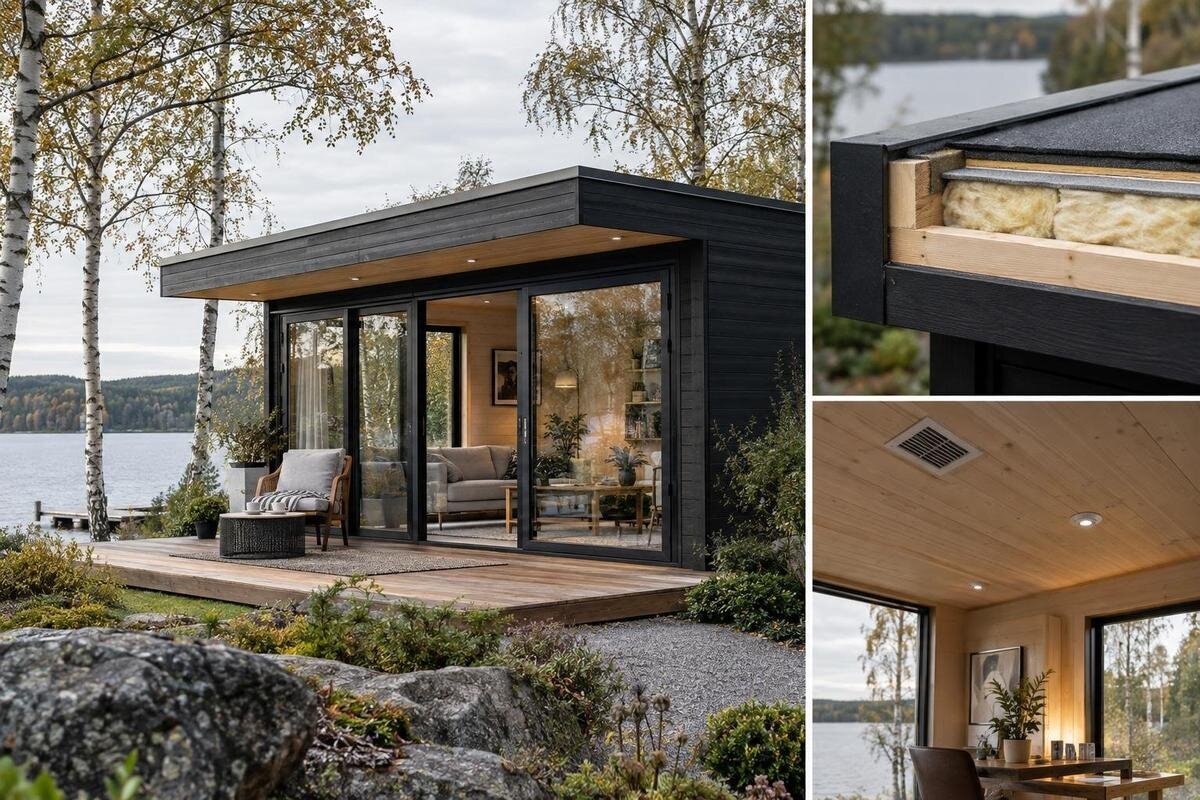
Garden shed roof planning
Insulating a garden shed roof can change more than how hot the space feels. It uses up headroom, may interrupt airflow and changes where moisture can collect. The right approach depends on the roof construction, site conditions and how the shed will be used; insulation material on its own does not guarantee a dry or comfortable space. Before choosing a system or placing an order, identify what sits beneath the roof covering, whether the roof is designed to ventilate, and whether rainwater or humid air is reaching the structure. These checks help you compare proposals and recognise when the roof needs advice from a suitably qualified building professional.
Set the insulation goal around the shed's use
Start by deciding what you want the roof insulation to change. A shed used for occasional storage has different priorities from one where you spend long periods sorting tools or doing projects. You might be trying to limit heat transfer through the roof, reduce noticeable temperature swings, or make the space more usable at certain times of year. Those aims are not identical, and insulation alone will not create a consistently conditioned room. Heat can still move through uninsulated walls, the floor, glazing and gaps, so set a realistic target for the roof. If stored goods need stable temperature or humidity, a basic insulated roof does not guarantee that.
Record when the shed will be occupied, what will be stored, and any activity that adds moisture, such as bringing in wet equipment or drying items. Note the problem you have observed: direct sun warming the interior, a cold roof surface, water marks, or a planned fit-out. Water marks call for investigation rather than concealment. This list helps separate a thermal upgrade from a ventilation or repair job. If the shed will be used for regular work, include finished ceiling height, lighting, access needs and planned equipment, as these can affect the space and moisture conditions the roof must accommodate.
Measure the roof clearance before choosing a system
Measure the roof zone before comparing insulation products. The usable depth is not simply the space between the roof covering and the rafters: existing battens, underlay, framing, fixings, a lining and any required air space can all affect the final build-up. Note the lowest points as well as the typical depth, especially near eaves, ridges, junctions and framing that crosses the roof. Take measurements at several points along each roof plane, since the available space may vary. A product that fits one bay may not fit the whole plane. Record the internal height you need after the lining is installed, not just the present distance to the roof frame, and note fittings or openings that occupy space.
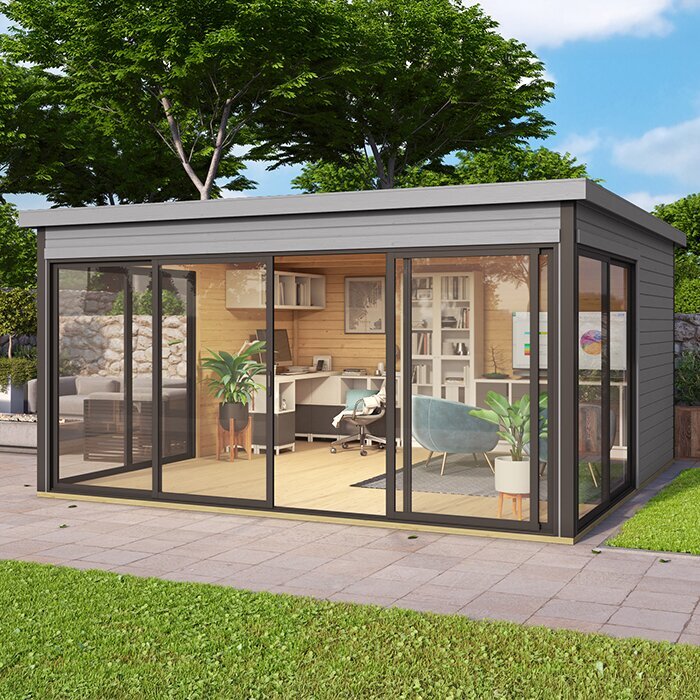
Use drawings and measurements rather than a product photo. For a page such as the Verdana 1 garden house listing, look for a dimensioned roof section and information about supplied roof layers; the model name alone establishes neither clearance nor insulation suitability. If these details are absent, ask the seller for the roof build-up and internal dimensions. Compare the installed depth of the proposed system, including supports and lining, with the available space. Do not squeeze material into a tight area or remove roof components on the strength of a generic diagram; the roof design needs to be checked.
Check the roof shape and construction
Roof shape changes where insulation can fit and how the roof can be ventilated. A pitched roof, a low-pitched roof, or one with valleys and changes in level can have different cavity depths and awkward junctions. Eaves may provide less room than the centre, while framing can divide the space into separate bays. The roof covering, underlay, structural frame and interior lining are distinct parts of the assembly, and their order matters. Include skylights, roof joins and boxed-in sections when checking the design. An exterior photograph rarely confirms what sits beneath the covering or whether a cavity is meant to be vented.
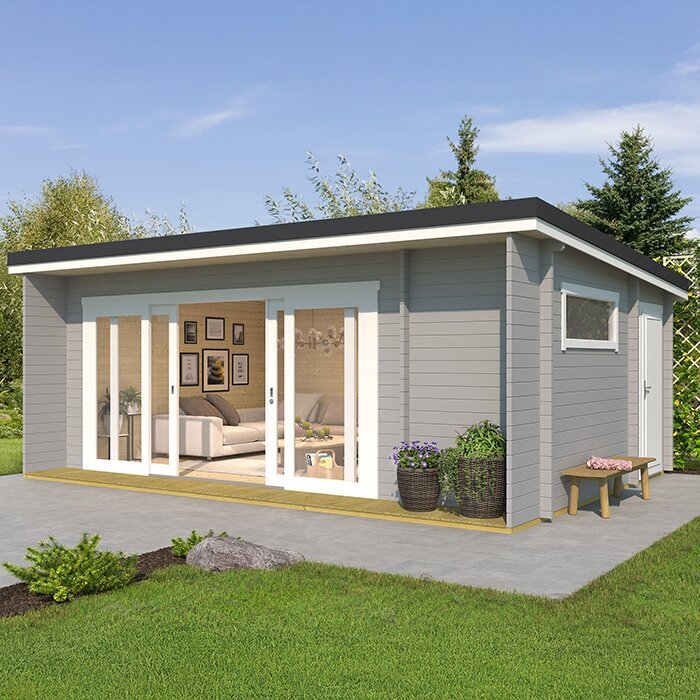
Before selecting a method, establish whether the roof is already lined, how its frame is laid out, and where it meets walls or openings. Ask for a section drawing showing those layers and the eaves or ridge arrangement, not only a floor plan. The Verdana 2 garden house product page is a model listing to check for that documentation; do not infer its roof form or framing from the name. A diagram that shows only the outside shape is not enough to plan an insulation build-up. If the roof has unusual geometry, concealed layers or signs of past repairs, have a building professional review the details before adding a lining. Avoid unplanned changes to the frame or roof covering.
Understand the roof's ventilation path
Separate ventilation of the roof cavity from ventilation of the shed interior. Some roof designs rely on a defined air path beneath the roof covering; others use a different assembly. Air movement in the room does not automatically ventilate a sealed roof cavity, and an opening in the roof assembly is not a substitute for suitable room ventilation. Insulation can obstruct a planned path if it is fitted into eaves or other narrow areas without regard to the design. A gap is useful only when the assembly calls for it and the route stays open where intended; there is no single gap size to apply to every shed.
Ask which ventilation strategy applies to the roof, where air is meant to enter and leave, and how insulation is kept clear of that route. Check that the details cover junctions as well as the broad roof plane. If you are comparing the Durano garden house listing, use it as a prompt to request the roof section and ventilation information, rather than treating a photo as proof of an airflow path. Do not add vents, block openings or seal gaps as a guess: a change can alter the intended assembly or admit water. If the answer is unclear, get advice on the specific roof.
Find the source of moisture before covering the roof
Condensation and water ingress need different responses, so establish which may be present before covering the roof. Condensation forms when moist air reaches a surface cool enough for water vapour to condense; it may appear on cold framing or the underside of roof materials. A leak can follow rainwater paths around joints or penetrations and may leave local marks. Dampness can also come from wet items brought inside or from the ground. These sources can overlap, and a stain alone does not prove the cause. Insulating over wet timber or concealed water damage can hide evidence without removing the moisture source. Note when marks appear and whether they follow rain or changes in how the shed is used.
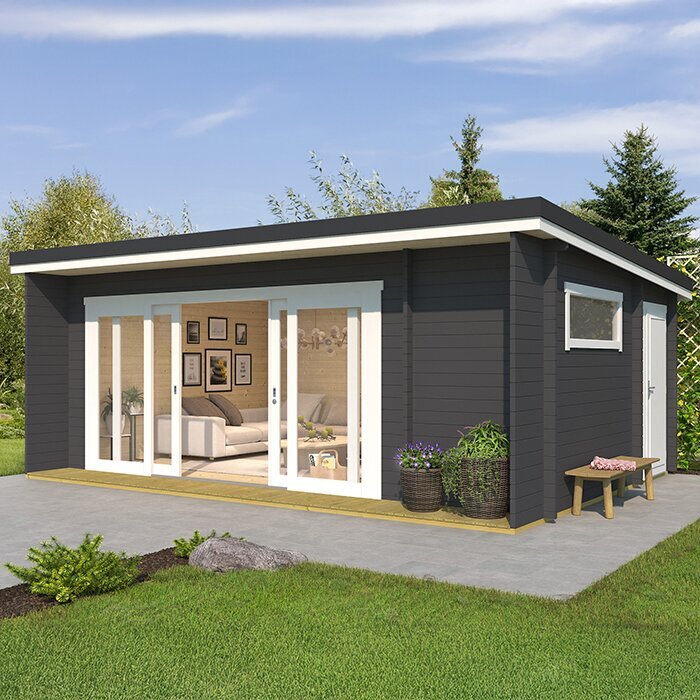
Inspect the shed in dry and wet conditions if it is safe to do so, noting whether damp appears in one area, after rain, or across cooler roof surfaces. Look for water marks, persistent musty odours, softened or discoloured timber, and visible dripping; these are clues, not a diagnosis. Keeping a brief record of where and when marks appear can help with assessment. Dry wet stored items separately and keep the roof covering and drainage arrangements under observation. If you suspect a leak, address it and confirm the roof is dry before enclosing it. For the Veltor 1 garden house listing, as with any model, request construction details rather than assuming the name explains its moisture performance.
Choose a compatible moisture-control build-up
Think in terms of a complete roof build-up, not an insulation product in isolation. Material type and thickness affect how it fits between or beneath framing, while any lining, membrane or vapour-control layer must suit the roof layers and intended airflow. Vapour-control products are not interchangeable, and their position is not universal. Climate, the roof covering, existing underlay and indoor moisture all affect the design. A vapour-control layer does not itself provide ventilation. A generic sheet added on the room side, or insulation fitted wherever it fits, may leave the assembly with an unresolved moisture path.
Ask for a proposed section from outside to inside, naming the roof layers, insulation, any ventilation cavity and the internal finish. Ask what moisture-control layer is specified, where it goes, how edges and junctions are treated, and which manufacturer instructions support the combination. Confirm that the specified products are intended to work together rather than choosing each component separately. For a listing such as the Orello 1 garden house page, use the model identity only as a starting point for finding this information, not as proof of an insulation system. Compare the whole assembly, its space requirements and the stated thermal performance rather than selecting by nominal thickness alone. If no compatible detail is available, have the roof assessed instead of combining products by guesswork.
Allow for fittings, services and future access
Plan for everything that occupies the roof zone once insulation and a lining are in place. Lights, cables, fans, access points and roof framing can need clearances or inspection access; requirements depend on the actual fitting and assembly. Do not cover electrical fittings or assume wiring can be buried under insulation because it is out of sight. Check the relevant fitting instructions and ask a qualified electrician or suitably qualified installer to assess electrical work and clearances for the proposed system. Also consider finished ceiling height, door headroom and whether the lining will interfere with a vent, window opening or another access point. These details are easier to account for before ordering.
Include future maintenance in the layout. A lining can conceal fasteners, roof framing or early signs of water entry, so identify how the roof will remain inspectable without disturbing the insulation. Keep access to planned vents and services; do not attach storage or equipment to the roof frame unless its capacity and fixing method have been confirmed by a professional. A product page such as the Modano 1 garden house listing can identify the model, but it does not replace a drawing of the finished roof. Check that whoever carries out the work understands the insulation layer, the services above it and how the roof can be inspected later.
Plan the work before ordering or assembly
If the shed has not yet been assembled, decide on roof insulation before finalising the roof and lining sequence. Reviewing dimensions and layer compatibility while details are accessible can prevent a late clash, but do not assume a standard assembly can accept extra material without changes to the airflow plan. Ask whether the proposed layers are covered by the model's documented design and how they affect clearances, fit and ventilation. If the shed is already built, check the existing roof's condition and how it can be assessed; a retrofit has to work with the actual layers, not an imagined cavity. Plan how the roof can be inspected before it is closed in, and make sure the proposed sequence does not conceal an unresolved leak.
For ordering, use the roof drawing and chosen insulation system to establish the required materials and finishing components; the shed's floor footprint is not a reliable substitute for roof area. Confirm which layers are included, which are separate, and whether dimensions refer to the roof frame, finished interior or external covering. Check how the supplier or installer accounts for roof shape and junctions rather than relying on a rough area estimate. Keep assembly instructions with the order so the installer can check clearances before closing the roof. The M timber garden shed listing is a model page to examine for documentation, but its name alone does not answer these questions. Resolve any mismatch before ordering.
Ask for roof details, not just an insulation product
Before committing, ask the supplier or installer for a dimensioned cross-section of the exact roof and a written description of the intended build-up. Check whether the roof is designed to be vented or unvented, how much space the insulation and lining need, which moisture-control layers are required, and how the eaves, ridge and edges are handled. If the shed is already assembled, clarify who will inspect for leaks, damp timber and existing cavities before work begins. A product listing such as the Timber Tool Shed S page can identify the model under discussion, but should not be treated as an insulation specification. State how the shed will be used and where it is installed so advice relates to the actual project. If the seller cannot advise on the build-up, seek help from a building professional.
Compare proposals on the same basis: the entire roof assembly, not only the insulation material. Check whether stated dimensions and performance refer to the insulation or finished roof, what finishing layers are included, and whether ventilation details are shown. Ask who will check the existing roof and services, how inspection access is maintained, and what work is excluded. Clarify whether the proposal includes junctions and edges as well as the main roof area. If it simply says to add a generic thickness or barrier without showing how the roof layers work together, there is not enough information to judge suitability. A clear drawing can also show whether the build-up reduces headroom or clashes with framing.
Check the roof after the work
After the work, keep an eye on the roof as part of ordinary shed upkeep. Watch for new water marks, persistent damp smells, peeling finishes or visible moisture, especially after heavy rain or a change in use. These signs do not identify the cause by themselves, but justify finding out whether water is entering, moisture is condensing, or ventilation has been obstructed. Note when changes appear and where they occur; that record can help distinguish a recurring issue from an isolated mark. Avoid covering a new stain or changing openings before the assembly has been checked. If the roof cavity is concealed or unsafe to access, leave investigation to a professional.
Insulation makes sense only when it fits the roof, leaves its intended airflow route working and sits within a moisture strategy that is understood. If measurements, roof drawings and condition checks support the proposed build-up, you can compare products and order with a clearer view of finished height and scope. If those details do not line up, pausing is a practical purchasing decision: resolve the leak, clearance or design question first. Consider whether the finished headroom still suits the shed's planned use; extra layers can noticeably reduce usable space. A documented solution is more useful than choosing material first and trying to make the roof fit later.
Frequently asked questions
Will roof insulation alone make a garden shed comfortable all year?
Not necessarily. It reduces heat transfer through the roof, but walls, the floor, windows, air leakage and ventilation also affect conditions inside. Insulation cannot guarantee a stable temperature or humidity. Define what you want the shed to be like before ordering, and consider whether the rest of its construction also needs attention.
How much clearance do I need above the insulation?
There is no single clearance that suits every roof. The space depends on the roof construction, the insulation and lining thickness, and whether the design needs an airflow path. Measure the tightest areas and confirm the complete build-up using the relevant product documents or advice from a suitable building professional; do not copy a generic gap from another shed.
Can I add a ventilation gap to any garden shed roof?
No. Some roof assemblies are designed with a ventilated cavity, while others use different moisture-control details. A gap that is blocked or connected to the wrong area may not provide the intended airflow. Do not cut openings or change the roof build-up based on a general rule; check the design for the specific roof.
Should I put a vapour barrier under the roof insulation?
Not automatically. The need for a vapour-control layer, its type and its position depend on the roof layers, site conditions and moisture produced inside the shed. A generic sheet is not a substitute for a complete roof design. Ask for a section drawing that shows the layer order and how the junctions are handled before buying materials.
What should I do if the roof already has damp marks?
Find the cause before insulating. A mark after rain may indicate water entry, while condensation can appear on cooler surfaces, but appearance alone is not conclusive. Check the roof and moisture sources, and let wet materials dry before enclosing them. If the marks persist or the roof layers are concealed, arrange an assessment rather than covering the evidence.
Garden shed roof insulation is not just a matter of fitting material into the rafters. The roof's shape and existing layers determine the space available; its ventilation design and indoor moisture affect how the build-up should handle water vapour. That is why a decision based on a product name, image or single thickness can be misleading. Treat drawings and condition information as part of the purchase, allow for finished headroom and service clearances, and resolve uncertain moisture details before ordering. With those elements established, it is easier to compare options on fit and suitability rather than guesswork.
