
How Much Space Do You Need Around a Hot Tub?
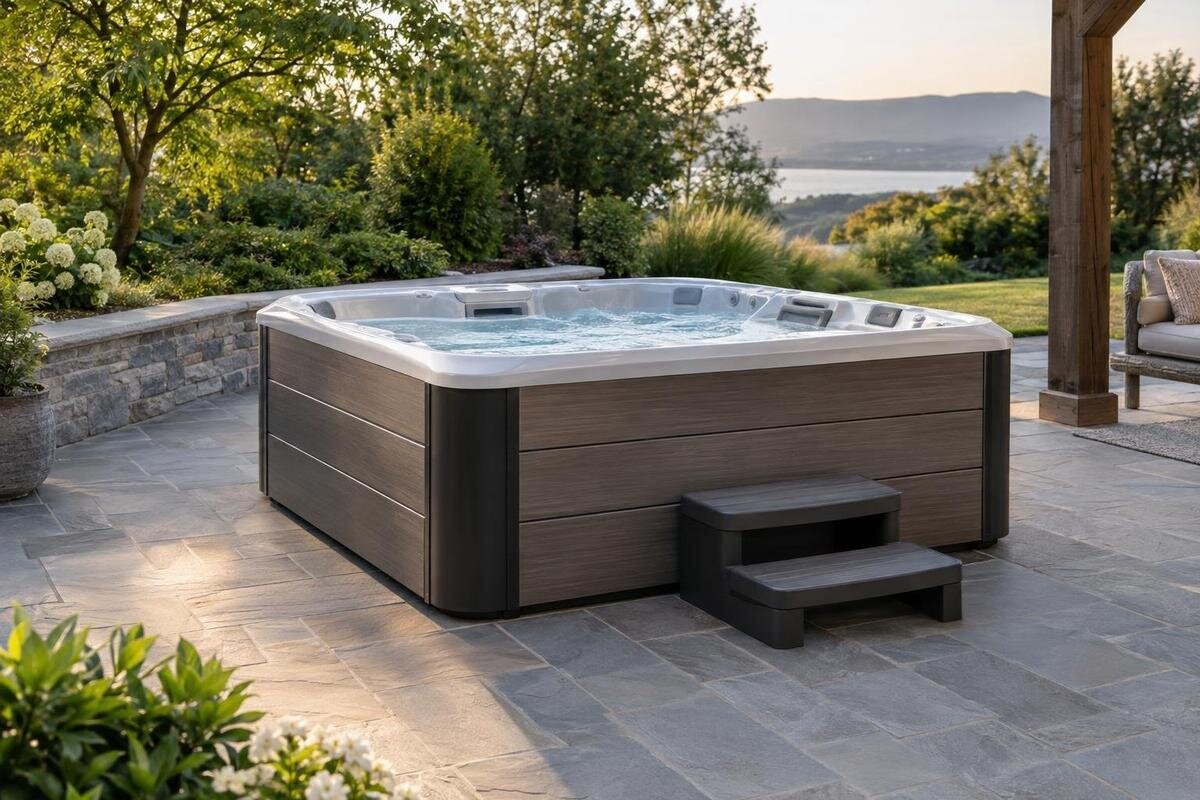
Outdoor hot tub planning
Knowing the tub’s footprint does not tell you whether there is enough usable space around it. The layout also has to work for getting in and out, opening and parking the cover, reaching service points and accommodating any separate equipment. Those needs vary by model and configuration, so there is no single gap that suits every outdoor spa. Compare the full documented clearances—not just a product photograph or the shell outline—with the area you can actually keep clear.
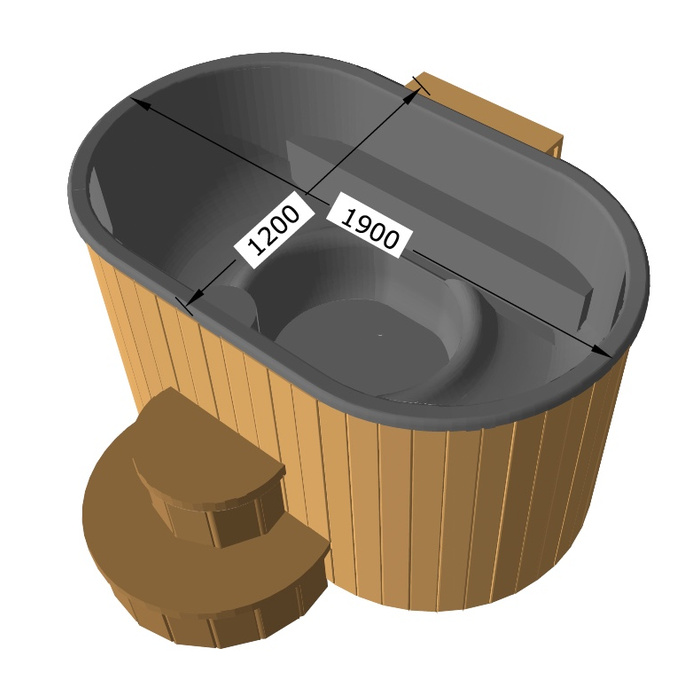
Measure the hot tub’s complete external footprint
Begin with the full external dimensions for the exact model and configuration you are considering. Use a dimensioned manufacturer drawing where possible, rather than estimating from a photograph or treating a number in the model name as a measurement. Check what the stated length and width include: the shell, projecting fittings, controls and components fixed to the outside may not all be represented in the same way. If a listing gives one footprint figure without showing how it was measured, ask what points it covers and request a top-down plan. Keep any unconfirmed dimension marked as unknown.
Transfer the largest documented outline onto a plan of the usable area. That outline shows where the tub itself sits; it does not include the space people need to approach it or the room required for maintenance and the cover. When comparing listings such as Cove 2 product details, look for a dimensioned plan rather than relying on a product photograph. Record whether the drawing shows the tub in the orientation you plan to use, and note any separate components that might extend beyond its outline. This gives you a dependable starting point for checking the surrounding space, not a final fit decision.
Leave a clear route for getting in and out
Plan the area where a person will approach the tub, get into position, enter and step out again. That route should not depend on squeezing past a wall, furniture or a gate, and it should lead to somewhere a person can move clear of the tub. Consider the people who will use it and whether they need extra room to turn or steady themselves. The space that feels adequate on an empty plan can be less convenient when the area is in everyday use, particularly if the only approach is a narrow passage. Think through the return journey as well: someone stepping out needs room to turn towards the exit without immediately meeting an obstruction. If towels or footwear will be kept nearby, include their intended position rather than assuming they can occupy the entry area. Keep this everyday access space distinct from a gap that is only opened up for occasional maintenance.
Confirm the intended access side from the model documentation; do not infer it from the shape of the shell or an image. Check whether the chosen arrangement uses steps, handholds or other items that affect the route, and make sure they will not block another access point. For Haven 6 product information, use the page to identify the model, then check its current instructions for the actual access arrangement. There is no universal width that suits every person and layout, so assess the path you will use rather than relying on a generic gap.
Space for servicing and panel removal
Find out where the manufacturer expects servicing to take place. A service panel may need to be opened or removed, and a technician may need space to stand, use tools or reach components behind it. A narrow strip between the tub and a fence can look like access on a plan but may not be enough to work in. Check for a diagram showing the service points and any stated clearance, and confirm whether more than one side needs access. Distinguish the space needed to open a panel from the space needed to work through the opening; allowing for one does not establish that both will fit. Ask how removable panels are taken out and where they can be placed during servicing. Your plan should also show how a technician reaches the working area, rather than leaving an isolated clear patch behind the tub.
Plan for that access to remain available after the tub is in regular use. A fixed screen, built-in bench or other permanent obstruction can make future maintenance difficult if it covers a panel or blocks the route to it. You do not need to assume every side must always be open, but you should not assume that only one side matters either. When reviewing Fjord 8 product information, look for model-specific service guidance or ask the supplier for it; a catalogue name alone does not identify the service points. Keep the documented access area clear in your drawing.
Allow for the cover’s full movement
A cover can take up space beyond the tub’s outline while it is being opened, moved or stored. Confirm which cover arrangement applies to the configuration you are considering and how it is operated. If a lifting mechanism is available, check whether it is included or optional and ask for the space it needs throughout its movement. If the cover is handled without one, allow a practical place to stand and manage it. Do not assume that all covers fold, lift or rest in the same direction. Follow the whole sequence on your plan: releasing the cover, moving it away from the opening, leaving it in its open position and returning it afterwards. A storage spot is only useful if the cover can be moved there without passing through a wall, fixture or other obstruction.
Check the space above and beside the tub as well as the floor area. A wall, overhang or other obstruction may interfere with the cover’s movement even if there is room to walk around the shell. On a plan, show where the cover finishes when open and where the person handling it needs to stand; the closed position alone is not enough. For a candidate such as Aurora 10 product details, verify the actual cover arrangement in the current documentation rather than judging it from a product image. Treat any unclear movement or storage requirement as a question to resolve before finalising the layout.
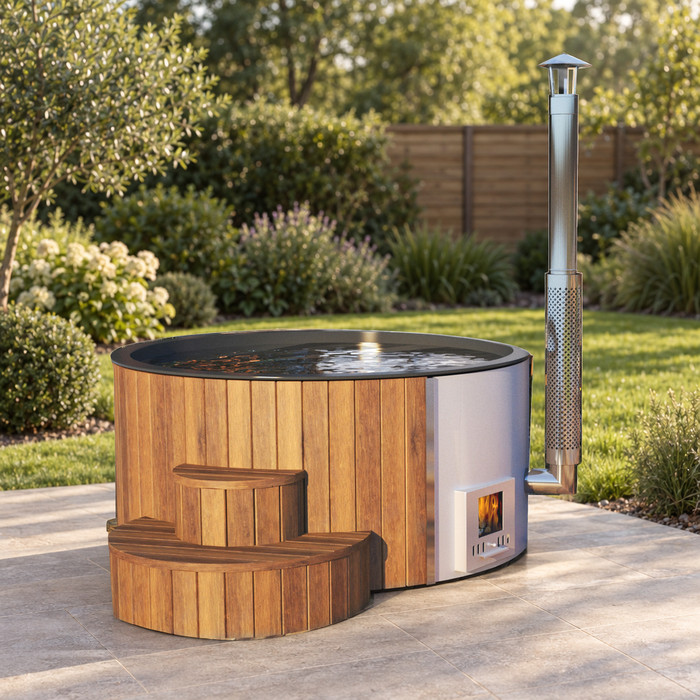
Check whether equipment sits outside the tub
Confirm what equipment belongs to the exact configuration and where each component is intended to sit. Some systems may have equipment built into the tub, while others may use separate components; do not assume which applies to a model without its documentation. Ask whether controls, pumps, filters or a heater project beyond the outline, and whether optional equipment changes the space needed. A component that is physically small can still need its own access or operating area. For each item shown in the proposed configuration, record its physical outline separately from the space that must remain clear around it. Also note which side needs to be reached for normal operation or maintenance. This avoids treating all equipment as a single box that can be placed wherever there is a spare corner.
If equipment is separate, its requirements form part of the overall space check. Look for manufacturer guidance on access, ventilation, operation and any specified separation from nearby structures. Do not plan to hide equipment in an enclosed gap or move it to another side unless the instructions allow that arrangement. Where a configuration involves a separate combustion heater, confirm its instructions and ask the relevant authority or a qualified professional about any applicable fire-related requirements. Establish which equipment is included or optional before measuring; the layout must match what you intend to buy.
Include walls, fences and other obstructions
Add every fixed feature near the tub to the plan, not just the walls around the edge of the area. Fences, screens, rails, steps, outdoor showers, taps, cabinets and gates can reduce the usable route or block access to a panel. Include door and gate swings, too. A feature can affect clearance without touching the tub: a wall may obstruct a cover, for instance, while a narrow fence gap may make servicing awkward.
Consider obstructions at different heights as well as those on the ground. An eave or beam may limit how a cover can move, and a fixture that sits above the shell can still interrupt access to the side. Note which items are fixed and which can genuinely be moved whenever the tub is used or serviced. When reviewing the Cove 2 listing, compare the documented dimensions and clearance guidance with the obstructions on your own plan; a product photograph cannot establish the required distance from your fence or fixtures. For a movable item, identify where it will go when that space is needed. Shifting a chair out of a service area is not a workable solution if its only alternative position blocks the entry route. Count the area as available only if you can keep it clear when required.
Separate practical working room from required clearances
Practical working room is the space that makes day-to-day access, cover handling and servicing workable for your household. A manufacturer’s clearance is a separate, model-specific instruction for the product’s use, installation or maintenance. Where the instructions specify a minimum, do not reduce it because the area feels comfortable to walk through. Conversely, meeting a stated minimum does not necessarily mean there is enough room for your preferred route or an easy service visit. Treat each purpose as its own check.
There may also be requirements that apply to the property or the proposed setup. In Australia, do not assume one generic answer covers every state or territory and council. Ask the relevant council or state or territory authority what current requirements apply to your location, including any barrier rules; get advice from a qualified electrician about electrical work and check fire-related requirements where relevant. For a model such as Haven 6 listing, do not infer a clearance from the catalogue name: confirm the exact equipment and seek the corresponding instructions. Keep legal, manufacturer and practical questions distinct until each is answered.
Draw every clearance on a scaled plan
Put the verified tub outline on a simple plan using one consistent scale. Add the entry route, service access, the cover’s open position and any separate equipment, then mark the clearances shown in the manufacturer’s instructions. Label the point each distance is measured from, so you are not comparing a wall-to-shell measurement with a clearance measured from a component. Use separate labels for required minimums and the extra working room you propose to leave. Where a gap varies along a wall or fence, record the narrowest part rather than an average that hides a pinch point. If two zones appear to overlap, confirm that the product instructions permit it and that one activity will not block another; do not assume separate spaces can be shared.
A temporary full-size outline made with tape or string can reveal pinch points that are easy to miss on paper. Walk the intended route, check how a gate or door moves, and picture the cover in its open position. Compare the marked zones with the area that will genuinely remain unobstructed, rather than its total dimensions before furniture or fixtures are accounted for. If the Fjord 8 listing does not provide the drawing you need, request it before treating the plan as complete. This is a clearance check, not a substitute for manufacturer instructions or professional advice.
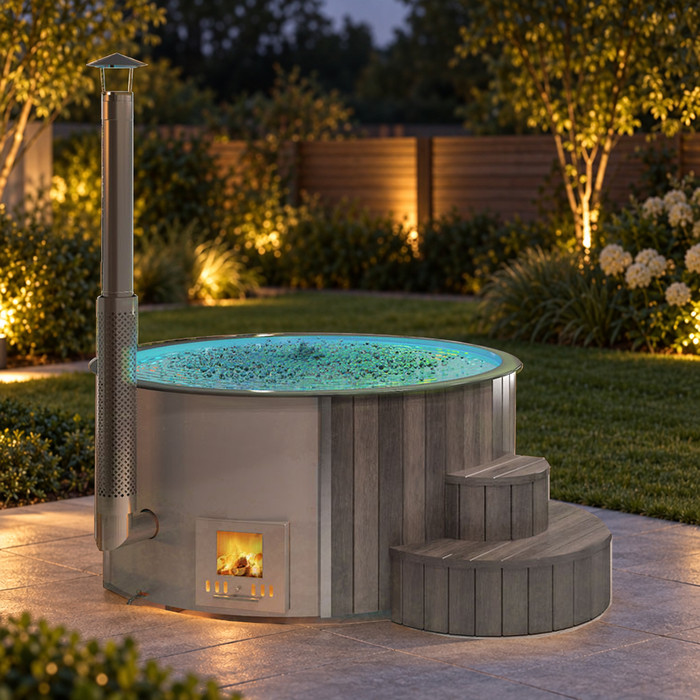
Compare model documents, not just product photos
Use the same checklist for every shortlisted model. Record its complete external dimensions, intended access side, service points, cover movement and storage, any separate equipment, and each stated clearance. Note whether the information applies to the exact configuration you want, including any optional items that could change the layout. A product photograph can help identify an item, but it does not establish its measurements or tell you how much room to leave around it.
The names Cove 2, Haven 6, Fjord 8 and Aurora 10 identify catalogue models; their numbers are not reliable dimensions or clearance specifications. For Aurora 10 listing, and for every other candidate, ask for current model-specific documentation if the page leaves a gap. Record the source of each measurement and mark missing details as unknown rather than entering zero or borrowing a figure from another model. A like-for-like comparison makes it easier to see whether a candidate fits the available space without overlooking a service or cover requirement.
Reconsider a layout that only just fits
If the plan works only by ignoring a stated clearance, blocking a service point or relying on a narrow route, it is not a confirmed fit. Look closely at any zones that overlap: the same patch of floor may be needed for entry, cover handling and a technician at different times, or it may need to stay clear for one of those tasks. Ask whether the intended use is still practical when the area is occupied, rather than judging only the tub’s outline against an empty space.
When the available area is tight, compare another permitted orientation or a different shortlisted model using its own verified dimensions and instructions. Do not assume that a model with a smaller-sounding name will fit, or that a clearance can be reduced to make it work. If a key measurement, equipment arrangement or local requirement is still unresolved, pause the purchase decision and obtain the missing information. A confirmed layout is one that accommodates the product, its documented clearances and the people who need to use or service it.
Frequently asked questions
Is there a standard clearance around every hot tub?
No. The required space depends on the model, its service and cover arrangements, any separate equipment, and requirements that apply to the site. Use the manufacturer’s current instructions and confirm relevant local requirements rather than relying on a general clearance figure.
Do I need to leave room on all four sides?
Not necessarily, but do not assume a side can be blocked. Check where people enter and exit, which areas need servicing, how the cover moves, and what the manufacturer requires. A clear route and access to every specified service point still need to fit.
How much room does a hot tub cover need?
It depends on the cover and how it is opened and stored. Confirm the cover supplied for the chosen configuration and allow for its full movement, any lifting mechanism, the space it occupies when open, and room to handle it safely.
Can I place a hot tub close to a wall or fence?
Only if the model’s instructions and any applicable requirements permit that arrangement. A nearby wall or fence can obstruct entry, servicing, equipment access or cover movement even when it does not touch the tub. Check each clearance separately.
What should I ask for if the product page does not show clearances?
Request a dimensioned plan and the current instructions for the exact model and configuration. Ask for the service-access, cover and equipment requirements, and confirm whether dimensions include external components. Keep any unanswered measurement marked as unknown.
A reliable hot tub space check combines the tub’s complete external outline with room for people, servicing, cover movement and any separate equipment. Keep practical working room distinct from manufacturer instructions and requirements that may apply locally. When each shortlisted model is measured and marked against the same plan, it becomes much easier to see whether the available area is genuinely suitable—or whether another layout or model needs consideration.
