
How to Measure a Garden Shed Site Accurately
Garden shed site planning
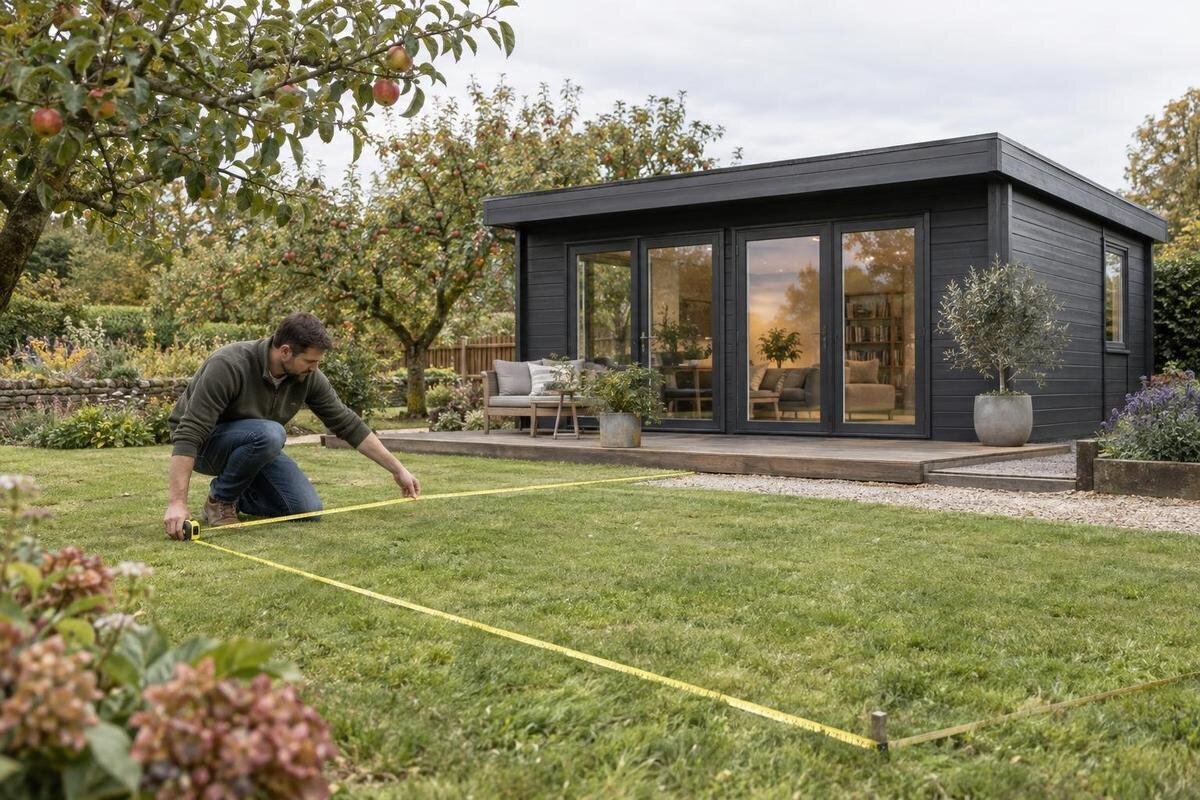
To measure a garden shed site accurately, compare the continuous usable space in your backyard with the footprint of the exact shed you are considering. Measuring only the widest patch can miss a fence that angles in, an access route that is too narrow or an entrance that is difficult to use. This guide explains how to take repeatable dimensions, mark and check the outline, note obstacles and compare the results with product information. It also separates footprint measurements from access and ground-preparation questions, so a tape measure is not asked to answer things it cannot establish.
Before you order 1
Define the usable area you need to measure
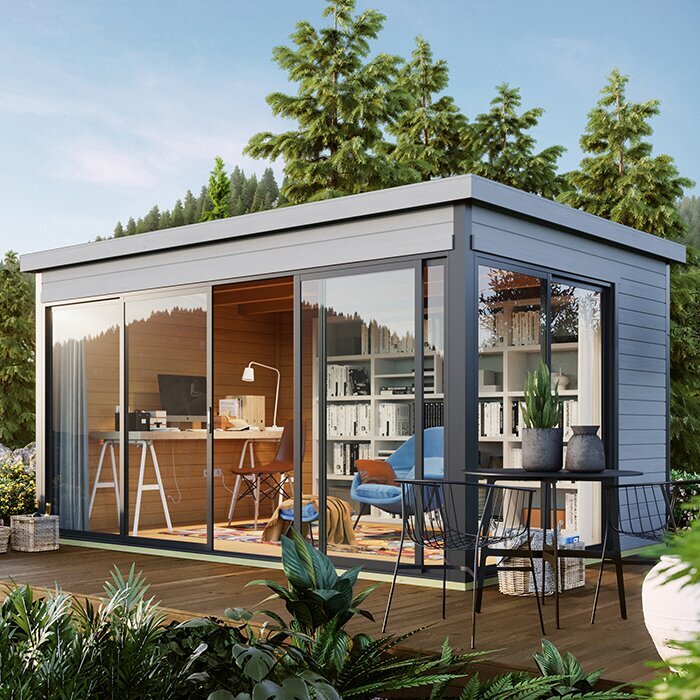
Treat the site measurement as a check of the space the structure must occupy, not a guess based on the open patch you can see. First choose a model or shortlist to test, then use its own published dimensions as the comparison point. Keep the details for the Verdana 1 garden house beside your notes rather than estimating its size from a photograph or product name. Identify the length and width of the footprint the listing specifies, and note any separate base or overall measurements. The site can only be judged against the correct set of figures; an interior floor measurement, if shown, does not tell you whether the exterior will fit. Record where the figures came from so you can return to the same model and dimension set.
Decide what counts as usable ground before taking numbers. A clear rectangle is easiest to compare, but many backyards have a corner clipped by a path, tree, garden bed or fixed service. Measure the continuous area in which the shed could actually sit, not the sum of separate clear patches. Record the longest usable length and width, then flag any section that narrows or interrupts that rectangle. Distinguish items you can move from items that must remain, and note whether moving something would block a path or access point. Where the shape is irregular, draw a main rectangle and show each notch separately; do not add separate clear areas together as if one shed footprint could span them. A rough sketch is enough at first; labelled dimensions matter more than artistic scale.
Find the right dimensions in the product information
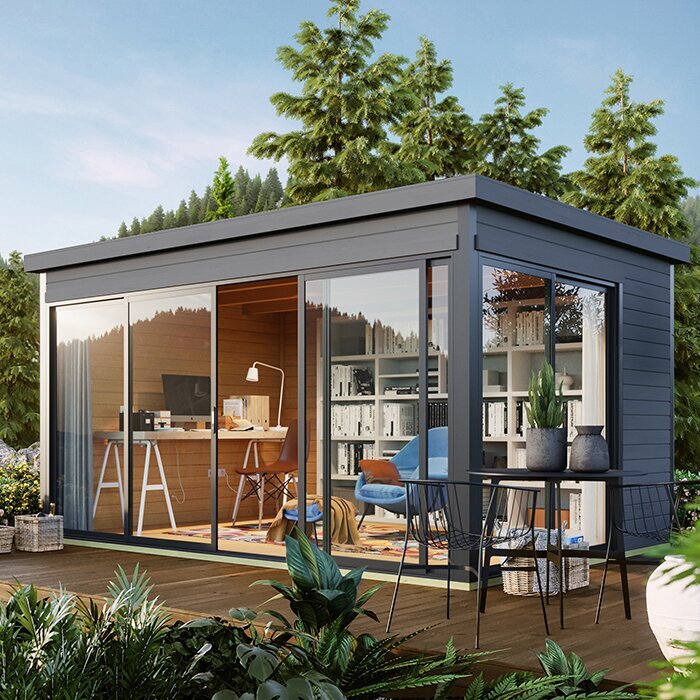
Product pages and plans can give more than one set of dimensions. Check whether the stated length and width describe the base, the outside of the walls or the largest overall extent, and look for a dimensioned drawing if one is available. A roof edge, trim, step or other projection may affect the space required, but do not assume its size or that it is included: confirm it in the product information. When comparing an option such as the Verdana 2 garden house, make sure you are reading measurements for that exact listing, not relying on another model or a photograph. If labels are unclear or base dimensions are not stated, ask which figures should be used to set out the site before you order.
Write the figures down with their labels and units, for example, ‘outside length’ and ‘base width’, rather than copying two bare numbers. Keep metres and millimetres distinct; if you convert a value, retain the original and avoid rounding until the comparison is complete. Note which side of the shed each figure represents and whether the plan fixes the front or entrance orientation. A footprint can fit one way and fail when turned if the usable site is longer in one direction than the other. Do not assume the structure can be rotated simply because its outline looks rectangular; check the product drawing and proposed entrance position. This is a site-fit check, not a measure of how much room you will have inside.
Before you order 2
Measure from fixed reference points
Use a tape measure long enough to span each side in one run where practical, plus pegs or chalk, string, a pencil and a simple sketch. A second person can hold the far end steady across a broad backyard. Check that the tape starts at zero and is not caught around a loose object, then keep it straight rather than letting it sag or snake around plants. On uneven or sloping ground, a tape laid along the surface can read longer than the horizontal plan distance. If you cannot take a reliable horizontal measurement, record the slope and ask the installer how to set out the site rather than treating a surface reading as exact. Write measurements in one unit throughout.
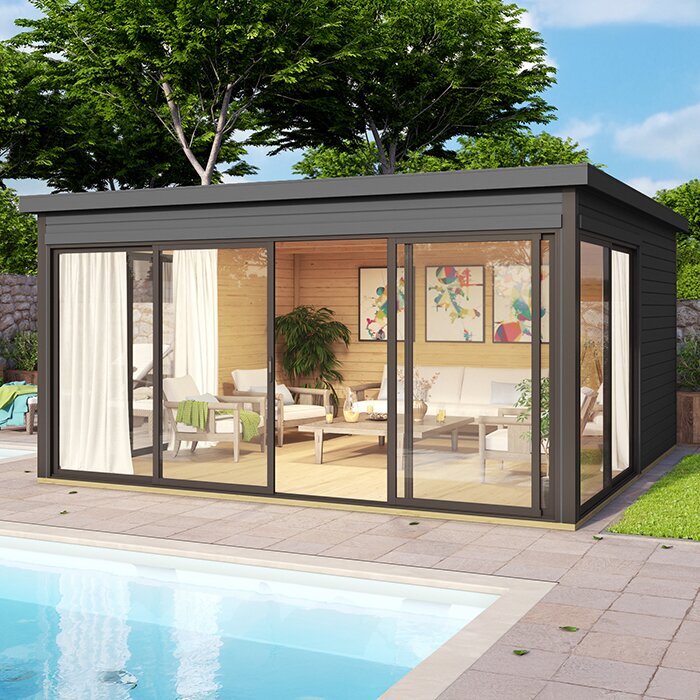
Choose a reference line that will still be there when the shed is installed, such as a fixed wall or the edge of a permanent paved area. Mark the proposed corners from that line and measure each side from the same reference, not from a branch or garden edging that may move. For a listing such as the Durano garden house listing, keep a copy of the product’s stated dimensions beside the site sketch and write the date and units on both. Reset the tape between readings and measure twice, rather than repeating the same reading without changing your setup. If results differ, take another measurement and check the endpoints instead of averaging away an obvious mistake.
Map obstacles and measure the narrowest space
Walk the whole proposed outline before recording it as clear. Mark fixed obstacles such as fence posts, tree trunks, retaining edges, steps, drains, taps, meter boxes and outdoor equipment, along with any path that needs to remain open. Include overhead obstructions where they could affect the position, such as low branches or an eave; a ground rectangle alone does not show headroom. When checking a listing such as Veltor 1, compare its published footprint with the measured outline, not with the apparent scale of a product image. Note the distance from each obstacle to a fixed reference point so you can see whether the structure would overlap it. A quick photograph can help connect these measurements to the sketch.
Measure at the narrowest points, not only along the front and back. A fence line that appears parallel may angle in, and a garden bed can leave a tapering strip; a rectangular footprint still needs one continuous rectangle of the required size. Write down which obstacle reduces the clear space and whether it can realistically be moved before installation. Do not count a gate, service cover or access path as available just because it is outside the shed outline. Several small obstructions can combine: a little lost at a corner may matter more than a larger unused patch elsewhere. If the site has an irregular shape, record separate side-to-obstacle measurements rather than describing it simply as ‘about this wide’.
Before you order 3
Mark the footprint on the ground
Once you have the correct footprint figures, transfer them to the ground with a tape and four temporary corner marks. Run string between the marks, or use chalk where the surface allows, to make the outline visible from inside and outside. Check the length and width on the ground against the written figures, then inspect each corner so the shape follows the product plan rather than a rough approximation. For a rectangular plan, use a framing square or another reliable set-out method to check the corners; do not rely on eye alone. With the Orello 1 listing, as with any option, take the outline from confirmed dimensions, never proportions guessed from a photograph.
Look at the outline from the main approach and from each side. The marks should reveal whether a corner lands in a garden bed, whether the footprint crosses a path or whether the chosen position leaves a narrow strip that cannot be used. If the product drawing shows a shape other than a simple rectangle, copy that shape and its dimensions instead of forcing it into a rectangle. Keep the temporary marks in place while comparing options, then record the result on your sketch before removing them. This ground-level test catches orientation problems that can be hard to spot on paper. It confirms the layout only; it does not establish whether the surface or base is ready for installation.
Allow for access and the way the entrance will be used
A footprint marks where the shed sits; it does not cover every space needed to reach, open or work around it. Add a separate access zone to your sketch for the entrance, for people carrying items and for any door movement shown in the product information. Do not assume how far a door opens or which side it occupies from a model name or photo; confirm the drawing for the exact option. If Modano 1 is on your shortlist, check its product information and ask what access or assembly clearance is required. Consider how you will reach the entrance after installation, not only on the day the structure is put together. The space needed can depend on the product and installation method, so use supplier or installer guidance rather than applying one universal allowance.
Trace the route from the driveway or another access point to the proposed position, including the narrowest gate, turn, step and overhead point. A site can have enough space for the finished footprint while the route remains too tight for components or people to get through. Measure each pinch point and note corners or surfaces that may complicate the route. Measure the gate’s clear opening in the position it would normally be held during access, and record anything that reduces that opening. If a delivery or installation is arranged, ask in advance what access and handling conditions need to be met; do not assume the shed’s footprint tells you what can pass through a gate. Keep route measurements on a separate line so they are not confused with the finished structure’s dimensions.
Before you order 4
Record ground conditions separately
Measure the shape of the available space separately from judging the ground it sits on. Note visible slopes, dips, tree roots, soft patches, spots where water collects and abrupt changes in level inside or beside the marked rectangle. A tape gives distance; it does not establish whether a base can be installed or which foundation suits the ground. When reviewing the M timber garden shed listing, use the site notes to identify questions, not to infer a base design from the product title. Check the installation information and ask a qualified installer what ground preparation is required for the exact model and location. Record the condition you see now, rather than an assumed result of future landscaping.
Take photos of any slope or drainage concern and mark where it was observed, rather than relying on a note such as ‘uneven at back’. If the site is covered by grass or loose material, a visual check may not reveal what lies below; do not treat a neat surface as proof of level or suitability. Note when you saw water collect, since one visit is only a snapshot of the site. Do not decide to cut, fill or level the area solely to make the measurements match. Preparation depends on the site and the structure, so have the installer clarify it before you finalise the position. This check also helps avoid measuring from a temporary mound, stored materials or recently disturbed ground that may change before installation.
Compare the measurements and resolve close fits
Repeat the site measurements after marking the outline, especially the shortest clear width and length. Take each reading from both ends if practical and compare the numbers with the exact product plan. If a result is close to the footprint, do not round up the available space or assume a small discrepancy can be absorbed; the published dimension and site reading need to be understood first. Before ordering the Timber Tool Shed S listing, or any model, check that the units match and each figure refers to the same part of the structure. If product information gives separate base and overall dimensions, compare like with like and ask about any unclear difference.
Use a simple comparison record for every option: stated footprint, measured usable length and width, intended orientation, access route, obstacles and ground questions. Keep raw readings as well as converted values, and note the date so a later recheck can show whether landscaping or stored items have changed the site. Write the exact model name beside each product figure to avoid mixing measurements from different pages. A discrepancy is a reason to measure again or get clarification, not to choose whichever number looks more convenient. Where the product diagram does not show the relevant dimension, request confirmation before committing to the order. This lets you compare candidates on the same basis without assuming that similar names or pictures mean similar dimensions.
Before you order 5
Make a site sketch that someone else can follow
Make the site sketch legible to someone who has not measured the backyard. Draw the proposed footprint, label every side, mark a reference edge and show obstacles with measured offsets. Add the gate, route turns and overhead restrictions on a separate path line, and label fixed items separately from things you expect to move. If the ground slopes, show the direction and where you noticed it, but do not present a rough sketch as a level survey. Arrows can show which side faces the entrance or the house, provided they match the product plan. A phone photo with marked corners can help explain a difficult area; it is supporting context, not a substitute for written dimensions. Keep product measurements on the same sheet only when their source and units are labelled.
Before placing an order, share the measurements and any ambiguous points with the person responsible for supplying or installing the shed. State which dimensions are from the site and which are taken from product information; that helps prevent an answer about overall size being mistaken for a base measurement. Ask a direct question when a projection, entrance position or clearance is not clear, and keep the response with your notes. If another person remeasures, agree on the reference points first so a different starting edge does not create a false discrepancy. A concise, labelled record is more useful than a detailed drawing with no units or explanation of what each number describes.
Recheck the site before finalising your choice
Common measurement errors are usually small process slips, not difficult calculations. The main ones are measuring only the widest part, following a slope with the tape, forgetting an obstacle that projects into the space, and comparing site width with an interior or unrelated product dimension. Avoid estimating from a photograph, product name or another model’s figures. Check the narrowest clear line, read the unit beside every number and confirm the orientation against the actual drawing. If a measurement is unexpectedly tight, repeat it with a fresh tape setup and inspect where the ends are anchored. A careful recheck is more useful than trying to resolve a fit problem after the site has been prepared.
Recheck the measurements if the garden has changed since the first survey. A new garden bed, shifted equipment, pruning, stored materials or building work can alter the usable rectangle or access route. Confirm that temporary marks still match the recorded dimensions and that the selected product’s figures have not been replaced by assumptions from a similar listing. Keep enough notes to recreate the layout, and give the installer the same version you used to make the purchase decision. The result is more than a length-by-width pair: it is a measured footprint, a clear approach, known obstacles and a record of ground questions that still need an answer.
Frequently asked questions
Which dimensions should I measure for a garden shed site?
Measure the continuous usable length and width where the shed could sit, including the narrowest points. Compare those figures with the exact product’s stated footprint, using matching dimension labels and units. Interior floor dimensions are not a substitute for the space the outside of the shed occupies.
How do I measure a sloping or uneven site?
Measure straight plan distances rather than letting the tape follow dips or slopes, which can make the reading longer. If you cannot get a reliable horizontal measurement, note the ground condition and ask the installer how to set out the proposed footprint.
Is the shed footprint all the space I need?
No. The footprint is the area the structure occupies. You may also need space to reach the entrance, move items in and out, open the door or complete installation. Confirm any product-specific access or clearance requirements with the supplier or installer.
How can I mark the footprint on the ground?
Use the confirmed length and width to mark four temporary corners, then join them with string or chalk. Check the orientation and corners against the product drawing, and compare the outline with nearby obstacles and the route to the site.
What if my measurements are close to the shed dimensions?
Remeasure the narrowest clear dimensions and check that you are comparing like-for-like figures in the same units. Do not round the available space up or assume a discrepancy will be absorbed. Ask for clarification about dimensions or access requirements before ordering.
With the dimensions recorded, a ground-level outline tested, and access and site conditions noted separately, you can see whether a shortlisted garden shed fits the measured space and what still needs clarification. The aim is a clear, repeatable site plan matched to the specific product information, rather than a confident guess based on an open patch of lawn.
