
How to Measure Sliding, Patio and Bifold Doors

Planning patio access
A large glazed opening onto a patio can seem straightforward on a plan: choose the width, height and door type. On site, however, the rough opening, finished floor, wall build-up, travel direction and adjoining patio must work together before the door can be properly planned. Sliding and bifold doors in particular cannot be defined by one measurement alone. Ordering a preferred size too early can create conflicts with flooring, shading, furniture or drainage connections. This guide separates the existing survey, planning dimensions and final order dimensions. It will help you document an opening consistently and ask the right questions of designers, installers and suppliers.
Enquiry check 1
Start by matching the door type to the opening
Begin by deciding how the doorway must operate. A single hinged patio leaf requires clear swinging room, while a slider travels beside another panel and a bifold gathers several leaves together. That choice affects the practical passage, furniture layout and operating position as well as overall width. On a floor plan, include the patio, seating, kitchen island and radiators, then trace the route people will use. Expansive glazing may provide the desired light even when a narrower opening leaf serves daily access. If bulky items frequently travel outdoors, however, the arrangement may need to differ from one intended for occasional balcony access.
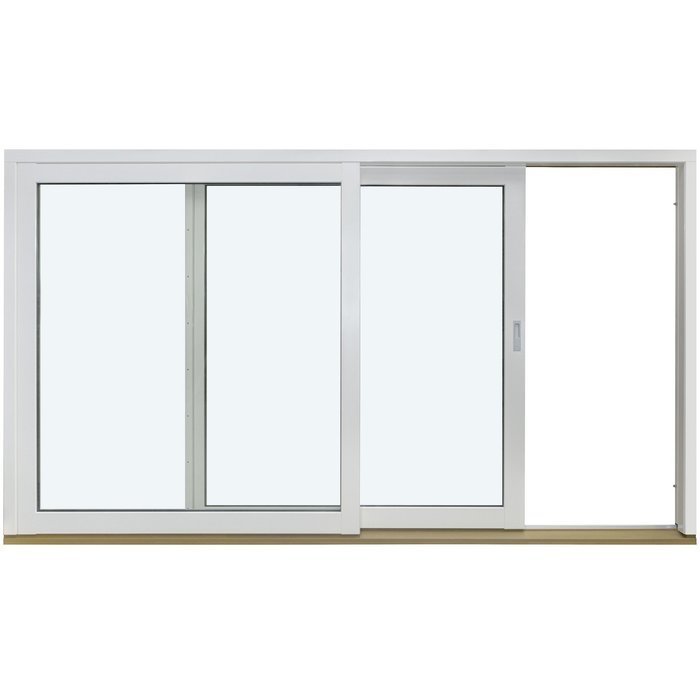
To compare the first configurations, use a Patio Life lift-and-slide door as a large sliding example beside a traditional hinged door. Do not infer dimensions, performance or included hardware from the product name; request each detail separately. Instead, define the arrangement on a drawing: nominate the stationary panel, the moving panel and its open position. Show whether full-height glazing is intended to align visually with a neighbouring window. For a renovation, also state whether the wall aperture will stay as it is or be redesigned. Recorded figures become meaningful only after intended use, viewpoints and panel travel have been settled.
Record rough and clear openings separately
A structural opening is the aperture available before the door is fitted. By contrast, the clear opening describes the usable passage or visible gap within an installed assembly, so the two figures serve different purposes. For new construction, measure across the reveals near the bottom, at mid-height and near the top. Take vertical readings from the selected datum at the left, middle and right. Existing linings, frames, plaster and thresholds can hide the underlying aperture. Label the precise start and finish surfaces for every reading, and annotate a photograph with the measuring locations.
Choose a rigid tape or an appropriate laser instrument, then verify any surprising result by hand. Enter each millimetre reading rather than selecting only the widest point. Although the tightest part may influence the design, investigate why readings vary: distorted reveals, an inclined floor and uncertain plaster layers call for different responses. Compare both diagonal measurements to identify an out-of-square aperture. Your notes provide useful evidence for discussing and assessing configurations, but they are not a substitute for the site measurement undertaken by a suitably qualified installer.
Enquiry check 2
Set the height datum at the finished floor
Door height is meaningful only when its datum is identified. Mark the proposed finished-floor level on both the wall and your drawing. For new construction, calculate every outstanding layer, including the build-up, screed and final covering. In an existing room, state whether the current finish stays, is replaced like for like, or changes thickness. Measure between the proposed level and the lintel underside. Where the floor specification remains open, also record the present distance to the structural slab. The notes should distinguish a temporary construction reading from the height available after completion.
Prepare another sequence of external levels from the same datum, continuing through the threshold to the proposed patio surface. Show the fall, surface thickness and façade junction even where decisions remain pending. An internally suitable height does not resolve the exterior connection. This means that every sliding door needs to be checked against the future indoor floor and patio, rather than only the exposed edge seen during construction. Ask the designer or installer which project details they require and nominate responsibility for coordinating the levels. During renovation work, that coordination should also address whether neighbouring rooms are expected to finish flush.
Capture width, depth and position in the wall
Opening width is only part of the survey; wall thickness also affects the frame, reveals and interior junctions. Measure that thickness in several places and describe known layers such as structure, insulation, render, lining or a service cavity. A photograph of the exposed reveal alone cannot establish the whole construction. For a layered external wall, coordinate the installation plane with the complete build-up and show the proposed frame position in section if it has been chosen. Without this, exterior alignment cannot be reliably reconciled with interior reveals, shutters or sills. Label unknown layers as unverified. Compare the visible depth at the head, sill and both jambs because differences may reveal changing finishes or hidden junctions. A labelled section from inside to outside will often explain the condition better than numerous uncaptioned close-ups.
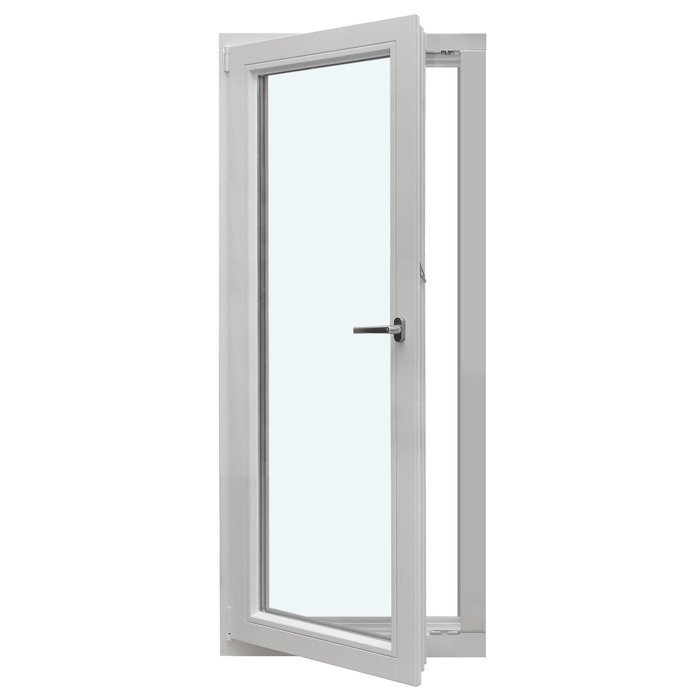
Measure the remaining wall on each side as far as corners, downpipes, columns, power points, radiators and neighbouring openings. On a lateral slider, the stationary panel influences the elevation, while the operating section avoids a hinged swing zone. The side-sliding Siegenia door shows why total width is not enough information. Specify the side carrying the movable leaf and label whether each drawing is viewed internally or externally. Reserve space on the plan for curtains, shading and fitted cabinetry as well. You can then check whether the handle, controls and cleaning areas will still be accessible.
Enquiry check 3
Always show opening direction from the correct view
Left and right become ambiguous unless every drawing identifies its viewpoint. Prepare a simple internal elevation and a separate external one. For hinged leaves, place the hinges on the appropriate edge, draw the swing and note whether movement is into or away from the room. A slider needs arrows indicating its travel and labels distinguishing operating panels from fixed glazing. For bifolds, map each fold and the location of the stacked leaves. Photographs are valuable records of existing conditions, but only an annotated drawing can communicate the intended movement of the replacement door.
Opening a leaf towards the patio preserves indoor floor area, but the exterior must remain clear. A single patio door with an outward swing therefore needs to be tested against plants, balustrades, steps and outdoor furniture. A door swinging into the room instead occupies space near items such as a dining table or bench. Replace the vague question of which side is left with three facts: the observer’s position, the direction of travel and whether full opening is possible. Together they describe the order far more clearly. Also trace how a pram, serving tray or garden furniture would pass through without having to divert around an obstruction.
Measure a bifold as a movement sequence
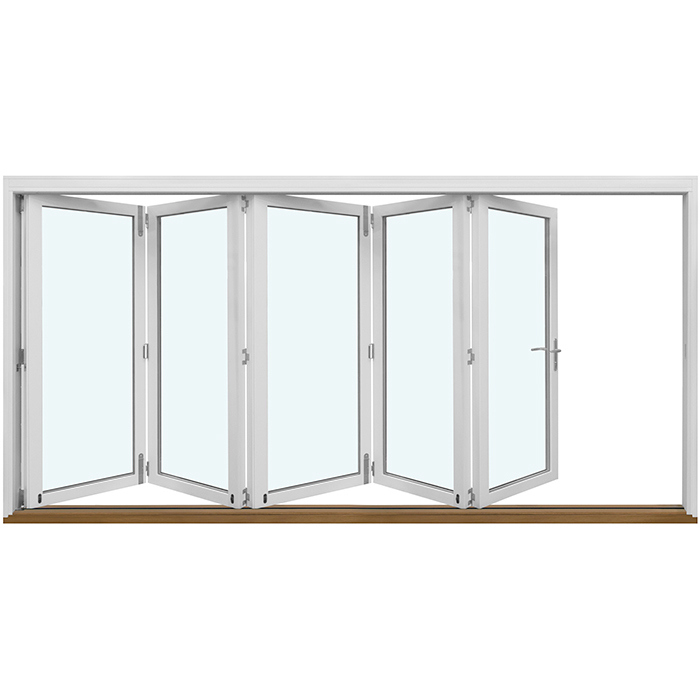
For bifolds, the everyday clear passage depends on both the quantity of leaves and their arrangement. Measure the complete aperture, then add the footprint occupied when the leaves are folded. Identify whether that stack sits inside or outside and to the left or right. Check that it will not obstruct a corner, light, privacy screen or the patio route. If the design includes a traffic leaf for routine entry, label it on the plan so short trips do not require operating the full system. A scaled paper layout is particularly useful for visualising movement around a wide opening.
For an outward-swinging bifold door the available patio area and stacking position need close attention. Use the proposed installation and product documents to confirm leaf division, operating sequence and clearances before selecting a configuration. Measure from the opening to any balustrade, change of level or roof-support post. Even when the folded group fits on paper, it may constrict the route people use. Renovation notes should identify old fittings, linings and canopies that could interfere with movement. Resolve these practical constraints before choosing equal panel widths, glazing bars or another visual arrangement.
Enquiry check 4
Assess passage, not overall width
System width and usable access are not the same thing. Frames and swinging leaves affect hinged arrangements differently from sliding panels or folded stacks. A fixed panel or parked leaf group may reduce the available passage in a multi-panel design. Define the real task instead: must someone carrying a tray pass comfortably, will outdoor furniture regularly move through, does the doorway connect to an eating area, or will it mainly provide air and outlook? Such a use brief is more informative than asking for the largest possible opening and helps determine a practical operating style and panel layout.
A single patio leaf opening into the room may suit a narrow wall if its indoor swing stays free. A broader glazed system can improve outlook and access, although it requires closer coordination with the structure, wall interfaces and patio. Draw furniture at true depth and allow for curtains and leaf movement rather than depicting an idealised empty room. Where kitchen and patio traffic is frequent, test two people passing in opposite directions. Treat the resulting clearance as a functional objective, not an order dimension you have calculated yourself. The selected construction and verified site measure will determine the clear opening that can actually be achieved.
Document lintels, reveals and existing fabric carefully
The top of the opening needs as much attention as the floor. Check the height to the lintel at both sides and the centre, photograph visible cracks, services, shutter boxes or unusual junctions, and note their locations. When replacing a door, the old frame can conceal parts of the reveal. Do not remove anything solely to measure if this could affect building fabric or waterproofing. Instead, record visible dimensions and uncertainties. If the new opening is to become wider or taller, it is not simply a door matter: suitable qualified professionals must assess the wall alteration and its effect on adjoining elements.
Use a long straightedge to examine both jamb surfaces and mark any bows, projections or recesses. An accurate width does not describe whether the adjoining surface is suitable for connection work. Record nearby interior features, including sills, radiators, linings and electrical fittings. Outside, masonry, render, cladding and existing waterproofing may all affect the eventual detailing. Organise the survey under three headings—structural aperture, interior junction and exterior junction—to give the specialist a clearer picture. Do not assume the replacement design is resolved merely because the old leaf happens to occupy the present opening successfully.
Enquiry check 5
Draw in the patio, water route and external space
Continue the drawing beyond the frame and map the first few metres of patio. Include paving, falls, steps, drains, overhead cover, balustrades, planters and paths. If the outdoor area will be rebuilt, show the intended scheme as well as current conditions. Rainwater and threshold connections need to be considered with the door rather than added after it. This guide is not a waterproofing or drainage design. Its purpose is to expose the questions that require technical resolution: the future surface level, the direction of runoff, and responsibility for coordinating the door with the façade and patio.
With a two-leaf patio door that opens outwards draw the travel of each leaf on the exterior elevation. Test whether either one interferes with a path, step or seating area. Changing the model is not necessarily the answer; relocating furniture, a barbecue or the access route may resolve the conflict. Make that choice deliberately rather than discovering it after installation. Note proposed awnings, exterior blinds and insect screens so their mounting and operation can be reviewed. A narrow side path may govern the arrangement in a townhouse courtyard, whereas furniture placed beside the glass can become the controlling issue on a larger patio.
Turn the survey, enquiry and order into a process
Set up one survey sheet for every uniquely numbered opening, with the site address, room, date and contact details. Attach internal and external photographs, a plan, an elevation and all millimetre readings. Separate present conditions from proposed work such as new flooring, patio changes, interior fit-out, shading or linings. Never combine measurements taken at different construction stages in the same column; mark unresolved information as open instead of estimating it. An enquiry should describe the operating type, viewing side, panel movement and whether each figure refers to structure or completed finishes, not merely list width and height. Apply a clear revision identifier whenever the sheet changes and visibly cancel obsolete copies. Before approval, confirm the current drawing, the author of each amendment and the common level datum used for interior, façade and patio work. This keeps correct information from separate revisions from being combined incorrectly.
For a double patio door that opens into the room, the enquiry is complete only when it identifies the full aperture, hinge positions, active leaf, room layout and height datum. Before ordering, have each position compared with the drawing and establish who will provide the authoritative site measure and coordinate the junctions. Bloomcabin offers a five-year commercial guarantee for windows and doors, while delivery takes four to six weeks subject to order confirmation. The guarantee operates in addition to rights that cannot be excluded under Australian Consumer Law. Neither the timing nor guarantee replaces technical approval or project-specific checking. File approved drawings, readings and revision histories together. For projects with several façade openings, unique position references help ensure each correctly surveyed door is assigned to its intended location.
Frequently asked questions
Should I give the smallest or largest opening measurement?
List every result beside its measuring location instead of choosing a single figure. The narrowest point may influence planning, but any variation still needs explanation. Uneven reveals, surface falls and an incomplete floor build-up each prompt different questions. Have the final order dimension verified by an appropriately qualified professional.
Which viewpoint defines left and right for a patio door?
Label the observer’s position, such as an internal view. For a hinged panel, indicate its hinge edge and draw the swing. For sliders, distinguish fixed glazing from the travelling panel and add an arrow. Paired internal and external elevations communicate the arrangement more reliably than an unsupported label such as “DIN left”.
Can I use the dimensions of an existing door for replacement?
Existing dimensions are useful evidence, not a confirmed order size. The current frame may hide the structural aperture, and different flooring, junction details or operation can change the required design. Document visible conditions, likely removal limits and proposed finishes, then have a qualified specialist assess the completed installation arrangement.
Must the patio already be completely planned?
A final landscape design is unnecessary, but record known levels and major features and label undecided items. Show the proposed paving height, falls, steps, routes and nearby obstacles so junctions can be coordinated. If exterior design remains unresolved, avoid selecting the door on the basis of a guessed finished level.
What should an enquiry include besides width and height?
Describe the operating style, viewing sides, panel travel, wall thickness, finished-floor datum and whether dimensions refer to the structure or finished surfaces. Supply photographs and a sketch showing the patio, shading, nearby furniture and building elements. For renovation work, identify distorted reveals, existing linings and proposed alterations.
Next steps
A sound survey considers how the completed doorway will function: who uses it, how each leaf travels, where indoor and outdoor levels meet, and what adjoins the aperture. Treat the wall, room, patio and opening as one coordinated setting. Attach a datum to every reading rather than turning one figure directly into an order size. With annotated photographs, a clear drawing and unresolved questions listed, you can compare door arrangements on a useful basis. Qualified project professionals should then coordinate the final configuration, verified measurements and installation details.
