
How to measure windows for replacement
Window replacement guide
Before choosing a replacement window, survey the opening that is already there rather than relying on a catalogue dimension. The visible pane and the old frame alone cannot show whether a unit suits the masonry opening, fitting method or surrounding junctions. If several windows are involved, record them on a consistent set of measurement sheets. Differences between rooms, window styles, handing and irregular shapes then remain connected instead of becoming separate questions later. Your own readings can guide early planning, but the installer or other responsible professional should verify the dimensions used for manufacture. Window, seals, sill and fitting details can then be coordinated together.
First decide what is being measured
A replacement survey involves three distinct sets of dimensions. First is the free opening through the wall or structural work. Second is the overall outside dimension of the frame that will occupy it. Third is the visible daylight opening or glazed area, which cannot establish whether the frame will fit. Existing-frame measurements may also be unreliable when plaster, trim or other linings conceal part of that frame. Label every figure on the survey sheet as wall opening, existing frame or visible area. Keeping these categories separate makes quotations more dependable and gives the surveyor, manufacturer and installer the same point of reference.
Decide early whether the old frame will come out in full or whether another replacement system is proposed. That decision affects the visible width, available glazing, connection details and final frame location. The new frame may need a smaller outside dimension so that designed clearance remains around it; this does not by itself indicate an undersized window. Nor should a snug opening measurement be transferred directly to an order. A professional must consider the reveal, sound fixing material and sealing arrangement as one assembly. A product comparison involving an single inward-opening window is meaningful only when the required operation and fitting conditions are recorded with the opening dimensions.
Take width and height readings across the opening
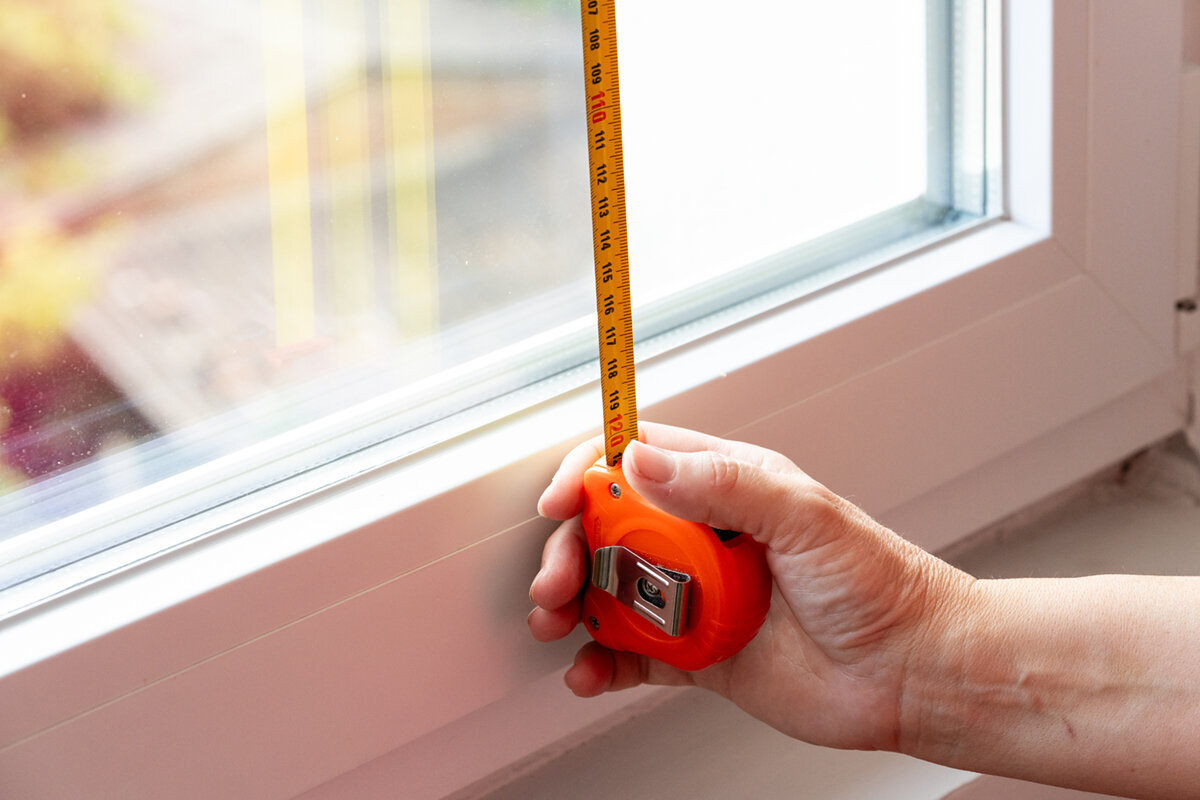
Across the exposed opening, take width readings near the head, through the centre and near the sill. Check the height at the left, middle and right, starting from a sound lower installation reference and finishing at the opening head. Uneven plaster, distorted reveals or a sill that is not level can produce different results, particularly in older buildings. Record each figure in millimetres instead of calculating a rounded average, and mark the lowest reading. It locates the tightest section for later assessment of tolerances and perimeter clearance. If an internal sill was added over the original construction, do not treat its surface as the lower fitting reference.
Suppose the upper and lower widths are close, but the centre is several millimetres narrower. Plaster thickness, a local bulge or an uncertain edge could explain the difference. Keep the reading, photograph the tape against that point and note any visible reason rather than discarding it. Height references need the same scrutiny: the room’s finished floor may not correspond with the external sill or threshold construction. Add a simple sketch for each opening and show where every reading was taken. The professional can then decide whether an irregularity affects the design or must remain provisional until finishes are removed.
Expose and identify the correct measuring edge
The useful survey edges may sit behind curtains, interior linings, roller-shutter housings or removable trim. Take off only items that are safe to handle and already intended for removal during the project. Leave seals intact and avoid breaking into the reveal simply to obtain an early measurement. At this stage, the aim is to understand where wall and frame meet, how deeply the connections sit and which coverings reduce the visible opening. Many initial surveys need little more than a torch, a firm folding rule or tape, a square and written notes. Laser equipment can help, but the reading still needs checking against the physical edge concerned.
Keep the rule or tape perpendicular to the opening for every reading; measuring diagonally exaggerates the distance. Where reveals are deep, compare the opening at the internal face with the opening at the external face. Record each plane independently if the wall slopes or the plaster profile varies substantially. Your notes should describe the edges observed rather than nominate one as the future governing line. Take a broad photograph from each side and a detail of a lower corner. Including a rule in the image gives a useful sense of scale. These records support design discussions, but the exposed opening still requires a final professional survey.
Include depth, reveals and junctions
Width and height provide only part of the information. Check reveal depth on several sides and identify any difference between the inside and outside profiles. Also show where the current frame sits through the wall thickness—towards the room, near the centre or closer to the exterior. Its position affects linings, sills, outside connections and possible shading devices. Without disturbing the construction, describe visible materials and their condition, such as masonry, concrete, timber lining or a soft or damaged patch. These observations do not create an order size; they help the installation designer select appropriate fixing and junction details.
Examine the bottom of the opening closely. The room-side sill, external sill, parapet and frame connection may all sit at different levels. Added internal boards can disguise the reference point, while outside covers and drainage falls may hide the underlying edge. For every figure, name its precise start and finish—for example, “internal clear height from sound parapet to lintel”. This precision is equally necessary for a fixed-glazed window because, despite requiring no swing clearance, its frame, drainage and wall connections still have to be designed together. Fixed glazing may nevertheless be practical in a location that is difficult to reach.
Do not infer handing from a product image
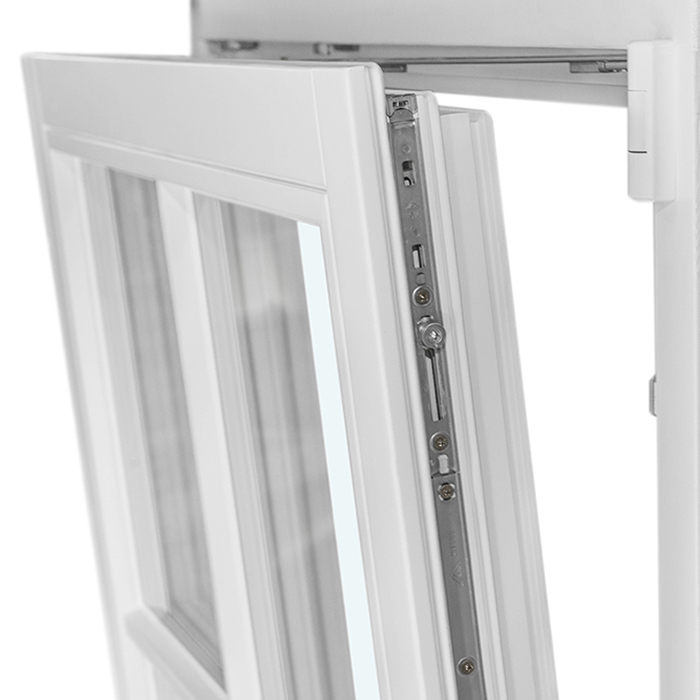
A set of dimensions cannot reveal the operating clearance a sash needs. For each opening unit, define the viewing side used for handing—preferably by writing “viewed from inside”. Then note inward or outward travel, the number of sashes, whether the action is side-hung, tilt, pivot or another type, and the hinge side where known. Add an arc to the drawing to represent movement. This simple mark can expose clashes with taps, heaters, furnishings, curtains or paths. Treat function and dimensions as one decision: even when a broad window fits the structure, its movement may be inconvenient in everyday use.
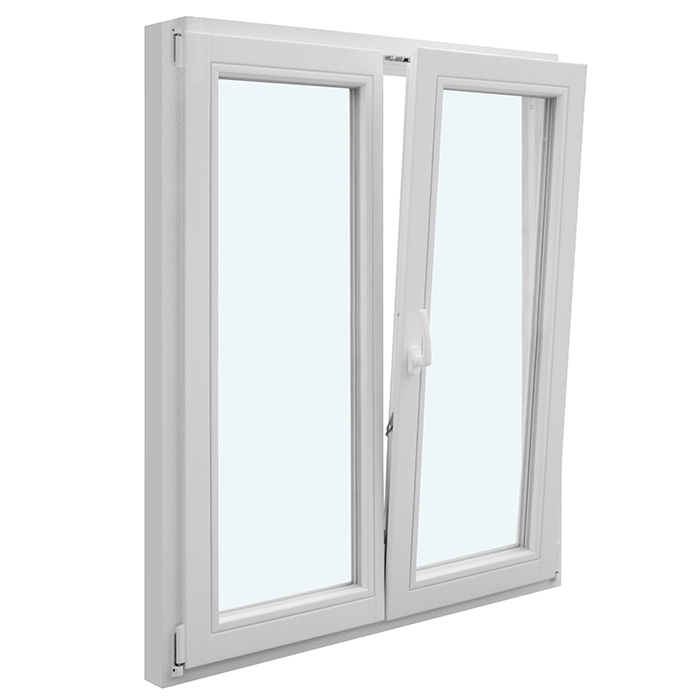
Assess the whole area around the proposed window rather than comparing products solely with the unit being removed. An inward-moving kitchen sash could strike a tap, while an outward-moving sash may narrow an external walkway. For a large opening, a double inward-opening window behaves differently from one full-width sash. Its division affects the outlook, cleaning access and the room needed for operation. Identify the leaves that will be used regularly so fixed and opening sections can be arranged deliberately instead of repeating the former layout by default.
Measure special shapes separately
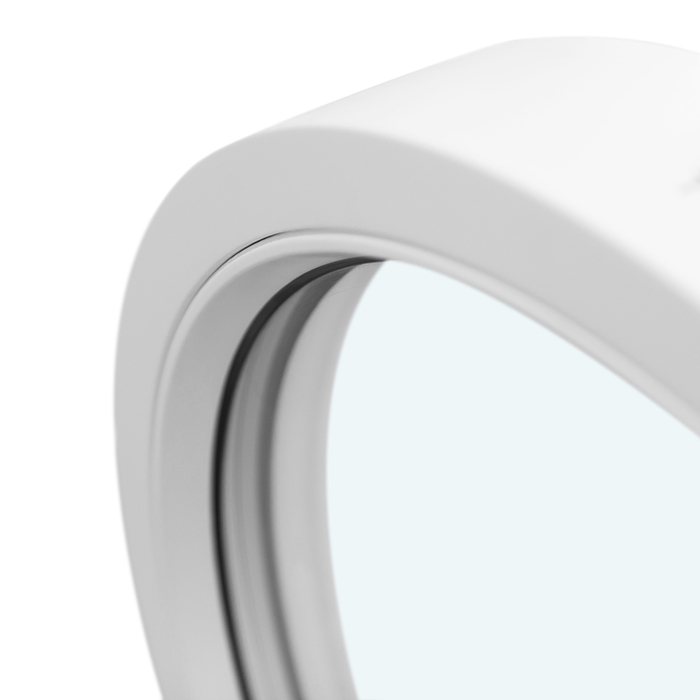
Circular, semicircular, triangular and raked openings require a fuller geometric record. Draw the outline against a defined baseline. Check a circle’s diameter in at least two directions; for a semicircle, include the straight bottom edge and the rise of the arch. For triangular and sloping fixed-glazed windows the designer will usually require the baseline width, relevant heights and either a clearly defined angle or accurately surveyed corner points. A photograph containing a scale is useful supporting evidence, not a substitute for the geometry. Shapes that appear balanced by eye may not be truly symmetrical, especially where an older opening has moved away from its ideal form.
With a round fixed-glazed window separate the circle that can be seen from the opening used for installation. Linings, plaster and the reveal profile may change its apparent shape. State whether each dimension was taken from indoors or outdoors and whether the frame edge was exposed. A cardboard pattern may help communicate an angled form at an early stage, but it can warp and may not represent the actual installation plane, so it should not control manufacture. Supply measured points, clear photographs and notes about the wall construction instead. Before approving a bespoke unit, arrange for a suitably qualified person to verify the shape and connection dimensions at the property.
Document divisions, glazing bars and visible proportions
Correct overall dimensions do not guarantee the expected appearance when sash and glazing divisions remain undefined. Photograph every window square-on. For a multi-sash unit, record the visible width of each field, the central mullion position and the level of horizontal divisions. Explain whether the important lines come from glazing bars through the glass, applied bars or frame members, as each produces a different result. An order note saying only “with glazing bars” is too vague. Provide a dimensioned sketch and key, and label it as an inside or outside elevation. Choose one consistent datum, such as the left clear edge, for chained dimensions so that nobody reads the layout from the opposite side.
An older home can retain a heritage character without reproducing every detail of the former window. Identify what chiefly creates that character—perhaps the number of sashes, a horizontal division, slender fields or the arch above. Only then should you compare a heritage-style double casement window with alternative opening arrangements. Its name identifies a product configuration, not the proportions automatically suited to a particular elevation. Review frame sightlines, glazing bars and operation across the building as a whole. A drawn street or garden elevation makes relationships between openings easy to assess and shows whether a consistent layout is desirable or whether differing room functions justify intentional variation.
Record sills, shutters and external junctions
Survey the fittings and finishes around the frame as well as the window itself. Note any internal sill extending into the reveal and any external sill, flashing or cover, including its projection. Take depth measurements from a named wall plane and photograph both ends. Plot roller-shutter housings, tracks, external blinds and awnings, with approximate positions and gaps. Screens, balustrades and downpipes may also restrict movement or access. Capturing these details before selection shows how a change in frame position could affect adjacent components and reduces the risk of having to devise corrections after the window arrives.
Low-level openings need particular attention. With a single inward-opening patio door needs a record of the threshold, indoor and outdoor floor construction, and the direction of fall across the adjoining surface, not merely its width and height. Avoid using a rug, removable decking layer or loose cover as a datum. Identify the finishes intended to remain and the route available for water to drain. Photographs cannot establish by themselves whether alterations are required. The responsible professional should consider the materials, seals and connections as a complete detail. For an initial enquiry, document the existing condition accurately rather than proposing an unverified technical remedy.
One measurement sheet per opening provides clarity
Assign a distinct identifier to every opening—for example, GF-W01 for the first ground-floor window and FF-D02 for the second first-floor door. Repeat it on photographs, sketches and the product enquiry. The corresponding record should name the room and elevation, list all width and height readings and the depth, and describe the desired operation and any obstacles. Include interior and exterior images, the survey date and the person who took the measurements. This method stops information from similar-looking openings being mixed up. A consolidated spreadsheet will also distinguish genuinely matching dimensions from units that merely appear alike.
Then plan in two columns: existing and preferred. Put only observed information in the existing column. The preferred column can include fixed glazing, opening direction, glazing bars, privacy screening or a different sash split. Keeping them separate prevents preferred sizes being confused with existing dimensions. In a wide opening, a Patio Life lift-and-slide door element may offer an alternative to hinged doors, although its suitability cannot be inferred from the opening alone. Compare the overall width, threshold arrangement, lateral junctions and clear operating area demanded by each proposal. Used this way, the measurement sheet supports both the physical survey and the wider choice of system.
Obtain a final check before ordering and coordinate the work
Initial measurements are useful for narrowing choices and preparing a detailed discussion. Dimensions released for manufacture, however, must correspond with the final installation strategy. Arrange the definitive survey after deciding which frames, linings, shading devices and sills will be removed and which finishes will remain. The surveyor needs access to both faces and should record discrepancies immediately. Agree who approves dimensions, designs connections and coordinates plastering, painting and sill work. Do not order from figures exchanged verbally during different construction stages. Move furniture, curtains and loose coverings away from the area. If removal is needed before a critical edge becomes visible, decide who will evaluate that uncertainty and when approval can occur. This keeps provisional information clearly separate from manufacturing data.
Bring the completed sheets, photographs, preferred products and unresolved questions to the final review. Confirm the measuring plane, the dimensions authorised for production and the allowances at both sides, the head and the sill. Ask what must be removed beforehand and how concealed damage or an unexpected opening will be handled after strip-out. Record every amendment in writing under the correct element code. Bloomcabin windows and doors include a five-year commercial guarantee. Their usual delivery period is four to six weeks, subject to order confirmation. Do not schedule removal or subsequent trades until the order and timing have been confirmed. Non-excludable guarantees under Australian Consumer Law operate alongside the commercial guarantee.
Frequently asked questions
Should I measure the old window or the wall opening?
The wall opening is the primary reference for replacement planning, although the existing frame dimension should also be recorded wherever it can be seen. Label the two sets of figures so they cannot be confused. A final size can only be established after considering the proposed frame position and perimeter connection space. Have the installation professional confirm the definitive survey.
How should I handle different readings across one opening?
Keep every width taken at the top, centre and bottom, and every height taken at the left, centre and right. The lowest clear figure identifies the constricted area but does not become the order dimension automatically. Plaster, the available fixing substrate, frame location and planned connections all need professional assessment.
Can preliminary measurements be taken from indoors when outside access is unavailable?
Yes. Measurements from the room side can support an early enquiry, provided you identify the exterior as unchecked. Add an outside photograph wherever practicable. External reveal geometry, shading, sill construction and frame connections may differ from what is visible indoors, so the outside must also be assessed before dimensions receive final approval.
Do I need to measure every identical-looking window separately?
Yes. Alterations, settlement, plaster and parapet construction can make openings differ even along one elevation. Give each opening an identifier and survey it separately. Combine units into one configuration only after their full measurement records have been compared and shown to match.
When should I order after measuring?
Place the order after the configuration, approved dimensions, operating direction, connection details and responsibilities have all been settled. Compare the confirmation line by line with the element schedule. Bloomcabin windows and doors generally require four to six weeks for delivery, subject to order confirmation, so wait for confirmed timing before arranging removal or later trades.
Next step
A useful self-survey describes the opening clearly without treating preliminary readings as production dimensions. Take repeated measurements of width, height and depth, identify every measuring edge, and keep operating preferences separate from observed construction. Link each photograph to the correct opening. Special geometry, low-level doors and prominent divisions must be resolved through the combined evidence of the existing structure, intended use and fitting strategy rather than one figure. A thorough measurement sheet makes product comparisons more focused and questions easier to answer. The professional responsible for the installation and connections should ultimately approve the dimensions.
