
Kitchen window above the sink: opening and cleaning
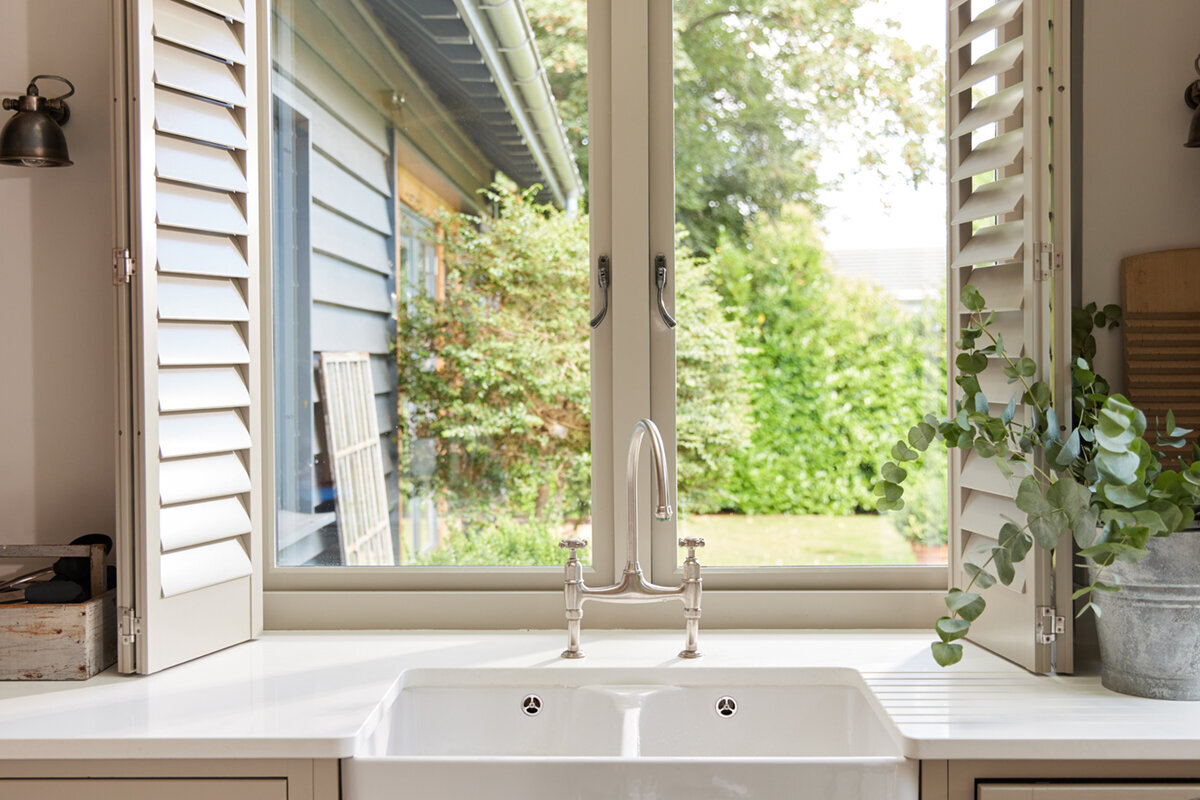
Kitchen planning and window selection
Choosing the sink and tap can expose a late problem in the kitchen plan: the window behind them fits the drawing but cannot open freely. A tall spout may hit the sash, the handle can end up behind a draining board or plants, and the outside glass may be hard to clean. This is where window design, cabinetry and daily kitchen routines intersect. Do not decide by window size alone. Compare opening style, hinge side, handle reach, sash travel and cleaning access against the final sink, benchtop, tap and wall units. Planning them as one system provides daylight and ventilation without making the finished kitchen awkward overall.
From kitchen drawing to window choice
Begin with a full section through the sink run, not the window elevation. Mark the finished benchtop height rather than only the base cabinet. Add the sink rim, tap, sill or benchtop upstand, wall finish and exact window opening. Record the distance from the benchtop’s front edge to the window, because it determines the reach to the handle. During renovations, the existing reveal, radiator, electrical points and water pipes may further limit your choices. Use the regular window user as the human scale, and test comfortable operation rather than merely proving the handle is theoretically reachable.
Before ordering the benchtop or window, review this drawing with the kitchen designer, window supplier and trades handling installation and connections. Ask for the clear opening dimensions, frame elevations, handle side, hinges and hardware movement space. A single sash may behave differently with a centred tap than with an offset bowl. If the sink remains undecided, there is more freedom to adjust the window; once the kitchen run is fixed, the opening method must suit it. Capture the agreed combination in a dimensioned elevation, turning “window above sink” into an orderable arrangement with reference points everyone can verify.
Reach begins with the handle and sill
The handle is the part used every day. It should be reachable from a normal working position, without reaching over the bowl or clearing objects away. Consider not only its height but also its horizontal distance across the benchtop. A deep bowl, wide draining area or high splashback lengthens that reach. If the handle sits behind the tap body, even a small window can be awkward. Discuss whether a side handle, different sash division or altered sink position is the more sensible priority. A window-maker’s dimension alone says nothing about this everyday ergonomics.
For a single inward-opening sash window the handle side needs careful alignment with the sink. Depending on the hinges, it may sit within easy reach or behind the tap and items on the benchtop. Tape the sink and tap outlines onto the benchtop, then rehearse reaching the handle. Where the design allows tilting or partial opening, test those positions too. A small change may solve the conflict: shift the sink a few centimetres, reorient the tap or revise the sash division. The arrangement is not truly usable if soap, brushes and dishes must be cleared away whenever you open the window.
Check sash clearance above the benchtop
Trace an inward-opening sash through its full arc, because its travel enters the kitchen and may cross the sink, tap, dish rack or appliances kept on the benchtop. Do not measure only to the tap’s front. Record its highest point and furthest rear projection, then rotate a swivel spout through every normal position. Include raised cupboard doors, open overhead flaps and nearby pendant lights. A narrow sash is not automatically safe: its modest-looking arc may strike the tap at the worst point. Judge the complete sweep, not whether the closed window seems to clear the fittings.
A cardboard arc or batten cut to sash width can help recreate this space. Fix it temporarily at the proposed hinge side and move it from closed to widely open; conflicts hidden in an elevation soon appear. With double inward-opening windows test each sash separately. The smaller or less-used sash may be more accessible beside an asymmetric sink, while the other meets the tap or tall cabinet. When comparing options, ask not only for the maximum opening angle but which position remains usable for ventilation, cleaning and passing items through. A window that opens only a few centimetres is not equivalent to a freely usable sash.
Outward opening: more room, but check outside
An outward-opening sash does not occupy swing space above the benchtop. It can suit a high tap, deep reveal or tightly used kitchen run that would make an internal sash impractical. It still needs its own assessment. External shutters, balustrades, plants, downpipes, a narrow path or a deep lightwell may affect its movement. Establish how the outer face can be reached when open and how the internal handle will be operated. The clearance issue has not disappeared; it has moved outside and into the practical arrangements for cleaning and maintenance.
A single outward-opening casement window is useful for comparison where the space over the sink should remain as clear as possible. Do not choose it on that benefit alone. Draw its external opening direction and consider wind, rain and neighbouring windows opened at the same time. A window above a ground-level patio has a different external cleaning route from one above an inaccessible area. Also ask which movements are needed to unlock, open and close it once the benchtop is in use. This option is compelling when it avoids internal clashes and also permits a credible, safe cleaning routine.
Assess top-hung windows properly
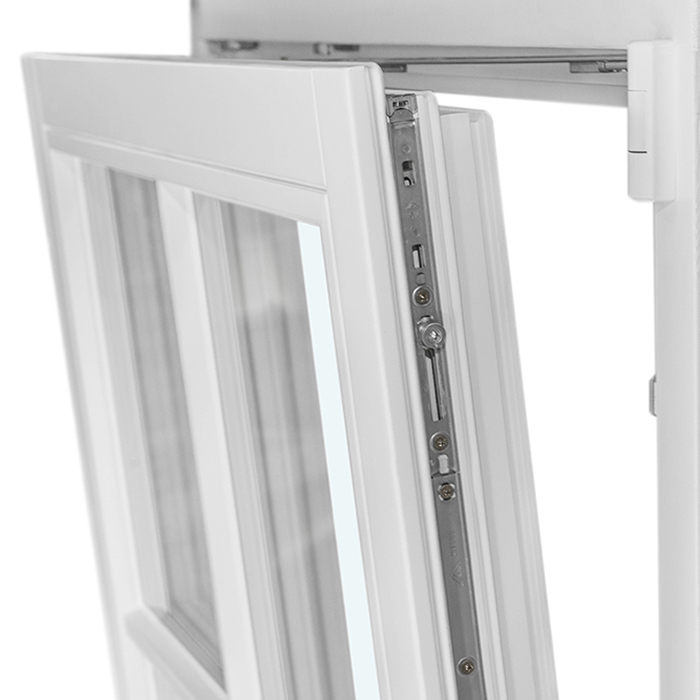
A top-hung window moves outwards when opened and can relieve the area directly in front of the sink from an inward-swinging sash. Its suitability depends heavily on window height, opening extent, handle location and the position of the lower sash edge. With a taller window, the operating point may be higher; a low format may bring the open sash into the outside line of sight or movement. Decide whether you mainly want brief ventilation or expect to open the window widely and often. That use determines whether reachable operation matters more than a large clear opening.
A top-hung outward-opening window may suit a layout that must keep the indoor space above the tap and bowl clear. The product name alone does not confirm dimensions, opening angle or controls, so verify the selected configuration. Request an open-position drawing and plot the handle height on the kitchen section. Check for access blocked by a top cabinet, side recess or window treatment. Along a long benchtop, consider where an open sash will direct water, steam or draughts. The ventilation choice should still allow a simple hand movement, without climbing, shifting objects or relying on makeshift aids.
Treat cleaning as a selection criterion
Cleaning is easy to overlook until installation. Indoors, the pane should be reachable without leaning across a full sink; the exterior also needs a realistic access plan. Instead of asking whether it is “easy to clean”, identify which surfaces are reachable in each sash position. Check frame rebates, outside faces, lower edges and corners as well as the glass. A large sash may seem manageable from the room yet leave its exterior unsafe to reach above the sink. Reserve somewhere for the cloth and cleaning products without crowding the work area or bowl.
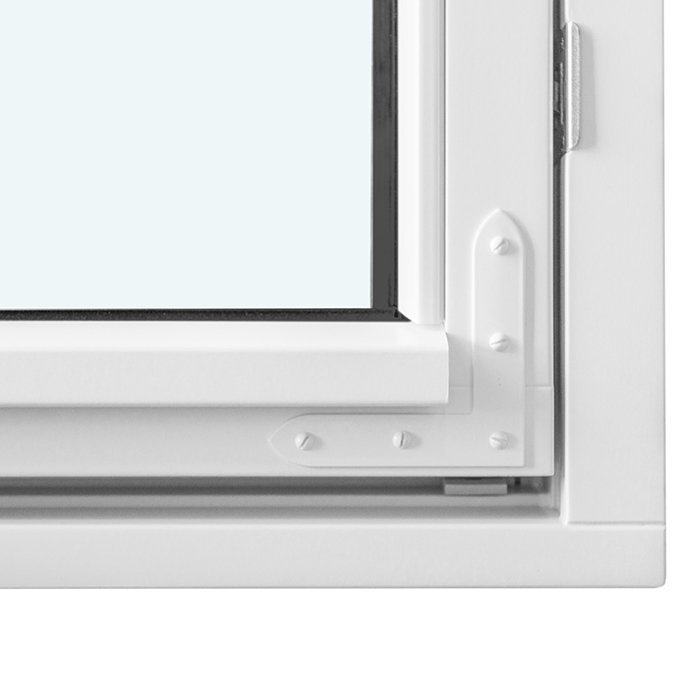
A single vertical-pivot outward-opening window offers a different approach. Instead of simply swinging the sash outward, its turning movement becomes central to making the glass accessible. Whether it suits the kitchen depends on the actual operation, dimensions and available space. Ask for the intended movement to be demonstrated and assess it from a drawing or sample. Check whether handles, the tap or objects on the sill obstruct the turn. For difficult-to-reach outer faces, a cleaning arrangement operated from inside can be more valuable than a large side-hung window that is rarely opened fully. Cleaning is not a secondary detail; it belongs beside daylight and ventilation in the selection process.
Combine fixed glazing and opening sashes
Some glazing above a sink can remain fixed. A fixed pane provides daylight and a view without a handle clash or sash arc, but it cannot supply natural ventilation at that point. Combining fixed and opening sections separates these functions. Put fixed glass where a tap, tall unit or deep benchtop hinders access, with an operable sash beside or above it in an easier position. Although the kitchen elevation changes, everyday use may improve. Fixed glazing is not a convenient fallback unless you have also established a practical method for cleaning its exterior.
A window with fixed glazing is most useful when you deliberately accept that this pane will not open and can still reach both faces. Decide whether a narrow side sash can provide daily ventilation or whether another part of the kitchen handles it. Across a window wall, divisions also change where splashes and cooking steam show and how the sill functions. Ask for a quotation drawing that clearly labels every fixed and opening panel, avoiding the common assumption that more glass means a larger opening. Symmetry is secondary: the right composition places operable parts within reach and fixed panes where they make practical sense.
Coordinate sash division, mullion and tap
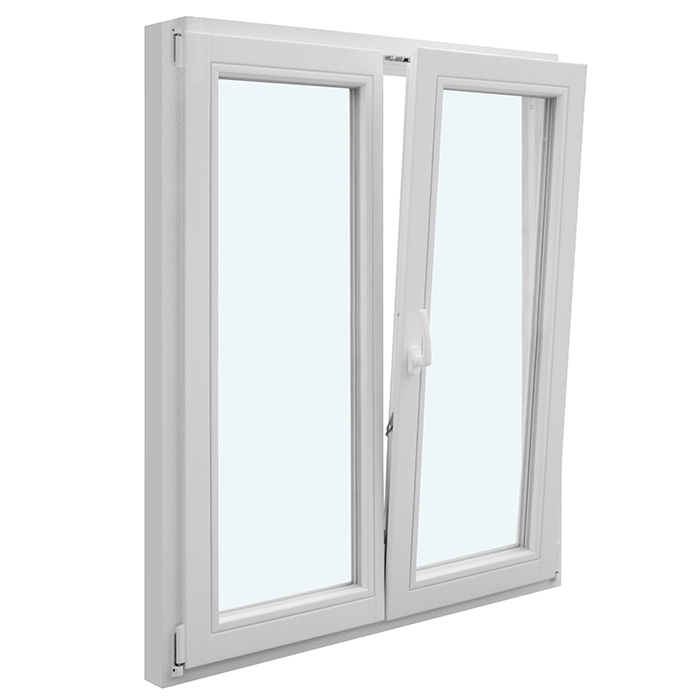
For wider openings, sash division determines where handles, frames and opening edges sit relative to the sink. A central mullion directly above the tap spout may look calm but split the sightline. Two sashes create different ways to use the window, yet add frames, hardware and potential conflicts. With an offset sink, an asymmetric arrangement can place the more frequently used sash over clear benchtop space. With a centred bowl, draw the tap as a three-dimensional object rather than a line. Its sweep, control lever and possible pull-out spout all alter the required clear zone.
A double outward-opening casement window addresses the division differently because neither sash sweeps over the benchtop. Even so, nominate the sash to be opened first and confirm that both handles are reachable without stretching. Review outdoor clearance separately for each leaf: one may need to pass a downpipe while the other has open space. Request a drawing that locates mullions, sash edges and handles against the sink centreline and tap. It will show whether equal widths genuinely support easy operation or whether an offset division would make routine kitchen work smoother.
Sill, splash zone and fittings
The area behind a sink gets wet regularly. Treat the junction between benchtop, wall surface, sill and frame as one coordinated detail. A deep sill offers storage but lengthens the reach and gathers items that must be moved before opening. A flush arrangement may improve access but requires carefully coordinated junctions. Blinds, pleated shades, insect screens and decoration also belong in the plan, as they can affect the handle, ventilation route and cleaning. Ask how each chosen fitting is operated, removed or cleaned when the window is open. The visible window solution should not add unnecessary steps to the work area.
Run a practical test at a busy sink: wash vegetables, rinse a large tray, fill the kettle, open the window for ventilation and clean the glass. It may reveal that the tap spout blocks the sash, or that the sill is the greater nuisance. Assign detergent and the brush a permanent spot away from the handle. A deep reveal, especially in a thick wall, can constrict this zone. Have the responsible trade design seals and junctions for the selected wall and kitchen system. The window will remain convenient only when surrounding finishes and fittings protect its full operating and cleaning space.
Finish the order with clear checks
Make sure every participant reviews the same plan before you order. Give the supplier a dimensioned photograph or section of the sink run, showing benchtop height, sink model, every relevant tap movement, preferred opening direction and exterior constraints. Ask which figures describe the outer frame, clear opening and sash. Confirm the handle location, hinge side, opening diagram and useful cleaning positions for the exact window quoted. If the kitchen arrives after the window, mark its planned edges on site. This helps prevent a correctly supplied window from conflicting with a kitchen installed differently from the approved drawing.
A outward-opening pivot window should be judged from its configuration drawing, as should every other option, rather than from its label. Apply one checklist throughout: handle location, indoor and outdoor clearance, access for cleaning each face, and fittings that must remain unobstructed. Plan delivery and installation sequencing early. Bloomcabin gives a 4–6-week delivery time subject to order confirmation, plus a 5-year guarantee for windows and doors. Neither replaces coordination for the individual project. The opening method becomes a reliable choice, rather than a catalogue assumption, only after the window, kitchen layout and installation conditions have been reviewed together.
Frequently asked questions
Can a window sit directly behind a high kitchen tap?
It can, provided the tap and window movement are coordinated. Overall height is not the only issue: the spout, control lever and swivel range all matter. Draw their outlines in section and test the complete sash movement. If clearance is insufficient, consider a different sash layout, an altered sink position or another opening type.
Is an outward-opening window always better above a sink?
Not necessarily. It keeps swing space clear of the benchtop and tap, but moves the assessment outside. The sash path, access and cleaning all need checking there. The better choice comes from both sides of the window: everyday operation indoors and genuine reach outside. Compare detailed drawings rather than opening direction alone.
How can I check external cleaning before installation?
Decide where a person would stand to reach the exterior pane. Check the window height, ground or patio level, lightwell, nearby structures and the chosen sash’s movement. Ask the supplier to identify its approved cleaning position. If safe access is not credible, revisit the sash arrangement or opening method.
Should a window above the sink have one sash or two?
Two sashes can provide a smaller, more reachable ventilation sash and move the handles, but they also add frames and operating points. A single sash looks simpler yet may need more movement space, depending on its opening type. The sink position, tap and sash you will actually use matter more than visual symmetry.
When is fixed glazing useful above the benchtop?
It suits situations where light and outlook matter more than opening at that point and cleaning both faces has been arranged. It is often paired with an opening sash elsewhere. Plan kitchen ventilation as well as appearance. Fixed glazing should not be an unintended result of an opening window that is too difficult to reach.
Next steps
A kitchen window above the sink is well planned when it works reliably in the fitted room, not merely in the wall opening. Set the final dimensions for benchtop, bowl and tap first. Then compare handle access, opening space, hinge side and the cleaning route inside and outside. Inward-opening, outward-opening, top-hung, pivoting and fixed windows each address different conflicts; none is automatically superior without checking. Work with a dimensioned section, a movement trial and joint sign-off for the kitchen, window and installation. This turns a demanding junction into a window that combines light, air and a usable sink run.
