
Large Windows: Weight, Structure and Installation Access

Planning for oversized windows
Daylight and the outlook often drive the first conversation about a large window. Ordering one, however, also means planning freight and installation. The glazing has to reach the opening, the frame needs controlled positioning, and the surrounding construction must accept the loads without straining later junctions. A rough-opening measurement alone cannot establish feasibility for floor-to-ceiling fixed panes, broad sliding systems or unusual shapes. Review the glass specification, unit divisions, structural setting and full route from the delivery vehicle together, before details become fixed. Quotations are then easier to compare because the brief describes dimensions, operation, glazing, building fabric and site access rather than merely requesting a “large window”.
01 / Define the configuration
Do not compare external dimensions alone
Matching width and height do not mean two windows will present the same handling task. Pane count and specification, individual glass sizes, frame profiles, mullions, hardware and sash weight can all change the result. Request information for the selected configuration rather than an approximate figure for the entire glazed frontage. Ask for each delivery component’s weight, the heaviest component’s outside dimensions, its centre of gravity and transport orientation, and whether the frame and glass arrive together or separately. With those particulars, the installer can organise people, lifting equipment and a temporary set-down area before delivery instead of devising a solution when the vehicle arrives.
Removing opening hardware does not make a large fixed pane inherently light. For that reason, a fixed-glazed window is well suited where daylight and an uninterrupted outlook take priority over ventilation, provided the delivery and installation route can accommodate it. Draw the opening, visible frame widths and proposed divisions for any wide glazed expanse. The drawing may show that one uninterrupted pane is essential, or that two more manageable fields provide a comparable spatial effect. Because divisions permanently influence the elevation, they are more than a transport solution. Obtain dimensioned views of both schemes and relate the frame lines to façade axes, internal walls and fixed furniture. Consider access for a future glass replacement as well. This comparison is not a technical assessment, but it exposes practical constraints and possible later costs before the layout is settled.
Treat weight as an installation issue
Glass weight varies with both pane area and the specified build-up, so it cannot be treated as a single standard allowance. On a large unit, a modest area change may noticeably affect how the component is raised, rotated and seated accurately. The key figure is the weight of the largest separate unit, not only the combined installation weight. The method statement should also address whether suction equipment can grip the glass, the location of approved lifting points, and when packaging or protective strips are removed. Supplier, installer and site management should settle these matters before programming the work.
Include the stages on either side of installation in the plan. A unit can be readily moved from truck to façade, while the last metre is obstructed by a step, narrow passage or scaffolding. Indoors, screeds, stair landings, fresh floors and finished walls may constrain transport. A changed lifting route, earlier installation stage or different unit division may solve the issue, depending on the project. Do not order on the basis that a crew will somehow carry it. Assign delivery, unloading, internal transport and positioning responsibilities in writing. Confirm whether secure temporary storage is necessary and how long the unit may remain there. That location must be accessible, avoid blocking other trades and minimise needless movement of large components. For this planning, the installer needs actual delivered dimensions including packaging.
02 / Check the weight
Clarify loads on the building fabric early
Permanent alignment and support require a true, load-bearing surface suited to the window unit. Side fixings are only part of the assessment for a large opening. The support below the frame, the lintel or other construction overhead, and the wall or framing system must also be considered. Although the supplier can issue data for the window, a qualified designer or the project’s responsible building professional should determine how the particular structure receives its loads. This review is especially important during alterations, across very wide openings, or wherever the existing construction is poorly documented.
Do not assume that a window board, insulation panel or waterproofing plane can act as a structural bearing. Leaving support, alignment and fixings to be improvised on site risks stressing the unit and complicating its junctions. Approval should address the opening, bearings, fixing zones, connection joints and any reinforcement as one detail. Supply the designer with confirmed manufacturer documents for the chosen configuration rather than only an architectural sketch, and give the supplier the approved installation conditions. List unresolved matters openly in the plan approval. “Who approves the support below the frame?” assigns a decision; a broad instruction to “check on site” can leave different parties expecting someone else to resolve it.
Plan sliding units as a system
Wide transitions to a terrace can connect indoor and outdoor areas beautifully, but they place high demands on coordination and access. With Patio Life lift-and-slide doors confirm the fixed panel, the moving side and the route by which the system will reach its final position before placing the order. Overall dimensions alone do not identify the delivered sections or assembly method. Obtain the weight of the largest component and confirm the clear working space required both indoors and outside. Programme access around the construction stage as well, because scaffolding, waterproofing, terrace construction or landscaping may obstruct a route that was available earlier.
Resolve the threshold against the final floor level while details can still be coordinated. There is no single installation height for every project: structure, floor layers, drainage and the selected door system must work together. Record levels in a section, not just on plan. Allow room for operation so furniture, heaters and curtains cannot intrude later. Where lifting machinery can reach the opening only during a particular phase, identify that period in the works programme. Design intent, construction details and installation timing need the same baseline for a generous opening to perform as planned. The section should distinguish work required before the unit is positioned from work that follows, preventing finished surfaces from closing the route or later trades from covering an unfinished junction.
03 / Coordinate the structure
Balance divided and uninterrupted glazing
A single expanse of glass offers a quiet composition and directs attention outside, but increasing pane size also raises the demands of transport, manoeuvring and access. Splitting the glazing can reduce the largest delivery component and permit another installation sequence. In return, the design gains extra frame lines, junctions and perhaps operable sections. Neither approach is automatically preferable. Put two or three actual layouts through the same review: record the heaviest component, map its route to the opening, study the view from indoors and decide which sections truly need to operate.
With a door that travels sideways, the arrangement of panels affects everyday operation as well as appearance. A sliding door may provide a different passage when the panel rhythm changes, despite retaining the same total width. Compare options in a table covering visual composition, opening action, largest component, access route and junction design. Add practical use, including furniture positions and the preferred path to the terrace. This shifts the decision from a rendered image to a scheme that can be installed and comfortably used. Identify decorative and glass-dividing bars separately in the quotation because they produce different visual and construction outcomes. Then view each grid from normal positions around the room. A balanced exterior composition might place a bar through the principal dining-table outlook, while alignment with an internal wall can make a mullion visually recede.
Installation access starts at the kerb
Survey the entire journey between the likely unloading point and the opening, taking measurements and photographs as you go. Record driveway clearances, bends, overhead restrictions, gradients, steps, gates, passages and possible equipment standing areas. A short route over soft ground or through a tight entrance may be harder than a longer level approach. Inside, check that travel surfaces can carry the operation, identify turning space and plan protection for completed finishes. Photograph the approach as the driver would see it and include clear views of the façade for the installer. Mark routes that other trades must keep open. Measure each genuine pinch point: eaves, gateways and corners may constrain a long component more than a nominal clear width. Finally, distinguish fixed obstacles from items that can be temporarily removed.
Manual carrying, suction equipment, a mini crane and a larger crane are separate methods, each with its own reach, footprint and safety constraints. The contractor selects the method after reviewing component weight, site conditions and working practice. Give the contractor early notice of overhead services, eaves, neighbouring structures, trees, temporary fences, gradients and scaffolding. Request a clear account of the intended unloading and installation sequence. If machinery needs access before landscaping or other external works, site management can reserve that stage in the programme. Nominate who will inspect the route immediately before delivery. Earlier photographs cannot confirm current access if containers, earthworks or scaffold alterations have since changed the site.
04 / Plan access
Choose opening sashes for use, not appearance alone
For expansive glazing, appearance is only the starting point; the sash must also remain manageable in routine use. Its weight and leverage affect hardware, opening direction and required clearance. An inward-opening single-sash window can provide one uncluttered opening, but plot its actual swing against the window board, curtains and furniture. As sash size grows, a physical operating demonstration becomes valuable; otherwise, use a scaled room drawing. Check intermediate positions rather than considering only the fully open sash. The handle also needs to remain comfortably accessible without reaching across a deep benchtop or permanent fitting. For a window used regularly, this ordinary movement is more relevant than the maximum opening position reached only occasionally.
A pair of sashes apportions the opening differently while introducing a centre line and another operating sequence. An inward-opening double-sash window should therefore be assessed as its own arrangement, not as two reduced versions of one broad sash. Establish which leaf operates first, how each one is restrained when open, and whether the intended ventilation setting is convenient. Test the arcs against the planned bed, kitchen, desk and any project-specific escape path without presenting those checks as universal requirements. One coordinated drawing should bring together the elevations, room layout and functional brief. Include curtains, internal blinds and proposed lighting, as late selections can obstruct a handle or sash. Reserving an operating zone now simplifies later choices and highlights where a different opening format deserves consideration.
Assess special shapes technically at an early stage
Triangular, raked and tall gable units can define a room architecturally. Their templates, measurement references and supporting conditions, however, require information beyond that used for a standard rectangle. For fixed-glazed triangular and raked windows use a drawing to agree the final geometry, the load-bearing edges and the order of installation. Determine whether the unit must enter before roofing or interior work closes the available route. Measurement basis, junction design and access should all be approved together before an unusual shape is ordered. Set precise geometric references, including the bottom and side edges and all governing corner points; “made to fit the gable” is too vague for dependable comparison. State the viewing direction as well so every party interprets left and right consistently from design through manufacture and installation.
Asymmetrical glazing also needs a deliberate visual decision about its divisions. A bar that divides the glass changes both the pane arrangement and the perspective, whereas a decorative bar produces another effect without serving as the same constructional division. Tell the supplier which treatment is intended and define the side from which elevations are viewed. Access after completion matters too: tall raked fixed glazing may remain difficult to clean or shade even when installation was straightforward. Consider how the space will work throughout the day. Exterior shading, an internal treatment and routine cleaning may each demand a different means of reaching the surface. The relevant specialists should confirm that their components and working routes remain compatible with the window scheme.
05 / Hand over for installation
Link manufacture, measurement and programme
Measuring an oversized unit before the opening is sufficiently resolved creates particular risk: later changes to the reveal, lintel or floor layers may materially alter the required size. Nominate the binding design stage and the person responsible for checking dimensions, diagonals, plumb and level. An early concept drawing is not an adequate ordering basis when the structure lacks reliable reference surfaces. The final order needs an unambiguous record of viewing side, opening direction, divisions, dimensions, glazing, selected equipment and agreed site conditions. This allows discrepancies between the drawings and constructed opening to be resolved before production.
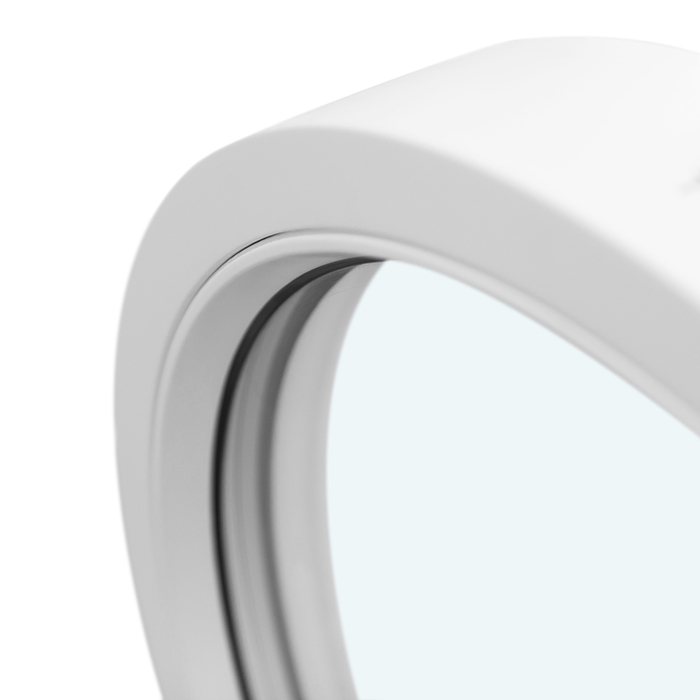
A round fixed unit may look modest yet need a specialised template and careful transport because of its geometry. A round fixed-glazed window should be programmed only after the measurements and installation order are unequivocal. Confirm which documents are required for production approval and the point beyond which proposed changes can only be reviewed. Bloomcabin provides a five-year guarantee for windows and doors. Delivery normally takes four to six weeks, subject to order confirmation. Project timing still requires separate coordination: reliable programming depends on the measurement, access and installation date agreeing. Starting with the required installation date, work backwards through structural approval, detail checking and confirmation of the delivery route. Recording only a preferred date does not create a workable programme.
Prepare the installation handover in detail
An installation handover needs more precision than a note identifying a ground-floor window. Compile approved plans and sections, the unit schedule, verified opening dimensions, photographs of the transport route, project contacts and the requested date. Match every unit to its opening on the drawings. Agree the required site condition for that day, including access, dryness and separation from conflicting work, and nominate who responds if a measurement discrepancy appears. This gives both supplier and installer time to identify missing material. For the owner, a documented pack also reduces the chance of essential information travelling only through conversations between different trades.
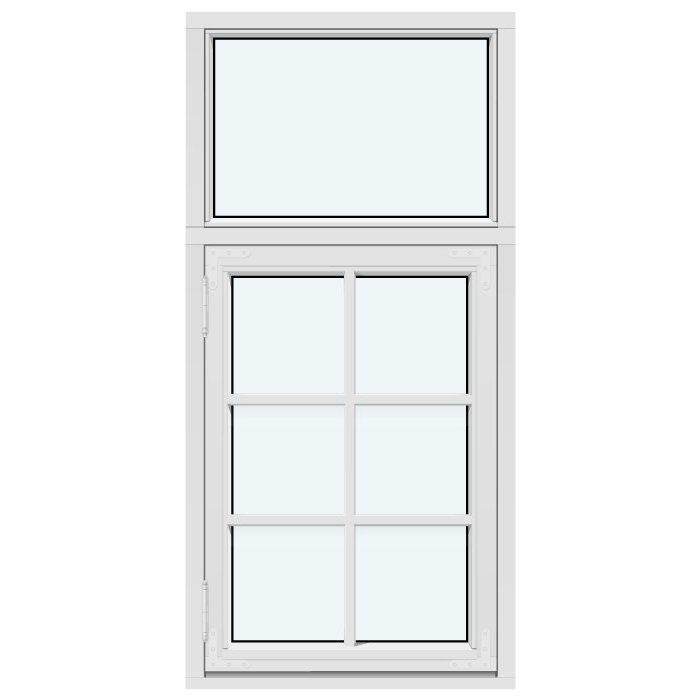
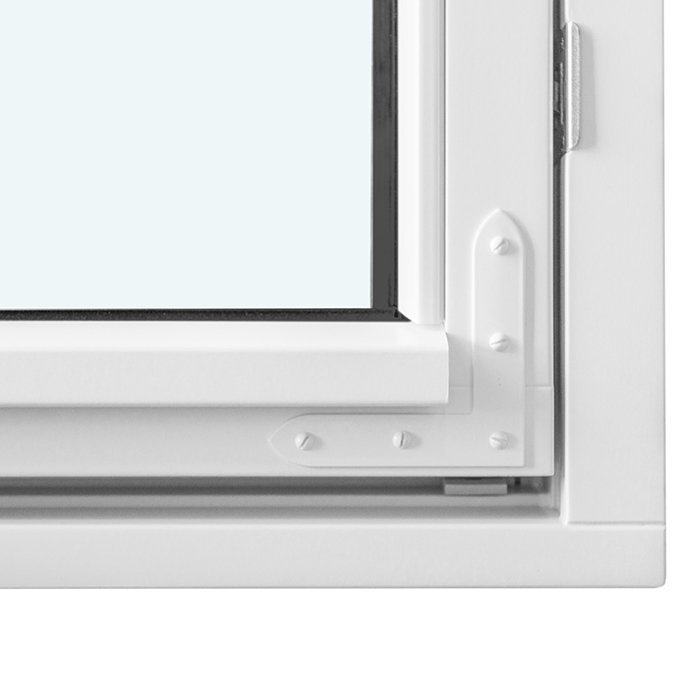
For an outward-opening “Kombi” casement window include the sash arrangement, exterior elevation and outside clearance in the handover, not only the overall size. A sash opening outwards may strike a balustrade, downpipe or shading device, or project into a path, even though the structural opening is accurate. Review a drawing of the open position and compare it with the site. Once installed, jointly inspect alignment, operation, visible finishes and incomplete junction work. Before the handover closes, identify what subsequent work can proceed and which areas need protection. Give every outstanding item an owner and programme reference, separating the installed window from unfinished building connections and other trades’ work. That distinction prevents a general defects list from shifting responsibility ambiguously.
Frequently asked questions
How can I reliably find out a large window’s weight?
Obtain the data sheet or confirmation for the exact configuration being ordered. Record the complete unit weight, then focus on the heaviest delivery component: its weight, dimensions and handling method govern much of the site planning. Altering the glazing specification, panel layout or opening action may change all of these particulars. Width and height alone can support neither a reliable weight estimate nor a safe installation plan.
Can a glazed façade be divided to make installation easier?
Yes. Introducing divisions may produce components that are easier to move, but it permanently adds or relocates frame lines and affects appearance, operation and junction design. Compare defined schemes by viewing the drawings, checking the largest component’s weight and route, and confirming the ventilation required. A suitable layout must resolve the particular project’s visual, practical and installation needs together.
Who decides whether the wall can carry the window load?
The supplier provides the window’s technical particulars. Responsibility for assessing the supporting structure, bearings and fixings in the proposed or existing building rests with the project’s qualified designer or responsible building professional. Give that person confirmed unit information and documentation of the opening. During alterations, unknown wall construction should be investigated professionally rather than treated as an assumption.
When should installation access be inspected?
Inspect it while the findings can still affect window divisions, measurement approval and the works programme. Review the unloading position, outdoor and indoor routes, likely lifting method and scaffolding. Recheck conditions close to installation because landscaping, new scaffold sections or the activities of other trades may remove access that existed during the first visit.
Which information should the installer receive?
Provide the verified unit schedule, relevant plans and sections, opening dimensions, floor-layer details and project contacts. Add photographs and measurements covering the delivery path, with any narrow entrance, gradient or immovable obstruction clearly identified. Match each window or door to its intended opening so the crew does not need to resolve that basic allocation on installation day.
Next step
Large windows do not succeed through an isolated product choice. Start with a binding configuration and turn it into four checkable points: weight of the heaviest component, the load-bearing installation condition, the route to the opening and the sequence on site. Compare divisions and opening types against these criteria as well as the façade. Bring supplier, installation contractor and responsible design professional to the same information level before production approval. That turns an oversized design into a unit that can be properly planned, transported and integrated into the construction programme.
