
Greenhouse Layout Planning for Comfort and Visual Appeal
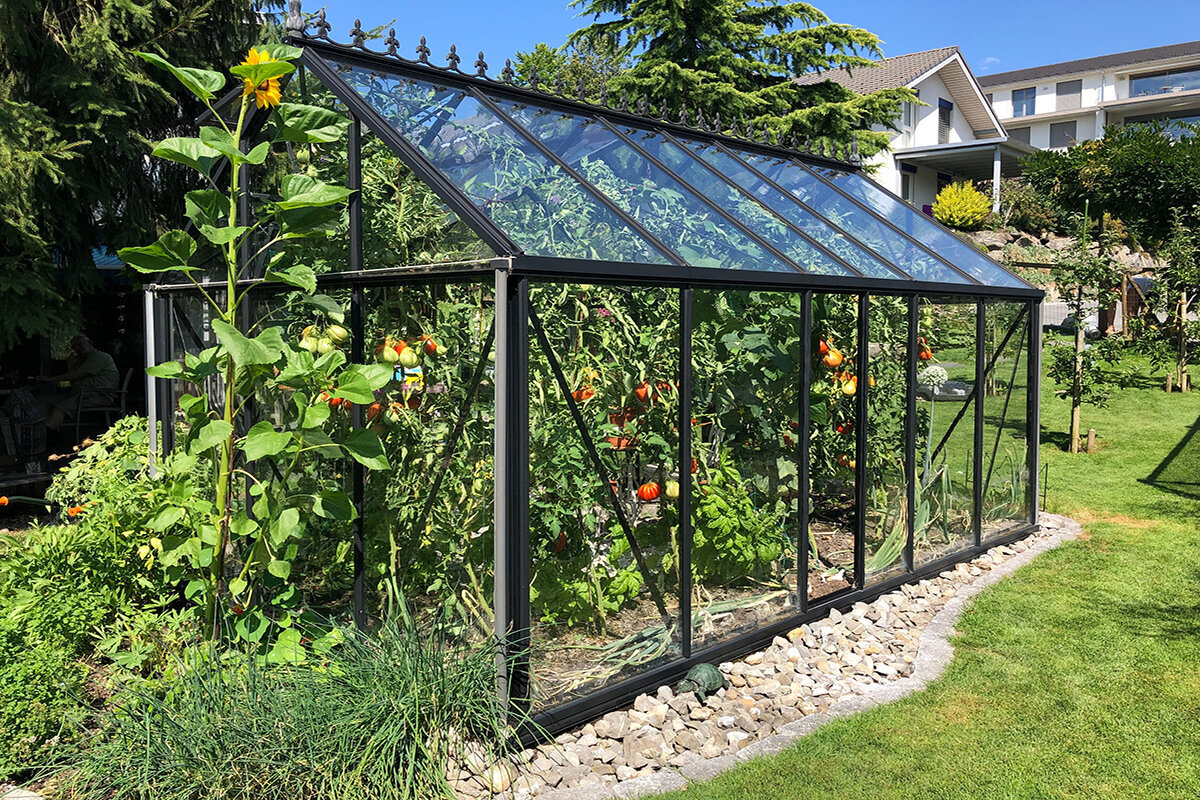
A considered aluminium greenhouse layout can make the structure both inviting and productive. When each area has a purpose, you can use available room well, support healthy growth and garden more comfortably. This guide covers plant placement, pathways and visual design, helping you shape a greenhouse that works beautifully through changing Australian seasons.
Start with the space
Before deciding where anything belongs in your aluminium greenhouse, assess the structure’s measurements and existing features. Aluminium greenhouses are valued for durability and flexibility, so they suit a broad selection of plants. Measure all usable space, recording length, width and height. This gives you a sound basis for dividing the interior among plants, walkways and storage before sketching the final layout.
Key considerations:
- Light: Position each plant for suitable sunlight. Keep taller specimens at the rear or sides and place lower plants forward so they are not shaded.
- Ventilation: Plan for dependable cross-flow around the plants, because good air circulation is vital to their health. Do not let tall growth obstruct the vents.
- Water access: Arrange plants so each is easy to water. Consider installing an irrigation system if you want to streamline this routine job.
Create growing zones
Dividing the aluminium greenhouse into zones makes distinct plant groups simpler to manage. You might dedicate separate sections to seedlings and mature specimens, then set aside another section for vegetables or flowers with their own growing requirements.
Zoning ideas:
- Temperature zones: Plants suited to warmth should share an area, while those that prefer cooler conditions can be grouped elsewhere.
- Moisture zones: Keep plants needing frequent watering together and apart from varieties that favour drier conditions.
- Height zones: Group tall and short specimens thoughtfully, improving light distribution while keeping every plant accessible.
Pathways and access
Comfortable gardening relies on pathways that are clear and easy to use. Make them wide enough for gardening tools, a wheelbarrow or trolley. They should also let you move between growing zones freely, without brushing against or disturbing plants along the way.
Pathway options:
- Central aisle: Running a broad aisle down the centre makes every greenhouse section straightforward to reach.
- Side paths: Slimmer paths at the sides can connect specific beds or zones, allowing close care and easier harvesting.
- Raised beds: Placing elevated beds along a path can aid drainage and bring the plants within easier reach.
Make it attractive
A useful layout should also be enjoyable to look at. Build visual appeal by balancing colours, textures and contrasting plant shapes, so the interior feels composed rather than merely efficient for gardening.
Design ideas:
- Colour planning: Pair complementary plant colours with varied textures to give the display a balanced, unified appearance.
- Vertical growing: Look above the beds for extra growing room: train climbing varieties vertically and place pots on shelves. Both approaches add interest while conserving space.
- Decorative touches: Introduce decorative interest with a bench, sculpture or water feature, making the greenhouse interior more beautiful.
Use room efficiently
An effective layout depends on using every part of the interior wisely. The sturdy framework of an aluminium greenhouse makes vertical arrangements practical, including suspended baskets, shelving and planters arranged in tiers. These choices increase growing capacity without filling too much floor area and let more plants fit comfortably.
Compact-space ideas:
- Hanging baskets: Suspended baskets work for plants that need little root room and leave valuable floor area available for bigger specimens.
- Shelving: Use shelving to organise containers, equipment and compact plants. As growth progresses, movable shelves let you alter the available clearance.
- Tiered planters: Tiered planters let you cultivate several plants in a compact area, making them especially useful in smaller greenhouses.
Good greenhouse planning balances three things: the room available, plant requirements and a pleasing appearance. Measure first, divide the interior into workable zones and provide unobstructed routes between them. Thoughtful use of sunlight, ventilation and water access will guide plant placement. Shelves, suspended baskets and multi-level planters can add capacity, while colour and a few ornaments make the setting enjoyable. Careful organisation benefits beginners and seasoned gardeners alike, improving comfort during everyday greenhouse tasks and helping plants thrive.
