
Plan realistic greenhouse yields per square metre
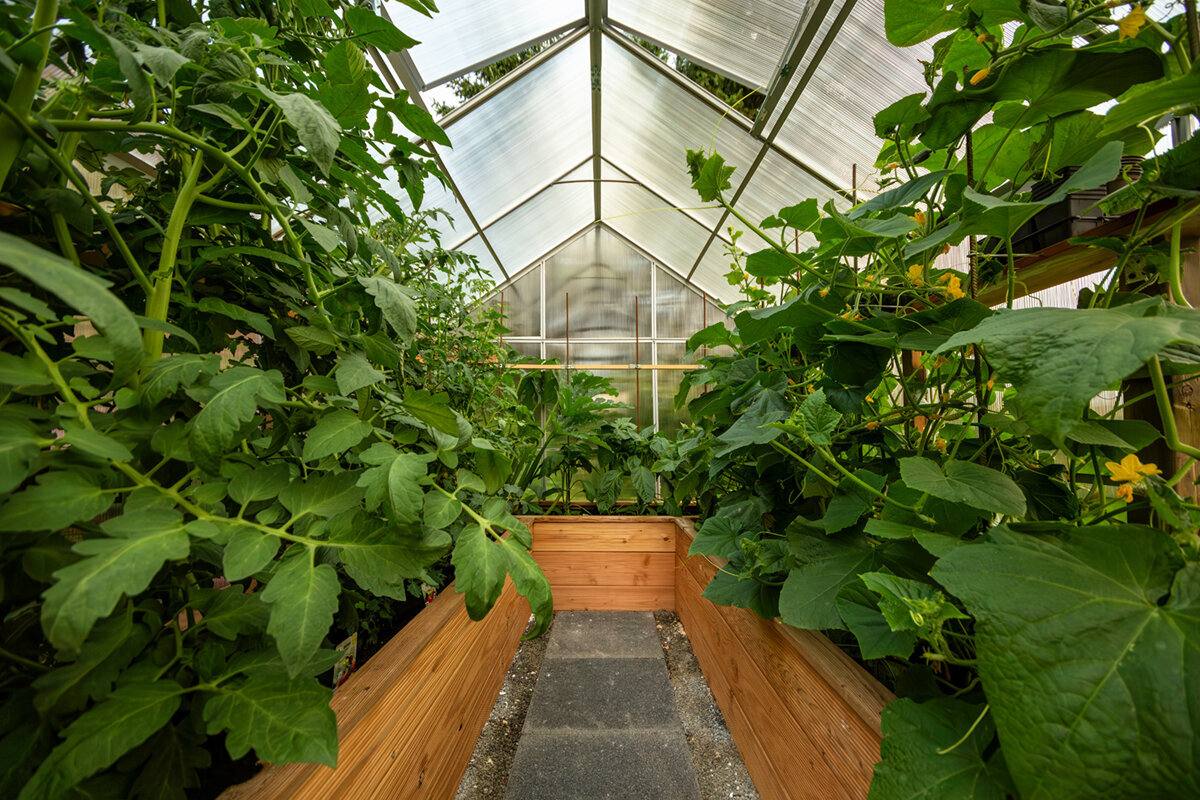
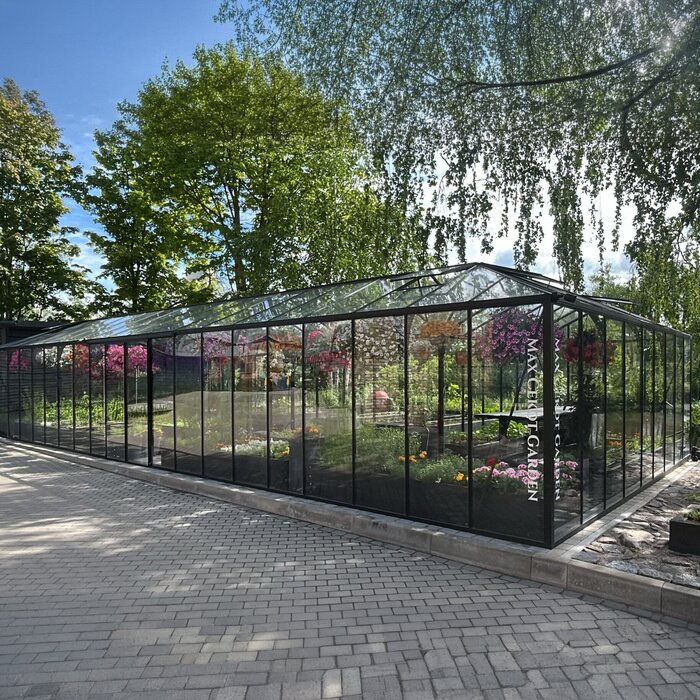
A greenhouse extends the gardening season and provides shelter for warmth-loving crops. Its floor area alone, however, does not predict the eventual harvest. A tightly planted bed may initially look productive, but poor air movement, shade and difficult maintenance can have the opposite effect. Realistic planning starts with conditions at your site.
A space earns its keep when it supports crops across many months. Lettuce can finish before tomatoes claim the same bed, followed in late summer by another sowing or hardy autumn vegetables. Thinking in sequences creates an adaptable growing area rather than reserving the greenhouse for summer tomatoes alone.
Include access, water points and working routines in the layout, not beds alone. Easy-to-reach plants are inspected more consistently and picked when ready. The useful question is therefore practical: which crops match your available light, preferred food and daily routine?
Stage 1: Starting point
Assess growing space, not floor area
Begin by distinguishing the greenhouse footprint from circulation room and genuine crop space. A door needs clearance, a path prevents beds being trodden on, and side plants must stay within comfortable reach. None of this space is wasted; it enables reliable watering, maintenance and picking. Map paths and beds at one scale before buying seeds or seedlings.
Height also affects how productively a site can be used. Tall crops need supports and must not permanently shade smaller plants. Use vertical levels deliberately, for example for climbing vegetables, while low crops belong only where they receive enough light. Clear zones keep the space calm and functional. Check the sketch from the viewpoint of daily work: where can a watering can, secateurs or harvest basket sit without blocking the path? A clear workflow prevents beds being maintained from one side only because it is easier. With tall crops, allow for tying, pruning side shoots and harvesting while drawing the plan.
Measure reachable beds inside, leaving sufficient room for opening doors, water containers and baskets used at harvest.
Use edge areas for low, quick-harvesting crops rather than crowding them with plants that are hard to reach.
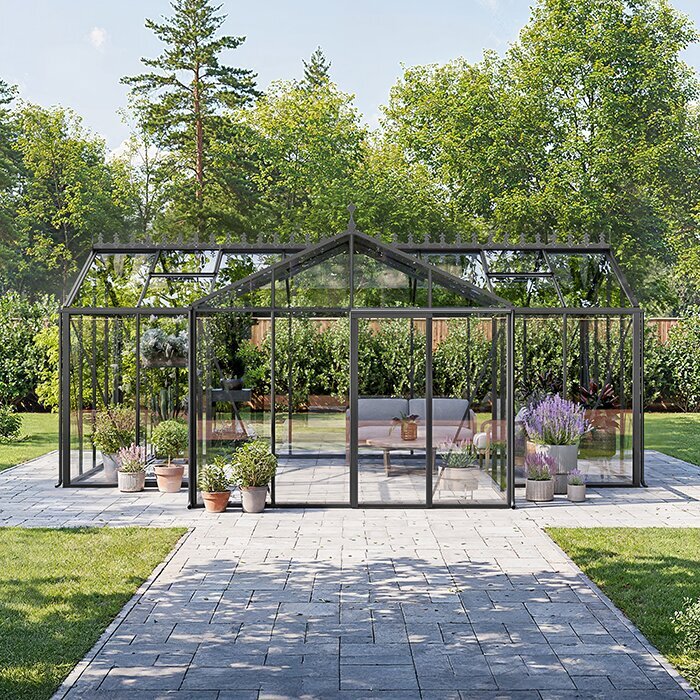
A dedicated growing zone can be organised around a Classic greenhouse in its standard configuration with a straightforward arrangement for paths, beds and seasonal changeovers.
Stage 2: Read the light
Treat the site as a yield factor
Your local pattern of sunlight helps reveal which crops are sensible choices. Watch the site over several days to see when trees, fences and neighbouring buildings create shade. Some summer shelter may help, whereas shade in dimmer months can slow growth considerably. Record where the strongest light arrives, then position tall crops so smaller plants are not overwhelmed.
Orientation on a plan tells only part of the story. Reflections, seasonal foliage and proximity to walls alter conditions around the greenhouse. Stored warmth and restricted airflow can make a wall-side position behave differently from an open site, so observed conditions should guide crops and timing. Track both direct sun and how long each shadow remains. One bed might be bright in the morning yet become noticeably cooler behind afternoon shade. Those contrasts can be useful when crops are assigned accordingly. Continue noting changes as the sun shifts and nearby plants gain or lose leaves.
Ahead of the first growing season, note morning, midday and afternoon light on several different days.
Give the sunniest positions to demanding crops, while keeping less intense areas available for flexible use.
Where an existing wall suits the layout, a large regular Lean-To greenhouse can incorporate the building’s light conditions into your space allocation.
Stage 3: Crop selection
Choose plants by use and season
Practical success is measured by produce that reaches your kitchen, not simply by the heaviest total. Tomatoes, cucumbers, capsicums, eggplants, lettuce, herbs and seedlings differ in their needs for heat, care and room. Start with a limited group you regularly cook with. This leaves enough space to learn how conditions inside the greenhouse behave.
Mixed planting is easiest when crops have compatible growth rates and mature sizes. Quick leafy vegetables may occupy early gaps, then leave before larger plants spread. Do not pair crops that will eventually contest the same light and airflow. Assign an expected finish or succession date to each one so future vacancies are visible. Let household use guide the mix as well. Accessible herbs and leafy greens suit frequent small pickings, while preserving crops or larger harvests generally require a continuous block of space. A defined priority simplifies care and reduces clashes between plants with different needs.
Choose frequently eaten crops first rather than occupying every spare corner with varieties that are rarely used.
Follow brief early plantings with the main crop, clearing the shared area decisively before the handover date.
To combine principal crops with smaller supporting plantings, a Classic greenhouse suited to a standard garden can use distinct beds while keeping the overall plant count manageable.
Stage 4: Leave space
Plant spacing protects productivity
Crowding often undermines an otherwise promising crop. Closely packed foliage stays damp longer after watering, hides early signs of disease and makes fruit difficult to reach. Use the spacing advice for the particular variety and picture its width at maturity. The apparent gaps in a newly planted bed are usually room that later growth will occupy.
Crops do not all occupy space in the same manner. Climbers call for vertical room and secure training, whereas bush forms spread sideways. Lettuce and herbs may briefly fit among young main crops, provided they leave before competition develops. Plan that arrangement as a temporary stage. Reassess spacing as the season advances because vigorous growth or a lean towards the light can alter the layout. Remove older leaves only where needed, and train climbing shoots early enough to protect paths and neighbouring plants. These adjustments preserve the intended structure as summer growth accelerates.
Before setting plants out, mark each position with string or canes so the intended gaps remain easy to see.
Allow for mature leaf growth and harvesting reach, not just the size of young plants.
For orderly rows and tying points beside the house, a full-size regular Lean-To greenhouse creates a practical framework for generous gaps between plants.
Stage 5: Manage the climate
Balance water, air and warmth
Daily habits have a substantial effect on productivity. Direct water towards the roots when required, without keeping the leaves continually wet. Test moisture below the surface before adding more, because conditions around the roots may differ from the top layer. Mulch, suitable pots and a well-arranged bed can even out moisture, but they do not remove the need to observe each crop.
Ventilation belongs in the growing routine rather than being treated as an afterthought. Warm weather can raise the internal temperature quickly, while vents may need readjustment overnight or as conditions change. Condensation, leaf appearance and the air inside provide useful clues. Moving air helps maintain balance, but cannot compensate for overcrowding or missed inspections. Irrigate evenly instead of assuming that more water is better. Pots, bed sections and plants at different stages lose moisture at different speeds. Inspecting the root zone and the crop itself gives better guidance than watering to a fixed timetable. Early observations allow care to change before prolonged stress develops.
Make watering time an opportunity to scan for wilting, pests, ready produce and vents that need adjusting.
Let the weather, growing medium and stage of development determine water volume rather than using a fixed calendar.
For gardeners wanting compact care routines, a standard Classic greenhouse provides an orderly layout for tending beds and monitoring crops.
Stage 6: Use time well
Keep space active with crop succession
Productive ground does not have to remain crowded throughout the year; timing matters more. Begin hardy early crops when local conditions allow, then reserve a clear handover for the main warmth-loving plants. Leafy vegetables, herbs or green manure may follow the principal harvest. The best sequence reflects both the site and the time you can devote to care.
A crop calendar exposes scheduling conflicts before planting begins. In a table or yearly planner, enter sowing and planting dates, likely clearing times and possible successors. Include slack for weather, holidays and slower-than-expected development. This is a flexible planning aid for recognising vacancies and bottlenecks, not an inflexible program. Each changeover also requires bed preparation. Remove old growth, roots and supports so the next planting has adequate room. Recording the date a bed was actually cleared will later show which sequences succeeded. Those results can shape a future schedule that fits your personal time constraints.
Assign each crop a preferred finishing date so its successor is not unexpectedly left waiting for room.
Keep compost, pots and seed ready at crop changes so newly free beds can be used promptly.
For staggered early and follow-on crops beside a building, a full-size regular Lean-To greenhouse can provide accessible beds for an orderly progression through the seasons.
Stage 7: Guide the harvest
Harvest regularly and use observations
Picking is part of managing the available area. Regular harvests from many fruiting vegetables can support continued production, whereas missed produce may place a burden on the plant. Pick at suitable ripeness and establish dependable inspection days. Those visits also reveal whether a crop is beginning to need extra room, support or water.
Use a simple garden diary to capture quantities alongside the planting date, variety, problems encountered and your satisfaction with the crop. One completed season gives a much clearer picture of which choices suit the available space. Your own evidence is more relevant to the next layout than record harvests achieved under unrelated conditions. Store the notes near the greenhouse or in a digital file that is quick to open, and update them while details remain fresh. Photographs add another useful record, showing when foliage became congested, where gaps persisted and how the arrangement evolved during the season.
During peak growing periods, inspect crops several times a week so developing problems and ready produce are noticed promptly.
Judge a crop by its taste, useful picking period and maintenance demand, rather than weight or item count alone.
To make routine picking and observation convenient, a standard-model Classic greenhouse can serve as an easy-to-monitor centre for the growing season.
Stage 8: Review
Improve your own benchmark each year
Finish the season with a candid assessment. Identify beds that waited too long, plants that became crowded and harvests that proved particularly useful. Diagnose the cause before changing the plan: unsuitable conditions, late planting and a poor variety choice require different responses. Limit the following year’s changes so you can tell which adjustments produced a genuine improvement.
The structure and its equipment also need to support the way you work. Review available workspace, access to every growing area and the practical distance to water or the kitchen. For a building-side greenhouse, seek project-specific advice on drainage, setbacks and construction requirements from the relevant state or territory authority and local council before committing. Supply current product documents for that assessment. Do not judge the season by total weight alone. A modest but convenient crop may be especially worthwhile, while a sprawling plant can demand considerable attention. Let usefulness, effort and household habits guide the next layout.
At the end of the season, review your records and nominate no more than two changes for the next crop cycle.
Ask the relevant authorities about site requirements early instead of trusting generalised advice from an online forum.
If your garden routine points to a building-side solution, consider a full-size regular Lean-To greenhouse together with the relevant local conditions.
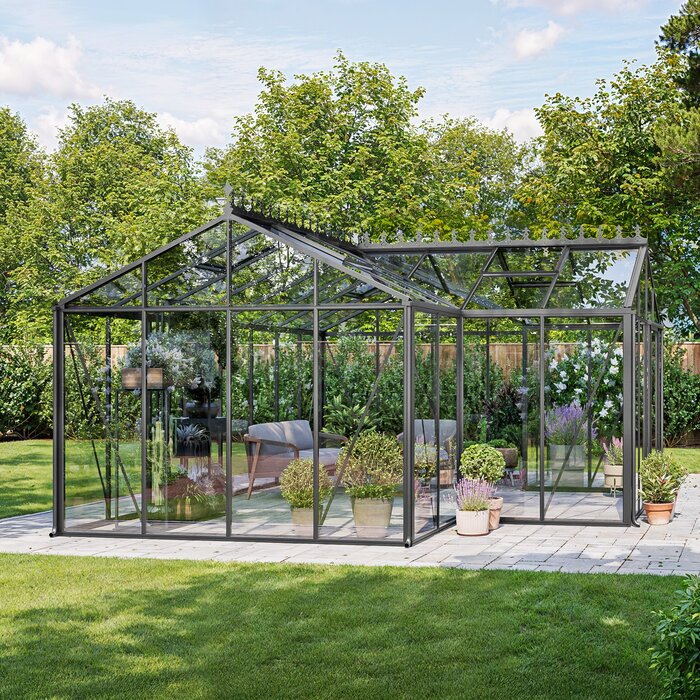
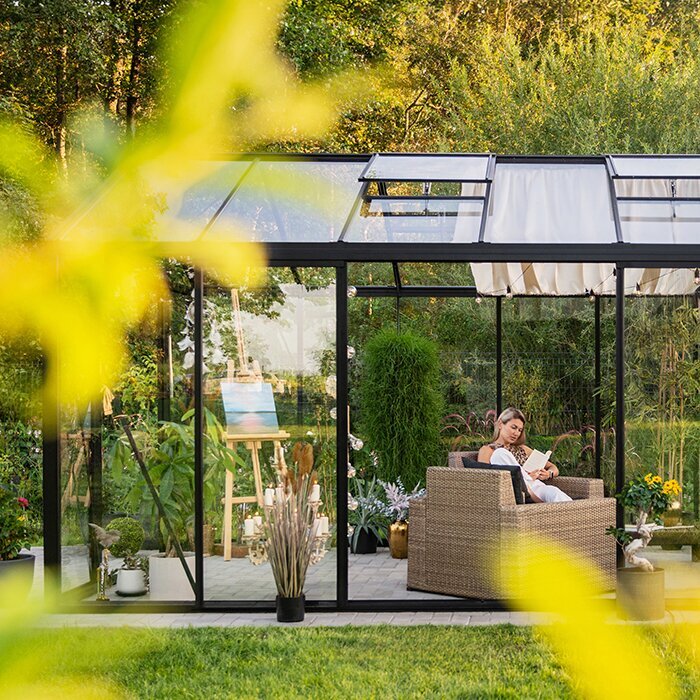
Comparison
Which space strategy suits your growing?
Choose a strategy by considering your own priorities rather than chasing an abstract output figure. The table brings planting mix, maintenance demands and allocation of room into one view.
| Strategy | Suitable for | Space allocation and note |
|---|---|---|
| A few main crops | Tomatoes, cucumbers or capsicums | Allow generous spacing, clear climbing zones and comfortable harvest paths. |
| Staggered mixed planting | Lettuce, herbs and fruiting vegetables | Use temporary gaps; write down handover dates for main crops. |
| Sowing and propagation | Seedlings and early batches | Allow for benches or work surfaces and the later relocation of plants. |
| Season extension | Early and late leafy crops | Watch weather, choose robust varieties and reserve beds for follow-on crops. |
| Everyday harvesting | Frequently used vegetables | Limit crop numbers, keep inspection routes short and record ripening times clearly. |
Create a growing plan in five steps
Many layout problems can be avoided with a basic plan prepared before the season. Move logically from available space to crop choices and later review, rather than squeezing plants into whichever gaps remain.
01
Sketch the interior
Show beds, paths, door clearance and water access, then label the bright, shaded and less accessible areas.
02
Prioritise crops
Choose vegetables you will actually use first. Add herbs, lettuce or experimental varieties only afterwards in free areas.
03
Add mature sizes
Allocate room using each plant’s mature dimensions, including supports and practical access for tending and picking.
04
Schedule crop succession
Place early, main and later crops on a timeline, adding likely clearing dates and spare time for delays.
05
Document results
After each season, record what worked. This supports realistic decisions on varieties, spacing and the next layout.
Checklist for realistic yield expectations
Review these points both before planting and as the season progresses. They keep the layout grounded in usable space and the conditions you actually observe.
01. I have measured plantable beds separately from the paths needed for access.
02. I have observed how the site’s light changes through the day.
03. I choose crops according to what I use, not visual variety alone.
04. My planting positions already allow for mature plant size.
05. Tall, low-growing and climbing crops each have an appropriate position.
06. My schedule leaves workable handovers between early, summer and late plantings.
07. Water demand, humidity, crop health and produce ready for picking are checked consistently.
08. I record both difficulties and successes to inform the coming season.
Frequently asked questions about greenhouse yield
How do I calculate greenhouse yield per square metre?
Measure only the beds or benches that can hold crops, then keep a seasonal harvest record for each planting. The review should also note whether the produce was used and how much work it demanded. Your results become meaningful when compared across several seasons, rather than against an unrelated universal target.
Does denser planting automatically deliver more yield?
No. When plants are crowded, they contend for sunlight, moisture and nutrients. Damp foliage also takes longer to dry, while inspection and tending become awkward. Base the gap on the variety’s guidance and eventual dimensions. Adequate room makes plants easier to inspect, ventilate and pick, often improving how well the whole bed performs.
What kinds of crops earn their place in a greenhouse?
The answer reflects both the location and what your household eats. Fruiting vegetables that enjoy warmth, early lettuce, herbs and seedlings can occupy separate seasonal windows. Favour crops you can tend properly and pick often. Flavour, required effort and the greenhouse environment are better guides than advertised record quantities.
Should I keep every area planted all the time?
No. Planned gaps make changeovers easier, reduce congestion and provide flexibility when growth runs late. Use deliberate early and follow-on plantings instead of keeping every bed continuously packed. A short empty period may be needed for soil care, another sowing or removal of old crops, and can be more useful than one additional plant.
How does a growing calendar help with space planning?
Put each crop on a timeline to reveal when it occupies a bed and when the space becomes available again. Include sowing, transplanting, likely picking and clearing dates. This makes clashes between late-running crops and their successors easier to prevent. Afterwards, compare planned dates with your notes and refine next year’s order.
Do I need to consider building requirements for a greenhouse?
Possibly. In NSW, exempt development avoids planning and building approval only when every applicable standard is satisfied, and the particular land and structure still matter. For any Australian site, ask the relevant state or territory authority and local council about the proposed size, construction and location. Confirm boundaries, drainage and any applicable property controls before committing.
Plan the right greenhouse
Productivity begins with a suitable plan
Output from each greenhouse square metre is an outcome, not a guaranteed quantity. Decisions about sunlight, access, spacing and the order of crops shape how useful the area becomes. Addressing them from the beginning creates a practical place to garden that works with your normal routine.
Begin with a crop selection you can comfortably manage, keep records through the first season and adjust the layout in stages. Observations then lead to specific improvements, helping the available ground support vegetables, herbs and the experience gained from growing them.
Browse greenhouse options suited to your planting layout, chosen crops and gardening routine.
