
Planning Gutters and Rainwater Collection for a Garden Shed
Garden shed planning
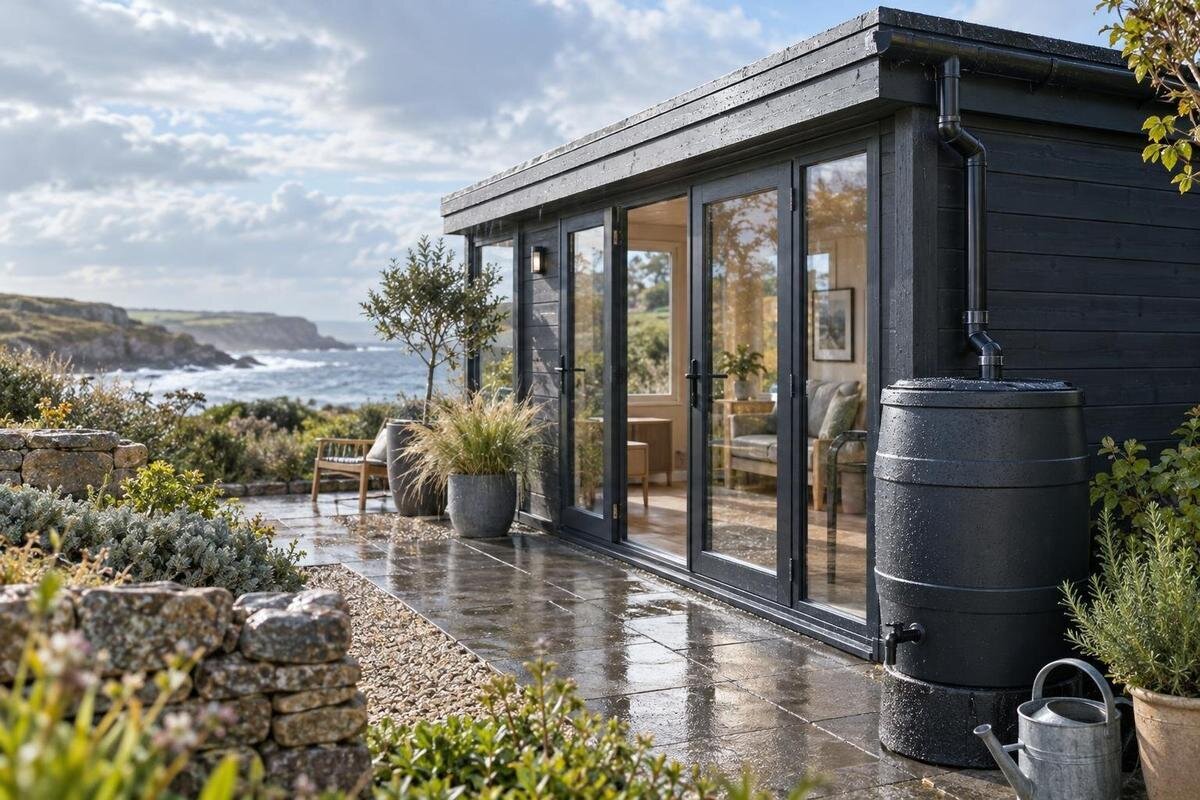
Planning gutters and rainwater collection for a garden shed means designing the whole route from roof edge to tank and overflow, not simply buying a tank. The roof form, local rainfall, downpipe position, intended water use and access for maintenance all affect what is practical. Before choosing a shed or ordering drainage parts, confirm whether its exact roof can accept gutters and what the manufacturer permits. This guide explains what information to gather, which decisions depend on the site and when a qualified drainage professional should confirm the design.
Before you order 1
Assess the roof edge and runoff path
Start by tracing where rain leaves the roof, because gutter type and position depend on the roof edge rather than the shed’s floor plan. The roof covering, pitch, edge profile, overhangs, valleys and changes between roof planes all affect how water reaches an eave. A roof can send a larger share of runoff to one side or corner, so it is unsafe to assume every edge needs the same arrangement. Floor dimensions are not catchment dimensions: overhangs and roof shape matter. Ask for the exact model’s roof plan and drainage guidance, or have the manufacturer explain the runoff path before choosing components. Also ask how the roof is intended to drain in the proposed setup if gutters are not supplied.
Treat a catalogue page as an identifier, not evidence that gutters are included or can be attached. For example, Verdana 1 garden house is a model to check against the manufacturer’s documents; its name or image cannot establish a gutter profile, fixing point or roof-edge capacity. Ask whether an approved gutter option exists, what roof-edge details it uses, and whether a third-party system is permitted. A gutter accessory may be intended for only certain edges, so confirm which runoff areas it covers. Check clearances, fixing conditions and any effects on documented installation requirements before ordering. If rainwater capture is a priority, compare those answers across shortlisted sheds rather than buying a generic kit first and hoping it fits.
Estimate the roof’s usable catchment
Rainwater availability depends on the roof area that actually drains into the gutter, rainfall at your site, the covering and water lost through splash, bypass, first-flush diversion or overflow. A shed’s footprint, photo or product name cannot tell you how much a tank will receive. Look at local rainfall information across the year, not just an annual total: long dry intervals and a few heavy events produce a different pattern from frequent showers. Averages do not show the timing of rainfall against garden demand, either. Use information representative of your locality, since a broad average can hide seasonal patterns. This estimate helps set expectations; it is not a substitute for the local information needed to design gutters and outlets.
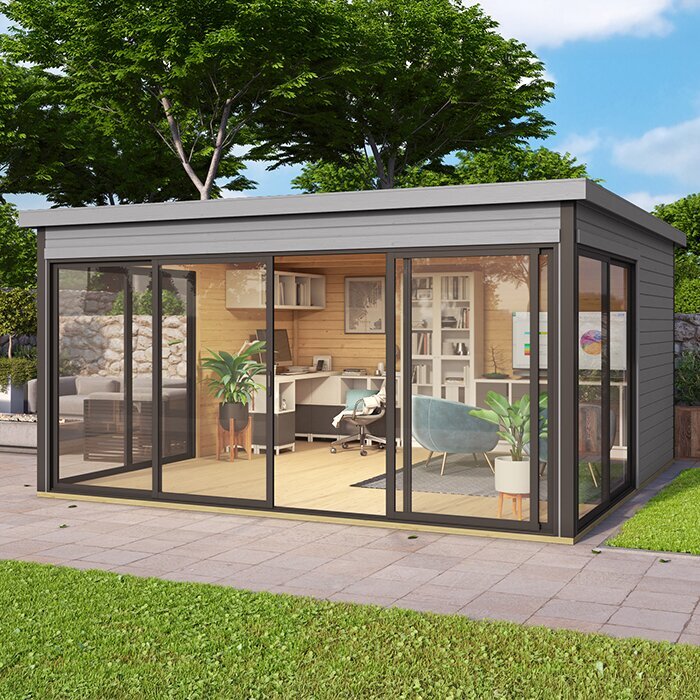
When comparing a candidate such as Verdana 2 garden house, base any catchment estimate on documented outside roof dimensions and the actual gutter arrangement, not on a model label. Only the parts of the roof that drain into the system contribute. Decide what the water is for and when you will need it: watering pots in dry weather may coincide with less rainfall, while a tank can fill during a wet spell when demand is low. A reputable local rainwater calculator or drainage professional can account for the relevant inputs if yield matters. Treat a small shed roof as a supplementary source unless a properly assessed plan supports a more dependable role.
Before you order 2
Match gutter capacity to the roof
Gutter capacity is not simply a matter of choosing the widest channel. The design depends on how much roof feeds each section, how concentrated that flow is, local rainfall intensity, gutter profile, fall and the number and position of outlets. A restriction at an outlet or downpipe can limit a system even when the channel looks substantial; spill at an edge can wet the shed wall or ground near the base. Avoid choosing dimensions from a universal rule or a kit label. Use the shed maker’s permitted details and have a competent gutter or drainage professional determine the arrangement for the roof and site, especially if roof planes meet or water concentrates at one corner.
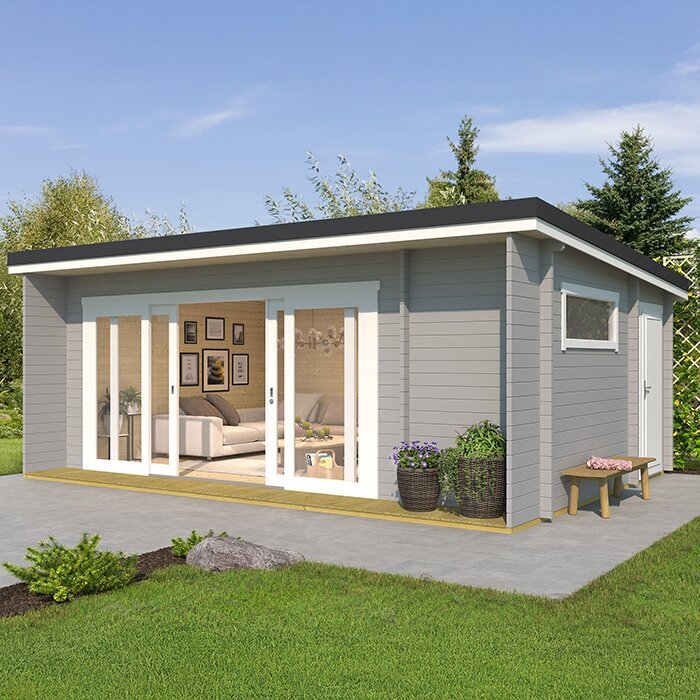
For a candidate such as Durano spacious garden house, ask which roof edges the proposed gutters are designed to serve and where water is expected to leave them. The answer should match drawings for that exact roof, including any valleys or planes that concentrate flow. Confirm that the selected outlets and downpipes can connect to the intended tank inlet or discharge route; do not assume components from different systems are interchangeable. Ask whether end caps, connectors and outlet parts are included in the proposed arrangement. If the shed supplier and gutter installer are different businesses, have them confirm compatibility before you order. The plan should account for water spilling from the gutter as well as water captured by the tank.
Choose downpipe positions around the site
Downpipe positions have to work with both the roof layout and the ground. Mark the shed’s doors, windows, paths, steps, gates and areas where you routinely move tools or a mower, then look for a route from each gutter outlet that does not obstruct them. A pipe ending beside the shed can concentrate runoff where you do not want it; a long run to a tank may also be awkward to support or clean. Consider leaf fall, access to the outlet and the route from downpipe to tank. Leave the final flow design to the installer, but make these practical site constraints clear before parts are selected.
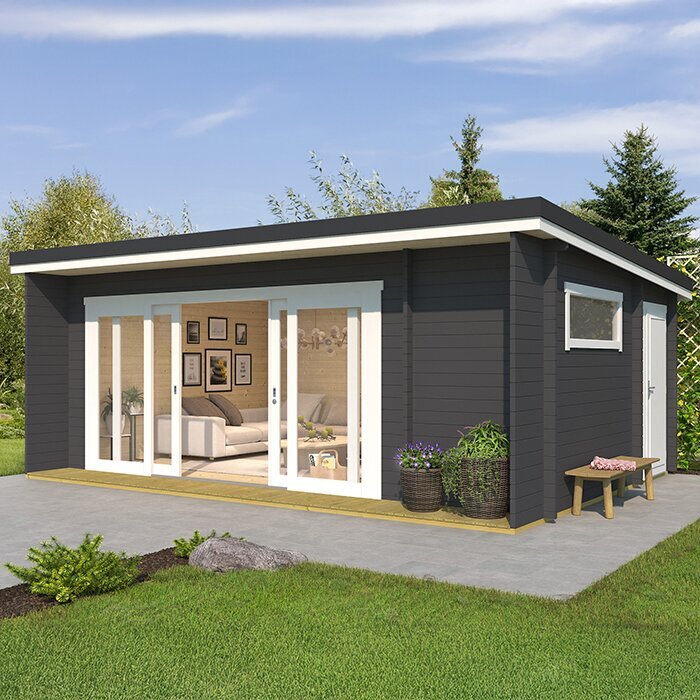
If Veltor 1 is on your shortlist, use the manufacturer’s current roof drawing to confirm which way each edge drains; do not choose a downpipe corner from a product photo. Put the proposed tank on the same site sketch and show its inlet, overflow and connecting run. This makes it easier to spot clashes with an entrance, boundary, fence or maintenance access while changes are still simple. If more than one outlet is needed, ask the installer to coordinate their positions and connection route as one system. Avoid routing water across a walkway or towards neighbouring land simply because that is where a pipe is easiest to fit.
Before you order 3
Size storage for its intended use
Choose storage according to a realistic use, not just the largest tank that will fit. Possible non-drinking uses include watering plants or washing garden tools, provided the collected water and the intended task are appropriate. Estimate how much you are likely to use and in which season, then compare that with the roof’s likely contribution and the space available. A large tank does not create water during a dry spell; a very small one may overflow during a wet period when demand is low. Think about how often the water will be used, how you will access it and whether a smaller, simpler arrangement fits the job. If it is only an occasional convenience, avoid planning around a supply the roof cannot reliably provide.
Before pairing a tank with Orello 1 garden house, check the documented roof catchment, intended tank capacity and physical footprint of the complete setup, including space for an overflow connection and servicing. A full tank is heavy, so its base and supporting ground need to meet the tank maker’s requirements; ask a suitably qualified person if the site or support is uncertain. Do not assume the shed roof or floor is designed to carry a tank. Check delivery and installation access as well as everyday access for filling, draining and cleaning. Keep the tank clear of doors and regular work areas, and confirm its planned position before choosing downpipe lengths.
Manage leaves and roof debris
Leaves, seed pods, dust and other material can travel from a roof into gutters and then into a tank. Overhanging trees and local dust levels affect how often a system needs attention, so include leaf screens, gutter guards or an inlet strainer only if they are compatible with the selected gutter and tank. Such devices can reduce debris entering the system, but they do not remove the need to inspect and clean it. A first-flush device can divert an initial portion of roof runoff, subject to correct selection and maintenance; it is not a purifier. If screens are difficult to reach, they may be impractical to maintain. Plan for screens and diverters to remain accessible after the shed and tank are in place.
For Modano 1 garden house, ask what the manufacturer documents about the roof covering and whether it suits the intended collected-water use; the model name or image cannot answer that. The roof surface, treatments and local surroundings may affect what enters runoff, so do not assume all collected water is suitable for every task. If you want drinking water or a connection to household plumbing, get qualified advice about suitable treatment, testing, system separation and requirements that apply locally. For garden use, follow the shed and tank makers’ instructions and keep any filter or first-flush device accessible for routine care.
Before you order 4
Plan a route for tank overflow
When the tank is full, further roof runoff still needs somewhere to go. Decide where the tank’s overflow will discharge before choosing a tank position, then trace the route to its endpoint. Avoid a plan that leaves water pooling against the shed, washing soil away, crossing a frequently used path or collecting beside another structure. Paving, garden beds, slope and nearby drains can change where water travels, so a point that looks clear on a plan may behave differently on site. The overflow route should remain open and able to handle the flow it is designed for; it should not be treated as an afterthought.
On the layout for M timber garden shed, mark the tank overflow as clearly as the downpipe. Ask a qualified drainage professional to review the route if the outlet is near a building, retaining wall, boundary, low point or existing drain, or if the final destination is uncertain. If you intend to connect to a formal stormwater system, check with the relevant local authority and a drainage professional about what applies at your property rather than assuming that a connection is permitted. Also ask how the arrangement is intended to respond if the tank inlet or overflow becomes obstructed. Give surplus water a defined route before the tank is installed.
Make maintenance practical
Gutters, strainers and tank inlets need periodic attention, particularly where tree litter or dust is common. Build maintenance into the layout: leave room to reach gutter ends, clean screens, inspect the downpipe connection and service the tank inlet. Check after a notable storm or heavy leaf fall, then set a routine that suits the site and equipment maker’s instructions. A blockage can send water over the gutter edge or prevent the tank receiving runoff, so a screen is useful only if it can be inspected. If any part is difficult to reach safely, plan for a qualified trade rather than making roof access a routine task. The expected maintenance also matters when deciding whether a particular screen or diverter is worthwhile.
The listing for Timber tool shed S should be considered alongside a maintenance plan, just like any other candidate. Keep the tank filter and overflow visible and reachable, and avoid placing stored items or garden equipment beneath the points that need inspection. Ask what routine care the gutter, diverter and tank require, which parts are replaceable and whether cleaning can be done from a safe position. Do not treat the shed as a work platform unless its documentation explicitly says it is suitable for that purpose. Practical access affects where the tank and downpipe go, so consider it before choosing their final locations.
Before you order 5
Confirm included parts and compatibility
Find out exactly what is included in the shed order and what must be sourced separately. Ask whether gutters, brackets, downpipes, outlets, leaf screens, first-flush components and tank connections are supplied, optional extras or outside the package. If an approved accessory is offered, confirm that it is intended for the exact roof model and which parts it covers; an advertised gutter alone may not include a complete route to storage or overflow. Request product-specific drawings and installation instructions, and identify who will check the roof interface and weatherproofing. Ask for a clear list of supplied parts and exclusions. If one trade supplies the shed and another the drainage work, settle responsibility for compatibility before either order is placed.
Check the purchasing sequence with the supplier: when roof and gutter dimensions will be confirmed, who provides any fittings, who installs them and which details must be ready at the site. If the gutter is third-party, ask the shed manufacturer whether that system is acceptable and whether written fixing or clearance conditions apply. Do not drill, cut or alter a roof edge to accommodate an unverified kit. Keep the model-specific documents with the order and have the qualified installer confirm that the tank inlet and overflow fittings suit the planned downpipe. This avoids a gap between a shed that arrives, a gutter bought separately and a tank that cannot be connected as intended.
Check the complete drainage plan
Before committing, follow the whole route on a simple site plan: roof edge, gutter sections, outlets, downpipes, tank inlet, filter or diverter and overflow endpoint. Confirm that the drawing is for the exact shed and reflects its intended position on the property; a plan copied from another model may put outlets in the wrong place. Check access to doors and paths, the space needed around the tank, support for its base, service access and where overflow will finish. A site sketch helps expose conflicts, but it does not replace a professional assessment of gutter capacity, tank support or drainage design.
Resolve unknowns while it is still easy to change the shed or tank choice. If the manufacturer cannot confirm whether the roof accepts gutters, ask for an approved detail or choose an arrangement that does not depend on guesswork. If no suitable place for overflow or maintenance access is clear, get site-specific advice before placing the order. Consider the collection system complete only when captured water has a realistic use, the tank has an appropriate base and excess water has an agreed route. That ties the purchase to what can actually be installed on the site, rather than to an attractive but unverified assumption.
Frequently asked questions
Can gutters be fitted to any garden shed?
Not automatically. Roof-edge shape, construction, eaves and approved fixing details vary by model. Check the manufacturer’s instructions for the exact shed and ask whether an accessory or third-party gutter is permitted. A gutter that looks as though it fits still needs compatible supports and a planned outlet route.
How can I estimate how much rainwater a shed roof will collect?
Use local rainfall information and the documented roof area that drains into the proposed gutters, allowing for runoff losses, overflow and any first-flush diversion. Floor area alone is not enough. If you need a dependable yield estimate, use an appropriate local rainwater calculator or ask a drainage professional to assess the site.
Can I connect a downpipe straight to a rainwater tank?
Only if the tank and downpipe are designed to connect and the inlet, screening or diverter, and overflow are accounted for. Confirm fitting compatibility with the relevant manufacturers. Some runoff may need to be diverted, and a tank still needs a planned route for excess water.
How far from the shed should I place a rainwater tank?
There is no universal offset. Choose a position that suits the tank manufacturer’s base requirements, allows servicing and keeps overflow away from places where water could cause ponding or damage. Check doors, paths, access and the discharge destination, then get site-specific advice if ground or drainage is uncertain.
Is rainwater from a shed roof safe to drink?
Don’t assume it is potable. Water quality depends on the roof surface and condition, surrounding debris, gutters, storage and maintenance, and a shed system may not include treatment. For drinking or household plumbing, get qualified advice about treatment, testing, system separation and requirements that apply locally.
A useful plan covers both the water you want to collect and the surplus that the tank cannot store. Start with verified details for the exact shed, then match the gutter route and storage to local rainfall and intended use. Keep filters and connections reachable, give overflow a defined destination, and confirm base and fixing details with the relevant suppliers or trades. Resolve anything that cannot be verified before ordering. That makes rainwater collection a practical part of choosing a garden shed, rather than an uncertain add-on.
