
Preparing a Garden Shed Site on a Slope: Key Considerations
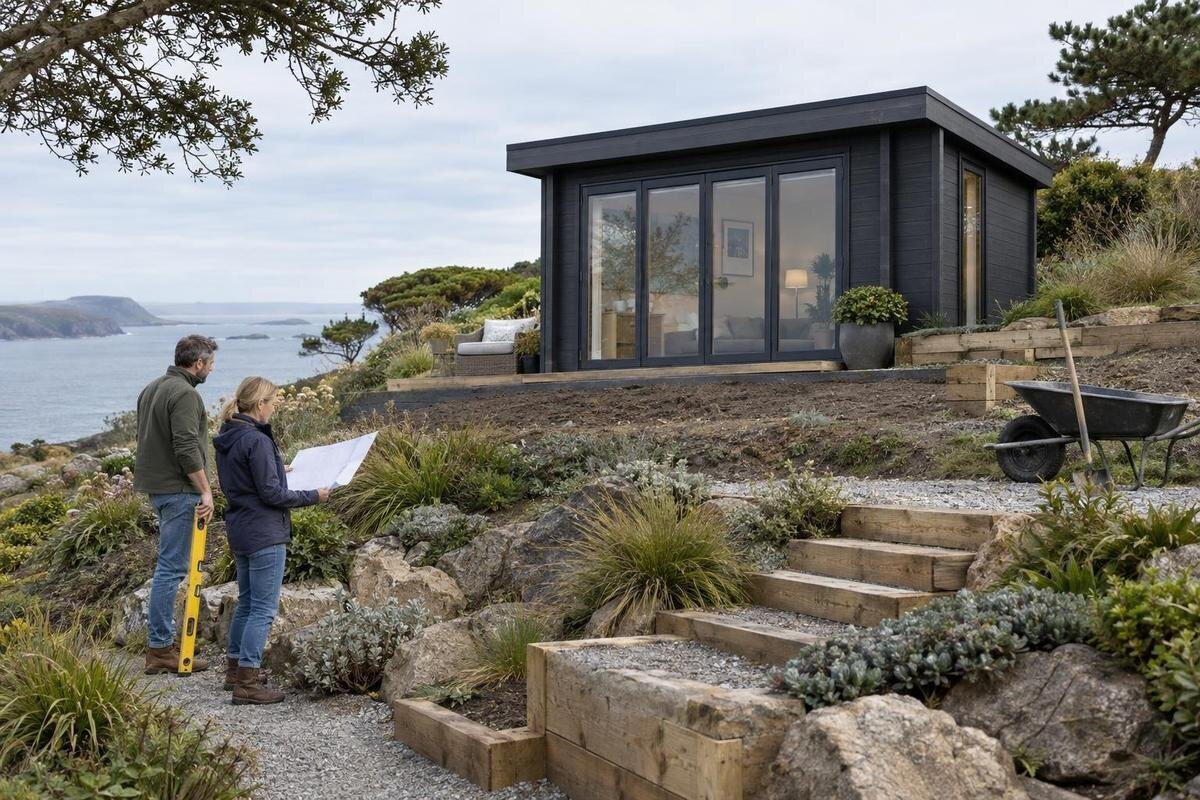
Garden shed site planning
Preparing a garden shed site on a slope involves more than levelling a patch of ground. The position affects the base, water movement, earthworks and the route used for delivery and everyday access. Before choosing a model, assess the fall across the proposed footprint and compare more than one possible location. That gives you a sound basis for discussing site preparation with a supplier or installer and identifying what needs professional advice. Product photos and model names cannot establish whether a shed or base suits your ground; compare written requirements with the actual site before you order.
Survey the whole block before choosing a position
Walk the whole block before choosing a garden-shed position. Establish which way the land falls and whether the grade is consistent or changes across the likely footprint. A pad that seems workable from the house can cross a sharper side slope, a shallow dip or a runoff channel. Note erosion, boggy patches, exposed fill, cracking in nearby retaining structures or signs that soil has shifted. Take photos from uphill, downhill and side-on views, and record rough measurements. If the fall is difficult to judge or the ground shows movement, arrange an assessment by a suitably qualified site professional. A visual impression is not enough to design earthworks or a base.
Inspect after rain as well as in dry weather, and note where water enters, travels and sits. A dry-day visit can hide a low point or a route that becomes difficult to cross when wet. Compare what you see with the proposed shed footprint rather than assessing only a broad patch of lawn. Mark the direction of fall and any soft or eroded areas on a simple sketch, alongside nearby fences, paths and buildings. Keep the notes and photos together so a supplier or installer can discuss the same ground conditions with you. If fill, a retaining wall or visible movement is present, have that condition assessed before settling on a position.
Choose a position that works with the slope
Do not assume the top or bottom of the block is automatically best. A higher position may sit outside a natural low point but need cutting into uphill ground; a lower position may be easier to reach yet receive runoff from a larger area. Neither is a rule: the shape of the slope and existing water paths matter more than a general preference for high or low ground. Compare at least two feasible locations, including how much ground would need to change. If one depends on major cut-and-fill or a new retaining edge, treat that as substantial site work, not a minor adjustment, and seek a site-specific assessment.
Consider how the shed fits with the way you use the rest of the garden. A location close to the house can be convenient, but it should not crowd a path, block a gate or make another part of the block difficult to maintain. Look at the space around the footprint for construction and later upkeep, and check that the shed will not sit where garden changes are planned. A sketch showing the house, garden features, boundaries and candidate positions helps compare convenience with the amount of ground alteration each location would need. A less dramatic slope may be more practical, even if it is not the closest spot.
Match the shed footprint to what you will store
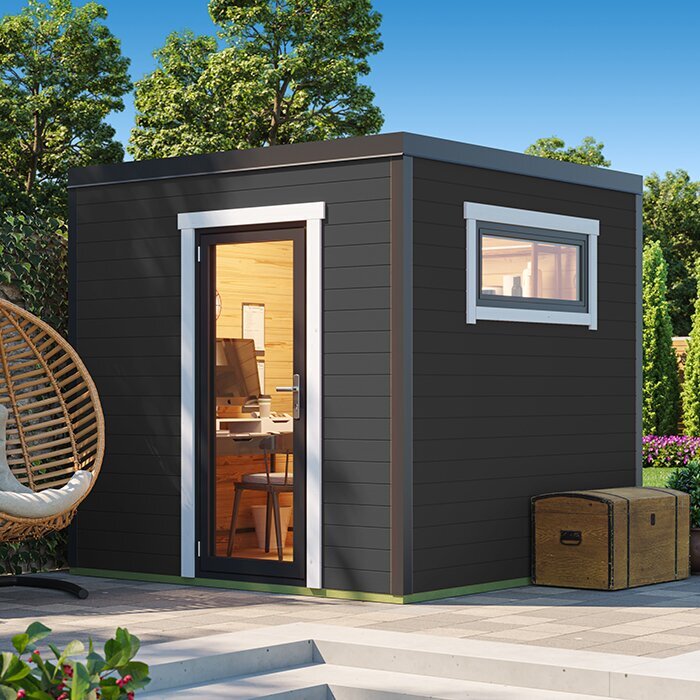
List the intended contents before you choose a model: long-handled tools, a mower, bikes, boxes or a workbench all need different arrangements. The usable interior matters, but so does getting items through the entrance and placing them without blocking other storage. Items that need to be brought in and out regularly also need a practical approach outside. On a slope, that approach can be the limiting factor even when the shed itself fits the available ground. For example, compare the Verdana 1 garden house listing against your measured site and storage list. Do not assume its name or appearance shows how it will suit a sloping block.
Mark the proposed footprint on a plan or on the ground, then include space needed for entry, maintenance and construction access. Check the door position and how it opens, and allow for an approach that does not leave the threshold facing an awkward drop or narrow pinch point. Use the supplier’s dimensioned drawing and installation instructions, where available; ask for clarification if they do not show the base footprint or required clearances. A small change in orientation may improve the approach, but only if it still fits the site and does not create extra earthworks or drainage problems.
Agree on the base before altering the ground
Treat the base and the garden shed as a matched design, not two unrelated purchases. Check the selected product’s written installation requirements for the base, support and anchoring, and confirm what level and clear area it needs. The exact arrangement depends on the shed design and site conditions, including the slope and ground beneath it. A product photo, name or general description cannot establish whether a particular base is suitable. If the Verdana 2 garden house is on your shortlist, request its own base and installation information rather than carrying assumptions across from another model.
Ask the installer what base approach they propose and how it will deal with the fall across the full footprint. The answer should identify what is included in site preparation and what is left for you to arrange, including any excavation, fill, retaining, drainage or connection work. Confirm who is responsible for checking the finished base against the product requirements before assembly. If the proposal depends on improvised packing, unsupported edges or modifying the shed to compensate for uneven ground, pause and request an appropriately qualified assessment instead of trying to correct it during installation.
Treat earthworks and retaining as part of the project
A sloping site may need little alteration, or it may call for excavation, fill or retaining; the visual size of the shed alone does not tell you which. Changes to ground level can affect stability, runoff, nearby paths and boundaries, and can create extra work beyond the base itself. Do not assume soil removed from the uphill side can simply be placed on the downhill side and used as support. Where substantial cut-and-fill or a retaining structure is being considered, get advice from a suitably qualified professional before proceeding. Relocating the shed to a naturally more workable area may be the simpler option.
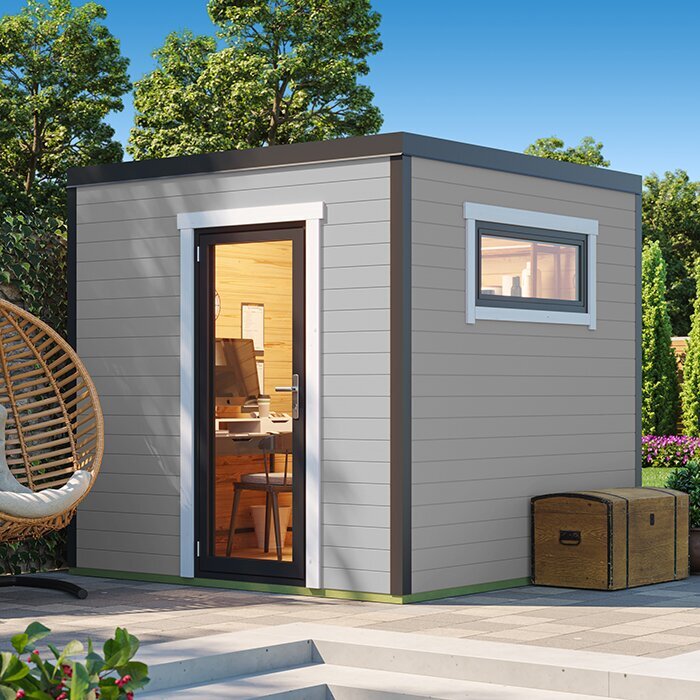
Before accepting a quote, ask for a clear scope showing who will prepare the ground, remove or keep excavated material, build any retaining work and reinstate disturbed areas. Check whether access for equipment is possible and whether the work includes managing water during and after preparation. Compare the whole site-work proposal, not just the quoted shed or base, because exclusions can change the practical workload. If the Durano garden house listing is among your options, assess it against the same site plan and request model-specific installation details; the listing itself does not determine how much earthwork your block needs.
Plan runoff around the proposed shed
Rain travelling down a slope needs to be considered before fixing the shed position. Trace where water comes from above the proposed site, where it already flows and where it collects after a downpour. Avoid placing the base in a natural low point or where runoff is likely to be concentrated unless a qualified professional has designed an appropriate response. Look for signs such as channels, sediment, water marks or repeatedly soft ground. These observations are useful evidence for an installer, but they do not replace a drainage assessment where flows are significant, the ground erodes or neighbouring land may be affected.
Ask how both uphill runoff and water from the shed’s roof will be managed, and where any redirected flow will go. The aim is to avoid water sitting against or undermining the base without simply pushing it towards another problem area. Do not assume that adding soil beside the shed solves a flow issue; changes to the surface can alter where water travels. A candidate such as the Veltor 1 garden house listing still needs to be checked against the actual site and the supplier’s base instructions. Agree on drainage responsibilities with the installer before ordering so the base and surrounding ground are planned together.
Check delivery and everyday access on the slope
Map the route from the street or driveway to the proposed shed position, not just the shed’s final footprint. Note gates, narrow turns, steps, overhead obstructions, soft patches and any gradient that a delivery vehicle or installers would have to negotiate. Ask the supplier or installer what access and unloading arrangements they require, and whether parts can be carried along the route if vehicle access is not possible. A route that looks clear on a plan may be affected by garden beds, fences or parked vehicles on the day, so identify these constraints early and include them in the quote.
Plan for the way you will use the shed once it is installed. A steep or slippery approach can make carrying bulky items inconvenient, while a door opening onto a narrow landing or uneven path can limit practical use. Check the selected design’s entry position and opening arrangement, then test possible orientations on your site sketch. For the Orello 1 listing, ask the supplier to confirm the entry position and required assembly access; do not infer either from a photo. The right location is one you can reach and use in ordinary conditions, not merely one that fits the ground.
Check services, boundaries and local requirements
Before excavation or other ground disturbance, identify underground services and relevant overhead constraints around each possible position. Do not rely on memory, old sketches or surface clues to tell you where buried lines run; arrange appropriate service locating and confirm the information with relevant providers or qualified people. Marking services on the site plan also helps an installer avoid a late change of location. Consider access to existing drains, meters and other equipment, as well as room for future maintenance. If you cannot verify a service’s position, resolve that uncertainty before work starts.
Ask your local council or relevant authority whether the proposed shed, location or associated earthworks need any approval, and check any constraints tied to your property. Requirements vary with the site and the work, so do not assume a small structure or familiar base means no checks are needed. Include boundaries, easements and the ability to maintain the shed in your discussion without making assumptions about what is permitted. For a candidate such as the Modano 1 listing, obtain its exact footprint and setup information, then compare those details with the constraints that apply to your block.
Compare product information and installation quotes
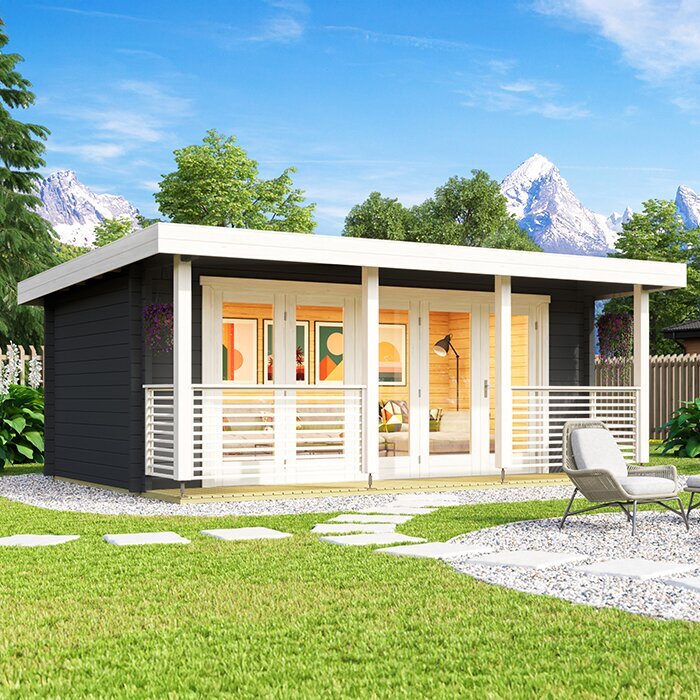
Once the site is understood, compare the documentation for each garden shed you are considering. Look for a dimensioned plan, stated base requirements, assembly instructions, anchoring information and the position of doors or other openings. Check whether the listed footprint is the full area needed for installation, or whether extra clearance is specified. If a detail is absent, ask the supplier for it in writing rather than estimating from a picture. For the M timber garden shed listing, use the same checklist you apply to other options; a product label alone cannot confirm that it can be installed on your slope.
Read the quote alongside those product documents. It should make clear which party is responsible for site assessment, base design, earthworks, drainage, delivery access and assembly, and what you must complete beforehand. Ask how any product-specific installation conditions relate to the proposed base, and whether those conditions are documented. If information about anchoring, ground preparation or warranty terms is unclear, seek an answer before paying or booking site work. A comparable written scope makes it easier to weigh a simpler location against one that requires more substantial changes.
Confirm the site plan before placing an order
Use a short decision check before committing: the shed’s confirmed dimensions fit the site; the proposed position works with the fall; the base approach has been matched to the product requirements; water flow is addressed; and delivery and routine access are practical. Also resolve service locations and any local approval questions before excavation. If one of these points is still based on guesswork, ask for the missing information or get a site-specific assessment. It is usually easier to compare another position or model before ordering than to discover a mismatch after the ground has been changed.
Put the agreed scope in writing, including who prepares and checks the base, what site work is excluded, the delivery route and any conditions to meet before installation. Confirm the sequence with the supplier or installer so excavation, drainage work and delivery do not conflict or leave the site unready. If the Timber Tool Shed S listing is on your shortlist, verify its dimensions and installation information against the final plan; do not infer suitability from its name. Ordering is the last step in a site decision, not a substitute for resolving the slope.
Frequently asked questions
Can I install a garden shed on a sloping block?
Possibly, but there is no single slope limit or base arrangement that applies to every shed and site. Suitability depends on the product’s installation requirements, the ground, drainage and access. If the fall, soil or required earthworks are uncertain, arrange a site-specific assessment before ordering.
Does a garden shed base need to be level?
Follow the written installation requirements for the shed you choose. Do not assume it can sit on an uneven base or be corrected with improvised supports. Ask the supplier or installer what level and support are required, and how those requirements can be met on your block.
Is the top or bottom of a slope a better place for a shed?
Neither is automatically better. A higher position may involve cutting into the slope, while a lower one may collect runoff or be easier to reach. Compare the ground, water paths, access and amount of earthworks at each possible position.
What should I give an installer when requesting a quote?
Share a site sketch, photos from different angles, your measurements, the proposed shed information and any observations about soft or eroded ground. Point out services, boundaries and the delivery route, and explain what site work you expect the quote to cover.
Should I check with my local council before preparing the site?
Ask your local council or relevant authority whether the proposed shed, its location or associated earthworks require approval. Requirements vary with the site and the work, so check before starting ground preparation rather than relying on assumptions about the shed’s size.
A useful site plan connects the actual ground conditions with the shed’s installation requirements, water paths and access. If one position would require extensive changes, compare it with another before treating earthworks as inevitable. Once the base approach, site-work responsibilities and local checks are clear, you can make a buying decision that reflects the real preparation involved rather than a guess based on a photo.
