
Replace windows before or after insulation, render and cladding?
Planning window and façade renovations
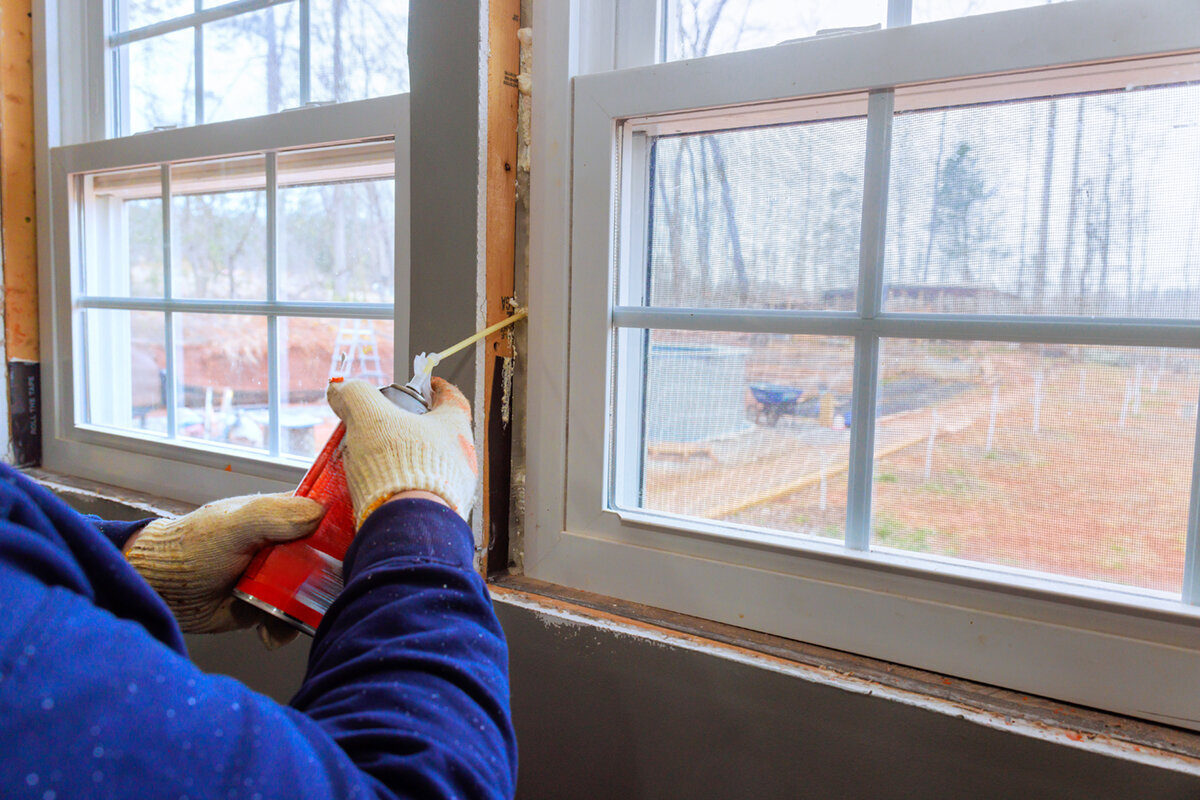
Treating window replacement as a stand-alone job is risky when a façade will also be insulated, rendered or clad. Current thermal performance is only part of the decision. The eventual wall position and the meeting points between frame, insulation, sill, seals and exterior finish matter just as much. Installing the window earlier can streamline façade work if its location and junction details are settled beforehand. Waiting until render or cladding is finished may mean dismantling completed work, patching visible surfaces and reaching awkward edges. This guide explains suitable sequencing for several renovation approaches and identifies what the owner, window supplier, façade designer and finishing trades should settle before an order is placed.
01 / Define the wall build-up
Establish the wall construction before selecting the window
Deciding between fitting windows first and insulating first leaves out an earlier planning task. The team needs a section through the external wall, including existing masonry or timber, proposed insulation, any ventilation cavity, render, sill and interior lining. This drawing locates the outer edge of the new frame and shows its setback behind the finished facade. That relationship affects reveal depth, daylight, hardware reach, the facade appearance and connection details. Without an agreed wall section, a window ordered to fit the structural opening may end up poorly positioned within the completed wall construction.
For a full renovation, the dependable approach is generally to install the windows before sealing the new outer skin. The installer works with the prepared opening, after which insulation or cladding can be finished accurately against the frame. For a Super Low Uw passive-house window that opens outwards , the connection details deserve the same attention as the product choice. Its name defines the configuration, but the mounting plane, fixings and perimeter treatment depend on the building. Request a section developed for the project rather than relying on an elevation or dimensions alone. It needs to show conditions at the head, both sides and the base.
Windows before external insulation: the usual façade-renovation sequence
With continuous external insulation, installers commonly remove the old units, inspect and repair the openings, and fit the replacements ahead of the boards, insulated reveals and finish coat. That order leaves scope to align each frame with the proposed insulation and complete the thermal layer neatly around it. The sill, drip details and base connection can be resolved at the same time. Site programmes still vary: weather, scaffolding, occupation and the condition of particular openings may require staged work. Whatever the staging, each opening should follow the agreed perimeter strategy.
Complete one trial opening before extending the work across the façade. It provides a real check of the reveal, existing irregularities, proposed insulation depth and eventual sill. Approve the repeatable detail only after that review. For an inward-opening single-sash window also consider furniture, radiators and interior sills. Its movement is governed by the room layout, whereas the outside insulation determines the reveal’s appearance. Allocate each task explicitly: preparing a stable substrate, securing the unit, applying membranes or sealants, and completing insulation and finish against the frame. A schedule that names activities without assigning them is not complete.
02 / Agree a trial opening
Why completed render can make later replacement more demanding
Finishing the external render does not prevent a later window change, but it makes the boundary around the replacement more sensitive. Removal may harm the existing finish, reveals, sill or nearby coatings, while a differently sized or positioned frame can alter visible proportions. The team must then choose between local patching and refinishing a broader area to maintain compatible colour and texture. Later installation can still be appropriate; define the likely repair area, surface protection and expected standard of reinstatement before starting.
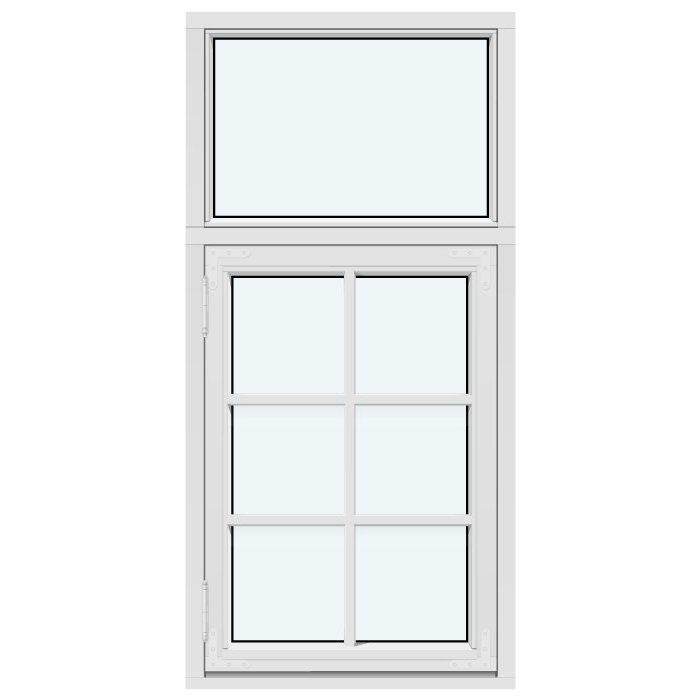
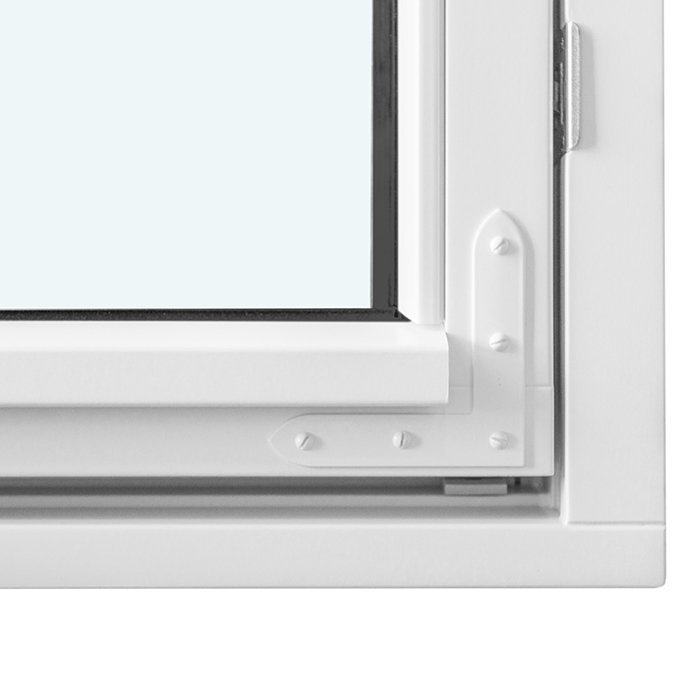
Even a recently rendered façade may sensibly receive windows later when only selected units need urgent attention. First record the existing conditions and involve the rendering contractor. Photograph each reveal, agree how finished surfaces will be protected and settle the sill treatment before removal. On a detailed elevation featuring an outward-opening traditional “Kombi” casement window, the dimensions of the opening are only one factor. Match the frame width, subdivisions and exposed recess to the existing composition. Installation timing can shape the restored elevation just as strongly as the selected window style.
Treat the subframe as the key interface for façade cladding
A ventilated cladding system is assembled differently from a rendered façade. Behind the visible panels there may be insulation, supporting rails and an air space. Before panels are measured and installed, their position must be coordinated with the window and its fixings. Review the return depth, panel treatment at each side, head weathering and construction below the sill. Changing a window after completion may require panels to be removed or recut, potentially disturbing precise joints, cover pieces and recurring façade alignments.
Obtain horizontal and vertical sections for every window category. Around larger openings, the documentation should identify load-bearing parts and account for installation access and future maintenance. A Patio Life lift-and-slide door shows why these decisions must be combined. Its threshold, the finished room floor, the terrace layers and the façade plane cannot be set separately. A quoted door does not provide the required perimeter design. Nominate the point at which cladding can be closed, after the fixings, connections and specified edge components have been inspected.
03 / Measure the windows
The installation plane is a project decision
The frame might be placed deeper within the supporting wall, brought towards the exterior or related to the new insulation zone. None of these positions suits every existing building. Location affects inside and outside reveal widths, the fixing arrangement, sunlight entering through deep reveals and the degree of shelter provided by the façade. Replace vague instructions such as ‘flush’ or ‘central’ with a named datum and dimensions on the wall section. For irregular older walls, nominate the alignment surface and acceptable variation within each reveal.
How the window operates also influences its position. An outward-opening top-hung awning window requires clearance for the sash movement and for nearby exterior components. Conversely, moving an inward-opening unit too far into the room may interfere with deep sills, curtains or internal finishes. For each elevation, review everyday operation alongside thermal considerations: opening, cleaning, shading and furnishing all need room. Unusual shapes and directions warrant particular care. Keep datum heights and axes consistent across the elevation, section and operation sketch so different trades can spot clashes before construction.
Check reveals, heads and sills separately
Do not design the window perimeter as though every edge performs the same role. Side reveals, the head and the bottom connection each face different conditions and may be completed during separate site operations. At the sides, insulation or lining panels terminate against the frame. At the top, overhead water protection and the exposed edge both require attention. At the bottom, the sill, slope, end pieces and façade finish converge. A side-detail drawing alone therefore cannot resolve construction at the head or beneath the window.
This detailed work remains essential for fixed glazing. A fixed-glazed window does not have an opening sash, yet its full frame edge, system drainage, visible glass proportions and relationship to the façade plane still require decisions. Ask for clear answers on three matters: temporary protection at the top before façade completion, the selected sill and its installation stage, and preparation of the side connections so later render or cladding work leaves the frame undamaged. Decisions made only from the scaffold encourage improvised solutions. Approving an explicit detail beforehand is preferable to a broad assurance that the edge will be made suitable.
04 / Connect the façade
Decide size changes and new openings early
Widening, raising or relocating an opening turns the work into more than a straightforward window exchange. The structural wall, lintel, lower wall, internal finishes, shading, façade layout and proposed unit all become connected decisions. Ask suitably qualified practitioners to assess and coordinate the alteration before choosing the window. Final site measurement is reliable only after the structural opening, height datums and wall composition are confirmed. Existing clear dimensions are insufficient when the opening itself will change. Establish a design freeze after which dimensions or levels require fresh approval. Maintain a short register naming the opening, the reviewer and any effect on measurements, interior work or the façade grid. This keeps the supplier, structural work and façade contractor on the same drawing revision.
Curved, sloping and asymmetrical openings need early coordination because adjacent façade lines and purpose-made edge pieces offer little adjustment. A triangular and angled fixed-glazed window must be set out from the verified opening shape, intended frame path and neighbouring façade planes. Decide how site staff will check templates, cover pieces and custom cuts before fabrication or fitting. Alterations made after the panels or finish render are complete tend to be conspicuous and disruptive. Place the window order only when the technical opening detail has been approved, rather than using the first concept drawing as the ordering basis.
Plan windows, doors and floor levels as one detail
Sequencing becomes more demanding at doors near floor level because paving, terrace construction and drainage also meet the exterior wall. Put the completed indoor floor, outdoor layers and threshold level on one coordinated section. Finishing the terrace before replacing the door may block access to planned joints or movement space; thickening the façade later can likewise alter the visible reveal. Site management should establish height datums before substrates, units and outdoor finishes progress separately. In an occupied renovation, daily access may call for different protection, temporary thresholds and staging than an unused side door. Design must still follow the permanent arrangement, not the convenient interim one, so paving and façade edges do not finish at an unchecked level.
This applies beyond large openings. Even an outward-opening single patio door also has to suit the final façade edge and the way the terrace will be used. Its name tells you the swing direction, but not whether the proposed connection suits the site levels or floor construction. Confirm the installation stage, when the outside surface reaches finished height and how exposed junctions will be protected meanwhile. Put any temporary measure into the programme. This prevents separate trades from following different assumptions about the governing level.
05 / Check the finished surface
Measure and order only after detail approval
A preliminary cost estimate can guide decisions, but it is not the final measuring record. Before committing to an order, verify the structural opening, reveal condition, necessary making-good work, frame plane, completed outside dimensions and interior connections. For every room, note swing direction, sash arrangement, operating side, handle level and any special elevation. Where several units are involved, use numbered positions so visually similar windows with different functions are not confused, and mark which belong to each work stage. Include an approval table recording position, site opening, ordered size, datum, sill, façade system and responsible person. Reconcile site findings with the drawings before approval, especially where a measurement may describe either the present wall or its later finished build-up.
For an outward-opening double casement window, width and height are only the starting checks. Identify the primary sash, plot its movement against the future façade and consider whether scaffolding, shutters, balustrades or plants could obstruct access. Do not base an order on a presumed finished reveal while render removal, masonry repairs or a new cladding plane remain pending. Bloomcabin windows have a delivery time of 4–6 weeks, subject to order confirmation. That interval can support coordination, but confirmed measurements and approved construction details must come first.
Assign interfaces, temporary protection and final checks
Problems often emerge between trades rather than from one defective component. The window is installed, insulation and the final façade follow, and meanwhile the weather, scaffold access or site contacts may change. Prepare an interface schedule before work begins. For each numbered opening, assign preparation, fitting, internal and external sealing, sill or flashing, façade finishing and interim protection. Inspect after opening preparation, following installation and again before concealing the perimeter. Date and label photographs for later reference. Nominate who stops work when the substrate or detail is uncertain and who authorises a restart. This keeps later finishes from covering unchecked dimensions, anchors or seals. During longer pauses, also assign inspections of temporary covers and reporting of movement or damage.
Final inspection should assess function and documented details, not only the appearance of the finished wall. Verify sash divisions and opening directions against the order, operate each sash, remove films and construction covers at the appropriate stage, and compare visible façade edges with the approved drawings. List incomplete items and their follow-up timing. Bloomcabin provides a 5-year commercial guarantee for windows and doors, so retain the order, measurements, product references and photographs. Australian Consumer Law guarantees are separate and cannot be excluded by that commercial guarantee. Good sequencing cannot by itself improve workmanship, but it allows all trades to follow one coordinated envelope design instead of resolving inherited surprises.
Frequently asked questions
Should old windows always be removed before new external insulation?
That is often efficient during a combined façade project because the replacements and insulation can share a coordinated plane. It is not a universal rule: sound, valuable or recently installed windows may remain. Base the sequence on their condition, the wall design, junction solution and planned work stages.
Is window replacement possible once rendering is finished?
Yes. Before proceeding, plan protection for completed surfaces, likely damage during removal, restoration of the reveals and finish, and treatment of the sill. If matching the existing colour, texture and edge lines closely is important, involve the rendering contractor early.
When should final measurements be taken?
Measure finally only after inspecting the opening and confirming the frame location, wall layers and perimeter design. Existing dimensions remain provisional while masonry repairs, reveal changes or future façade layers are unresolved. The contractor responsible for the work should approve the measurements used for ordering.
Must façade cladding be complete before window installation?
Normally, do not install the final panels over the perimeter until the frame location and edge treatment are coordinated. Supporting rails may still be prepared beforehand. Use a shared construction detail that resolves the window, insulation, ventilated space and cladding around the entire opening.
What should I bring to discussions with window and façade contractors?
Bring photographs of each elevation, opening measurements, a plan marking swing directions, the proposed insulation or cladding, indoor floor and outdoor paving levels, and any glazing-bar preferences. A wall section or reveal sketch is also valuable because it makes interdependencies visible before ordering.
Next step
For a continuous renovation, installing windows ahead of insulation, finish render or permanent cladding will usually provide the clearest sequence. The objective is coordinated construction rather than an inflexible rule: frame location, wall layers, reveals, sills, thresholds and the finished façade must operate together. If windows are changed in a later stage, budget and plan for dismantling and reinstatement. Before ordering, verify a trial opening, prepare a complete wall section and record who owns each interface. Product selection, site measurement and scheduling can then move forward with fewer unresolved details.
