
Replacing apartment windows: approval, appearance and access
Apartment owners’ guide
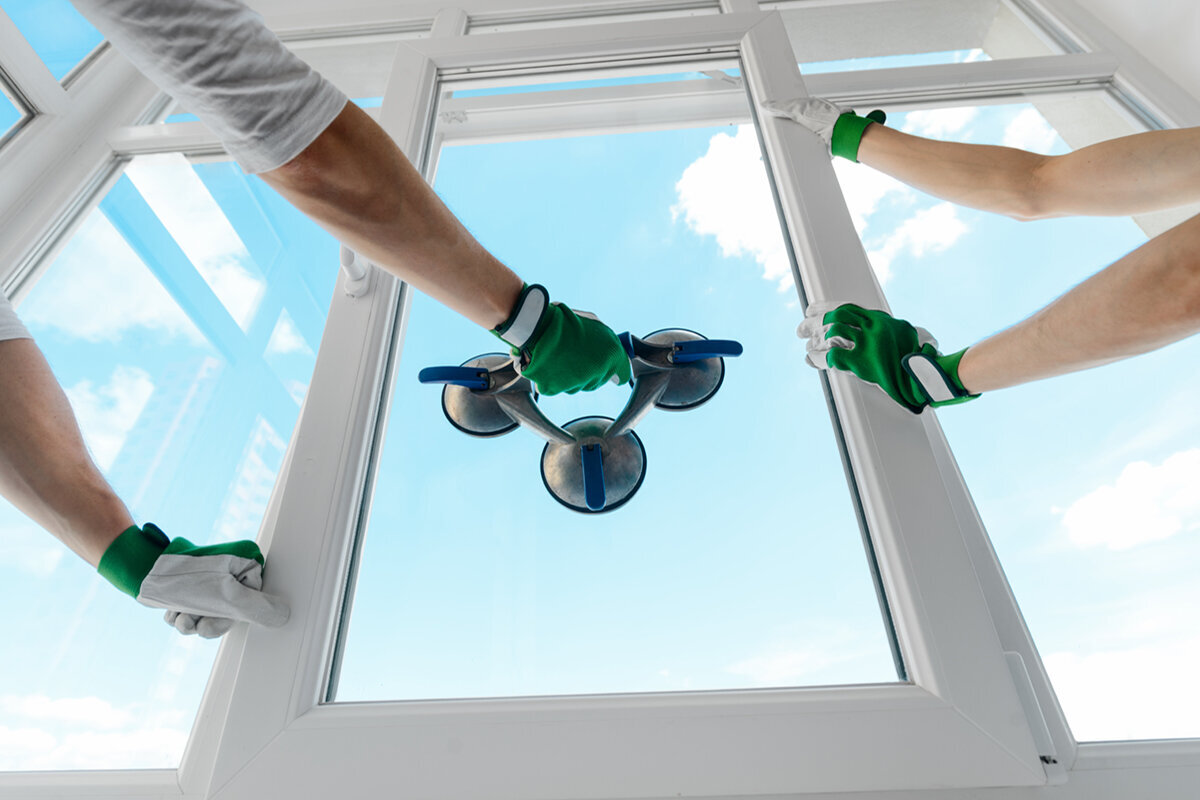
Replacing one apartment window is rarely just a matter of width, height and glazing. Once the exterior may look different, installers need space beyond the apartment or common property could be involved, choosing a product becomes part of a coordinated project. Selecting a window before examining strata documents, decisions and the access route can create avoidable rework. A better sequence is to document the existing unit and responsibilities, define the visible design, clarify use and installation conditions, and then finalise an order-ready configuration. This guide helps owners frame useful questions for the strata manager, owners corporation, measuring professional and installer without assuming that every project requires identical consent or follows one process.
01 / Record the existing condition
Treat replacement as one project
From inside, the clearest benefits of a new window may be fewer draughts, more dependable closing or smoother operation. An apartment window also forms part of the building’s exterior and must fit an established opening. Check three matters first: whether its visible design belongs with the building, whether the sash can move past curtains and furniture, and whether work around reveals, shutters, sills or external finishes has been resolved. Support the discussion with photos from both sides, dimensions of visible frame sections and a sketch showing how the sash opens. Record whether it faces a balcony, loggia, street, courtyard or an inaccessible elevation. Those details tell the strata manager, measuring professional and installer far more than a single rough-opening dimension.
You need not replace every ageing window in an apartment at the same time. However, treat windows visible together on one elevation as a design set. One mismatched unit may eventually be more conspicuous than differences between rooms. Define the intended outcome: what remains, what changes now, and which features must be repeated in a later stage? Retain the selected specification, elevation drawings and exact colour description in a form that can be checked again. If only a damaged window is being changed, ask for the opening itself to be assessed for unusual conditions. Even a correctly sized product will not rectify an uneven reveal or awkward installation arrangement. Resolving these matters first preserves useful choices before an order becomes binding.
Clarify documents and responsibilities first
The catalogue cannot determine who has authority over work in a particular strata building. Review the scheme’s by-laws, plans, relevant resolutions and management requirements before selecting a configuration. External windows may involve common property or scheme approval, so ask about the specific property rather than requesting a vague “approval”. Provide the existing design, proposed similarities and differences, apartment position, affected external areas and expected work period. Request a written response identifying the decision-maker, required documents and any resolution or further consultation. A neighbour’s corridor advice is not enough. If ownership or responsibility remains uncertain, seek legal advice directed to that scheme.
Show the strata manager or owners corporation an elevation instead of supplying only a product name. Mark the frame colour, sashes, transoms, glazing bars, glass fields and opening direction visible from outside. Other renovated windows are useful clues, but not an authorised precedent unless confirmed as such. Store the written response with the quotation so the final measure and order rely on documented requirements rather than inference.
02 / Clarify responsibility
Break the external appearance into checkable details
A direction such as “make it look the same” cannot guide a dependable order. Describe features the supplier and installer can verify: overall shape, sash count, balance between fixed and opening panes, exposed frame widths, horizontal divisions, glazing-bar arrangement, handle side and operating method. Take one photograph showing the full window line from a useful distance and close views with the sash open. Where no operable sash is needed, a fixed unit may suit the elevation group. For comparison, review fixed-glazed windows against the existing arrangement of panes. Labels such as modern or traditional matter less than combining the agreed exterior design with the room’s practical requirements.
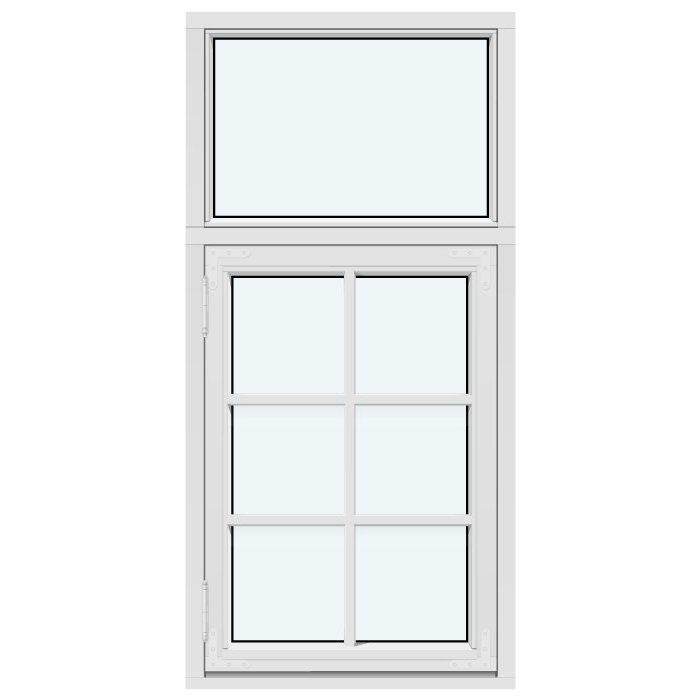
Because glazing bars have a strong visual effect, record their construction as well as their pattern. Distinguish ordinary glazing bars, bars that physically divide the glass and a design without bars. Daylight photographs help communicate the spacing accurately. For an older divided window, determine whether the pattern belongs within one sash or separates several sashes. A period character may be an intentional design choice, but it is not automatically compulsory. One outward-opening reference is a traditional-style outward-opening “Kombi” casement window. Assess its outward movement and the actual opening independently of its styling. Neither a catalogue image nor a historic appearance replaces approval of the proposed elevation and professional on-site measurement.
Choose opening type for the room and outdoors
How a sash opens shapes daily use even when the difference is subtle from outside. An inward-opening design needs room inside for ventilation, so account for curtains, plants, radiator covers and furniture. An outward-opening sash instead requires an unobstructed arc over a balcony, terrace or exterior area. Draw that arc on the floor plan and test realistic situations: can people still pass, could the sash strike an awning or balustrade, and can the handle be reached comfortably? An single inward-opening window is therefore not simply another hinge option, but a decision about furnishing and room operation.
A two-sash design may suit a broad opening, yet it alters both operation and the elevation. Identify the sash used most often, confirm how both sides can be reached for cleaning or rapid ventilation, and compare the central division with the existing arrangement. A double inward-opening window illustrates the mechanism, but does not establish that it suits the opening. In a compact room, combining a fixed pane with an operable sash may preserve movement space; elsewhere, a clear opening may take priority. Maximum opening width should not decide the choice by itself. Ask the person taking final measurements to consider the hinge side, handle height, projecting sill details and actual furniture.
03 / Agree the elevation
Coordinate fixed panes, opening sashes and ventilation habits
An opening sash is not required in every glazed section, but the room still needs a workable approach to fresh air and cleaning. Review each opening on its own: how often will it ventilate the room, can it be operated from indoors, and how will the outside surface be cleaned? A generous fixed pane can admit daylight and simplify the elevation, with a neighbouring sash handling ventilation. That combination deserves consideration for a wide opening divided into static and operable areas. Test more than the drawing, because the practicality of a fixed pane in an inaccessible position depends on the real method available for exterior cleaning.
A high-level opening or utility room may benefit from the different operating pattern of a top-hung unit rather than a conventional casement. An outward-opening top-hung window can be considered when the position and unobstructed exterior area accommodate it. Work out in advance how occupants will open, secure and clean it. A display sample may operate neatly yet still be unsuitable for a deep reveal or confined balcony. Note which windows must be shut whenever the apartment is unattended and which ones will provide routine ventilation. Describing actual use helps prevent an unnecessarily intricate layout and assists consultation where the outside divisions must stay consistent while the preferred indoor operation changes.
Professional measurement covers more than overall dimensions
Final measurement must account for the opening and everything connected to it. On site, the installer should inspect the reveals, junctions, inside and outside sills, existing seals, shutters or shading, and the full path of the moving sash. Home measurements are useful for preliminary discussions, not for committing to manufacture. Dimensions should be checked at several points because older openings may be irregular, even when the visible frame appears square. Photograph cracks, moisture staining, other damage and any plaster or lining likely to be disturbed during removal. This evidence lets the parties define early which tasks form part of the window replacement and which repairs or finishing work require separate arrangements.
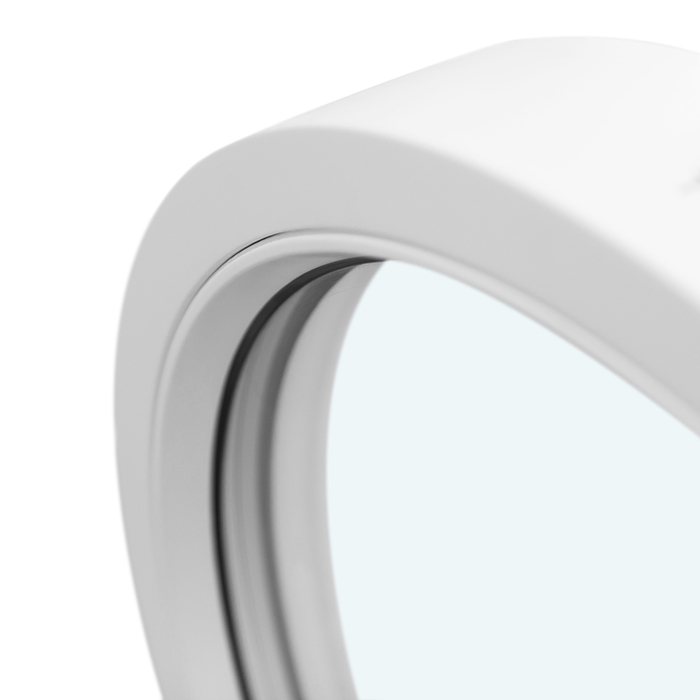
Special shapes demand a fuller record than width and height. For a round arch, triangular opening or sloping head, photograph the entire outline beside a scale, locate any available drawings and arrange professional measurement. A fixed-glazed triangular and sloping window is a product category for non-rectangular openings, not a promise that it will solve every existing shape. The same applies to a fixed-glazed round window serves the equivalent product category for a circular opening. Also establish whether divisions visible in neighbouring windows must be repeated. Whatever the shape, unite verified geometry with the approved external arrangement before manufacture. A later change to the outline, divisions or hinge side can substantially affect both the planning basis and the installation sequence.
04 / Check the measure
Organise access, transport and protection for shared spaces
A sound installation plan is of little use if the window cannot be reached. Walk the entire route before appointing the installer: entrance, stairwell, lift, apartment doorway, corridor, room and, if applicable, balcony or courtyard. Check turns and overhead clearance as well as narrow widths. Ask the strata manager and installer what protection floors, walls or lifts require and where old windows, tools and packaging may be placed. Shared areas are not automatically available for storage. Scheduling around a confirmed route and suitable protection reduces friction with neighbours and gives the installation crew practical information for preparing the job.
Where safe access through the building is impossible, investigate the outside route as a separate part of the job. A balcony might assist, although its doorway, balustrade or delicate finish can impose limits. Raise courtyard or street space, vehicle approach and coordination with other parties early; the owner need not prescribe the technical method. After inspecting the site, the installer can explain which access information and options are relevant. Notify the strata manager of the likely activities and timing once these become definite. Inside, remove or protect nearby furniture, electrical equipment and fragile possessions. Adequate working space is necessary for properly evaluating removal, positioning and junction work, rather than simply making the visit more convenient.
Prepare the installation around apartment life
Expect replacement work to disrupt normal use of the apartment. Agree beforehand which rooms will be affected, in what order the windows will be handled, and which preparations belong to you. Empty the sills, make power points accessible, secure curtains and shield belongings from vibration or dust. Plan the day early where pets, young children or anyone needing quiet will be present. Ask how the installer will consult you if hidden conditions at a reveal or junction create work outside the quoted scope. Nominate one available household contact and one strata contact so a question involving access or a common area does not leave the crew waiting.
Arrange a brief handover after each window or completed stage. Operate the sashes and handles, compare the appearance, inspect frames and glass for damage, and check that the work area is orderly. Photographs of reveals and adjoining finishes taken beforehand provide an objective reference for questions. The handover should connect the installed unit, its junctions and operation with the design approved earlier.
05 / Confirm the order
Compare quotes on matching assumptions
A final total tells little when quotations rely on different assumptions. Prepare a line for every window showing its building position, confirmed dimensions, pane count, operating direction, fixed and moving sections, visible divisions, glazing bars, handle side, colour, removal, junction treatment, interior and exterior finishing, access and disposal. Mark each item as included, excluded or awaiting inspection. This exposes whether the suppliers are actually pricing the same scope. A lower figure may reflect a different elevation, fewer junction works or unrealistic access. Resolve omissions with a direct question rather than assuming they are included. Written confirmation of the full configuration is especially useful when a strata apartment is involved.
Read performance information in the context of the planned work. Tell the supplier whether the job covers one window, a matching series or a wider renovation. If an outward-opening Super Low Uw passive-house window is shortlisted, the name identifies its stated performance focus and outward-opening format; it does not confirm the required dimensions, visual compatibility, junction design or suitability for this building. Obtain the documents available for the selected version and have the proposed installation assessed professionally. Compare complete, confirmed specifications rather than relying on product titles. Keep the same decision record for future stages so the elevation and operating approach remain reproducible instead of being reconstructed for every order.
Order, document and inspect after installation
Do not order until responsibilities, appearance and final measurements have been settled. Check each confirmation line against the window schedule: room, quantity, dimensions, hinge side, operating direction, divisions, glazing bars, fixed or movable panes, and every agreed extra task. Replace vague wording such as “similar to existing” with identifiable features. Keep photographs, drawings, approvals, the quotation, order confirmation and installation arrangements together. Bloomcabin offers a five-year commercial guarantee for windows and doors, while delivery is four to six weeks subject to order confirmation. That commercial guarantee is additional to any rights that apply under Australian Consumer Law. Confirm the details of the individual order when coordinating records and timing.
Set aside daylight time for a methodical post-installation check. Operate each sash and handle, then examine the agreed divisions from both sides wherever this is safe. Use the approved elevation as the reference for visible design rather than relying on memory of the previous window. Record questions promptly and send them through the nominated contact to maintain a clear trail. Preserve the file for a future owner or subsequent replacement stage; it identifies the installed configuration and the consultation completed beforehand. The project concludes with more than physical fitting: useful records support operation, future maintenance discussions and continued consistency across the building’s exterior.
Frequently asked questions
Is approval required for each replacement apartment window?
There is no universal answer. Relevant factors can include the scheme’s by-laws, plans, resolutions and the particular proposed change. Ask the strata manager in writing, with photos and a detailed elevation and installation description. Do not order based solely on an informal opinion or comparison with a neighbouring apartment.
What should be documented to maintain a consistent façade?
List the shape, number of sashes, fixed and opening panes, exposed frame widths, glazing bars, bars dividing the glass, colour, horizontal divisions and operating direction. Add both a full-façade image and close photographs of the present window. Ask the relevant decision-maker to confirm in writing which features the building requires you to retain.
Can the outside design differ when another arrangement works better indoors?
Better indoor operation is a legitimate objective, but it cannot by itself settle what may be visible on the exterior. Compare the desired convenience with the agreed elevation. Changing the pane arrangement or hinge side may reconcile them. Before final measurements are taken, present any variation to the relevant strata decision-maker and the installer.
What access must be prepared for installation?
Trace the route through the stairwell, lift, apartment entrance, corridors and room, adding a balcony or courtyard where relevant. Clear movable objects from the window area and agree on protection and use of shared spaces with the strata manager and installer. Have the installer inspect access at the property; your measurements should inform that conversation, not replace the inspection.
At what stage should I place the order?
Wait until the professional measure is confirmed, the appearance is agreed and the relevant approval process has concluded. Recheck the room, dimensions, sash count, hinge side, operating direction, divisions and installation scope before committing. Delivery is stated as four to six weeks subject to order confirmation, so an unconfirmed estimate should not determine the project schedule.
Next steps
Apartment window replacement is most reliable when product selection and consultation proceed together. Begin with building-specific documents and an accurate record of existing conditions. Turn the desired exterior appearance into checkable features, test the opening type in real daily use, and have access and junctions assessed on site. The order should precisely reflect the version that was approved and measured. A complete window list, written responses and careful handover create a record that remains useful for both the current installation and later work in the building.
