
Window Installation Costs: Fitting, Removal and Finishing

Planning Window Purchase and Installation
Buying a new window is only one part of the budget. Installation becomes easier to assess when you examine each junction: how the old unit will come out, how a damaged reveal will be repaired, who will close the roller-shutter box, and whether painting or plastering is included. For a project involving several windows, avoid comparing only the total beside “installation”. Quotes may cover careful removal, fixing, sealing and reinstatement of internal and external finishes to very different extents. Put every task into a consistent schedule before ordering so omissions become visible. This guide outlines the usual cost groups, clarifies handovers between trades and helps Australian customers compare equivalent scopes.
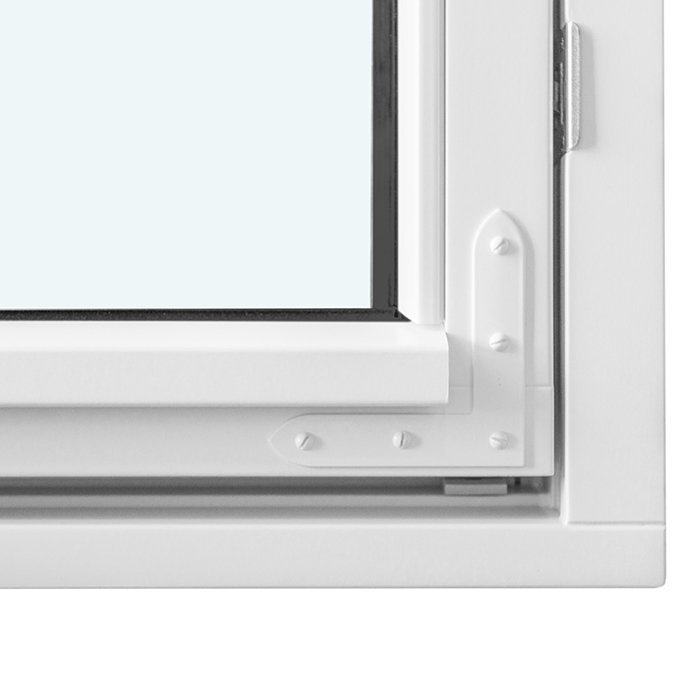
Plan the complete job before comparing unit prices
Begin by documenting every opening and the conditions around it. Note the room, approximate opening or existing size, storey, window style, opening direction, shading and visible damage to the plaster or reveal. A ground-floor replacement with easy access requires different organisation from work above a stairwell or on a broad opening with external shading. Include furniture movement, floor protection and the order in which rooms must remain usable. The replacement can then be priced as a defined sequence of work rather than an uncertain lump sum.
The chosen product shapes the sequence without determining the full installation effort. An inward-opening window with one sash provides a straightforward configuration, yet its size, weight, position and junctions still affect the quote. Give prospective contractors photographs of both sides, along with information about shutters, sills and the wall build-up. Confirm whether a site measure will occur before ordering and which measurements then govern production. Coordinating these details early avoids discovering incompatibilities between the product, opening and surrounding construction on installation day.
Show the full workload for removing old windows
Protecting the room is the first stage of removal; lifting out the frame is not necessarily the last. Existing construction may require the sashes to be detached, glazing made safe, the frame divided or old fixings released. Adjacent finishes could survive intact or sustain unavoidable damage. The method changes where a sill must remain, wallpaper reaches the frame, the reveal is tiled or the exterior finish is delicate. Before work starts, identify what the contractor must protect and where disturbance to the existing building may be unavoidable. That discussion sets sensible expectations for later repairs.
Ask for separate confirmation of old-window removal, transport and disposal. The treatment of remnants also matters: establish whether sealant, fixings and loose plaster will be cleared and how construction waste will be handled. List awkward conditions individually, including restricted access, permanently fitted internal sills and damaged masonry, instead of allowing them to sit under a broad allowance. Photographs support preliminary pricing but cannot substitute for an appropriate site inspection. If opening the wall exposes hidden damage, the agreed process should identify who halts the job, documents the condition and seeks approval before additional work begins.
Prepare the opening before the new unit arrives
After removal, the opening itself determines whether installation can proceed. Its substrate must be assessed, unstable material cleared and the reveal geometry checked. Irregular surfaces, previous levelling work, moisture marks and broken corners may affect alignment and the construction of the perimeter junction. Ask the installer to distinguish routine preparation from separately priced repairs. A single “installation” item does not establish that extensive patching or levelling is covered. Defining the required handover condition in advance helps prevent delays between removal and fitting.
Accurate placement is particularly important for fixed glazing because there is no operable sash to expose a positioning problem later. For a window with fixed glazing discuss the set-out within the wall, treatment of the perimeter and access needed to place the unit. A proper site measure should document more than height and width; it should also capture fixing and junction conditions. Request a concise description of how the opening must be prepared for handover. This separates the installer’s work from any masonry or plastering required from another trade.
Define each installation task instead of using a package label
Installation involves positioning, securing and checking the unit, not simply placing a frame in the opening. The suitable fixings and their required number depend on technical assessment of the particular wall and window. For useful quote comparisons, request an allocation of tasks rather than prescribing one method: identify who sets the unit, levels it, secures it and verifies operation. With several replacements, record whether completion is checked window by window or at one final inspection. The quote should also explain the handling sequence for frame, glazing and sashes, and when smooth closing will first be tested. An inspection before the junction is concealed makes responsibility clearer if alignment, dimensions or operation need correction. One completed opening may serve as an agreed reference where several are alike, but openings with different conditions still require individual assessment.
The number of sashes changes operation, weight and the need for coordination. With a double-sash inward-opening window confirm the ordered sash arrangement, available opening space and the stage at which hardware will be adjusted. Although these details are not necessarily stand-alone charges, they can change the work sequence and later adjustment. Ask for the installation to be described in plain stages rather than accepted under a broad phrase such as “professional installation”. The scope should also state whether protective film will be removed, operating instructions provided and visible installation debris cleared.
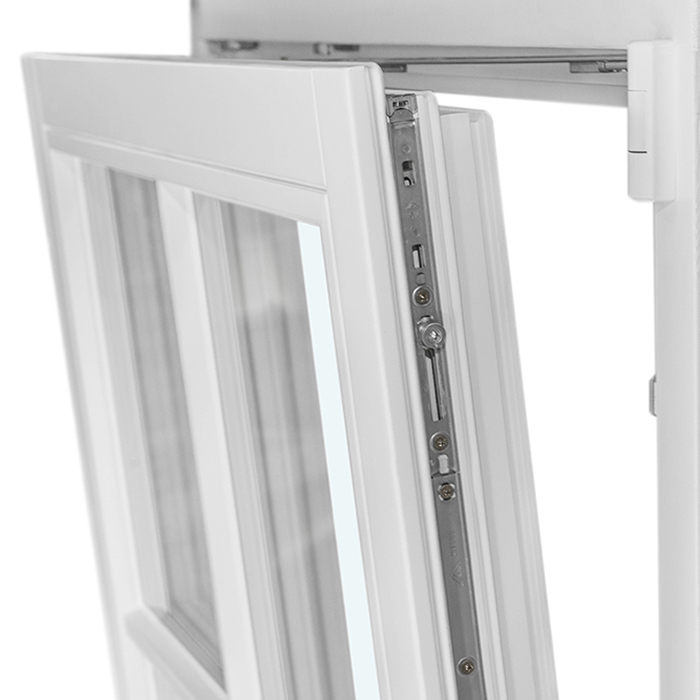
Perimeter joints: the link from inside to outside
Treat the space around the frame as a designed building junction rather than an empty gap. Installers may refer to inner, middle and outer layers, but the quotation should identify the actual work proposed. Confirm the materials intended for the site, preparation of their supporting surfaces, and treatment of transitions beside the sill, shutter guide and reveal. Sealing performance depends on both the supporting surface and a continuous connection. Include photographs and notes about awkward areas so they can be considered before the scope is settled.
In an older building, much of the existing junction can remain hidden until removal. Agree beforehand how decisions will be made if the exposed construction differs from the quote assumptions. The installer might record the condition and submit a proposed variation before closing it in. That process is safer than making an unapproved improvisation. Check whether the quotation expressly covers exterior weather sealing and the airtight internal junction, rather than merely allowing for foam in the installation gap. The objective is not to dictate brands or materials, but to allocate the entire junction and its responsibility.
Internal finishing: reveals, sills and surfaces
Residents generally regard the job as complete only when the surrounding area is usable and presentable. Internal work may include patching plaster, closing reveals, forming plasterboard edges, adapting sills and renewing paint or wallpaper. The window installer may not provide all of these services. A lower quotation can still be suitable when a painter is already arranged, whereas an unidentified omission may lead to an unexpected extra job. Specify the required handover finish: prepared but unfinished, filled, plastered, primed or completely painted.
Maintaining a historic appearance calls for close coordination between the selected product and repairs to its surroundings. An outward-opening “Kombi” casement in a traditional style identifies the window configuration, not how existing reveal profiles, glazing-bar sightlines or painted surfaces will be preserved. Provide reference images and describe which finished surfaces should remain visible. Decide whether internal sills stay, are replaced or are joined to the new work. Painting and plastering should wait until adjustment is complete and the junctions are finished; otherwise, later corrections may damage freshly restored surfaces.
Coordinate the outside, sill and façade junction
The frame, reveal, sill, façade and often the shading system converge on the outside. Price external sill and render work as connected tasks rather than isolated items. Establish whether the old sill is being removed, who will measure and fit its replacement, and how the ends will be joined. An inspection involving the relevant trades is worthwhile for insulated or decorative façades. What matters is a named party coordinating visible transitions and work order, not whether one contractor could theoretically perform everything. Record who supplies scaffolding, lifting gear or a safe external work zone. For staged façade work, show when junctions remain accessible and when coating or repair follows. Also allocate temporary weather protection. This prevents the window, façade and shading trades from quoting against inconsistent assumptions.
Oversized operable units need their external handling planned early. A Patio Life lift-and-slide door should be treated as a substantial door system rather than an ordinary window. Settle the route from delivery vehicle to opening, temporary storage, site access and fitting date before ordering. Confirm whether handling equipment, route protection and unusual access are included. Threshold coordination is equally important: record the intended floor levels and who resolves the junction with the terrace and indoor flooring. Without this planning, extra work to finishes, plaster or waterproofing may emerge only after the door has been installed.
Cost access, protection and sequencing from actual site conditions
The time required depends partly on access to each opening. Tight routes, work at height, occupied rooms, fragile floors and scarce storage space all alter the job. Describe them in the enquiry rather than assuming they are understood. Include parking, the carrying route from the vehicle, lift availability, stair width and permitted work hours. Contractors can then allow for transport and protection, while you can see whether each measure is included, optional or excluded. For an occupied property, map the room sequence, restricted-use periods and temporary locations for tools and removed units. Agree whether openings will be securely closed at the end of each day and who monitors covers between visits. Parallel electrical, flooring and painting work must allow for shared areas and drying times. A room-by-room program is more useful than a brief total duration with no sequence.
For a patio door with one outward-opening sash temporary access arrangements matter as much as the installer’s route. If this doorway is the sole direct garden access, decide how the opening will be secured while the old unit is removed and the replacement fitted, and when the route becomes usable again. Allocate furniture moving, coverings and final cleaning as well. Because “broom clean” can mean different things, describe the required handover condition. Schedule subsequent trades around a realistic fitting period. Bloomcabin generally delivers in 4–6 weeks, subject to order confirmation; installation timing must be arranged separately.
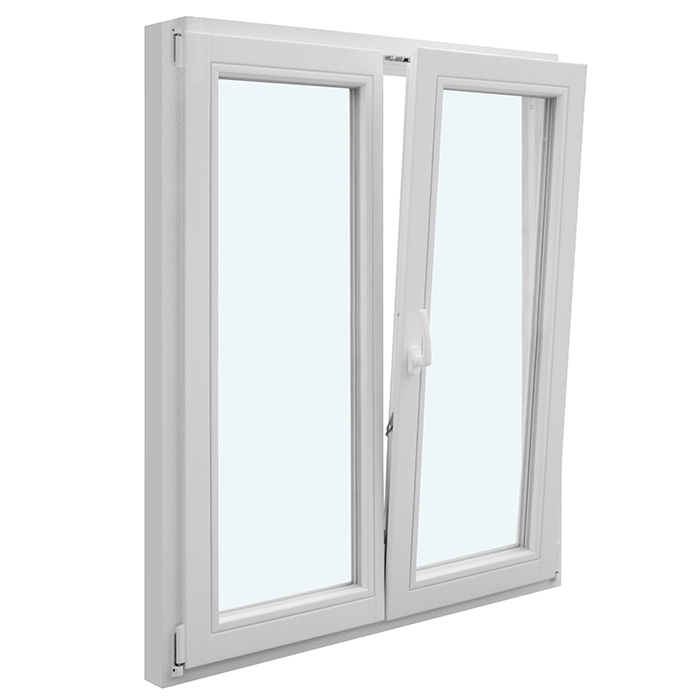
Price roof windows and unusual forms on their own requirements
A standard method will not suit every opening. Roof-window work also involves roof access, height and interior finishing. For a roof window with a pivot sash separate the proposed work to the roof junction, internal lining and existing coverings. Confirm whether one contractor removes the old unit, connects the replacement to the roof covering and reinstates the inside. Where trades divide those tasks, define their timing and handover points. Do not assume unspecified roofing work is included or spread it indiscriminately across the window price. Before appointment, identify who assesses the adjoining roof and manages conditions discovered after it is opened. Weather-sensitive work also needs a fallback date and a named party responsible for temporary protection. The internal lining geometry may determine whether existing finishes can remain. List internal and external work separately while coordinating both programs.
Angled, triangular and round windows require an exact site measure and deliberate treatment of exposed edges. With triangular and angled fixed-glazed windows their geometry can have a greater effect on internal lining cuts, exterior render and sills than a rectangular opening. Establish responsibility for templates, final measurements and verification of the existing shape. Check the carrying route at an early stage because unusual formats may make access the controlling factor. Keep these windows in a separate quotation group so their particular installation effort is not averaged across standard units.
Compare quotations through one checklist and confirm the scope
For every opening, compare a consistent set of entries: product supply, site measurement, removal, waste disposal, substrate preparation, fitting, internal and external junctions, sills, finishes, protection, access, cleaning and inspection. When an entry is missing, request the exact task and its handover point rather than only asking for a revised total. This reveals whether the figures cover equivalent work. Read the assumptions too, including requirements for sound supporting surfaces, clear access or owner-arranged plaster repairs. They may be reasonable, but only if they match conditions at your property.
Before ordering, record dimensions, opening directions, appearance, scope and responsible parties in one written schedule. State how variations arising from concealed conditions will be authorised, when the work will be inspected and which records must be available. Include a brief operating check for every moving unit and list any unfinished work that carries over. Bloomcabin windows and doors carry a 5-year commercial guarantee. This sits alongside consumer rights that cannot be excluded under Australian Consumer Law. Neither protection substitutes for a clear installation and finishing specification. A reliable comparison treats supply, fitting and reinstatement as connected work and assigns each responsibility.
Common questions
What details belong in a window-installation scope?
It should identify site measurement, positioning, securing, perimeter-junction work and operational testing where applicable. Confirm separately how removal, waste, protection and sills will be handled. The word “installation” by itself does not establish responsibility for subsequent plaster, paint or façade repairs.
Why do quotes for an identical window vary so much?
The difference often lies in assumptions about the site rather than the product. Access, reveal condition, removal complexity, junction work, sills and reinstatement may be allowed for differently. Give each contractor consistent photographs, dimensions and project notes, then compare the listed tasks individually.
May removal and finishing be assigned to different contractors?
Yes, provided the handovers are precisely organised. Describe how the opening must be presented to the window installer and nominate who completes the reveal, sill and surrounding finishes afterwards. Before starting, coordinate the work order, dates and responsibility for every visible junction.
At what stage is a site visit needed?
Arrange it before finalising a firm scope for any difficult existing opening. Photographs provide useful context, but concealed fixings, conditions behind linings and the substrate’s suitability may remain unknown. An inspection allows access, shading, sills and anticipated repairs to be recorded together before commitments are made.
What information supports an accurate installation quote?
Provide photographs from indoors and outdoors, indicative dimensions, the storey and access route, details of roller shutters or other shutters, and images of damage around the reveal or façade. Describe the finish expected after fitting. The contractor can then identify uncertainties and decide what must be inspected.
What to do now
No single fitting figure can represent every window-installation cost. The required work depends on the existing opening and the point at which the installer’s scope ends: removal, a prepared substrate, a completed perimeter junction or a finished reveal. Assess the product and fitting as one project covering both sides of the opening. A consistent checklist, clear photographs and an allocation of subsequent trades let you compare actual scope rather than headings. You will see earlier which tasks are confirmed, which assumptions underpin the price and which repairs still need separate coordination.
