
Window replacement: remove the frame or retain it?
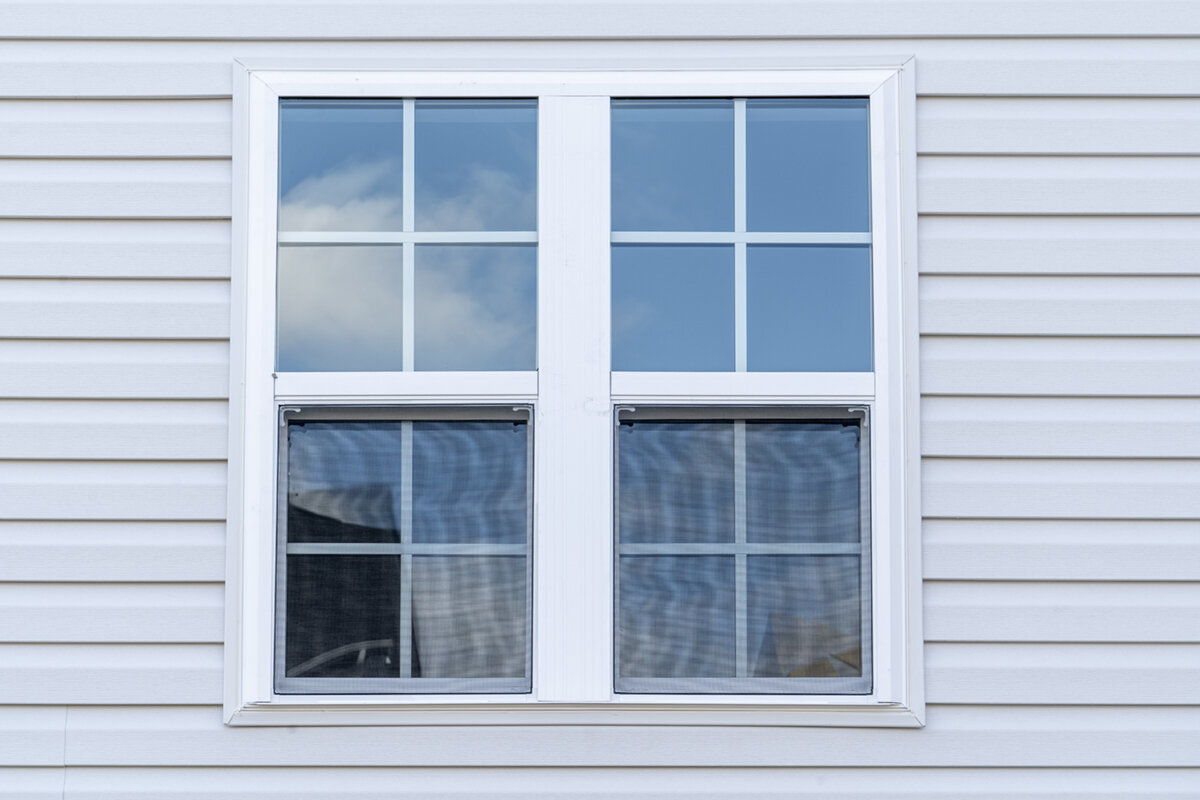
Planning window replacement in Australia
Selecting a new window is only one part of a successful replacement. Begin by determining whether the existing outer frame remains structurally sound, dry, true and suitably joined to the wall. If so, placing a new unit inside it may reduce disruption. Complete removal is generally a stronger starting point when the frame, reveal or junction is damaged, poorly understood, or the opening’s appearance must change. The choice influences daylight, interior finishes, the façade, scheduling and cost. Assessing the existing construction before selecting products helps stop apparently straightforward work being derailed by shutters, sills, plaster or other adjoining details.
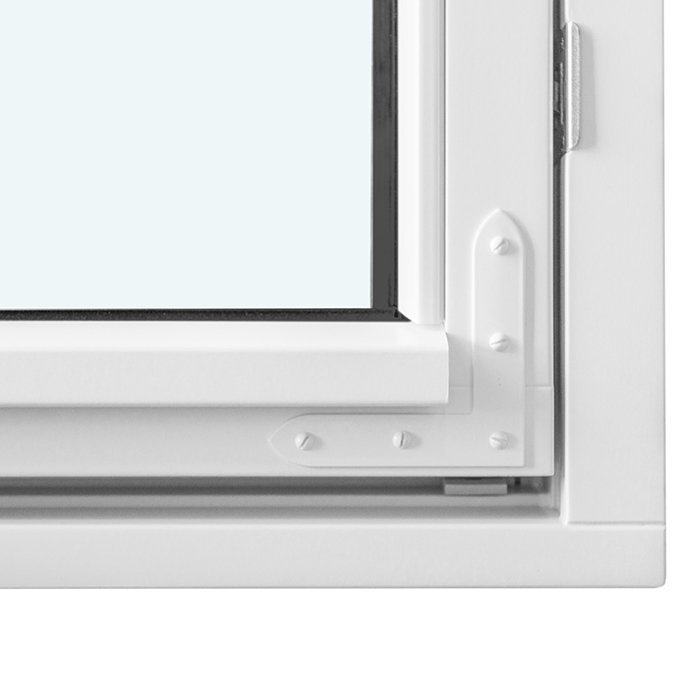
How the two installation methods differ
Full removal takes out the old window together with its outer frame. This exposes enough of the masonry, reveals and former junction to assess their condition and prepare them for the replacement. The work therefore concerns the meeting point between the window and the building envelope, not merely the unit itself. Installation dimensions, frame location in the wall, and the interior and exterior build-ups must be resolved together. This approach is valuable where moisture indications, deformation, visible deterioration or uncertain past alterations cast doubt on the opening. It also allows the junction to be redesigned as a whole when façade work is planned.
An insert installation leaves the old outer frame where it is and places the replacement unit within that boundary. This usually reduces the unobstructed opening compared with removing the original frame. The retained material remains visible and must be compatible with the new system, hardware and junctions on both sides. Although the method may limit repairs to surrounding finishes, proper investigation is still necessary. It is appropriate only for a dry, secure frame whose condition has been demonstrated, rather than being a default shortcut for ageing windows. The completed detail must remain technically coherent and dependable over time.
Read the existing opening before measuring
Work through the building one room at a time. Inspection should extend beyond sash and glass to the frame corners, lower section, fixings, reveals and interfaces with the sill, exterior render or cladding. Peeling surfaces, staining, softness, cracking, distortion and persistent draughts do not identify a cause by themselves, but each warrants further investigation. Later building changes also matter. Check whether external insulation, an internal lining or alterations to a shutter box were added after the window. Photographs and a written record made before removal reduce the risk of important conditions first becoming apparent during installation.
Measuring involves more than width and height. Take measurements at several points, note reveal depth, existing sill positions, opening directions and obstacles in the room. For an inward-opening single-sash window confirm beforehand that the sash clears radiators, furniture, fittings and proposed internal shading. Installation depth must also be checked: an outwardly tidy frame may lack room for another construction inside the opening. Record dimensional variations and every unresolved matter in the survey.
Judge daylight, sightlines and proportions
Reduced glazing is often the clearest visual effect of retaining a frame. The old and replacement frames occupy the same wall opening, so a narrow window may acquire a noticeably heavier frame-to-glass balance. Daylight, outlook and the exterior composition can all change even though the structural opening stays untouched. Ask for more than overall dimensions in a quotation; obtain an elevation that identifies the visible frame widths. A full-scale sample or accurately scaled drawing is particularly helpful for groups of small windows and for rooms that already have limited natural light.
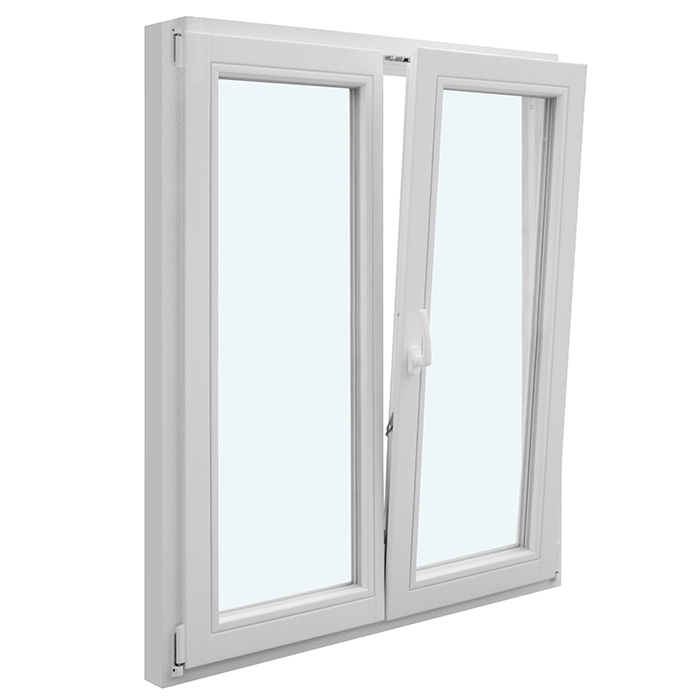
For double-sash openings, the choice of division also affects symmetry. An inward-opening double-sash window can reflect an established façade pattern, although inserting it within the old frame changes the widths seen at the centre as well as the sides. Approve exterior and interior elevations separately when historic proportions, glazing bars or aligned window axes matter. True dividing bars affect the construction differently from applied decorative versions. Removing the whole frame can reveal more of the original opening, while an insert installation means consciously accepting another visible frame outline.
Plan the whole window-to-wall junction
Treat the window as one component in a larger junction. Different demands meet across the interior face, frame zone and exterior face, including airtightness, weather resistance, insulation and allowance for movement. The correct arrangement depends on the wall construction, frame position and adjoining components. Removing everything opens the junction for inspection, but the exposed surfaces then require proper reconstruction. An insert leaves some earlier work hidden, so the proposed preparation, sealing and checking of the old frame and reveal must be explained clearly. Where the same window type recurs, completing one trial opening first can help everyone review visible edges, junction widths and the order of operations before proceeding. Agree which variations will trigger a fresh technical decision. An uneven substrate, for example, should be assessed for secure fixing, weatherproofing and appearance rather than automatically concealed behind wider trims. This coordination matters especially when separate contractors handle interior and exterior work.
A specification that mentions only foam or sealant is too vague. Ask what will be inspected, how the unit will be secured, which junction products are intended, and who will restore plaster, render, trims and sills. Consider a window with fixed glazing as an example. Although it has no movable sash, its connection to the wall still needs a complete design. Drainage, the sill and side terminations should be resolved together at the lower edge. The responsible designer or installer should record how the chosen detail suits the actual wall build-up.
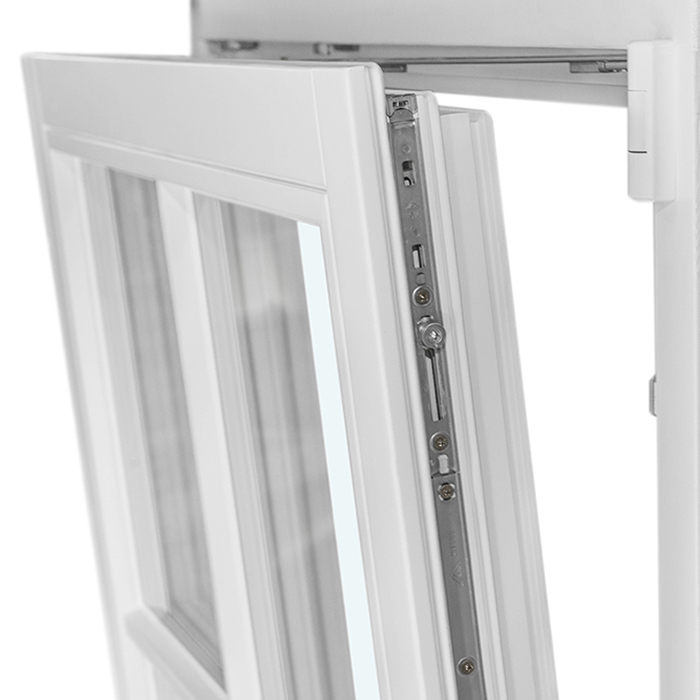
Investigate damage rather than covering it
When the old frame is doubtful, taking it out commonly provides the safer basis for repair. Moisture may come through failed exterior junctions, form as condensation on poorly performing surfaces, or escape from neighbouring components. Covering the affected area without identifying its source carries an obvious risk. Removal permits examination of the supporting surface, fixing locations and adjacent materials, after which repairs can be sequenced correctly. A small cosmetic blemish does not automatically justify complete removal. The relevant question is whether competent assessment confirms that the retained material is dry, stable in shape and strong enough to carry another installation.
A frame that looks intact may still reveal problems through its operation and geometry. Uneven gaps, cracking beside the opening or a sash that needs force to latch can point to causes outside the moving part. A further consideration arises with an outward-opening traditional “Kombi” casement because its intended period appearance must suit the proportions of the existing opening. Its name identifies a product configuration, not compatibility with a particular building. Check operating clearance, anchorage, exposure to weather and all junctions before deciding whether to preserve the frame or rebuild the opening completely.
Coordinate rooms, façade and related trades
Inserting a unit may seem attractive where valuable interior finishes should be disturbed as little as possible. Adjustments can still be needed to reveal linings, wallpaper, sills, curtains and other window furnishings. Complete removal generally creates broader repair work, yet it also allows reveal depth, junction height and visible edges to be reorganised. Externally, consider render, brick interfaces, cladding, sills, shading tracks and any insulation already present. Quotations can be compared fairly only when these associated tasks are identified, rather than reducing each proposal to a window and a nominal installation item.
Roof windows have their own set of details: roof covering, internal lining, water management and insulation around the opening belong in the same plan. A pivot roof window cannot be judged like a vertical façade unit. Low-set and unusually wide openings also need early coordination with floor construction, finishes and waterproofing. Before ordering, allocate responsibility for protecting, removing and reinstating surfaces, organising access and dust control, and identifying exclusions. This broader view may show that a seemingly cheaper installation loses its advantage once consequential work is included.
Separate room use, operation and ventilation
Window replacement can alter everyday use of a room. Sash dimensions, opening action, handle position and nearby furniture all affect ventilation and cleaning. Existing habits should not dictate the new arrangement: limited circulation space, a desk beside the opening or a window above a benchtop may favour another direction of operation. Fixed glazing offers an uninterrupted outlook, but ventilation must then be addressed elsewhere in the room. That issue exists with either installation method. Consider each room on its own terms. A bedroom may prioritise convenient operation and controllable fresh air, whereas reach and safe cleaning access may dominate in a stairwell. Account for taps, benches and proposed cabinetry in kitchens and bathrooms. A sketch of the sash in its open position often exposes a clash with curtains, handles or furniture sooner than a floor plan. If several units are changing, also confirm which remaining openings will genuinely be available for routine ventilation.
For a large opening to an outdoor area, circulation space in front of and behind the unit must also work. A Patio Life lift-and-slide door belongs to a different category from a casement and needs to be planned with the threshold, flooring interface, shading and furniture. A fixed unit may serve where another window is needed only for light, but regular ventilation calls for an operable solution. Make a brief schedule for each room covering its use, preferred opening action, cleaning access and exterior obstacles. This keeps the frame discussion connected to how the space will function each day.
Compare what each quotation actually includes
Price both methods against an identical scope. For every opening, request a clear account of removal, waste disposal, substrate preparation, the supplied unit, fixings, seals, interior and exterior junctions, sill work, finish repairs, protection and handover. A proposal that retains the old frame should state any assumption that it is fit to carry the new installation. A full-removal proposal should explain how unforeseen conditions will be handled and who can authorise extra repairs. Labels such as “complete installation” are not meaningful for comparison unless the included work is itemised.
Establish the programme as well. Ask whether every opening will be exposed together, what temporary protection is provided, and which inspections occur before the junctions are covered. An inward-opening single-sash patio door also needs coordination with the exterior surface and the route used each day. Listing only the door unit does not address those interfaces; adjoining trades need agreed dimensions and responsibilities. Bloomcabin states a five-year commercial guarantee for windows and doors, while delivery is 4–6 weeks subject to order confirmation. The guarantee is additional to rights that cannot be excluded under Australian Consumer Law. Neither the guarantee nor the delivery period replaces project-specific installation design or a precise contractor scope. Compare quotations line by line, noting exclusions as well as inclusions. Differences may reflect omitted finish repairs, conflicting assumptions about the old opening or unequal protection measures. For uncertain conditions, agree who reports and evaluates a discovery, what work pauses, who authorises the response and how additional work is recorded. That procedure keeps the chosen method accountable during construction.
Identify special shapes and conservation goals early
Standard assumptions become less useful as the opening grows more unusual. Curves, sloping units, raised sills and asymmetric reveals need careful measurements plus an elevation showing the wall edge, frame and glazing together. A fixed-glazed triangular and angled window illustrates why geometry sets the order of work. Confirm the opening form, support and available junctions before settling its appearance. Retaining a frame around an unconventional shape may introduce extra outlines that change the visual result more noticeably than they would around a standard rectangle.
For a façade with heritage or conservation significance, include exterior photographs, detailed measurements and the desired result in the enquiry. Match more than colour: examine divisions, frame widths, opening action, glazing-bar patterns and alignment with neighbouring units. Suitably qualified professionals and, where relevant, the local authority should confirm requirements for the specific project; an individual assessment cannot be turned into a universal rule. Complete removal may provide greater scope to restore the opening’s proportions, while retention can preserve existing character when the old frame is fit for reuse. On a larger project, choose a representative window for approval, preferably a prominent opening with a typical division. Review its exterior and interior appearance, glazing-bar position, junction edge and remaining glass together using dimensioned drawings rather than relying on a product photograph. Openings that differ in condition or geometry still need separate review. A successful standard detail should not be transferred without examination to curves, slopes or substantially different reveal depths. This protects design continuity can be maintained while technical differences remain visible.
Reach a defensible choice before ordering
Start with a project file for each group of windows rather than choosing a model immediately. Gather photographs from both sides, dimensions taken at several locations, wall and sill information, noted defects, the intended appearance and the room’s use. Record whether a visible old frame is acceptable and what reduction in glazing could be tolerated. An installer can then assess preservation against full removal using the actual opening. Request the reasoning behind the recommendation, including how it responds to junctions and surrounding finishes. Different answers may both be credible if they address distinct technical risks or design priorities.
Finish with a coordination check before placing the order. Confirm opening directions, unit divisions, elevations, junctions, shading, sills and the work of other trades. Approve unusual dimensions and every visible detail, identify who records the starting condition, and decide how the completed work will be accepted. Retention makes sense when the frame has been properly assessed, the smaller opening is acceptable and the new junction is fully planned. Removal makes sense when the interface needs renewal, proportions are changing or uncertainty should not remain hidden. Framed this way, replacement becomes a reasoned decision about the building component rather than a guess based on two installation labels.
Frequently asked questions
Can a replacement window always be fitted inside the old frame?
No. A competent assessment must establish that the retained frame is dry, securely fixed, stable in shape and capable of supporting the proposed installation. The reduced opening, extra frame outlines and planned interfaces with the reveal and sill must be acceptable as well. Dimensions alone cannot establish these conditions.
Should the entire frame always be removed?
No. Removal exposes the junction and gives more control over proportions and frame position, but it usually increases repairs to the façade and interior finishes. Retention may be reasonable where the old frame is sound and compatible. Its condition, the intended detail and the project’s complete scope should determine the method.
What causes the loss of glass area with an insert installation?
The replacement must fit inside the outline left by the retained outer frame, so both old and new framing occupy the opening. The visual effect varies with the opening’s size and each frame’s geometry. Dimensioned elevations from the room and façade sides allow the remaining glazing to be judged before purchase.
What information does an installer need to advise properly?
Provide interior and exterior photographs, dimensions from several locations, and details of the wall, sill, shading and preferred opening action. Record cracks, moisture indications, stiff operation and previous alterations. For groups of windows, identify the elevations and divisions that should read as one composition.
When do window, exterior and interior works need joint planning?
Whenever sills, render, cladding, floor junctions, shutters or sun protection are affected. This coordination is especially important for full removal, but retained-frame installation can also trigger adjustments. A clear division of services and responsibilities prevents later gaps between trades.
Next step
Retention and complete removal are not simply small and large versions of one solution; they create different junctions. Keep the frame only when its condition has been demonstrated and the resulting appearance and opening dimensions are suitable. Choose full removal when the opening, interface or façade composition needs reworking, or when the existing construction remains doubtful. Compare drawings, interfaces and the complete work scope as carefully as product models and totals. A documented survey, together with assigned responsibility for finishes and junctions, supports an informed decision before site work starts.
