
Window Security: Locks, Handles, Glazing and Evidence
How to compare secure windows and doors
Choosing windows for a new home, renovation or one-off replacement calls for more than comparing a list of security extras. Specialist glass, a key-operated handle or several locking points can all be useful, but no single feature explains how the assembled window withstands attempted entry. Performance comes from the way the sash, frame, hardware, glazing, glass retention, fixings and installation work together. Give particular attention to ground-floor windows, accessible patio openings and secluded rooms. Their location and opening method are more informative than one standard applied throughout the building. This guide explains how to question a quotation, interpret supporting documents and coordinate security decisions with the wider project before placing an order.
Buyer checklist 1
Map every opening before choosing individual features
Begin with the building layout rather than a preferred handle. For every opening, note whether someone could approach it from the garden, an adjoining property, a balcony, an awning or a garage roof. Record how visible it is, what the room is used for and how often ventilation is needed. A small basement window may be concealed, while a prominent patio door may be operated throughout the day. These observations help direct the security level, budget and operating convenience to the places that warrant them, instead of specifying every unit alike. Label each position as readily reached, reachable with assistance or difficult to reach, and identify any assumption that the designer must verify on site.
The exercise should cover doors and fixed glass as well as opening windows. Although a broad glazed panel may be planned mainly for daylight or appearance, it still belongs to the façade-wide security approach. A new project allows opening directions, lighting and outdoor areas to be coordinated early. For replacement work, consider whether shutters, flyscreens, sills or reveals restrict access to handles and hardware. Mark any opening that must operate promptly without a key for escape, cleaning or ventilation. Everyday use will determine whether a handle and operating sequence remain practical. Keep the observed condition separate from the proposed response: for example, a low outside sill is a site condition; fitting a key-operated handle is only one possible solution.
Treat the window as a tested unit
Calling a product a security window does not make it a standard unit with upgraded hardware. Classification concerns the combined design: profile, frame, locking points, keeps, hinges, glass, glass retention, handle, size and sash arrangement. Altering one item may take the revised version outside the documented scope, so a description such as “similarly secure” is inadequate. Require the supplier to define the quoted configuration and show that it is either the tested version or an expressly covered variation. A table with a separate row for each position makes comparison clearer. One statement applied to an entire schedule can conceal significant differences between standard dimensions, custom sizes and combination units.
For an inward-opening single-sash window the hinge and operating arrangement must be planned, yet its title provides no resistance classification. Nor can one infer a class from the frame material, glazing, fittings or locking system. Review each quotation position separately: identify the stated class, whether it covers the assembled window rather than one part, and the dimensions, sash count and opening direction within scope. Evidence for an accessory alone leaves the overall construction unverified. Obtain position-specific written clarification before approval instead of relying on a broad sales statement. The product or system identifier in the evidence should also correspond with the wording later used on the order confirmation, delivery docket and product label.
Buyer checklist 2
Put resistance classes in context
A resistance class records performance against defined entry attempts under controlled test conditions. Buyers need not memorise every procedure, but they should connect the quoted class with the opening's exposure and the document supporting it. Choosing a higher class cannot replace project planning and may change weight, operation, hardware, glazing and price. Likewise, security-related terminology must not be used to imply that an unclassified or lower-class version performs at a higher level. Ask which final size and schedule position the class covers. Separately record frequent ventilation, restricted reach and heavy daily use so that a security decision does not produce an impractical opening.
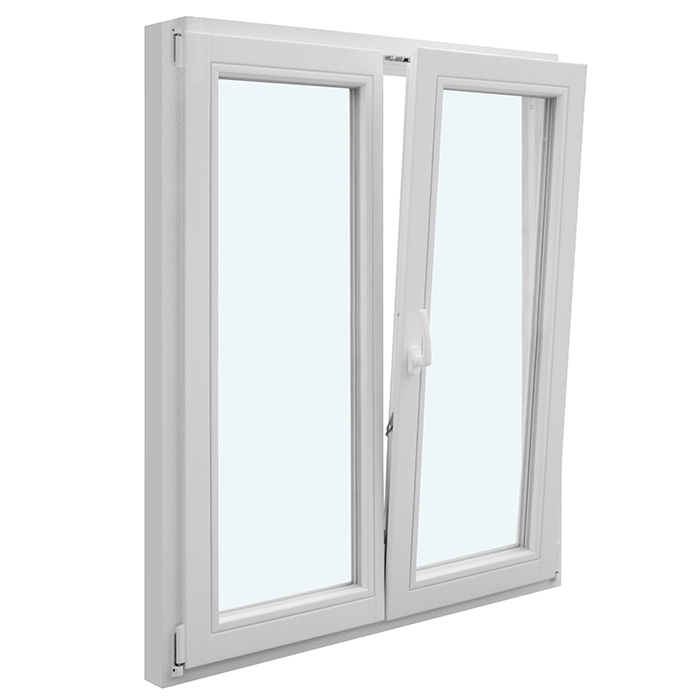
Assess the building in zones. An accessible, screened or ground-floor opening may warrant different treatment from one well above the surrounding ground. Applying one classification across the façade simplifies specifications and records but can impose needless restrictions. A tiered approach requires a careful schedule that also identifies large units and unusual shapes. For inward-opening two-sash windows the meeting stile, relative sash sizes and order of operation differ from those of a compact single-sash window. A catalogue image is not enough; obtain confirmation for the chosen dimensions and schedule position. Compare not only the class designation but also whether the sash division, opening sequence and clear passage width suit the room's intended use.
Review locks and hardware around the entire sash
Multiple locking points distribute the connection between sash and frame, but simply counting them says little about quality. Their positions, corresponding keeps, method of fixing and suitability for the sash dimensions and opening method are equally important. “Multi-point locking” in advertising does not confirm that the ordered size uses a tested or specified hardware arrangement. Ask the supplier to name the hardware version, relate it to the documented complete design and explain the adjustment or care expected after installation. The quotation should clearly separate the name of a hardware range, the quantity of individual parts and evidence about overall tested performance; one cannot be substituted for another.
Give special attention to hardware areas affected by regular use: hinge sides, corners, tilt stays and the handle zone. A large or regularly operated sash does not necessarily call for the same arrangement as a seldom-used secondary window. For an inward-opening single-sash patio door balance exposure from outside with its role as an everyday passage. Decide how occupants will operate it when secured, where keys will be kept and whether the routine is realistic. A feature regularly bypassed by users has little practical benefit. Require the quotation to identify the handle, keeps and hardware for that position, not merely for the product range. A brief trial of a comparable unit can reveal whether handle height, operating force and opening order are suitable for the intended users.
Buyer checklist 3
Assess key-locking handles realistically
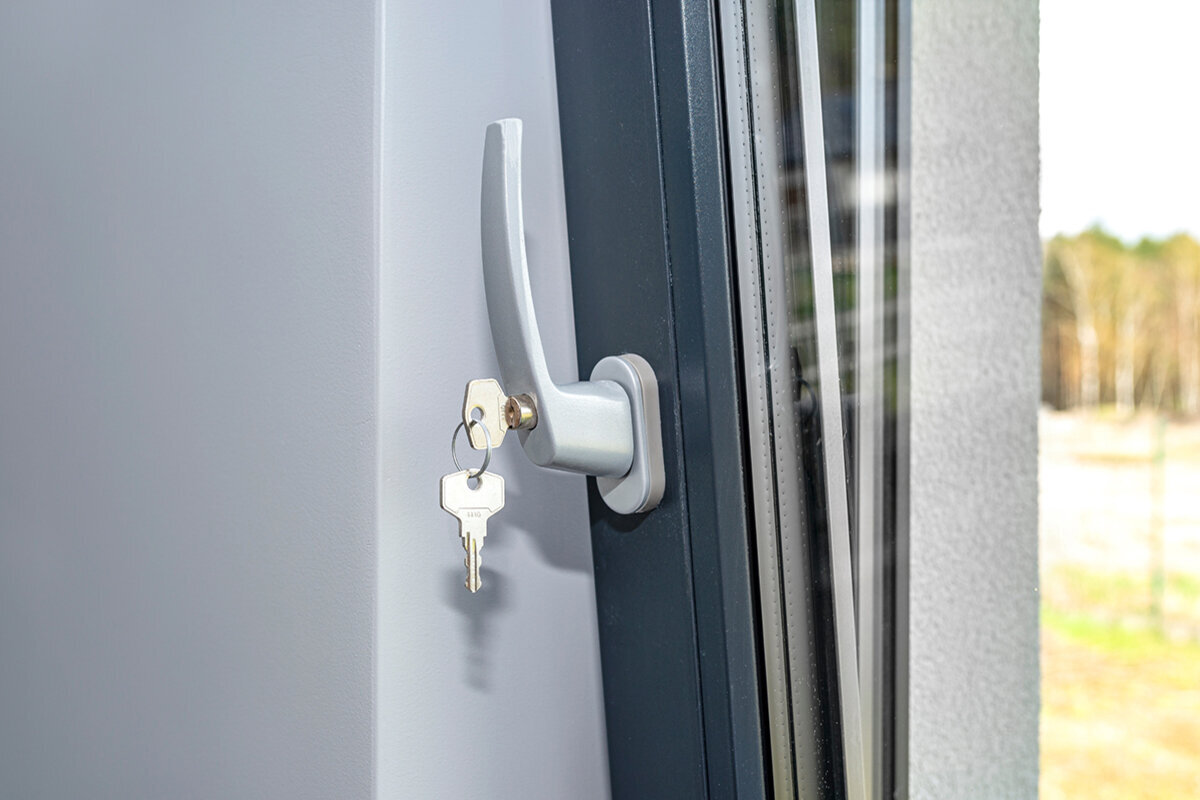
A key-operated window handle can discourage unauthorised operation and establish a consistent routine, but it does not turn the rest of the window into a burglary-resistant construction. Its relevance depends on its interaction with the sash, glazing and hardware and on whether the tested design includes it. Practical questions matter too: determine how many keys are required, who can use them and whether they remain in the handles or are stored elsewhere. An excessively rigid key system may make ventilation inconvenient in a busy household or result in windows being left unsecured. Ask whether handles may be keyed alike or supplied with separate keys. These are operating choices, not proof of any resistance class.
Ergonomics also matter. A handle on a fanlight, an opening behind furniture or another hard-to-reach window must be usable as well as lockable. An top-hung outward-opening casement window needs a different operating assessment from a full-height tilt-and-turn unit. Establish how it opens, where the user reaches the handle and how closure is confirmed after airing the room. Work through the sequence on the plan and, if useful, with a sample. Ask whether the nominated handle is included in the documented security configuration. If it is replaced later, check whether the supporting evidence still applies. Cleaning access, child safety and restricted hand movement may introduce separate operating needs that should not be confused with resistance to forced entry.
Do not choose glazing separately from frame and beads
Glazing contributes to security, but labels such as safety glass and laminated safety glass describe only part of the window. Confirm the exact glass build-up, which face it occupies, how the pane is retained by the sash or frame and whether the evidence covers that combination. The order should use an unambiguous glazing designation and assign the intended option to every position. A showroom sample is not a safe basis for assumptions because a larger, divided or differently operated unit may require another glass specification. If the proposal changes during order review, obtain written confirmation that the revised build-up remains within the agreed security configuration rather than accepting a general claim of technical equivalence.
A fixed panel demonstrates why the boundary between components matters. A fixed-glazed window has neither an operating handle nor moving hardware, but its pane, frame, retention method and attachment to the opening still form part of the solution. Where fixed and opening sections share one unit, assess each section on its own merits. The apparent quality of the fixed pane does not establish the security performance of the neighbouring sash or the combined element. Glazing may also need to address privacy, solar control, acoustics and thermal performance. Consider those objectives together so that a later change for one purpose does not inadvertently alter the security specification. Record decorative bars and divisions against each position, since an appearance sketch may not reveal whether a bar actually divides the glass.
Buyer checklist 4
Specify large openings and sliding doors separately
Large openings deserve a dedicated review because their operation and documentary scope differ from ordinary casements. Sliding, lift-and-slide and folding systems use distinct moving panels, locks and junction details, so assumptions from another window type should not be carried across. For each opening, obtain the security specification applicable to its height, width, panel arrangement and operating method. Then consider its normal use: an accessible garden, outdoor objects or a door routinely left ajar can change practical exposure without altering the product. Record the first panel to move, the required handle location and whether every fixed side panel has a clearly assigned glazing specification and supporting evidence.
For Patio Life lift-and-slide doors the model identity describes how the door operates; it does not state a resistance class or glass specification. Ask for details of the configuration in the quotation rather than inferring them from the name. Installation planning should coordinate the threshold with the finished floor, both for convenient use and correct fixing. If a project has several full-height openings, bring the supplier, installation or design specialist and, where relevant, site manager together. A coordinated review helps prevent contradictory decisions about dimensions, junctions, drainage and security. Provide the current floor construction and proposed outside levels so that a later threshold adjustment does not invalidate the assumptions used for the connection.
Read test certificates and classification reports
The supporting document must be traceable to the item quoted. Check that a certificate or classification report names the testing or classification body, the system and version assessed, the resulting class and every limitation. Review dimensions, sash quantity, opening direction, hardware, glazing and any stated extension of scope. Your precise size need not always be printed verbatim, but the supplier must then give a technically reasoned explanation showing why it lies within the documented range. A brochure, icon or unsupported statement cannot perform that role. Obtain every page, appendix and table in readable form because conditions, permitted variants and dimensional ranges are often recorded there.
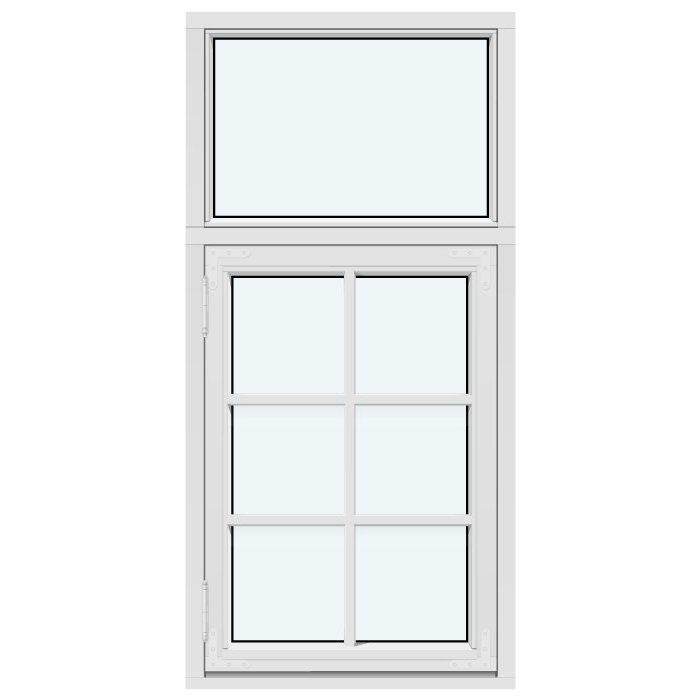
Create an explicit cross-reference between the document title and version, schedule position and ordered design. This allows the installer and site manager to review the specification efficiently. Ask whether custom dimensions, combination units or particular bar patterns require separate evidence, since visual details can affect construction. With an outward-opening heritage-style “Kombi” casement window neither the glass type nor a security classification follows from the title. Visible bars may also be made in materially different ways. Specify accurately whether the design has glazing bars, glass-dividing bars or no bars. A heritage appearance must not be taken as implied acceptance of an unverified security variation. Keep unresolved questions in a separate register showing who must answer and when the response was received; this prevents an informal verbal explanation from being mistaken for final documentary support.
Buyer checklist 5
Plan installation and building connections from the outset
Documented performance depends on an appropriate connection to the building. Project coordination must therefore cover the substrate and reveal as well as frame fixings, fasteners, spacing and load transfer. Do not postpone installation decisions until the windows arrive. Supply the installer early with the opening direction, dimensions, wall build-up, position schedule and security requirements. Confirm the system supplier's fixing instructions and agree how any departure will be recorded. The qualified professional responsible for the particular work should assess its technical junctions. In an existing building, also plan for concealed conditions, linings or substrate defects that may only become clear after removal, including who will decide how resulting variations are handled.
A position-by-position handover record is useful for sensitive openings. Note the ordered configuration, delivered label, glazing and handle, visible damage, planned fixing and final operating check. The record is intended to reveal mix-ups, not to certify the installation. For outward-opening single-sash patio doors review the swing area together with the outdoor surface and proposed furniture. Objects placed in front can change operation, while a later privacy screen may affect access or use. File quotations, the order confirmation, evidence, installation records and key schedule together. That project record is more dependable for maintenance, alteration or a new owner than remembered option choices. Where agreed with the installer, photograph labels and the exposed connection before linings conceal it, ensuring every image can be matched to its schedule position.
Secure the order, handover and later changes
Give every relevant schedule position a precise specification before purchase: unit type, dimensions, opening direction, sash layout, security configuration, handle, glazing and references to the agreed documents. Avoid relying on the phrase “burglary resistant”; where a classification has been agreed, record it specifically. For an alternative, establish whether the resemblance is merely visual or whether the same documented construction is supplied. Availability-driven substitutions and changes to colour, dimensions or bar layout may affect more than appearance, so reassess them against the security requirement before approval. A release register covering position, current drawing, confirmed evidence, unresolved variation and approval status helps stop superseded or incomplete designs from reaching production.
At handover, first match the delivered units to the order: count them and check opening directions, labels, handles and glazing details. Confirm that every sash closes and locks without abnormal friction. Record visible discrepancies and resolve them before finishing work restricts access. Afterwards, keep keys, operating guidance and maintenance information in a known place, schedule visual and functional checks, and seek professional help for stiffness or damage. Bloomcabin states a 5-year commercial guarantee for windows and doors and a delivery period of 4–6 weeks, subject to order confirmation. The commercial guarantee is separate from rights that may apply under Australian Consumer Law. Neither the guarantee nor the delivery estimate verifies the ordered security configuration. If the handle, glass, hardware or building connection is later altered, add the contractor, date, reason and technical records to the project file rather than retaining only the invoice.
Frequently asked questions
Is a key-locking window handle enough for burglary protection?
No. Locking the handle may support the chosen routine, but it says nothing by itself about the assembled window's resistance. Review how the frame, locking hardware, glazing, pane retention, fixings and installation work together. Confirm in writing that the nominated handle belongs to the documented configuration for that schedule position.
How do I know if a test report covers my window?
Check the quoted window against the report's system identity, operating method, sash count, dimensions, hardware, handle and glass specification. Read the class together with all scope limits and extensions. If coverage of your variant remains unclear, obtain a written position-specific explanation from the supplier; a general product brochure is insufficient.
Is safety glass required for every window?
Not necessarily. The answer depends on the opening, the project's security approach and its other design requirements. Treat the glass as part of the complete element: establish the build-up assigned to that position, the retention method and whether the documented configuration includes it. Have the responsible project professionals assess the actual application.
Can I simply upgrade a standard window later?
Replacing a handle may be possible, but that change alone cannot establish a documented burglary-resistant window. A meaningful upgrade might involve the frame, glass, hardware or fixings. Before proceeding, ask a qualified professional to determine what can technically be achieved, which functions will remain and whether the original evidence continues to cover the altered construction.
What documents should I retain after installation?
File the quotation, order confirmation, position schedule, technical evidence, installation records, operating and care guidance, and key register together. Include a handover record that identifies discrepancies and explains their resolution. This gives future maintenance, repairs and alterations a reliable reference to the originally supplied configuration.
Next step
A defensible security specification considers the documented window assembly, not an accessory in isolation. First map accessible openings, then assign requirements to individual positions and compare quotations on equivalent information. A class, handle, glass type or hardware range is useful only when evidence connects the combination to the proposed dimensions and opening method. Coordinate installation early and maintain a record of every approved change. For an enquiry, provide the opening schedule, plans or measurements and preferred operating methods, then ask the supplier to identify the documents that cover each offered security configuration.
