
How Much Space Do You Need Around a Hot Tub?
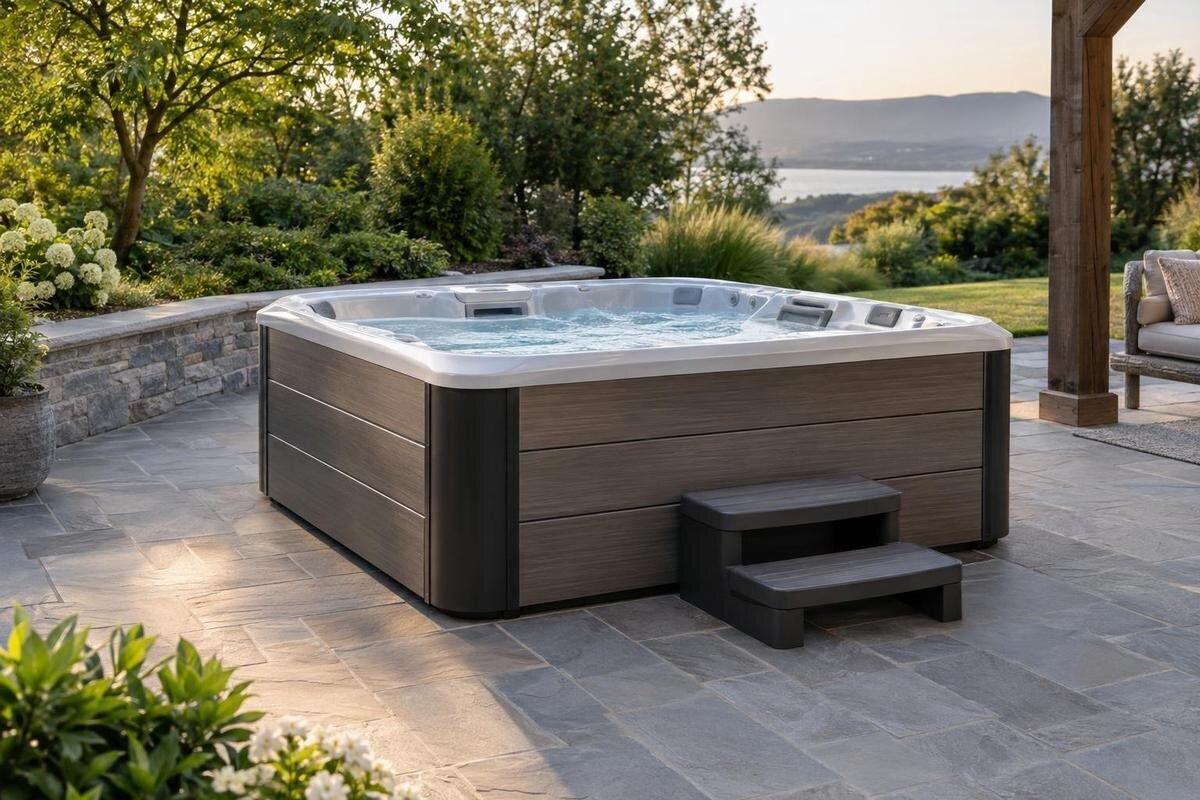
Hot tub planning
Knowing a hot tub’s footprint is not enough to tell whether it will fit comfortably. You also need to reserve space for the entry route, the cover’s opening movement and any service access called for by the exact setup. Those clearances are not necessarily equal on every side, and no one all-around figure works for every model. A measured plan based on the manufacturer’s current dimensions and installation drawing is the reliable way to compare options.
The footprint is not the full working area
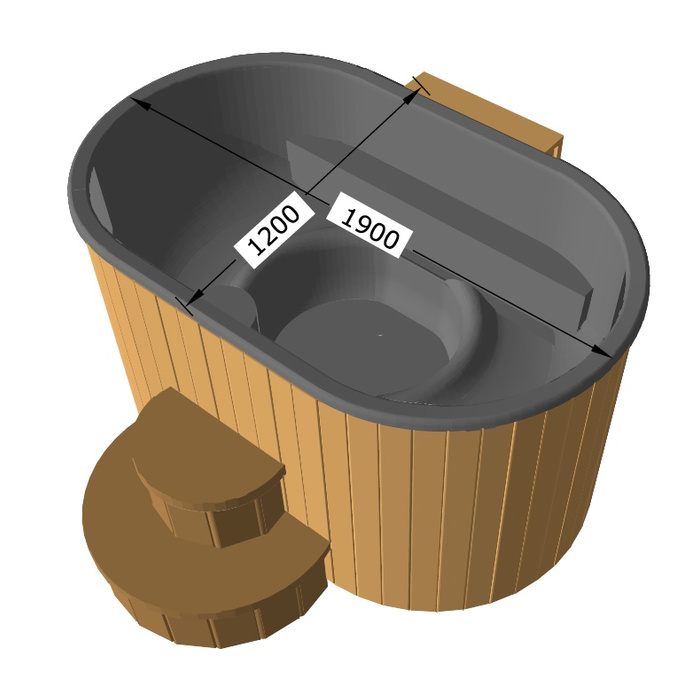
On a plan, the footprint is the horizontal area occupied by the hot tub itself. Begin with the manufacturer’s overall length and width for the exact model and configuration, not a product photograph or a number in a model name. Check what those figures include: the cabinet and fixed fittings may be included, while a projection or separate component may be shown elsewhere. Use the installation drawing to locate the outermost installed edge, including any equipment specified for that configuration. If the tub has a shaped outline, use the plan view as well as its longest length and width; those figures may describe a bounding rectangle rather than the precise edge. Record the units and measurement points so you know what you are comparing.
The footprint does not tell you how much clear area must remain beyond that edge. The working envelope includes space for approaching the tub, moving the cover, opening service panels and reaching equipment. These tasks can require room on different sides, so adding an arbitrary strip all around is not reliable. When comparing Bloomcabin Hot Tub Cove 2, record its overall installed dimensions separately from its side-specific clearances. Note where each clearance is measured from—the cabinet edge, a projecting component or another reference on the drawing. Keep unknown measurements blank rather than estimating them.
Entry space and the approach route
Before measuring the perimeter, decide how someone will approach and enter the tub in normal use. Mark the intended entry side, then draw a clear path from the surrounding usable area to that point. Include room to pause, turn and manage any step or other access item selected for the setup; confirm its actual dimensions and orientation rather than allowing a nominal opening that does not accommodate it. If a step is separate, show its position and the area it occupies instead of treating it as part of the tub footprint. A path that ends at the shell is not useful if a fixed fence, furniture or door swing blocks the final part. If more than one approach is likely, decide which route must remain clear in everyday use.
Not every side has to serve the same purpose, but a narrow side is not automatically spare space. It may be needed for servicing or the cover mechanism. When considering Bloomcabin Hot Tub Haven 6, compare your preferred entry side with the exact installation drawing. Pay attention to the narrowest point and any turn in the approach, not just its longest straight section. Show furniture in its normal position as well as where you would move it during use. This makes it easier to see whether the route will remain practical in your everyday layout.
Clearance for opening the cover
The closed cover’s outline is only one position to plan for. Depending on the cover selected and its mechanism, opening may involve folding, tilting or movement on a lifting frame; the required space may extend beyond a side or end. The person operating it also needs a place to stand and enough room to complete the movement. Check the exact cover arrangement intended for the hot tub rather than copying the appearance of a closed cover in a catalogue photo. If the cover system is selected separately or offered in more than one form, treat the tub and cover as a single space-planning configuration. A layout that works with the cover closed may still obstruct the opening path.
Ask for a drawing showing the cover in both closed and fully open positions, along with any stated clearance and height allowance. Note where the opened cover rests and whether a nearby wall or overhead projection would interfere. If the cover must be removed, include a storage spot and a practical route to it. For Bloomcabin Hot Tub Fjord 8, check the selected cover’s dimensions and movement as part of the complete configuration. Make sure the stored cover will not block entry or service access, and include the space needed by the person carrying or operating it.
Service access depends on panel location
Service access can require a different part of the perimeter from the entry route or cover movement area. Use the exact model’s installation and service documentation to locate access panels and equipment, and to learn the direction in which panels or components must be reached or removed. Confirm whether the chosen configuration includes any equipment outside the tub’s main outline and, if so, how far it projects. Ask whether the service work requires space only in front of a panel or additional room to remove it and handle components. Do not presume that every version uses the same panel location or equipment arrangement; a drawing for another option may not show the space your setup needs.
Mark each service area on the plan. A visible panel may still be difficult to open if a post, fence or fixed bench is in the way, and a technician may need room to work with it open. If you are comparing Bloomcabin Hot Tub Aurora 10, use its matching service drawing to identify these areas. Distinguish the gap needed to open a panel from the working space needed beyond it. Ask whether any nearby removable feature would have to be moved for service, so you understand what maintaining access would involve.
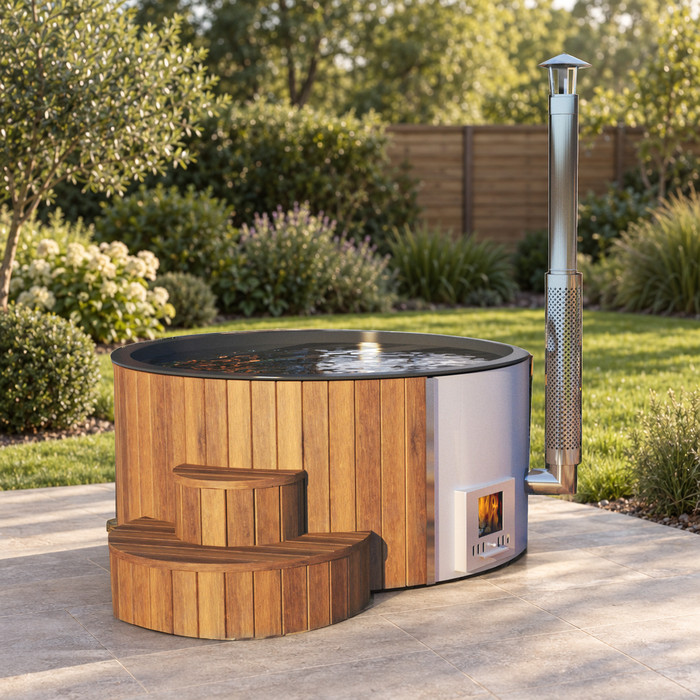
Nearby obstacles and projections
Measure to the nearest actual obstruction on every side, including posts, fence rails, wall projections, door frames, built-in benches and any external equipment. Measuring only to the main wall face can miss trim, a projecting ledge or a post set in front of it. Where a boundary changes shape, measure each segment separately and label its position on the sketch; a single overall room width may hide a pinch point. Note overhead projections as well as ground-level features, since free floor space does not guarantee that a raised cover or an access panel has room to move. If a wall or fence is not straight, take measurements at the points where the available space changes.
Separate fixed obstructions from things that can genuinely be moved. A fence or structural post sets a permanent limit; a chair needs somewhere else to go while the tub is used or serviced. Mark door and gate swing paths, not just their closed positions. When reviewing the Cove 2 product page, compare the model’s documented installation outline with these actual boundaries. Keep movable items on the sketch until you have assigned them another position. Otherwise, the same patch of space can appear available for both furniture and access when it cannot accommodate both.
A measured plan of the available space
Measure the usable area as it exists, not as a perfect rectangle. Write down the overall clear length and width, then add each recess, corner, post, wall projection and opening that affects the perimeter. Use one unit throughout; if a manufacturer’s drawing uses another, convert carefully and label the figures. Choose a reference edge and note where each measurement begins and ends, so another person can read the sketch without guessing. Take measurements at more than one point where a boundary changes, and record the narrowest point as well as the wider sections. A scaled drawing is particularly helpful when the space changes direction or several obstacles make a single width-and-length pair misleading.
Draw the tub at the intended orientation using verified outer dimensions, then plot entry, cover movement and service areas separately. A paper sketch or simple digital plan can reveal conflicts before an order is placed. Use the Haven 6 model page to identify the candidate, then transfer measurements from its matching installation drawing rather than an unscaled photograph. Draw each alternative orientation separately so the access sides remain identifiable. Label dimensions you still need to confirm, and keep your original site measurements visible; this lets you revise the proposed layout without measuring the entire area again.
Comparing complete installation dimensions
Use a comparison table instead of collecting isolated footprint figures. For each exact model and configuration, record overall length, width and height; any included component that projects beyond the main shell; the side intended for entry; the location of service access; and the selected cover’s open position. Note whether a step, cover mechanism or other selected accessory is included in the dimensions or needs to be plotted separately. Add the source and date of each document so you can see whether two sets of figures describe equivalent setups. This is not a ranking by size. It is a way to compare each hot tub’s full working envelope with the same measured area and spot missing information before you decide.
Ask what each dimension represents: the shell alone, the complete installed outline or a version with an accessory fitted. Check whether service clearances describe minimum gaps or working areas, and whether the drawing includes your selected cover. When considering the Fjord 8 model, enter only figures that apply to that configuration. If a dimension is supplied verbally or without an explanatory diagram, ask for a written specification or marked plan. Use the same columns for every candidate and mark missing figures as unknown, not zero, so an incomplete specification does not make one option appear smaller.
Manufacturer clearances for the chosen configuration
Before choosing a model, check that the installation instructions, comparison table and proposed layout all describe the same configuration. Options can alter the perimeter, so identify which equipment and cover system each document includes. Carry the manufacturer’s side labels and orientation onto your sketch to avoid assigning a clearance to the wrong edge. If the instructions give one overall clearance, confirm which tasks it covers rather than assuming it applies equally everywhere. This final cross-check is especially useful if you have changed an accessory or rotated the tub since drawing the original plan.
Resolve missing dimensions or conflicting instructions with the manufacturer or retailer before treating the layout as workable. Confirm any project-specific requirements with the relevant local authority or a qualified installer as well. If the Aurora 10 model remains on your shortlist, keep the documentation for its chosen configuration with your measured plan. Record any clarification alongside the affected dimension, rather than relying on memory. If the configuration changes later, you can see which decisions need revisiting. Do not resolve a conflict by choosing the smaller clearance or borrowing one from another model.
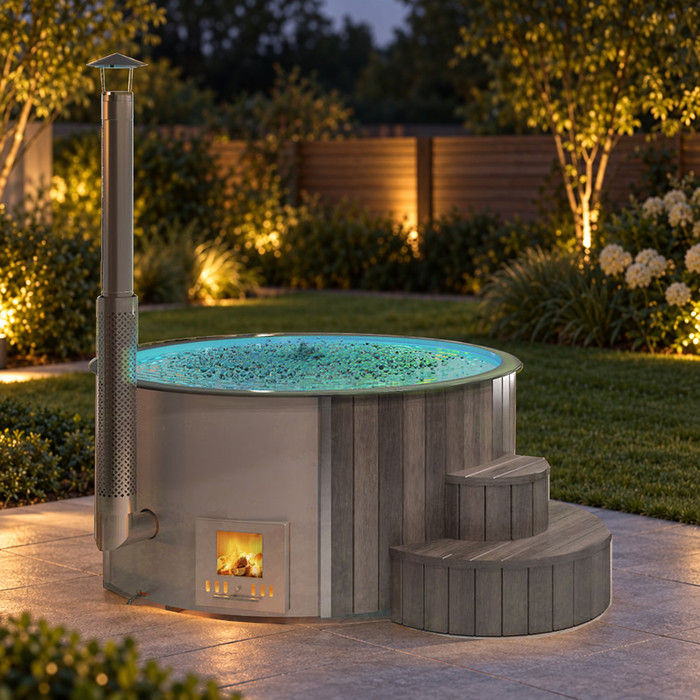
Where clearance zones overlap
Once the individual areas are plotted, look at how they fit together around the tub. One side may serve the normal approach, while an adjacent side accommodates the opened cover or service access. Use different colours or labels to distinguish these zones on the same plan. The combined outline may be stepped or uneven rather than a uniform rectangle. At corners, check whether an obstacle falls within either of the adjoining zones; a clear strip along one side does not establish that the whole working area is unobstructed.
Where two zones overlap, consider when each is used. An open cover could occupy part of the approach while people are entering, whereas service work may take place at a different time. Do not automatically add every clearance together or assume that shared space is acceptable. Ask the manufacturer or installer to confirm the proposed overlap. Label any conditions on the plan, such as moving furniture before service, and distinguish them from areas that must always remain clear. This shows how the layout would function, rather than merely whether its outlines fit within the available space.
A full-scale check before you decide
Before committing, mark the proposed footprint and clear zones on the ground or on a full-scale plan. Painter’s tape, chalk or string can make the corners, approach route and nearby obstacles easier to see; mark the cover’s open position and service-panel area from the actual drawing as well. This is a visual check of measurements and movement, not a substitute for manufacturer clearances. Follow the intended approach, check whether doors or gates can open without crossing the route, and decide where movable furniture will go. If the space appears adequate only when a fixed obstacle is ignored, revise the layout rather than the measurement. Where the area is awkwardly shaped, mark each edge and pinch point instead of relying on a rough rectangle.
If the layout does not fit, change one known variable at a time: test a different orientation, move an obstruction that is truly movable, or compare another model’s verified dimensions and clearances. A different cover system is an option only if the manufacturer confirms compatibility and its open-position requirements. Changing orientation can also change which side faces an obstacle, so recheck the service and cover zones rather than rotating the footprint alone. If a required area still conflicts with a fixed wall or fence, do not reduce the allowance by guesswork; ask for a manufacturer-confirmed alternative or compare a layout that meets the documented requirements. The result is a checkable answer to ‘Will it fit?’ rather than a guess based on footprint alone.
Frequently asked questions
Is there a standard clearance around a hot tub?
There is no single clearance number that fits every tub and layout. The space needed depends on the exact installed dimensions, entry route, equipment arrangement, service access and cover system. Use current manufacturer instructions for the configuration you are considering, then confirm any requirements that apply to your project with the relevant local authority or a qualified installer.
Can I place one side close to a fence or wall?
Only if the manufacturer’s requirements for that side are met and the remaining entry, cover and service areas still work. A side that is not used for everyday entry may still need maintenance access. Check what the clearance is measured from and whether it describes a minimum gap or a working area; do not infer permission from a product photo.
How much room does a hot tub cover need?
It depends on the cover and its opening mechanism. Check the selected system’s dimensions in both closed and open positions, including any projection at the side or end and any height allowance. If the cover must be removed and stored, allow room to handle it and a place to set it. Confirm compatibility rather than planning from the closed cover alone.
Which dimensions should I compare between hot tubs?
Compare the overall installed length and width, any equipment that extends beyond the main outline, and the specified clearance at each side. Also check height where an open cover or component could meet an overhead obstacle, along with the entry route and service-panel working area. Make sure every figure applies to the same configuration and note which accessories are included.
How can I check whether my space is big enough?
Plot the verified footprint and each required zone on a measured plan, then mark the layout at full scale if useful. Check fixed obstacles, door swings, cover movement, entry and service access. If the documentation does not give a measurement you need, ask the manufacturer or retailer for clarification instead of substituting a general rule of thumb.
A useful hot tub plan is not a footprint with a guessed margin added around it. It matches verified outer dimensions with the actual space needed for entry, cover movement and service access, then checks those areas against nearby obstacles. Once the full working envelope is clear, you can compare models on the same measured basis instead of relying on names or photographs.
