
How to Combine a Sauna and Hot Tub in One Backyard
Backyard planning
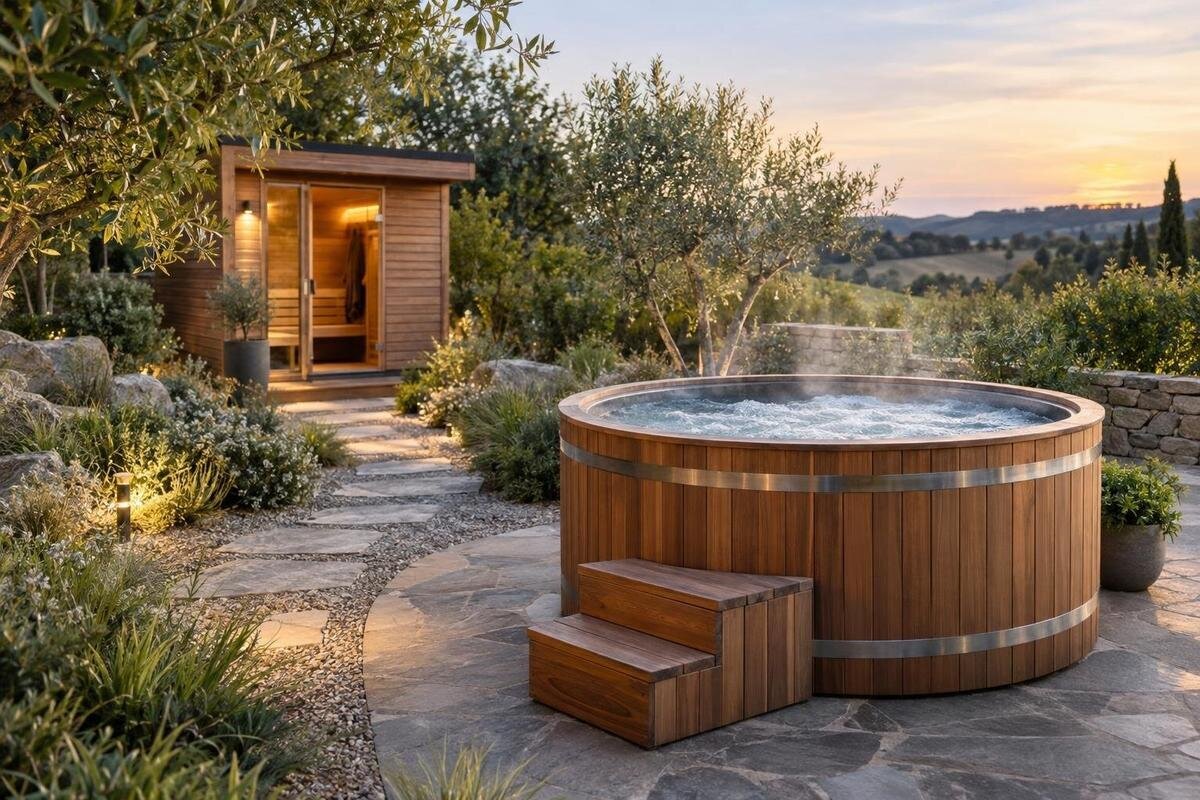
Combining a sauna and hot tub is less about fitting two products into the same corner than about coordinating two destinations people move between. Doors, a wet route, privacy, changing space and service access all compete for room, so a layout can look spacious on paper yet feel awkward when both amenities are in use. Plan the shared area around household routines and the conditions on your property. Use current manufacturer dimensions and installation requirements when placing the sauna and hot tub on the plan. A measured sketch makes those relationships easier to assess.
01
Plan around how the two amenities will be used
Decide whether people will usually move between the sauna and hot tub or use each on separate occasions. The layout needs to accommodate people moving between them, guests arriving together and users entering or leaving either amenity. Note who is likely to use each amenity, how often guests join, and whether both entrances need to remain usable at once. You do not need to forecast every visit; identify the busiest plausible moment, then check whether anyone must squeeze past a door, a wet area or someone changing. Also consider whether the setup is mainly for weekday household use or occasional gatherings.
Write down the practical sequence as well: where people arrive from, where they change, where towels wait, and whether a dry pause is useful. If one amenity is occupied, the route to the other should not depend on crossing a private changing spot or moving stored items. When shortlisting equipment, compare candidates such as Bloomcabin Hot Tub Cove 2 against that routine. Obtain current hot-tub and sauna documents before assigning either a precise place. If the route also serves as a passage to another part of the backyard, note when that traffic might cross the shared zone.
Choose adjacent or separate zones
An adjacent layout puts the sauna and tub in one shared destination. It can shorten the transfer between them and let a single changing area, privacy treatment or covered route serve both. But closeness can create conflicts: a sauna door may open across the hot-tub approach, people may queue in the same narrow space, or one activity may feel exposed while the other is in use. Draw both doors and the clear standing area in front of them, not just the equipment rectangles. If entrances or circulation overlap, shifting the units apart on the plan may improve movement without scattering the whole zone.
Separate zones can give each amenity a more distinct setting and reduce crossing between users, but they require more of the backyard and can lengthen the exposed route. They may also split useful functions: a changing place beside one unit may not serve the other conveniently. Compare both arrangements against the same property boundaries, house entrance, neighbouring windows and service route. A shallow L-shaped plan may keep a shared resting area near both entries if the measured spaces allow it. In a long, narrow backyard, a line of zones might work better; a broader space may allow a shared landing. When considering the Haven 6 model, compare its confirmed external dimensions and service clearances with both arrangements before deciding where it belongs.
02
Make the route between them easy to use
Treat the route as part of the combined installation, not leftover space between two footprints. Trace it from the house or gate to the sauna, hot tub, changing place and back out; show turns, thresholds, door swings, steps and any point where users might meet. A straight line is not always the easiest route if it crosses a work area or requires a tight turn. Allow enough clear walking room for people carrying towels or other items, and keep the route legible when both amenities are occupied. If it is also the everyday path between the house and another part of the yard, avoid making the amenity approach the only through-route.
Choose a firm outdoor path surface suitable for wet foot traffic and local exposure, including freeze-thaw conditions where they occur. Avoid a route that ends in a low spot where water collects or forces people across stored items and tools. Ask an installer or qualified drainage professional how surface water should be managed on the actual site rather than guessing at a slope. For cooler or more exposed locations, consider how much of the crossing is open to wind, rain and snow, and whether it can be cleared easily. When adding Fjord 8 to your layout, use confirmed dimensions and show any manufacturer-specified access space separately from the tub footprint.
Reserve room for changing and resting
Give changing and resting a deliberate place instead of expecting a towel hook at each amenity to solve the problem. People need somewhere to set clothing and towels, change without blocking a door, and sit or pause if that is part of their routine. A bench, screen or storage cabinet should be considered only after measuring the space it occupies and checking that it does not interrupt circulation. Keep dry items away from the splash area and choose storage to suit the household’s actual habits, not a generic accessory list. Include the opening side of any cabinet or lid as well as its footprint.
If the changing area serves both sauna and hot tub, place it so a person can reach either without walking through the other amenity’s entry space. For a candidate such as Bloomcabin Hot Tub Aurora 10, allow for the documented footprint and operating or access requirements before adding changing and resting space. Decide whether a shared changing spot needs a visual divider or whether the household is comfortable with an open arrangement. Making that choice now helps avoid putting a screen or storage unit across a route later.
03
Create privacy for both areas
Privacy has to work from both amenities, not just from the hot-tub seat. Check views at standing height near the sauna entry and at the positions people use around the tub; include sightlines from the house and neighbouring windows. A screen placed for one may leave the other exposed, while a continuous enclosure can make the shared zone feel closed or interfere with access. Mark the private area’s boundaries on the same drawing as the doors, route and resting place. On a lot overlooked from an upper floor, a ground-level panel may cover the path but miss the entrances.
Choose a response to the actual view: an existing fence, a short screen, a trellis or planting may suit different spaces, but each uses room and can affect light, upkeep or seasonal coverage. Avoid placing a screen where it blocks servicing, delivery, a sauna entry or movement around the tub. If equipment positions remain flexible, compare sightlines before buying screening. Use the layout you are considering for the Cove 2 model to compare screening positions before settling on a continuous enclosure. Check the sauna’s access requirements too, so a shared screen does not create a new bottleneck.
Coordinate shelter, lighting and local weather
Decide whether a roof or other shelter should cover both units, only the connecting route, or neither. One shared structure may make the zone feel coherent and shelter a waiting or changing area, but posts, runoff and maintenance also occupy space. Do not assume a garden pergola or roof is suitable for either amenity: check the exact manufacturer installation instructions and have a qualified designer or installer assess the proposed structure and site. Consider local wind and snow exposure rather than treating every backyard as alike. Mark supports on the plan so they do not become obstacles in the route or service area.
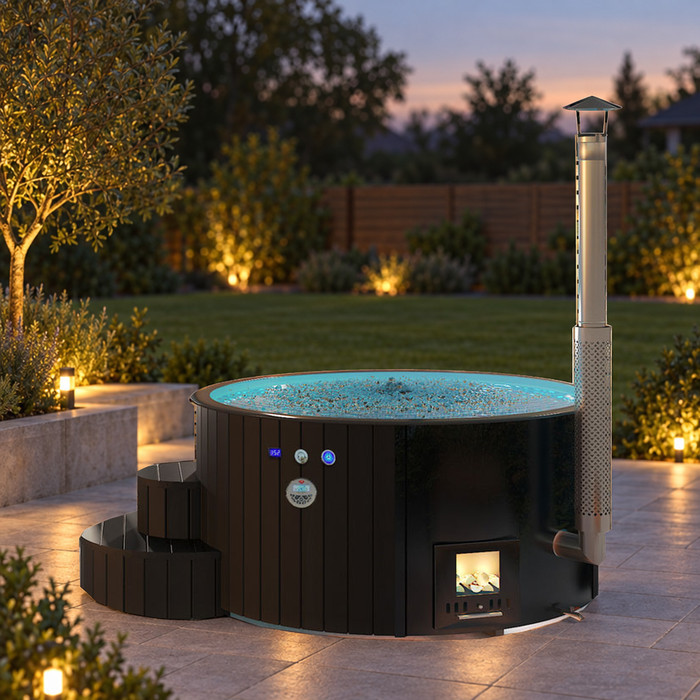
Plan lighting around the route and entrances so people can recognize the way between the two amenities after dark without glare into the house or neighbouring properties. Include the changing and resting area rather than lighting only the equipment. Outdoor electrical work should be planned with a qualified electrician; do not assume a fixture type or installation detail suits the site. Before drawing a shelter over a candidate such as Bloomcabin Hot Tub Haven 6, confirm both the tub’s and sauna’s requirements. A shelter over just the route may also be an option, but its supports and runoff still need a place in the plan.
04
Keep delivery and service access clear
Check delivery access before settling on the final position. Walk the proposed route from the unloading point to the installation area and measure gates, narrow passages, turns and overhead restrictions; note steps, grade changes and temporary obstructions. Ask the seller or delivery provider what they need to know about the route and what dimensions or handling constraints apply to the particular items. A product name does not tell you how a tub will be delivered or whether a sauna arrives assembled, so obtain those details before deciding that a tight side passage will work. If access crosses a planned deck or enclosure, discuss construction sequencing before that work starts.
Keep a separate route in mind for service after installation. Use current manufacturer guidance to locate designated service access and reserve the stated working space; do not put a fence, screen, planter or shelter post in front of it. Check that a technician can reach each amenity without crossing a storage corner or dismantling the privacy treatment. For a candidate such as Bloomcabin Hot Tub Fjord 8, mark the service approach on the drawing and keep it clear after delivery is complete. Consider the delivery path and ongoing service path together, since one may be clear while the other is not. If a required access dimension is unavailable, ask before fixing surrounding construction.
Check local requirements for the full installation
A combined layout can involve more than the product installation guides, and the answer depends on the site and local authorities. Before construction, ask the municipal planning or building office what to check for the sauna, any shelter or enclosure, changes to grading or drainage, and the equipment location. Ask whether building, fire, electrical and structural review applies rather than assuming a backyard project is exempt or that one approval covers every component. Check provincial requirements where relevant, and use current guidance for the actual address instead of relying on a neighbour’s past project.
Have the appropriate qualified professionals review proposed connections and the supporting surface. Gather the exact sauna installation documents and those for your chosen tub, such as the Aurora 10 model, along with a plan showing boundaries and distances and any shelter drawings. Use those details when requesting advice rather than asking professionals to assess the installation from a catalogue title. Keep replies with the plan and record which professional addressed each issue, so electrical, structural and drainage questions are not treated as one general clearance.
05
Choose a hot tub that fits the combined layout
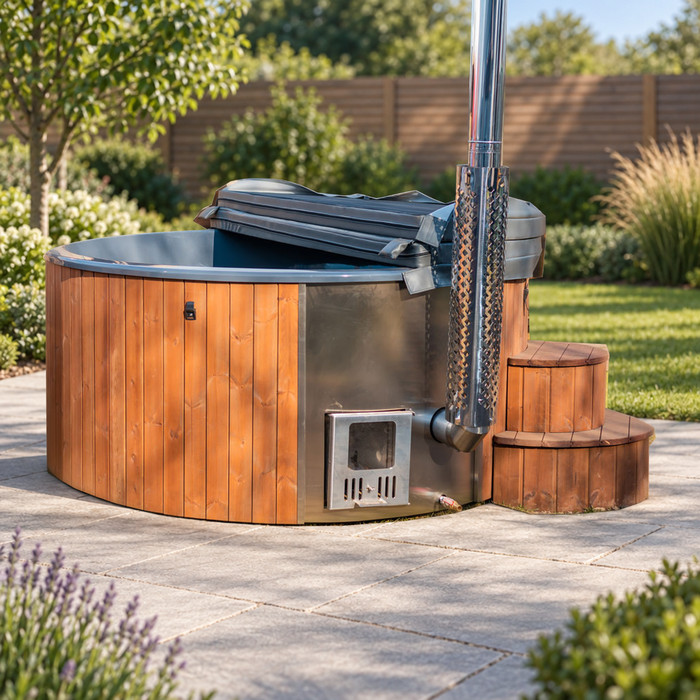
Select the hot tub only after the sauna and shared route have a provisional place. Measure the exact outside dimensions, then add manufacturer-specified operating and service clearances, room for entry and exit, and the path to the changing area. If a cover is part of the selected product, include the space its instructions require for operation and removal. A rectangle that fits on a drawing can still leave no practical approach or block the sauna door. Include posts, screens, storage and resting space so the tub is being fitted into the whole arrangement, not merely into a spare corner. When a fit is tight, ask whether the published footprint includes projecting parts or connection space.
Compare candidates using verified facts that affect the combined plan: documented capacity, dimensions, heating system, connections, required clearances and service needs. Ask how each item suits intended use and who will use it; do not read capacity, seating, heater power or performance from a number in a model name or from a photograph. Check that the sauna’s installation requirements are available as well. A side-by-side worksheet can list each confirmed figure and keep unknowns visible; do not fill an unanswered measurement with an estimate. If a key figure is missing, treat the purchase decision as open rather than scaling the whole yard around an assumption.
Test the plan before work begins
Before ordering materials or committing to a fixed layout, draw the full combined plan to a consistent scale. Add the sauna’s specified footprint and entry swing; add the tub’s actual dimensions, service approach and any room needed to operate or remove a cover according to its instructions. Then draw the route, changing and resting space, screens, shelter supports, lighting positions, delivery path and property boundaries. Temporary marks on site can help show whether the route feels pinched, but base them on confirmed figures, not a number in a model name. Keep door and access zones distinct from simple product footprints.
Ask the sauna and hot-tub suppliers, installers and relevant trades to review the same drawing before work begins. One plan can reveal conflicts separate conversations miss: a post in the service area, a screen across the delivery route, drainage at the walking line, or two doors opening into one small landing. If an item changes, update the drawing and recheck movement, privacy and maintenance access. Leave flexibility only where it does not compromise a confirmed clearance or access requirement. Keep the final version with the manuals so future service visits are planned around the installed layout rather than a memory of the original sketch.
Frequently asked questions
Should the sauna and hot tub be side by side?
Not necessarily. An adjacent layout can make it easier to share a route or changing area, but only if the doors, circulation and service access do not conflict. Separate zones can provide more space between users, but use more of the backyard and may leave a longer route exposed to weather. Compare both options using the site’s actual measurements.
How much room should there be between the sauna and hot tub?
There is no single distance that suits every product and backyard. Start with the clearances and access requirements in the current sauna and hot-tub documents, then allow a usable route between their entrances. Include doors, service access and any changing or resting space in the plan rather than measuring only the gap between product footprints.
Can one shelter cover both amenities?
Possibly, but do not assume a roof or pergola suits either product. Check both manufacturers’ installation instructions and have a qualified designer or installer review the proposed structure, local exposure and access needs. Make sure supports and runoff do not interfere with the route or service areas.
What should I consider for the path between them?
Choose a firm outdoor surface suitable for wet foot traffic and local weather. Plan a clear route around doors, storage and service access, and consider lighting and how surface water will be managed. In colder or more exposed locations, account for wind, rain, snow and the practical work of keeping the route clear.
What should I verify before choosing a hot tub?
Compare documented dimensions, capacity, heating system, connections, clearances and service requirements. Check how those details fit the sauna, route, changing area and intended use. Ask about delivery access as well, and do not infer a model’s size, capacity or performance from the number in its name.
Successful pairing means neither amenity is treated as an afterthought. The sauna and hot tub can sit close or apart; what matters is whether doors, a clear route, changing and resting space, shared privacy, weather protection and service access work together on the actual site. Confirmed product documents and local professional advice turn that plan into a realistic purchase decision. When those elements fit on one drawing, the backyard is more likely to feel like one usable destination rather than two installations competing for the same space.
