
Should You Replace Your Home’s Windows Together or Gradually?
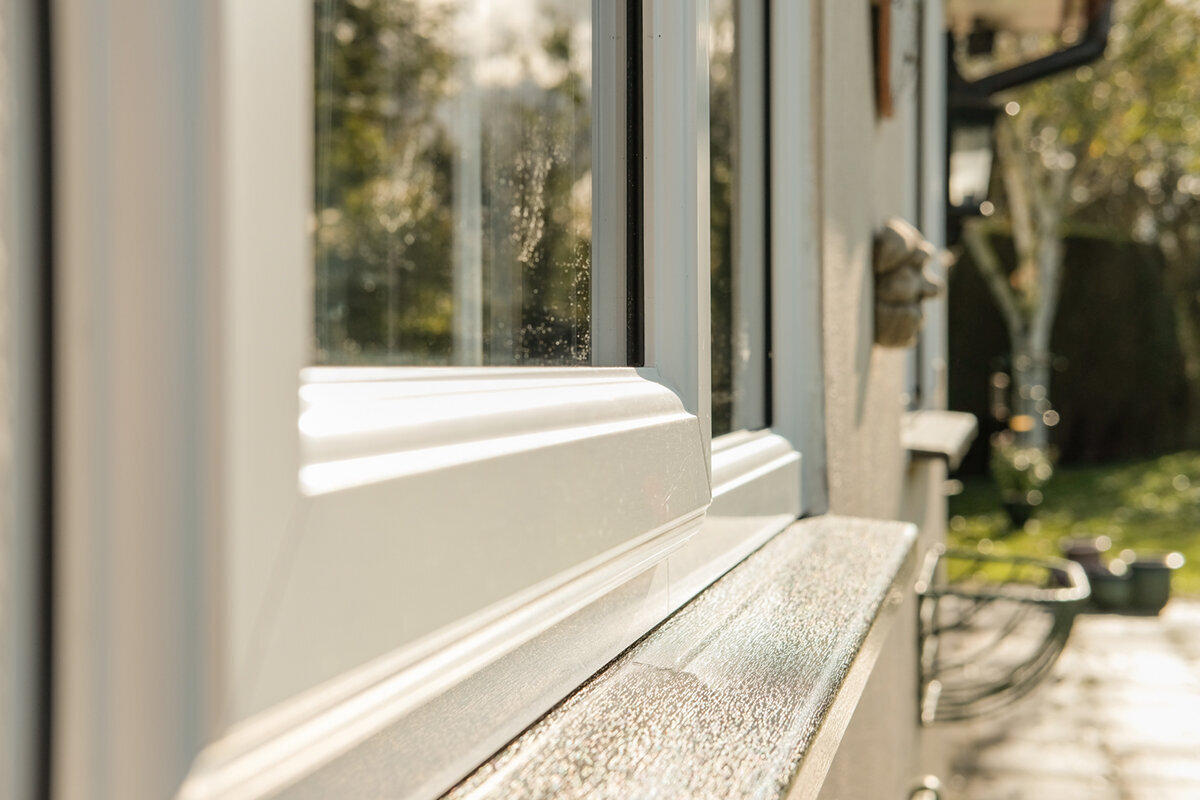
Planning Replacement Windows in an Existing Home
When several windows in a home have different issues, the key question is whether to replace them in one project or work through the rooms over time. There is no universal answer: the best route depends on the whole property. Handling everything as one project can simplify coordination of measurements, elevations, installation and finishing work. Staging can be practical in an occupied home, where exterior work is planned later, or where the most troublesome rooms need attention first. Even when work is phased, plan it as one connected project from the outset. Reviewing window types, opening directions, reveals, shading and façade interfaces early helps avoid last-minute improvisation and makes the sequence easier to choose deliberately.
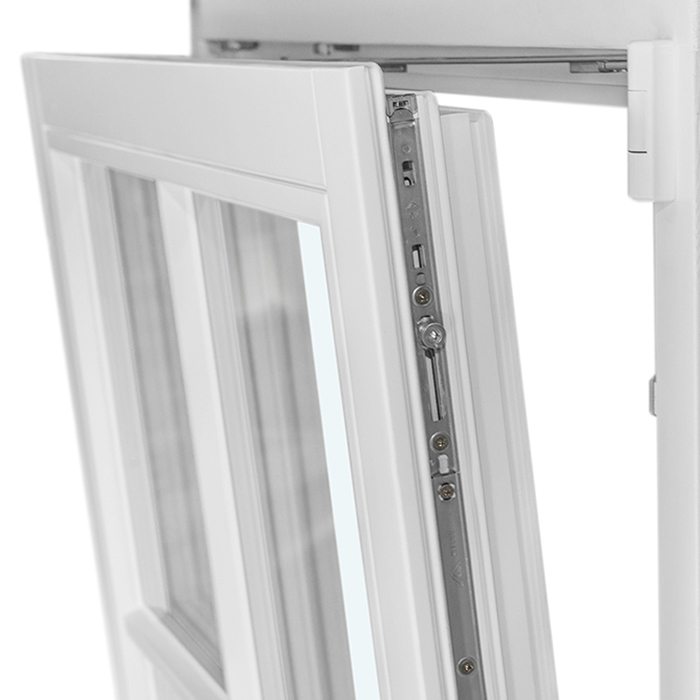
Start with a Complete Window Inventory
Before deciding on timing, prepare a window list for the entire building. Record more than width and height: include the room, orientation, opening style, reveal condition, shading, intended use and planned follow-on work. A seldom-used guest-room window may be technically similar in age to one in a child’s bedroom, yet have a very different priority in daily life. Include glazed doors and roof windows too, as they affect daylight, ventilation and the overall building envelope. This overview shows whether you have isolated problem windows or one wider renewal project.
Then compare the planned specification as a system, rather than focusing only on individual window values. Consider frame appearance, divisions, handles, colour, glazing, opening direction and installation position. If several rooms may use a single-sash inward-opening window , check that furniture, radiators, curtains and cleaning access work at every opening. A unified plan does not mean every element must be identical. Fixed glazing, operable sashes and doors can each serve their intended role when their proportions and interfaces are deliberately coordinated. This survey is the basis of a sound phased programme.
What One Coordinated Replacement Project Can Simplify
A whole-home window project brings together decisions that otherwise recur: measuring, detail design, site protection, removal of existing units, installation and interior finishing. This is especially useful when several façades are being renewed. Interfaces can be planned together, creating a clear relationship between window positions, façade rhythm and sills. The visual result is easier to assess across the entire home: do sill heights align, do divisions relate properly, and should existing decorative bars be retained as applied or glazing bars? These questions are easier to settle before installation than after an initial partial order. Reviewing a full elevation and specification list line by line can also prevent separately ordered items from ending up with different visible details.
A coordinated project does require a concentrated construction period. Rooms may need to be cleared and protected in sequence, with temporary disruption around each work area. Plan access, material staging, floor protection and room order as carefully as the delivery window. Bloomcabin states a delivery time of 4–6 weeks, subject to order confirmation. Use that period to finalize technical details rather than revisit basic design decisions. Before ordering, decide what follows installation, such as reveal repairs, sill adjustments or repainting. This brings separate tasks into one managed construction phase.
When Phasing Gives Better Control
A staged replacement may suit a continuously occupied home where only a few rooms should be affected at one time. It can also work well where attic conversion, future exterior work or a ground-floor redesign will happen separately. You may begin with the weather-exposed side of the home or a room with difficult-to-operate windows. Do not choose the order simply by the worst-looking paintwork. Consider drafts, moisture marks, operation, risk of broken glass, planned renovations and installation access together. Build a priority list rather than placing isolated orders at random. Divide items into “soon,” “with the next building project” and “monitor,” and give each deferred window a review date or trigger.
The trade-off is repeated organization. Several phases mean repeated protection, clearing rooms, coordination and finishing work. Wall finishes, flooring and shading may also change between phases. If bedrooms are replaced first, document agreed dimensions and visual details for future living-room work. A fixed window may be appropriate later where daylight and views matter most, but its frame appearance should still relate to the renewed areas. Phasing is not a smaller planning exercise; it is a longer project with more handover points.
Set Priorities by Room Use and Exposure
Instead of tackling the building floor by floor, consider how rooms are actually used. Bedrooms may deserve early attention where ventilation, operation or comfort is compromised. In kitchens and bathrooms, practical questions lead: can the sash be opened comfortably around fittings, counters or furniture? In living spaces, views, furniture placement and connection to a patio may matter more. Frequently used rooms often offer better priorities than a simple list based on window age. Record what should work better in each room after replacement.
Façade exposure can also affect the order without automatically dictating a particular solution. Review which openings face driving rain, wind, strong sun or frequent dirt, and which are difficult to access for installation. In an attic, decisions about pivot roof windows should be coordinated with insulation, interior lining, shading and future access. If an attic conversion is years away, deferral can be sensible. If the room is occupied and interior finishes will already be opened, combining work may be preferable. Let the next real building activity guide the priority, not an abstract ranking. Also consider whether occupants can comfortably reach the handle and operate the sash safely. A frequently used but awkward opening may therefore take priority over a more visibly worn window in a secondary room.
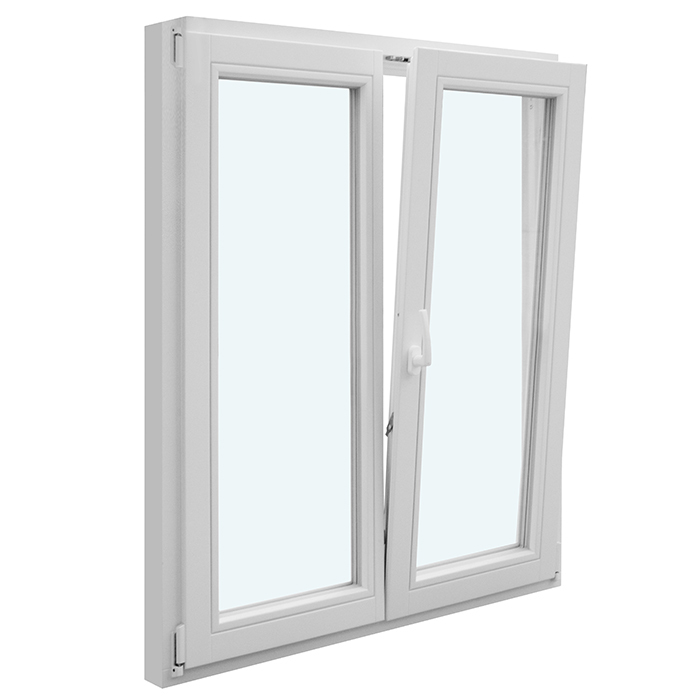
Keep the Design Consistent Across Building Phases
With staged replacement, the contrast between old and new windows is initially more noticeable. It cannot always be avoided, but it can be managed. Prepare a design sheet covering visible frame widths, frame colour, handle style, divisions and decorative-bar locations. Photograph façades square-on and mark each opening. This makes it easier to check whether a new window follows an existing axis or intentionally signals a different function. On homes with traditional proportions, a clear drawing is more reliable than memory of an individual quotation.
Historic character is not only a decorative matter. Opening direction, sash arrangement and the window’s depth in the façade all affect the overall appearance. For a later phase, a historic-style two-sash outward-opening casement window can suit a location when that configuration has been selected for the opening. A product name alone does not replace detailed design work. Ask which visible dimensions must remain consistent through every phase and how special shapes will be treated. Round, semicircular and angled windows should be recorded early, even if they are replaced later. Otherwise, a mismatch may not become obvious until the practical options have narrowed.
Plan Installation Interfaces and Follow-On Work Together
Window replacement does not end when the frame is set in place. Inside and outside, the unit meets reveals, sealing, sills, plaster, cladding and sometimes exterior insulation. In a complete renewal, these transitions can be resolved in one detail package. This is particularly important where window positions change, shutters or shading are renewed, or exterior finish work is planned. Discuss which existing surfaces will be opened, who restores each finish and in what order. Technical execution and project compliance should be handled by appropriately qualified project professionals. Assign removal, disposal, installation, sealing, sills, plaster and painting to a named party, with a point for checking the completed work. This reduces the risk that a visible gap or damaged finish falls between separately contracted trades.
In a staged project, every new window needs an interface that works now without making later work unnecessarily difficult. A common conflict arises when interior repairs are completed after the first phase but a later façade project requires different exterior connections. Agree in advance whether finishes are temporary or final. After each phase, keep photographs of interfaces, measurements and materials used. This supports future work if contacts or dates change. Ask how sills, curtain tracks, radiator covers and baseboards will be handled after removal. These modest junctions often determine whether a phase genuinely feels finished in daily use.
Do Not Select Window Types Only for the First Phase
A multi-stage project can tempt you to solve each opening in isolation. A functional plan is better: where must a window open wide regularly, where is a ventilation sash enough, and where is fixed glazing intentional? A top-hung outward-opening window may be an option at a particular opening when the intended operation and surrounding space suit it. Its suitability comes from the installation location, reachable operation, cleaning plan and façade design, not its name alone. Assess each opening style using the same questions so later phases do not create unplanned differences in use.
For large garden or balcony openings, include sash movement, furniture and thresholds in early decisions. A Patio Life lift-and-slide door is a named door configuration that may be considered alongside a conventional patio door. The right choice depends on clear passage width, circulation and the desired elevation layout. If this area will be rebuilt later, still record axes and heights in the overall plan now. Also decide whether the future door should align with neighbouring windows at the same sill level. Planning this before the first window order reduces the chance that the later doorway must be squeezed into an already-finished façade.
Prepare Measurements and Orders for Future Phases
Professional measuring is more than ordering a width and height. For each opening, document clear dimensions, wall construction, existing sills, position in the wall, opening direction, obstacles and reveal details. Add clear room labels and photographs from inside and outside. In a complete project, these records provide an order basis; in a phased project, they also become the reference file for later work. Record elements that will remain for now so their sightlines, heights and divisions can later be compared with the new windows.
Before approval, check the design at the building itself. Can sashes move freely? Will curtains, sills and furniture remain practical? Are downpipes, railings or plants outside likely to affect removal access? For larger openings, a two-sash inward-opening window can be suitable if both sashes have adequate room indoors. Mark opening direction on drawings and the order schedule, not only in conversation. An error here affects daily use and cannot be corrected through better phasing.

Plan Daily Life, Protection and Access Realistically
Whether work happens at once or in phases, installers need clear work areas. Move furniture away from openings, remove fragile objects from sills and allow for dust protection in adjacent spaces. A whole-home project may benefit from a planned room sequence: lightly used rooms first, central living areas next and difficult rooms last. Phasing reduces disruption at each appointment but repeats the preparation. Consider not only the number of windows, but how often your household can manage site conditions. Ask about the expected daily sequence: when a room must be empty, when the existing unit is removed and when the area can be used again. Coordinate keys, attendance, contacts, quiet hours, delivery access and daily handover.
The exterior also needs a plan. Garden, yard or scaffold access, safe staging areas and protection for planting or outdoor furniture should be agreed before work begins. If patio doors or large windows will follow later, identify their access routes and storage areas during the first site discussion. A single-sash outward-opening patio door only makes sense once it is clear how the exterior swing area will be used and what could obstruct it. Discuss rooms that may be inaccessible during work and how pets, children or home-office schedules will be accommodated. Good site logistics matter just as much for phased work as for one coordinated project.
Document Budget Assumptions and Decisions
Do not split the budget only into “windows now” and “windows later.” For each phase, include measuring, installation, removal, protection, interface work and restoration of finishes. Ask for itemized scopes so alternatives can be compared properly. A quotation for the first phase is not a dependable price for later, different items when dimensions, specifications or site conditions remain open. Instead, identify which decisions affect future scope and what must be checked again before each order. Compare proposals under the same headings and highlight missing items. Check whether ancillary work is included, excluded or still to be assessed. Only then can you tell whether phasing merely postpones part of the purchase or creates extra coordination work.
Before placing a binding order, check permits, heritage requirements, contractual obligations, tax questions or available support with the relevant local authorities and qualified project professionals. Canadian requirements vary by province, territory and municipality; federal model codes do not establish a single national permit rule. Confirm local requirements for the building type, opening changes and any structural work. Bloomcabin provides a 5-year warranty for windows and doors. Confirm what the warranty covers for the specific order, and retain the order confirmation, measurements, drawings and installation documents together.
Frequently Asked Questions
Is it always cheaper to replace every window at once?
Not necessarily. A coordinated project can bring together installation and interface work, but the right scope depends on the home’s condition, occupancy and related renovations. Compare measuring, installation, protection, finishing and the organizational cost of multiple appointments, not just product lines.
Which windows should be replaced first in a phased project?
Start with a documented priority list. Consider operation, visible damage, moisture marks, room use, façade exposure and planned renovations. A heavily used bedroom or an attic area due for rebuilding may be a more sensible first phase than a window that merely looks older.
Can I choose different window forms in the first phase?
Yes, where the functions differ. The important point is to plan frame appearance, heights, divisions, colour and opening directions as a complete visual scheme. Record these choices in writing and include special shapes that are not yet being replaced in the survey.
When should replacement be coordinated with façade work?
Coordinate early when window interfaces, exterior render, sills or the window position in the wall will all be affected. The technically appropriate sequence depends on the wall construction and intended details. Have qualified professionals assess the project-specific approach.
How much lead time should I allow before ordering?
Allow time for complete measuring, option decisions, technical clarification and organization of follow-on work. Bloomcabin states delivery of 4–6 weeks, subject to order confirmation. Order only once opening directions, interfaces and room sequence have been checked.
Next Step
Replacing every window together can be valuable when design, façade work and interior finishing need close coordination. Phasing is a strong alternative when it better reflects occupied living, future renovation or clear room priorities. The important decision is not simply “all now” or “later,” but creating a full plan before the first order. Record every opening, establish consistent design and interface principles, and decide what each phase will complete. That keeps the first installation part of a coherent project rather than a precedent for improvised later choices.
