
Window Drafts: Sash Adjustment, Weatherstripping, or Frame-to-Wall Joint?

Diagnosing Drafts and Scoping Window Repairs
Cold weather can make an otherwise heated room feel uncomfortable when a curtain shifts beside the glass. Resist the urge to order a new unit or start turning hardware until you know what is moving the air. The source may be the operating sash, worn weatherstripping, a break at the frame-to-wall joint, or indoor air cooling against the glass and sinking. Those situations need different remedies. A replacement project should bring the window configuration, glazing, site measurements, wall assembly, perimeter detailing, and installation plan into one scope. The steps below show how to record useful clues, avoid unsafe home tests, and give a window professional a focused brief.
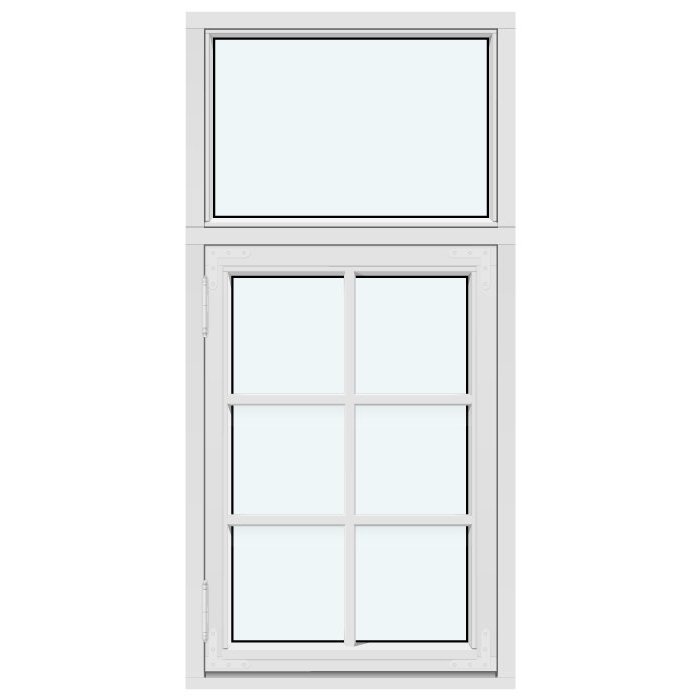
Map the airflow before choosing a repair
“Draft” describes what you feel, not necessarily why it happens. On a cool, windy day, work slowly around the opening: the top and bottom sash edges, hinge side, closing side, corners, sill joint, and side reveals. Note whether it occurs only in wind, with a particular wind direction, or even in still conditions. A narrow stream at the closing side is different from a broadly cool area below the sill. Confirm that the window is fully locked as well. A sash left slightly open or not properly latched can distort the result. Do not rely solely on tests behind closed blinds, shutters, or curtains, as they can alter airflow within the room.
The temperature of interior glass and frame surfaces can also be misleading. Air cooled against them sinks and may feel like a draft at seating level even where no outdoor air is entering. This is more likely when movement does not begin at a specific joint and when the temperature difference between indoors and outdoors is large. A strip of paper can help identify movement, but it does not prove airtightness: normal room convection can move lightweight paper. Do not use candles, lighters, or smoke. They are unsafe and do not provide a reliable diagnosis in a room with changing airflow. The most useful early record is a photo of the location, a sketch from the room side, and notes on weather and sash position when the problem occurs.
What sash adjustment can actually change
An operating sash needs to sit evenly against its frame when closed. If it catches while closing, rubs, makes the handle unusually difficult to turn, or leaks at only one corner, its hardware and alignment may need checking. The position can change after building movement, extensive use, or with a large sash. Adjustment addresses the sash geometry and contact pressure. It does not repair perished weatherstripping or a gap between the frame and masonry. Keeping these issues separate avoids the assumption that one hardware adjustment will solve every cold sensation near a window.
Hardware is system-specific. Do not turn adjustment screws by guesswork without knowing the window manufacturer, hardware series, and intended adjustment points. Excessive or uneven changes can impair operation and hide a damaged component. Instead, make a clear service request: where is the draft, does it change after locking, does the sash sag or the handle bind, and when did the issue start? If replacement is planned, decide the opening direction at the same time. A single-sash inward-opening window describes that opening style, not the suitable installation detail for your wall. Before ordering, the installer should survey the clear opening, operating clearance, handing, and installation conditions.
Consider the window, wall, and installation joint together
Inspect weatherstripping without overstating its role
Window weatherstripping sits in defined planes between sash and frame. It should be clean, continuous, and resilient. With the window open, check for sections standing out of their channel, tears, crushing, dirt, or breaks at corners. A loose section can explain a local leak. Wipe away visible dust carefully with a soft cloth and a mild product suitable for the material; harsh cleaners, solvents, and untested care products can damage surfaces. Then close and lock the sash normally. Do not tape extra material over a seal simply to hide a symptom temporarily. It can prevent the sash from seating correctly and make later assessment harder.
The location of the finding matters. If weatherstripping is visibly affected only on the handle side and this matches the air movement, maintenance or repair assessment is a sensible next step. If the seal looks sound but air emerges from the inner reveal or behind trim, attention should shift to the installation joint. With two-sash windows, also examine the meeting area between the sashes, where operation, rebate geometry, and seals meet. If the room’s use is changing, do not simply copy the existing division. A two-sash inward-opening window offers a different sash layout; how it connects to the wall and sill remains a separate design and installation matter.
The installation joint begins beyond the sash
The installation joint is the area between the window frame and the building structure. Different materials, tolerances, air and water control layers, insulation, reveals, sills, and sometimes exterior cladding meet there. Air may travel through one location and emerge somewhere else indoors. A cold inside corner is therefore not automatically where the defect begins. Signs that warrant investigation include air felt around part or all of the frame, cracks in the interior joint, loose finishes, unusual discolouration, or drafts at the sill. None proves the cause alone, but their pattern and dependence on weather create a stronger basis for inspection.
A professional inspection should go beyond the visible frame. Ask whether the interior joint, the area below the sill, side reveals, and exterior weather-exposed side will be assessed. Renovation also requires coordination with adjacent work: plaster, exterior insulation, sills, shading, and interior finishes can determine access. Closing an interior line without understanding the whole joint may treat only the point where air emerges, not where it enters. This is especially important where moisture is suspected. Establish the cause before permanently closing finishes or applying new surfaces. Good documentation links the observation, opening-up work, and findings rather than relying on one photograph.
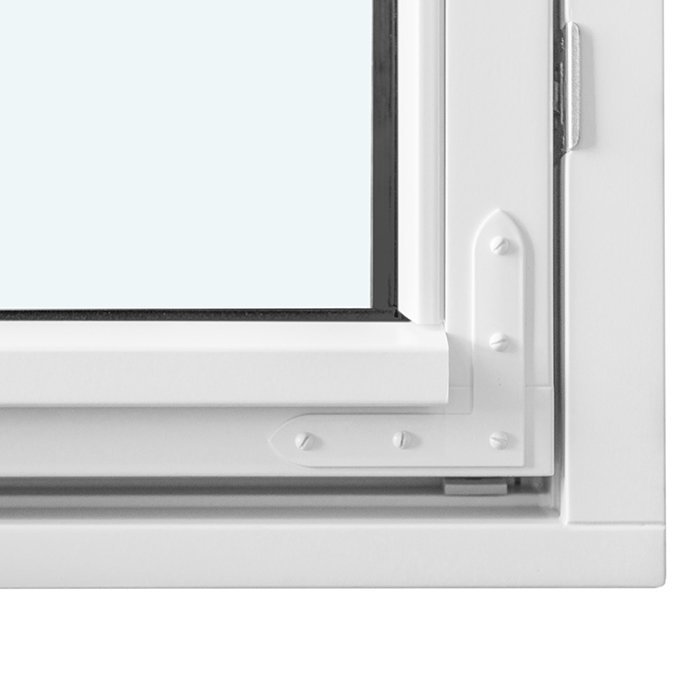
When condensation is mistaken for a draft
Condensation on the room side of glass, damp edges, or a cool window area do not have the same cause as air leakage. Condensation occurs when humid room air reaches a sufficiently cold surface. It may reflect ventilation habits, indoor humidity, surface temperatures, or a combination of these. A leak can influence the situation but is not automatically the cause. Check separately: where is moisture visible, where is air movement felt, and do both occur at the same time? Bathrooms, kitchens, bedrooms, and recently renovated spaces can behave very differently from a dry living room. Broad conclusions after a single morning rarely lead to the right remedy.
The distinction is equally important for large non-opening glazed areas. A fixed window has no operating sash with hardware or perimeter sash seals; assessment should therefore focus on the frame, glass edge, installation joint, and room use rather than sash adjustment. That does not make fixed glazing inherently better or worse against drafts. It changes the possible fault locations and future operation. For replacement, consider room temperature, moisture use, furniture in front of the window, and planned ventilation together. If moisture, odours, or visible concerns persist, seek qualified assessment before ordering a new unit as an assumed universal solution.
Large openings need a different investigation
Patio doors and lift-and-slide doors often need different checks than a small casement window. Long threshold zones, side frame areas, moving panels, and transitions to the floor build-up create several separate locations to inspect. First ask whether the air seems to come from the moving element’s seal, side frame, behind a cover, or the floor connection. Operating symptoms matter too: does the unit move differently than it used to, fail to close fully, or lock unusually? Strong air movement at the threshold requires an assessment of the complete situation, not only an indoor visual check. Do not alter exterior finishes or drainage routes without professional direction.
For replacement or renovation, opening style is a use decision with consequences for construction and installation coordination. Patio Life lift-and-slide doors identify a lift-and-slide door configuration; they are not automatically a cure for a leaking existing joint. Include opening width and height, interior and exterior floor build-ups, planned finishes, installation access, and the intended opening arrangement in an enquiry. Also clarify who will work on the joint areas before and after installation. The door supplier, window installer, flooring contractor, and façade work need an agreed sequence. This avoids a replacement project in which every interface is decided only on site.
Consider the window, wall, and installation joint together
Do not treat window replacement as a product-only choice
When replacement is being considered, do not begin with frame appearance alone. First record the existing rough opening, wall construction, window position within the wall, interior and exterior joints, and follow-on work. Then consider use: should the sash open inward or outward, how far can it project into the room, and will furniture or insect screens be affected? A single-sash inward-opening patio door can be considered where that opening direction suits the room. Whether it works in a particular building depends on dimensions, handing, threshold, and a coordinated installation joint. Compare quotations only where they describe the same starting conditions and scope.
Request an itemized scope covering supply of the unit, site measurements, removal, installation, sealing, joint work, sills, disposal, and reinstatement of finishes. Otherwise, an apparently complete quote may omit important work. In older buildings, concealed joints may only become visible after removal, so agree in advance how unexpected conditions will be documented and authorized. Bloomcabin states that windows and doors carry a five-year commercial warranty and that delivery takes four to six weeks after order confirmation. Neither detail replaces final site measurements or an agreed installation sequence.
Put performance figures in the right place when comparing quotations
Product selection often focuses on individual performance values. Comfort at an installed window, however, depends on the interaction of the unit, wall, installation plane, joint, and how the room is used. A high-performance window may be appropriate within a broader energy strategy, but it does not answer whether the reveal, sill, or exterior joint has been properly planned. A Super Low Uw passive-house window, outward-opening identifies the stated configuration; its title alone does not establish additional suitability for your project. Ask for the project-specific quoted data and the limits of supply in writing.
Compare not only figures but also their reference basis and components. Does a value apply to the glass, frame, or complete unit? Are size, division, opening style, and special shapes alike? Has the actual installation position been discussed? Ask the designer or installer how critical areas such as the header, sill, side reveals, and lower joint are intended to work in the project. An answer referring only to the window leaf is incomplete. Sequence matters too: where exterior insulation, interior plaster, or floor finishes follow later, the joint details must be prepared for them. This keeps the decision tied to the real opening and surrounding construction rather than a marketing term.
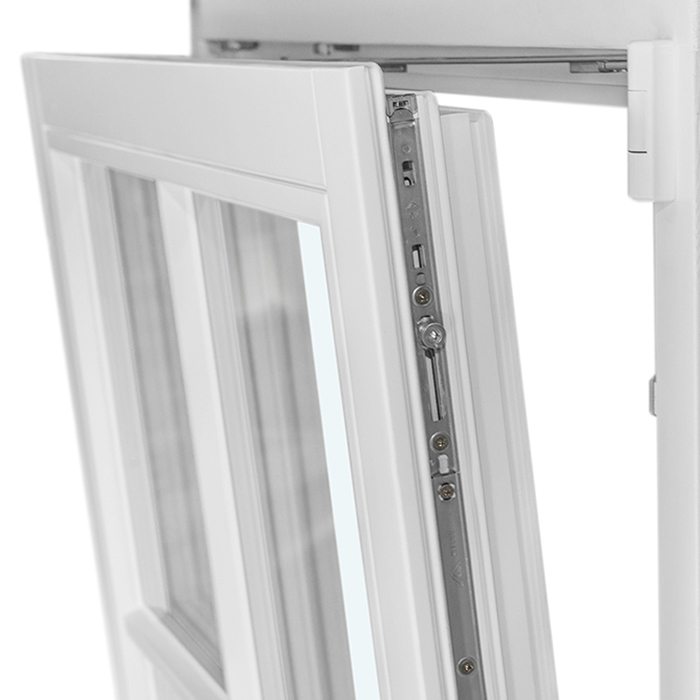
Plan special shapes and heritage-style designs carefully
Curves, angles, glazing bars, and heritage-style windows can be visually appealing, but construction remains central to diagnosis. Air movement may be perceived differently at every corner, division, and joint line. When reporting a problem, do not say only “at the old window”; identify the precise area: moving sash, glass-dividing bar, curved frame, or reveal. Glazing bars are a design feature; their visible form does not reveal where a leak lies. For replacement, a drawing should clearly show the elevation, divisions, opening direction, and whether each section is fixed or operable. This reduces confusion between the intended appearance and the ordered configuration.
A heritage-style outward-opening Kombi casement window may belong on an initial design shortlist. Its name confirms the heritage styling, Kombi design, and outward-opening operation; it does not establish suitable dimensions, a compatible wall connection, or approval for the property. For an older building, provide interior and exterior photographs, wall thicknesses, sill details, and the condition of plaster or cladding rather than relying on an elevation alone. If heritage controls or permits may be relevant, identify the province or territory and municipality, then confirm the project route with the local authority and qualified project professionals before ordering. Canada’s National Model Codes are model documents, not one automatically applicable rule for every location. Do not infer project approval from a product title.
Turn observations into a useful inspection brief
Give the inspector a defined question rather than only saying the window is “drafty.” State whether you want a single symptom investigated, routine maintenance assessed, or replacement planned. Include the room, window position, approximate age if known, unit type, affected edge, weather conditions, and photographs from both sides. Note whether locking changes the symptom and whether you see cracks, moisture, or operating trouble. Ask for separate findings on the sash and hardware, weatherstripping, frame, and frame-to-wall joint. For a complicated case, arrange the investigation before seeking replacement quotes so bidders are pricing a known task rather than a guess.
Before commissioning work or ordering, make a final check: who takes the binding measurements, confirms the opening direction, is responsible for joint details, opens and reinstates finishes, and approves variations? Ask what documents will be handed over after installation and who handles later adjustment or defect reports. Around roof openings, the connection to the roof construction belongs in the plan; a pivot roof window describes the window type, not the required connection to your specific roof. Keep discussions, measurements, and decisions in writing. This creates a traceable basis whether the outcome is a small repair, a joint repair, or complete window replacement.
Frequently asked questions
Can a paper strip tell me whether my window leaks?
A paper strip can show where air moves within a room, but it does not prove a leak. Cold surfaces also create air currents. Use it only for initial orientation and record the weather, precise location, and window position. Professional assessment is more useful when deciding between repair and work on the installation joint.
Should I increase the window’s contact pressure myself?
Not without understanding the specific window and hardware system. If the sash is out of position or hardware is damaged, unverified adjustment can worsen operation. It also will not repair perished weatherstripping or a leaking frame joint. Describe the symptoms and have suitable adjustments assessed professionally.
When is weatherstripping more likely than the installation joint?
Weatherstripping is more likely when air is felt at a clear point between sash and frame and there is visible damage, dirt, or a section out of its channel. If air occurs at the reveal, sill, or around the frame perimeter, the installation joint should also be examined.
Does every window draft require a complete replacement?
No. Depending on the cause, adjustment, hardware repair, weatherstripping assessment, or work to the installation joint may be appropriate. Replacement is worth considering mainly where the condition, intended use, and renovation plan support it. Diagnosis should come before the product decision.
What information does an installer need for an initial assessment?
Useful information includes interior and exterior photos, the room and window location, approximate age, opening style, exact location of the air movement, and weather conditions. Also mention cracks, moisture, discolouration, or operating difficulties. A replacement quotation additionally needs a binding survey, wall construction details, and planned joint work.
Choosing the next step
Treat a window draft as an investigation, not an automatic replacement decision. A corner-specific symptom may lead to the hardware or weatherstripping; air at a reveal or sill can require examination of the full frame-to-wall joint. Record the location, weather, and window operation, and have concealed interfaces assessed before disruptive work begins. If replacement is justified, coordinate the selected opening style with the wall assembly and every trade that must finish the surrounding area. Quotes become easier to compare when the inspection, supply, installation, and repair responsibilities are clearly defined.
