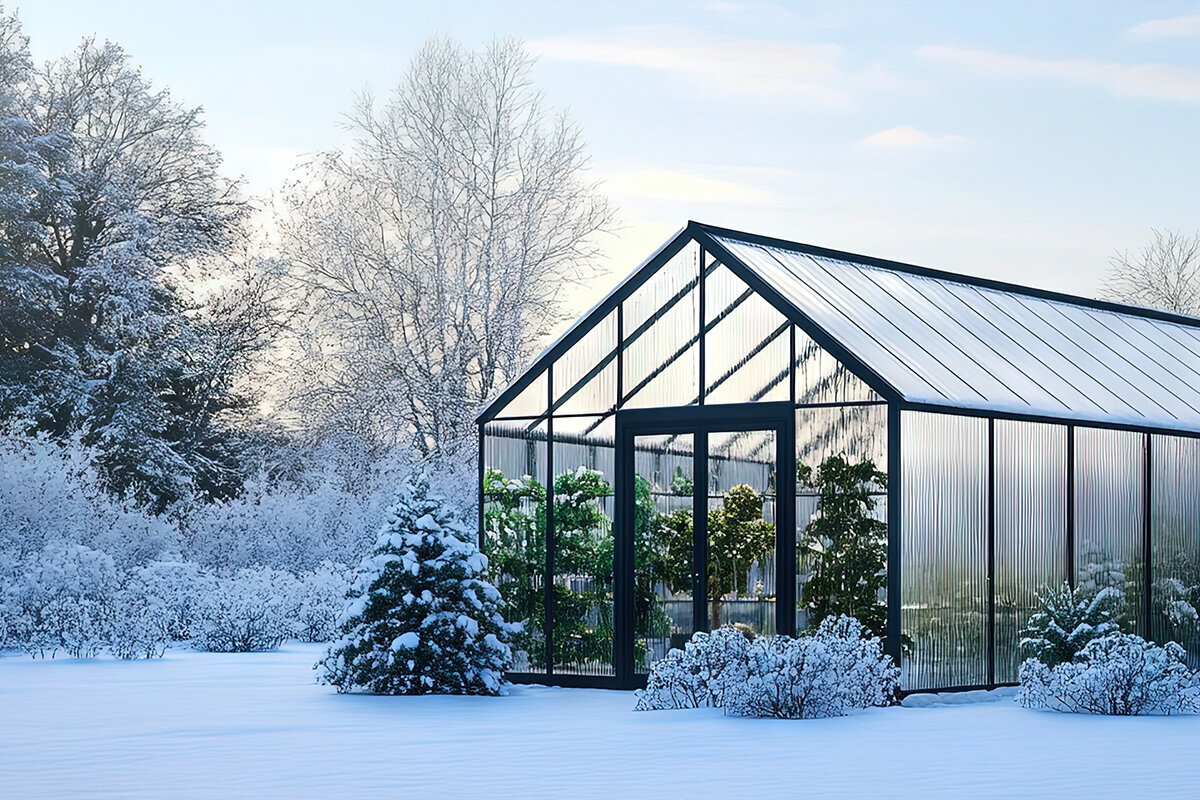
Cold weather calls for more than moving a few pots indoors. Preparing the greenhouse before temperatures fall helps protect plants, reduce heat loss and keep the structure in good working order. Conditions vary widely across Canada, so adapt this checklist to your local forecast, snowfall and growing plans. Whether you have a premium aluminum greenhouse or a traditional design, a careful seasonal reset can help you use it confidently through winter.
1. Start with a thorough clean-up
- Clear away old growth: Remove finished plants, fallen leaves and debris so they do not provide shelter for pests or encourage disease.
- Wash the interior: Use warm, soapy water on glazing, walls, benches and work surfaces.
- Look for pest activity: Check plants, corners and crevices for insects. If treatment is needed, confirm any pesticide and its intended use in Health Canada’s registry, then follow the Canadian label.
2. Check the structure before winter
- Examine joints and seals: Inspect the frame, panels, doors, vents and seals for damage, movement or openings.
- Stabilize vulnerable points: Tighten loose connections and repair or reinforce damaged areas before harsh weather arrives.
- Renew damaged glazing: Replace broken glass or damaged polycarbonate sheets to limit drafts and unnecessary heat loss.
3. Add insulation where it matters
- Fit greenhouse bubble wrap: Line suitable interior surfaces with horticultural bubble wrap while keeping vents and drainage clear.
- Weatherstrip doors and vents: Seal unwanted gaps with suitable weatherstripping to reduce cold air leaks.
- Consider a thermal curtain: A night-time curtain can provide an extra insulating layer, particularly in a larger greenhouse.
4. Plan heat carefully
- Choose an appropriate heating system: Electric, gas and kerosene heaters are possible choices. Select equipment intended for greenhouse use, provide the ventilation it requires and follow all manufacturer instructions.
- Use temperature control: A thermostat makes it easier to maintain the conditions your plants need without constant guesswork.
- Make the most of daylight: Keep glazing clean so winter sun can reach the growing area.
5. Keep air moving
- Use automatic vent openers: They can help manage temperature and humidity as conditions change.
- Run circulation fans: Gentle air movement evens out warmth and can help reduce damp, mould-friendly conditions.
6. Grow with a winter plan
- Rotate what you grow: Changing crop locations can help limit the build-up of soil-borne problems.
- Use raised beds: Raised beds can offer roots a little more protection from cold ground conditions.
7. Give tender plants extra protection
- Cover vulnerable plants: Horticultural fleece or cloches can add a protective layer on particularly cold nights.
- Arrange plants in groups: Grouping compatible plants can create a more sheltered microclimate and conserve warmth.
- Water with restraint: Avoid saturated compost or soil, which can increase the risk of root rot in low-light winter conditions.
8. Supplement short winter days
- Add grow lights: LED or fluorescent grow lights can supplement limited natural daylight.
- Place lights thoughtfully: Position fixtures to give plants even coverage while following the manufacturer’s safety guidance.
9. Put tools and supplies in order
- Store tools dry and clean: Clean and sharpen tools, then keep them in a dry place ready for the next task.
- Check your essentials: Keep seeds and fertilizer on hand. For pest-control supplies, choose products registered for the intended use in Canada and follow label directions.
10. Consider useful winter accessories
- Manage roof snow: Follow the manufacturer’s guidance and remove accumulating snow safely where needed to avoid excessive roof loading.
- Use heat mats: Heat mats can support seed germination when used beneath seed trays.
- Add cold frames: Cold frames placed inside can create another insulated growing layer.
11. Keep monitoring through the season
- Track temperature and humidity: A thermometer and hygrometer help you spot changing conditions early.
- Clear snow when necessary: Do so safely and in line with the greenhouse manufacturer’s instructions to help prevent structural damage.
- Control condensation: Wipe persistent moisture from surfaces and maintain airflow to discourage mould.
12. Prepare for interruptions
- Plan for power outages: For electric heat, prepare a safe outage plan. If it includes a generator, use a suitable unit and follow every placement and operating instruction.
- Keep spare insulation nearby: Store extra bubble wrap or fleece so it is ready for sudden cold snaps.