
Designing an Accessible Path to a Garden Shed
Garden shed planning
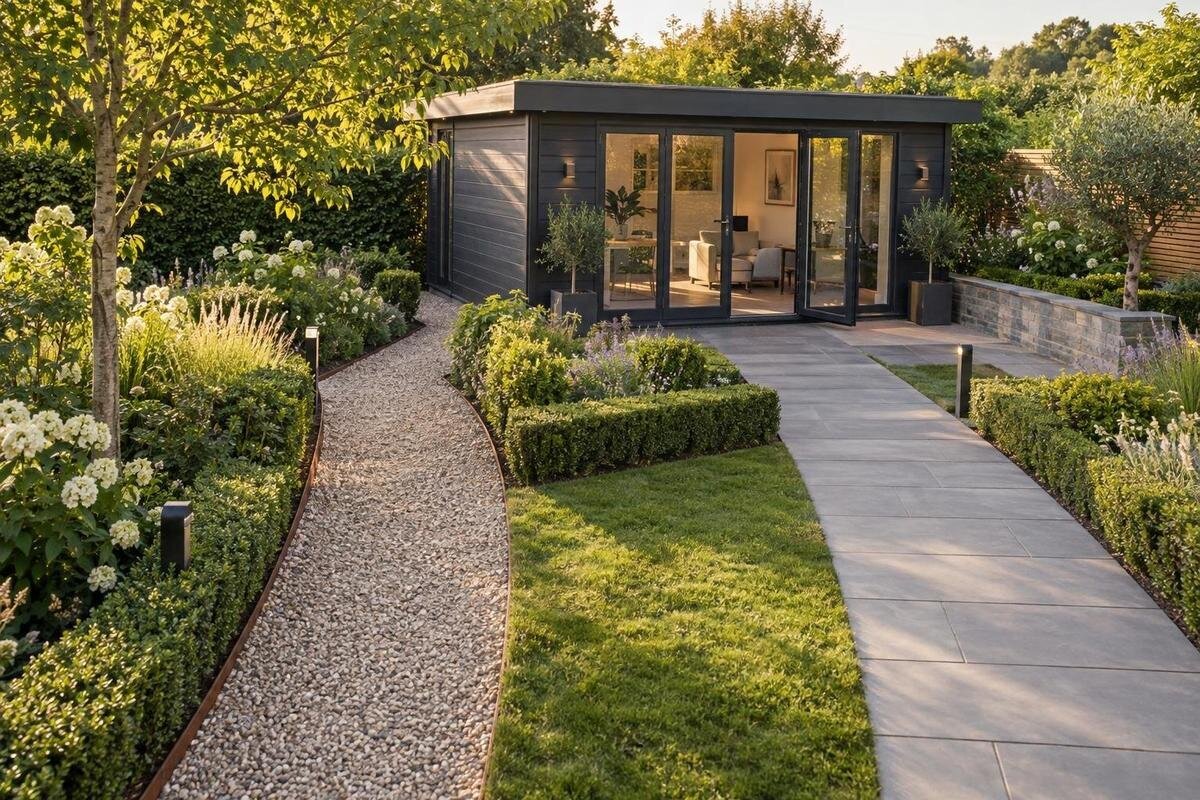
A garden shed is easier to reach when the route works for the people who use it, in the conditions they encounter every day. Plan the path alongside the shed’s position and entrance, then assess its clear width, surface, slope and drainage in the actual garden. A few practical checks before ordering can prevent an awkward approach later.
Map the route from the door you actually use
Begin at the door or gate that people will normally use to reach the garden shed, rather than choosing a line from the shed back towards the house. Walk the whole journey and note where it narrows, changes level or crosses another part of the garden. Think about who will use it and what they might carry: a hand tool, a basket, a wheelbarrow or a mobility aid all need room to move. Notice where a person may need to stop, such as to unlock a gate, put down an item or let another person pass. If more than one person uses the garden, include their needs in the plan instead of assuming everyone will take the same route.
The shortest route is not automatically the easiest. A line that avoids a steep patch or a tight turn may be more practical even if it covers a little more ground. Mark possible routes temporarily and look at how they work with gates, planting, seating and other everyday uses of the garden. Avoid routing people through an area that is regularly used for outdoor dining, children’s play or storing garden waste. Consider the route in different conditions too: a path that is straightforward in dry weather may be muddy or difficult to see after rain or when plants have grown. Keeping the whole journey in mind helps you choose where the shed and path should sit together.
Choose the shed position before fixing the path
Decide where the shed will stand before setting out a permanent path. Allow for the building’s full outside footprint, not just the floor area you hope to use, and consider whether there will be enough room around it for access and upkeep. Leave practical space for tasks such as clearing leaves from the perimeter or reaching any side that needs routine attention. The position of the entrance matters just as much: a route to a wall without a door is of little use, and a door opening towards a fence or planting may be difficult to approach. These details can influence which garden shed is a sensible choice for your site.
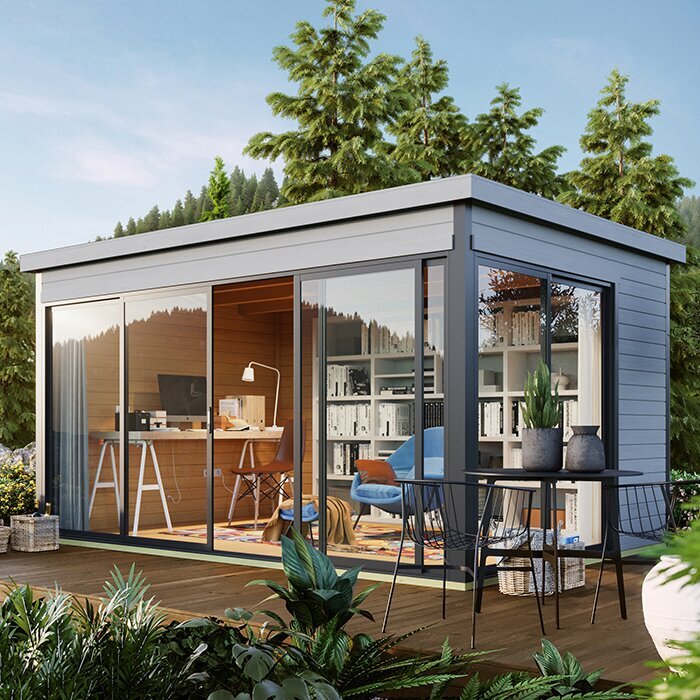
Treat a model name such as Verdana 1 garden house as an identifier, not a layout plan. Before marking the route, ask for confirmed outside measurements and an accurate drawing showing the entrance and door arrangement. Check how these details relate to the available space in your garden, rather than relying on a product photograph or an assumed orientation. If the position of the entrance affects the approach, resolve that point before ordering; changing the path later may involve extra work or compromise the route.
Measure the clear width along the whole route
Measure the space that will actually remain open for movement, not just the width marked on a plan. A gate leaf, latch, wall, overhanging branch, edging or bin can reduce the usable width at a particular point. Check the narrowest section, but also look for places where a person needs to turn, pass through a gate or stop to open the shed door. Check that gates can open fully without forcing someone onto grass, a border or an uneven edge. A generous section at one end does not make up for a pinch point that blocks the route further along.
Choose a width that reflects the people and equipment that will use the path, with enough room to manage turns and everyday tasks. You can mark its proposed edges on the ground with a hose or chalk and try moving along the line with a trolley or other equipment used in your garden. When comparing a listing such as Verdana 2 garden house, use confirmed measurements to check how its position and entrance fit the route. Allow for edging and planting when the work is finished, so the clear space does not gradually disappear.
Choose a surface that stays dependable in wet conditions
Look for a surface that is firm, stable and even underfoot and under any wheels that need to use it. Soft ground can become muddy or rutted, while loose gravel may shift beneath small wheels. Bark and other loose coverings can move out of place and need regular attention. Paving can provide a consistent surface when it is laid evenly, but uneven slabs or wide, rough joints can interrupt movement. No material is a complete solution on its own: the ground beneath it and the quality of the finished surface matter too.
Think about how the material will behave after rain and how much maintenance you can manage. Leaves, moss and algae can make surfaces slippery, and soil or loose material can spread onto a firm path. Consider whether the surface can be repaired locally if a small area settles, rather than requiring the whole route to be redone. If possible, look at a sample in the garden and consider whether it will be easy to clear and repair. Check that the surface suits the route’s drainage and levels before committing to it. A path that looks smooth when new may become less useful if joints settle, edges lift or the material is difficult to keep clear.
Keep slopes and changes in level predictable
A route across a sloping garden can take more effort than one on level ground, particularly when it is wet or someone is carrying an item. Consider the slope along the path as well as any side-to-side tilt, and avoid sudden changes that could catch a foot or wheel. Pay particular attention where an existing lawn, patio or driveway meets the proposed route, as these junctions can create an unexpected edge. There is no single gradient that will suit every person, mobility aid or site, so do not treat a general rule of thumb as proof that a route will be accessible. If the ground is steep or the requirements are specific, ask a suitably qualified professional to assess it.
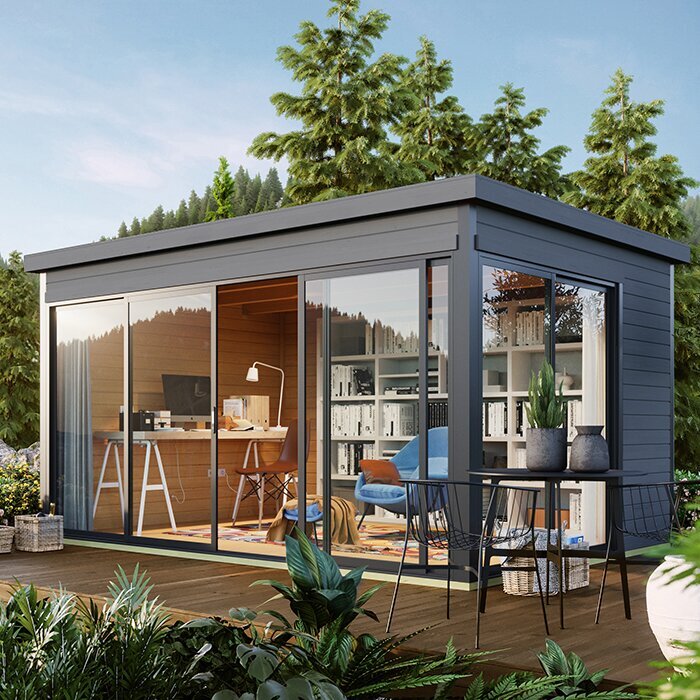
A longer line that follows the shape of the garden may be more manageable than a direct route down a slope, though the best option depends on the site and the people using it. Check how the path meets existing ground and whether a step or abrupt lip would remain at either end. When considering a model such as Durano garden shed, assess the proposed position and route together; do not assume that a particular shed can overcome a difficult approach. Confirm the site and base requirements for the chosen model with the supplier or installer before deciding how to handle levels.
Plan where rainwater will go
Look for low spots where water might collect on the route or beside the shed entrance. Walk the garden after rain if you can, and note where puddles form, where the ground stays soft and whether water runs across a likely path. Also consider runoff from nearby hard surfaces, which may reach the route during heavier rain. A smooth surface can still be awkward if it is frequently wet or muddy. Avoid planning a route that directs water towards the entrance or leaves it trapped against the building. How best to manage surface water depends on the ground and existing levels, so get site-specific advice if the route is not obvious.
The path and the shed base need to be considered together, rather than as unrelated jobs. Ask what the chosen model requires at its base and how that affects the path’s finished level and drainage. Before planning around a listing such as Veltor 1, obtain the relevant siting information from the supplier or installer; the name alone says nothing about the ground preparation needed. If a drain or channel forms part of the plan, make sure its position will not create a trip point and that someone has agreed who will maintain it.
Make the entrance the end point of a usable approach
The final few metres deserve as much attention as the rest of the route. Leave enough clear space at the entrance to approach, pause, turn if necessary and open the door without standing on soft ground or blocking the path. Check the threshold, any step and the way the door opens. A door that swings across the available approach can make it difficult to get close, while a narrow landing can leave little room to handle a latch or carry items through. The path’s width alone does not tell you whether the entrance is practical.
Check the actual entrance details for the garden shed you are considering, rather than assuming that all models have the same arrangement. For Orello 1, as for any model, ask for confirmed information about the entrance, door opening and threshold before deciding where the path should finish. Include the space needed for the open door in your layout, including room for a person to move aside while holding it. If the route has to turn immediately at the entrance, mark that turn on the ground and try it with the equipment and items that will be used there.
Keep the route clear and easy to follow
Plan for the things that can gradually narrow a path after it is built. Plants spread, hoses get left out, and bins or garden tools may end up beside the route. Decide where these items will be stored so that they do not occupy the clear space or block a gate. Check that any seasonal pots or furniture can be placed without forcing people to step off the path. Choose edging that is easy to see and unlikely to create a raised lip. A simple maintenance routine—such as trimming back growth and removing leaves—can help keep the route consistent rather than leaving its condition to chance.
Consider visibility as well as the surface. A route that is easy to follow in daylight may be harder to see at dusk or where planting casts shadows. Think about whether the path and entrance stand out clearly from the surrounding garden, without relying on a colour difference alone if that will be difficult for someone to distinguish. If new fixed lighting is needed, include it in the work plan and have it handled by a qualified electrician. A model such as Modano 1 should be compared on its confirmed details; do not infer an entrance or lighting arrangement from its name.
Coordinate path work with delivery and installation
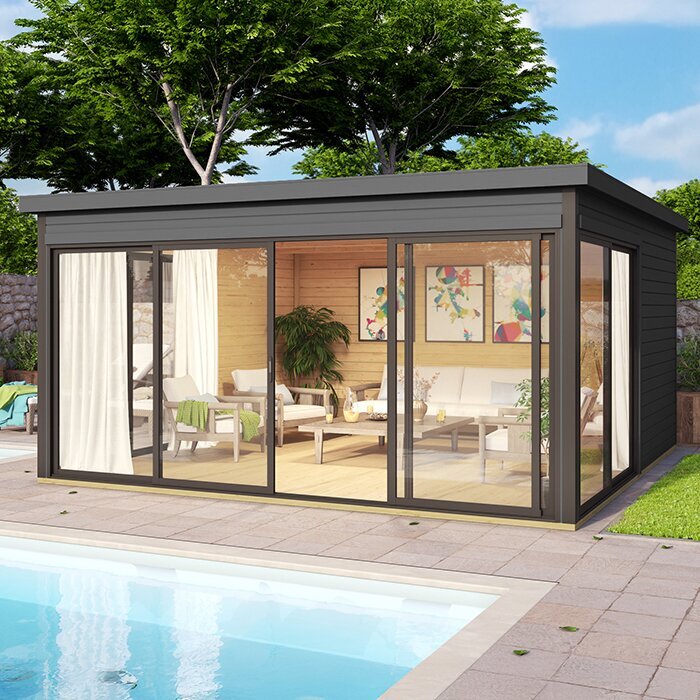
Include the route to the garden shed in your ordering and installation discussions. Ask what access is needed for delivery and assembly, and check whether the gate, turns or ground conditions could make the chosen position difficult to reach. A finished path may not be the route used to bring materials into the garden, so agree how that access will work before the work begins. Confirm the sequence with the supplier or installer, especially if the path, base and shed will be handled by different people.
Make sure the work agreed for the path is clear: surface preparation, edging, changes in level and drainage may need separate planning from the shed itself. Record where one contractor’s work ends and another’s begins, particularly at the path-to-base junction. Ask who is responsible for each part and whether any temporary access needs to be restored afterwards. When reviewing options such as wooden garden tool shed M, compare the confirmed model information alongside the site and installation plan, rather than choosing a product first and trying to fit the route around it. A clear scope helps avoid gaps between the shed order and the work needed to reach it.
Test the complete route before placing the order
Before committing to the layout, mark the proposed path and the shed footprint on the ground. Walk the route in both directions, open gates and imitate the final approach to the entrance. Try it with any trolley or mobility aid that will use it, and consider whether someone can move along while carrying ordinary garden items. Note awkward turns, narrow points, soft ground and places where a door or gate could obstruct movement. A temporary outline is not a substitute for a finished surface, but it can reveal layout problems while changes are still straightforward.
Use what you learn to confirm the details that affect the order: the shed’s footprint and entrance position, the required base, the space for door operation and the route for installation. If you are comparing a listing such as wooden garden shed S, verify the specific model details with the supplier rather than relying on the product name. Ask any installer to assess uncertain levels or drainage before work starts. A short final review with the people who will use the path can help ensure that the plan reflects the garden as it is, not just the way it looks on paper.
Frequently asked questions
How wide should a path to a garden shed be?
There is no single width that works for every garden or user. Measure the clear space at the narrowest point, including gates and anything that could project into the route. If someone will use a wheelchair, mobility aid or garden trolley, test the space with that equipment and get professional advice if the route has to meet a formal accessibility requirement.
What is a suitable surface for a garden shed path?
Look for a surface that is firm, stable and even in the conditions in which you will use it. Loose stones, soft ground and uneven joints can make a route harder to use, while any surface can become slippery or obstructed if it is not maintained. Consider the ground and drainage as well as the material.
Does an accessible path need to be completely level?
Not necessarily, but a steep or uneven route can be difficult to manage, especially when the surface is wet. Aim for a gradual, predictable route rather than assuming one slope will suit everyone. If the garden is steep, or a particular mobility aid needs to use the path, ask a suitably qualified professional to assess the site.
Where should the path meet the shed?
Plan it to reach the actual entrance, with enough clear space to approach, open the door and move through it. Check the door position, how it opens and any threshold or step on the specific model you are considering. A path that stops at the wrong side of the building may leave an awkward final turn.
Should I build the path before the shed is delivered?
Plan the route and its levels before ordering, but agree the construction sequence with the shed supplier or installer. The base, access for assembly, delivery route and surface-water arrangements may affect the order of work. Confirm who is responsible for each part so the finished path does not obstruct installation or need to be altered afterwards.
A useful route is planned as part of the garden shed’s position, not added as an afterthought. Check the narrowest point, the ground after rain and the space needed at the entrance, then test the layout with the people and equipment that will use it. Confirming the model and installation details before ordering gives the path a better chance of being practical from the first trip to the shed.
