
How Much Clear Space Should You Leave Around a Garden Shed?
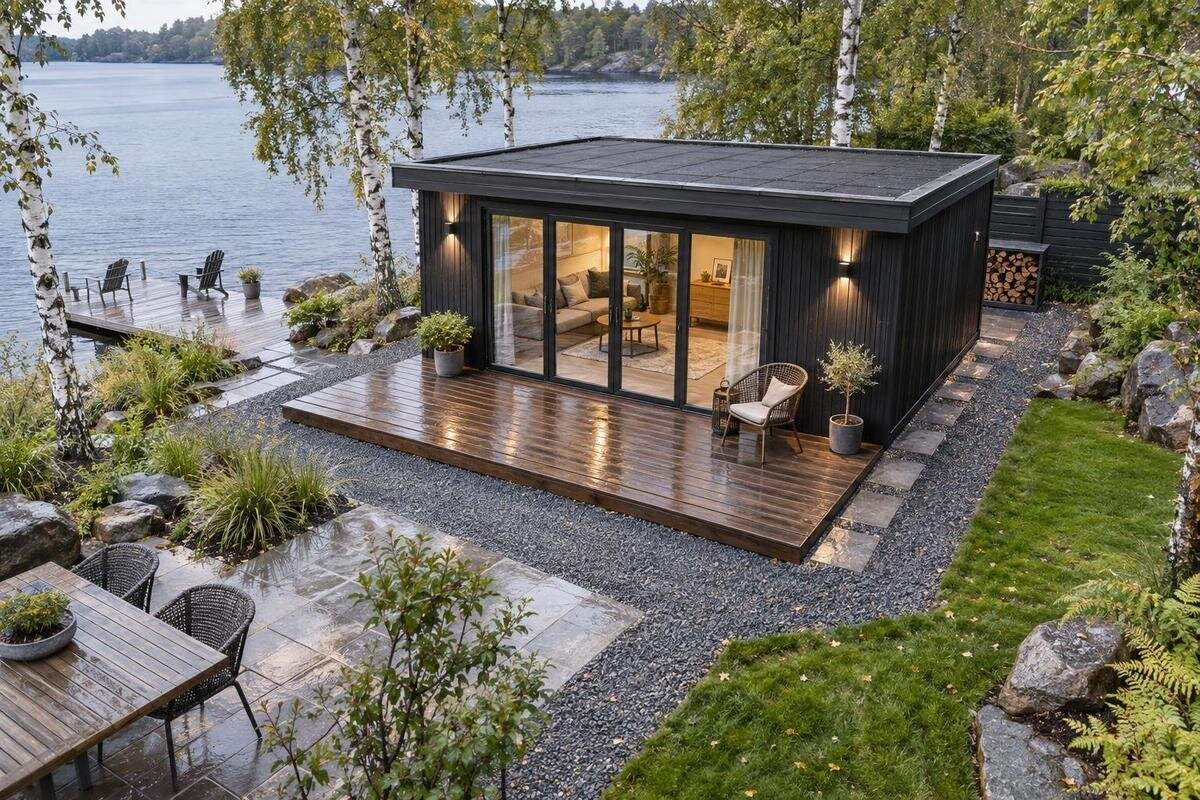
Garden shed planning
Garden shed clearance is not just a strip to keep the building away from a fence. You need room for the entrance to work, a route for carrying items and enough access to inspect any sides that need attention. For an initial sketch, allow about 60 cm beside or behind walls used only occasionally and roughly 90 cm to 1 m on a side you will walk or work along. Those are practical planning allowances, not a universal installation rule or legal boundary distance: the opening, full outer dimensions, site and instructions all matter.
01
A practical clearance allowance
There is no single clearance that suits every shed, site or job. For an initial layout, allow about 60 cm beside or behind walls that need occasional access, then aim for roughly 90 cm to 1 m along a side you will use as a walking or working route. Treat those as practical allowances, not required distances: a narrow route may still feel awkward when carrying a mower, long timber or a large box. Increase the gap where you need to turn, open something outwards or carry bulky items; follow the exact model’s installation guidance if it specifies a different arrangement.
Think of clearance as several separate needs: space beside the building, room for openings to move and a route for people or items. A strip may let you reach a wall but leave no convenient way to pass with a bucket. Equally, a wide lawn in front is of little use if the open door blocks the only route. Note what each side needs to do before allocating space. You may not need the same gap on all four sides, but do not count a trapped, narrow slot as easy access. Check the installation guidance before reducing any gap.
Measure the whole shed, not just the base
Start with a dimensioned drawing for the exact model rather than measuring from a photograph. Check which measurements are provided: the base footprint, outside wall dimensions and overall roof outline can refer to different points. Read the dimension arrows and confirm which side is the front before putting width and depth on your garden plan. Include projecting parts, such as a roof edge, gutter or handle, wherever they affect the route you intend to use. If the published details do not make the outer measurements clear, ask the supplier what is included instead of estimating from an image. Keep the units consistent when comparing figures.
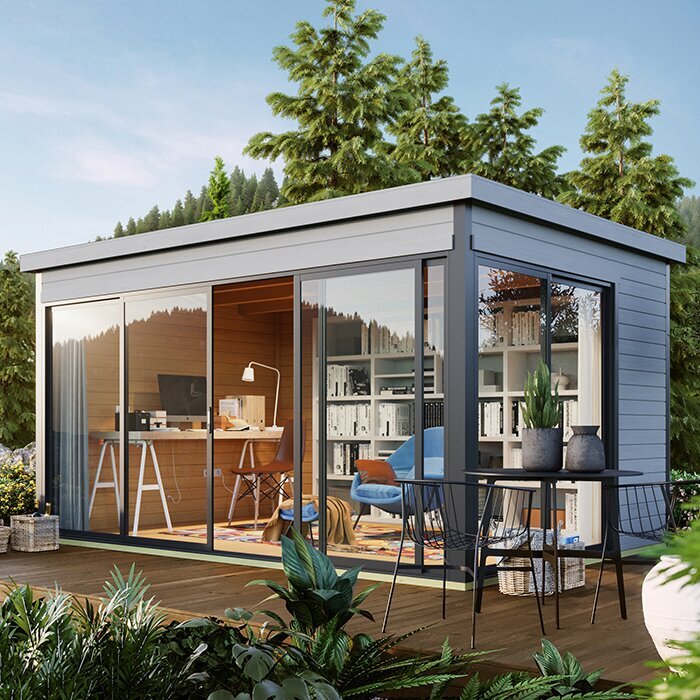
Draw the base or wall line and the largest outside projection as separate outlines. This helps you see whether a service strip starts at the wall or roof edge, and whether the shed will crowd a path. A listing such as the Verdana 1 garden house is useful only when you check the measurements and installation information actually provided for that model; its name and photographs are not a scale drawing. Add the planned clearance outside the relevant outline, then compare the total width and depth with the space on site. If your decision depends on a few centimetres, confirm the measurements before ordering.
02
Allow room for doors and other openings
Door space is part of the shed’s working area. For a hinged door, mark the full arc from closed to its normal open position, including the handle and the space where you will stand. Leave room to get past the door and carry usual items through without striking a fence, wall, planter or stored object. A door that can technically open a little may still make entry inconvenient if you have to angle every box or tool. If the opening is close to a boundary or path, test the planned orientation rather than assuming it will be clear once the shed is in place.
Different openings move in different ways, and a window may also need access if you are expected to open or clean it. Check the instructions or drawing for the actual arrangement; do not infer it from a thumbnail or product name. Before setting the side gap for the Verdana 2 garden house, confirm the opening details shown for that version and leave room for the full movement. If the details are not stated, ask before basing a tight layout on an assumed door swing. Check that the opening will not block the route you intend to use.
Keep the route to the entrance usable
Plan a continuous route from the garden entrance or usual point of arrival to the shed door. Measure the narrowest part, not just the open space around the building: include gates, corners, steps and changes in level. About 90 cm to 1 m can be a helpful starting point for a route, but it is not an accessibility specification or a guarantee that every load will fit. Compare the width with the largest item you expect to move, such as a mower or box, and leave room for hands and turning. A tight bend may need more space than a straight section.
Walk the proposed route in both directions in your mind or on site. Can you approach the entrance, turn a wheelbarrow and get back out with the door open? Check whether a path edge, drain cover or garden feature narrows the usable width. A generous space at the front will not help if the route pinches at the gate. Conversely, a path behind the shed may add little if it leads nowhere and no wall needs access, unless the installation guidance calls for it. Compare the Durano garden shed with the route you actually have, rather than judging a position by floor area alone.
03
Leave working room for maintenance
Think about what you may need to reach after the shed is in use. Side and rear gaps can make it easier to inspect the exterior, clean it or carry out care specified by the maker. If the instructions call for periodic treatment or access to particular fittings, allow enough working room to do that without squeezing between the building and a fence. About 60 cm can be a rough starting strip for occasional access, but it may be tight for turning or using larger tools. A wider working side is more comfortable where regular attention is expected. Follow the care information for the model you choose.
Decide which sides genuinely need routine access, and keep those routes clear of permanent storage or furniture that is unlikely to be moved. A narrow gap can look adequate on a plan yet be difficult to reach once a fence post, corner or projecting roof edge is included. If one side sits near a boundary, consider how you can check the outside face without stepping onto neighbouring land. When comparing the Veltor 1 garden house, use any care and installation guidance actually supplied; do not guess a maintenance schedule or required clearance from its name or image.
Check the roof edge and water paths
Clearance at roof level may differ from the space beside the walls. Eaves or other projections can extend beyond the footprint, and any specified gutter or water outlet may need room to function and be reached as intended. Mark these parts on your sketch rather than assuming the base size describes the full outline. Think through where rainwater is meant to go and whether you can keep relevant edges clear for inspection. A gap that is too tight to see or reach may make routine checks awkward, even if a person can squeeze beside the wall.
Keep water management separate from the walking-space calculation. Do not treat the gap between a shed and fence as a convenient channel unless the installation guidance and site arrangements support it; a narrow, inaccessible strip can be hard to keep clear. Check the chosen model’s instructions for base and roof-water details, and ask a qualified installer if the proposed position raises a drainage question. For the Orello 1 garden house, as for any model, use dimensions explicitly supplied and confirm whether they include roof projections. A title or photograph cannot establish the runoff arrangement.
04
Check boundary requirements separately
An access gap and a formal distance from a property boundary answer different questions. The 60 cm or 90 cm to 1 m figures in this guide are for practical layout only; they do not establish what is permitted at a particular address. A fence line may not identify the exact boundary, so confirm the relevant line from reliable property information or with a qualified professional if there is doubt. Check local authority planning guidance and any site-specific conditions before fixing the position. Do not assume that a convenient service strip also satisfies a planning requirement, or that a shed can sit tight to a fence because you do not need access there.
Make boundary checks early, before buying a shed that leaves no room to adjust. Measure from the confirmed line to the nearest part of the proposed structure, then separately map your access strip and opening area on your own side. If the site is constrained, ask the local authority or a suitable planning professional what guidance applies to your circumstances; this article cannot give a universal Irish setback. A product page can help identify the model dimensions you intend to use, but it cannot interpret property documents: the Modano 1 garden house is no exception. Keep the relevant information with your sketch while comparing positions.
Give each side a clear purpose
Clearance does not have to be identical around all four sides. You may want a larger working side where the entrance, frequently used equipment or maintenance route sits, while the opposite side only needs enough space for occasional inspection and any instructions. This can make a compact site more workable than leaving a uniform ring, but the plan has to be honest about what will be accessible. If a side will be permanently blocked, treat it as inaccessible rather than calling the gap a path. Check the full outline, openings and any model-specific spacing before narrowing that side.
Mark each side with its purpose on paper: approach, door movement, maintenance, boundary buffer or no regular access. Then check that those uses do not block one another—for example, a door opening into the only strip intended for walking. Compare the wooden garden tool shed M with this side-by-side layout only after confirming its dimensions from current product information. Its descriptive name does not tell you which face has the entrance, the shape of its roof or how much clearance your garden needs. Leave room where your actual use requires it, rather than assuming every shed has the same layout.
05
Allow for assembly access as well
Permanent clearance is not the same as the space needed to assemble a shed. Before ordering, read the assembly information for the exact model and find out how its parts are handled, which sides need access during the work and whether components must be turned or laid out nearby. Requirements vary by design and method, so do not infer an assembly area from the finished footprint. Trace the route from the delivery point to the proposed position too: a gate, tight turn or step may be a greater obstacle than the final site. Ask the supplier what access and temporary working room the instructions require if the details are unclear.
Find out whether the shed is assembled on site or arrives in another form; do not assume from the listing. If space is needed temporarily, decide where materials can be placed without blocking a shared route or the work area. Confirm any delivery or installation arrangements directly with the supplier, rather than assuming someone else will have room to move the building into position. Before ordering the wooden garden shed S, check the exact product and assembly information against your site. This matters when the permanent layout is close to a boundary, because extra working room may not be available after delivery.
Test the layout before ordering
Test the plan at full size before placing an order. Mark the base outline with string, chalk or garden stakes, then mark a second line for the outermost roof or other projection and another for the access you expect to use. Add the door’s full opening arc and a continuous route from the gate or house. Walk around the marks, open any nearby gate and imagine carrying the largest item you expect to store. A drawing can hide an awkward turn; a full-size outline makes it easier to spot a blocked path or a side gap that is too narrow to reach.
Measure clearance at the tightest points and write the figures beside the sketch, including distances to the boundary, path and nearby obstacles. Compare those measurements with the exact model dimensions, opening details and instructions, not with a similar-looking image. If the layout only works when you leave a few centimetres, recheck each measurement and ask for clarification before ordering; do not rely on a nominal footprint that omits projections. Save the sketch with the product information so the position, assembly access and intended maintenance space are considered together. A small change in orientation may free a route, but only if the entrance and boundary checks still work.
Frequently asked questions
Is there a standard legal distance between a garden shed and a boundary?
The practical clearances in this guide do not establish a legal setback. Check current local authority planning guidance and relevant property information, or ask a qualified planning professional if you are unsure. Do not treat 60 cm or 1 m as a permitted distance.
Is 60 cm enough space around a garden shed?
It can be a rough starting allowance for occasional access, but it may feel tight if you need to walk through, turn or carry tools. Use a wider strip, such as roughly 90 cm to 1 m, where you expect regular movement, and allow more for bulky items.
Do I need to leave space behind the shed?
Consider whether you will need to inspect, clean or maintain the rear wall, and check the model’s instructions for any access requirements. If the gap is too narrow to use, do not count it as a practical maintenance route.
Should I measure from the base or the roof edge?
Mark the base or wall outline and any wider projections separately. Roof edges, gutters or other parts may extend beyond the base. Use the relevant outermost point when checking whether the shed will crowd a path or block access.
How much room do shed doors need?
Check the actual opening arrangement and allow for its full movement, including handles and the space you need to stand while using it. A door that opens only part-way may still make it difficult to enter or carry items through.
A workable position balances three things: the shed’s full outline, the space its openings need and the routes you will use to reach and maintain it. Use a modest service gap only where occasional access is enough, and allow more room where people, tools or bulky items need to move. Mark the layout at full size, then keep practical clearance separate from any boundary or planning requirements that apply to your site.
