
Connecting a Garden Shed to a Terrace or Deck
Garden shed planning
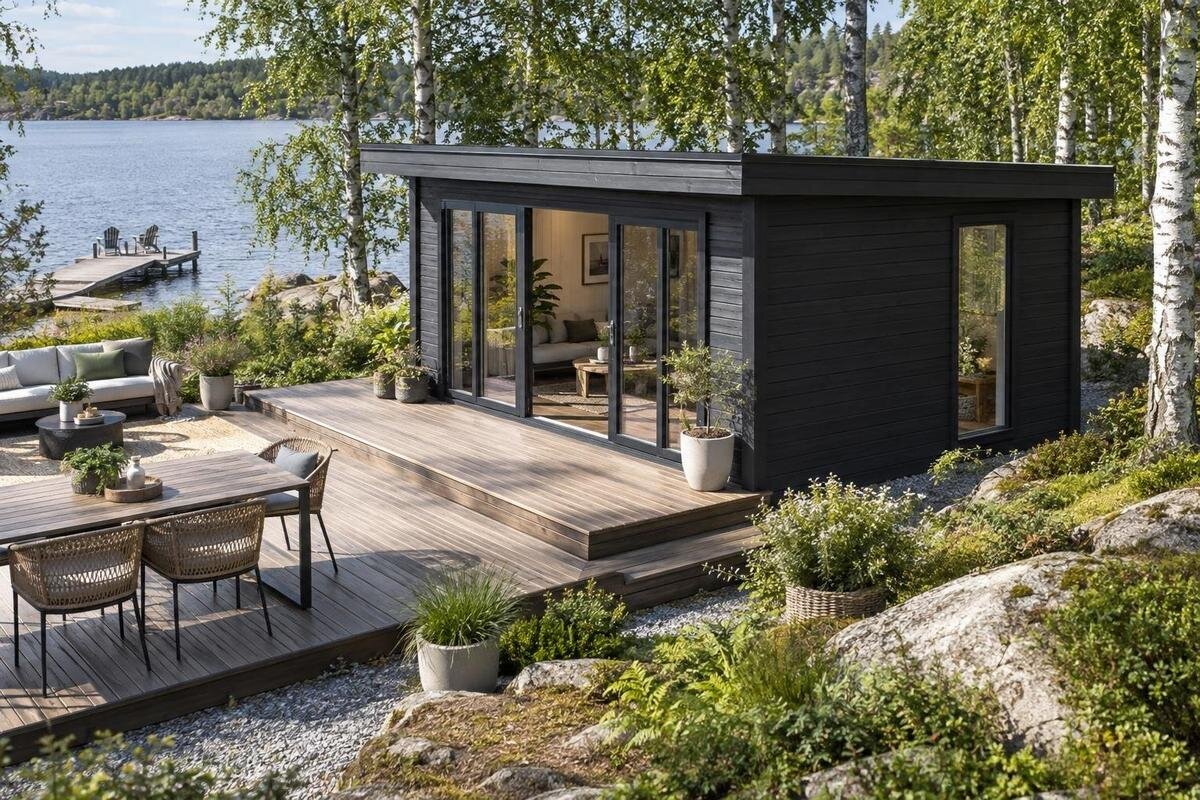
Connecting a garden shed to a terrace or deck is mainly a matter of planning how the two spaces meet, not automatically fastening them together. The shed needs a suitable footprint and entrance; the adjoining area needs to retain room for people, furniture and everyday movement. Their relative levels, the doorway, water run-off and access for future maintenance all affect the layout. Plan the shed, its base and the terrace or deck together before ordering materials or fixing the final position. This guide explains the choices to settle, the product information to verify and when a builder or other qualified professional should review the junction.
01
Decide what a connection means in your garden
People use “connection” to mean either an easy route between the terrace and the shed, or a physical join between the two structures. These are different decisions. A nearby shed can feel part of the outdoor space because its entrance opens onto the terrace, even if the structures remain independent. A physical join raises separate questions about how the deck is supported, how the shed is based and how the junction handles movement, rain and repair. Touching edges do not establish that one element can support the other. Treat the shed, its base and the deck as separate unless the exact product instructions and a competent builder confirm a specific connection.
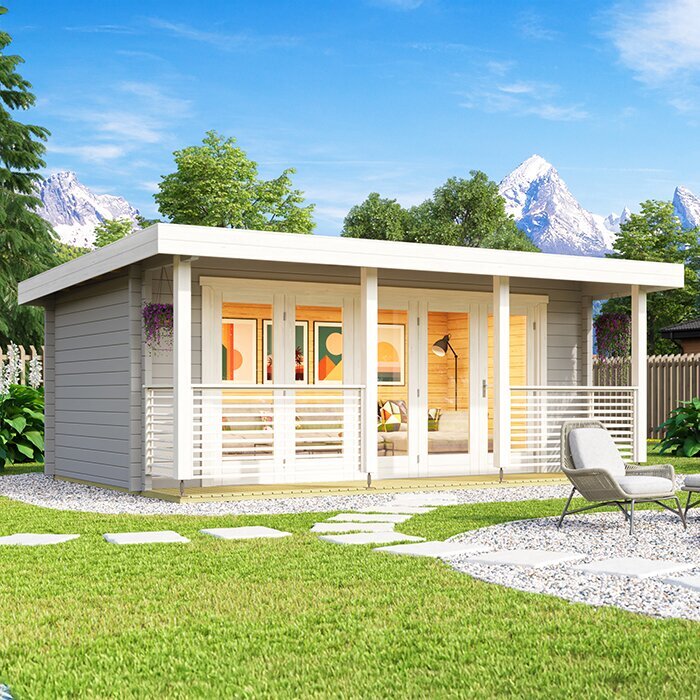
Before choosing a model, list what will pass between the two places: hand tools, pots, bulky garden equipment, bags of compost or items brought out for entertaining. That affects entrance clearance, space to pause outside the door and whether a direct route is worth prioritising over a larger seating area. Put the Verdana 1 garden house on a scaled plan as one item under consideration; use its product information to confirm exact dimensions, entrance position and base requirements, or ask for any details not shown. Do not rely on a model name or photograph to establish them. Mark nearby gates, steps and existing routes too, so the connection joins the garden rather than ending at the deck edge.
Position the entrance for everyday use
Orient the entrance towards an area that will remain usable, rather than towards a dining chair, planter, railing or cramped corner. Allow room to stand, open the door fully if it swings out, and carry a typical item through without moving furniture first. A door that opens outwards may need a different arrangement from one that slides or opens inwards, but the design varies by product. Once you have verified it, mark the full opening area on your plan. This is more reliable than centring the shed on the deck and only later noticing that its entrance faces a blocked or busy part of the terrace.
Think of the space outside the door as a working area, not an empty border. It may be where you set down a pot, turn with a box or stop to put away a tool; if it is also the main route to seating or the garden, those uses can conflict. When comparing the Verdana 2 garden house, check the listed entrance position and opening clearance for that model, then draw them at scale. A product title or gallery image cannot show how its door will relate to your deck. If the terrace is narrow, consider whether shifting the shed along the edge leaves a clearer route without sacrificing the outdoor space you use most.
02
Compare ways to meet the terrace and shed
Three broad layouts are worth comparing: bring the terrace close to the shed entrance, add a small independent landing at the door, or leave a deliberate gap and connect the spaces with a short route. A near-continuous edge can make everyday trips feel simple, but the junction still needs to allow for water, movement and future repair. A landing can provide a place to pause between outdoor seating and storage, while a visible gap can keep the deck and shed independent. A route that turns towards the entrance may work better than a straight alignment if the latter takes up useful deck space. None is automatically best: consider the site, opening, footprint and shed instructions.
Use both a top-down plan and a side view to compare the options. Mark the shed’s external outline, door position, deck edge, level changes and any proposed join; a plan alone will not show how a raised threshold meets the surface. A listing such as the Durano garden shed is a prompt to check the exact entrance arrangement and measurements in the product information, not to infer them from a photograph or title. If the preferred layout appears to require fixing the deck to the shed, have a competent builder confirm whether that detail is appropriate before making it part of the design.
Compare finished levels at the entrance
Draw the finished surfaces—not only the bare ground—and show the shed threshold, deck edge and any step or sloping transition. The base, deck structure and existing garden can leave different final heights, so a doorway that seems level on an early sketch may end up with an abrupt lip. Decide whether the approach should meet the entrance at a similar level or make a clear change in height. Consider how the transition will feel when you are carrying something, and whether the threshold remains unobstructed. Do not raise, cut or otherwise adjust a shed component to solve a mismatch unless the product instructions permit it.
Allow for the space needed outside the door as well as the threshold itself. A short landing can be awkward if there is no room to open the door or turn with a bulky item; a change in level can also be hard to notice once furniture or stored items are nearby. Check the threshold and base information for Veltor 1 garden house against the proposed finished deck level, and ask for details if they are not provided. The model name does not state either height. Where a level change affects the base, door operation or stability, ask a builder or other suitably qualified professional to review the plan before work begins.
03
Check how the shed and deck are supported
A deck beside a shed is not automatically a suitable foundation for it, and a shed wall should not be assumed to support deck boards or framing. The two structures may have different requirements for their bases, assembly and clearances. Confirm the requirements for the exact shed model and for the deck design; do not infer them from a category photograph. Keep these decisions on one drawing so a change to the deck height or edge does not quietly affect the shed’s support, access or maintenance space. Unless the instructions and a competent professional confirm a designed connection, plan for the structures to remain independent.
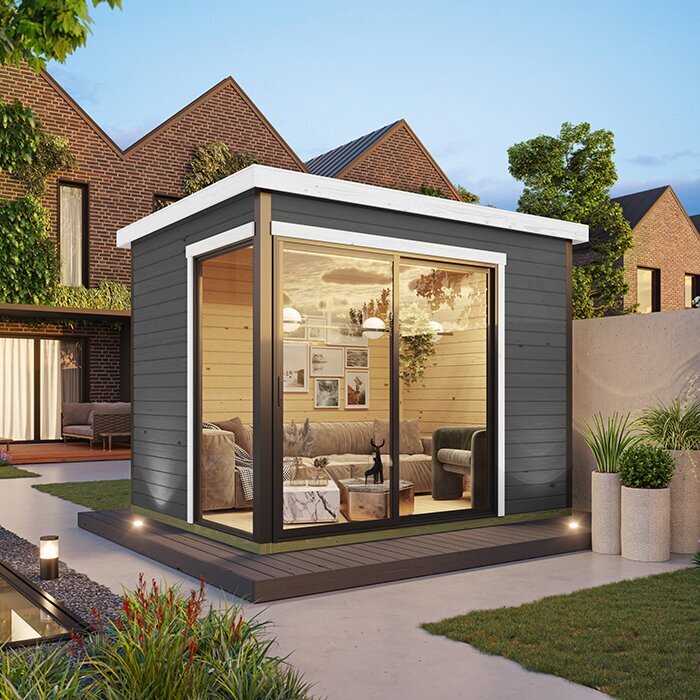
Before ordering, decide who is responsible for the shed base, who will assemble the shed and who will design or build the terrace or deck. Ask them to agree how the structures will meet, whether a gap is required and whether any proposed fixing is approved. For Orello 1 garden house, use the product information to confirm its base and assembly requirements; ask the seller for missing details rather than guessing. If the plan depends on a structural connection or a change to the shed, have a competent builder or relevant professional assess it. Avoid drilling, cutting or attaching components without confirmation from the appropriate instructions and professional.
Plan for rainwater at the junction
Consider where rainwater comes from and where it can go at the join. A deck or landing may direct run-off towards the shed entrance; a narrow, enclosed gap may collect leaves or stay damp for longer. If possible, observe the site after rain and note natural run-off, puddling and water arriving from adjoining surfaces. On the plan, mark the threshold, deck edge and any drainage route so the layout does not channel water towards the shed or trap it against a surface. The aim is to include water management in the design, not to prescribe one construction detail. Also consider whether the route of water could change if the terrace layout changes.
Leave the edge accessible enough to inspect and clean, particularly where boards meet a landing or wall. Think about seasonal debris and how you would spot a blockage or persistent damp while it is still easy to reach. Any drainage measure must work with the shed’s base and must not obstruct a stated clearance or ventilation opening. Check the assembly notes for Modano 1 garden house before deciding how close the deck can come, and ask for clarification if needed. If ground conditions, run-off or drainage remain uncertain, ask a competent builder or drainage professional to review the proposal rather than experimenting once the structures are in place.
04
Allow room to use the shed entrance
Plan for the largest or most awkward item you expect to move in and out, not just for someone walking through. A mower, folded chair, plant pot or box may need room to turn at the entrance even if it fits through the doorway. On the plan, trace the route from the usable terrace area to the shed, including any corner or change of direction, and leave a place to pause outside the door. Avoid using that space as permanent parking for chairs, planters or timber. This keeps the connection practical on ordinary days, not just clear in a finished photograph. Include unusually long or wide items as well as the ones that are easy to carry.
How often you use the shed can help decide which part of the arrangement gets priority. If tools come out every day, direct access may matter more than an uninterrupted seating edge; if the shed is opened occasionally, protecting the main terrace area may take precedence. Either way, check the door clearance and the space needed to handle regular items. For the wooden garden tool shed M, confirm the actual opening and external dimensions before deciding whether your tools will fit through and how they can be carried to the garden. A size label is not enough to plan the route; use details for the exact model, or request them if they are missing.
Make the transition easy to maintain
The transition can blend into the garden or be clearly marked. Repeating a colour or material in a planter, edging or outdoor furniture can tie the shed visually to the terrace without physically attaching one to the other. A distinct edge can make the change of surface easier to recognise, while a continuous-looking finish may suit a compact layout. Choose according to the garden and the practical use of the area, not appearance alone. A polished join is less useful if it makes a gap difficult to inspect, leaves no room to clean or prevents a board from being repaired. Consider how the transition will look from both the garden and the terrace.
Look beyond the first day: consider how the surfaces may age, how their upkeep may differ and whether either needs to be reached from the side. Do not assume that a close visual match in a photograph means materials or finishes will weather in the same way. Avoid an edge detail that can only be accessed by moving the shed or unfastening a structure. If the wooden garden shed S is on your shortlist, compare the product information about construction and upkeep with the deck materials you have chosen. Keep any specified clearance open and leave a practical way to inspect the join as the garden changes.
05
Measure the complete arrangement
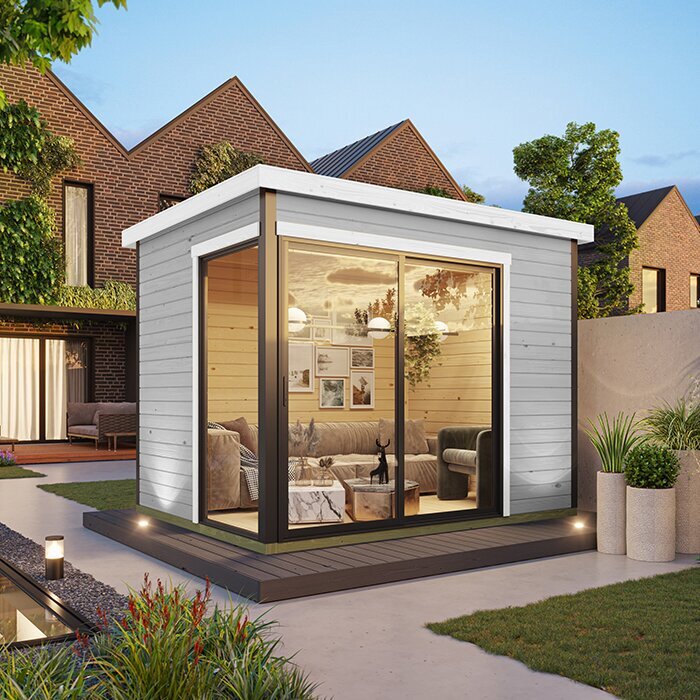
Measure the complete shed position, not only the floor area you hope it will occupy. Use the exact product information to note external dimensions, base requirements and any roof projections shown, then allow for the doorway, a person to stand and the proposed terrace connection. Check whether there is room for assembly access around the structure where the instructions require it. Distinguish the shed’s wall footprint from the base or roof outline if these differ in the drawings. A model that fits on the ground plan may still obstruct a route or leave too little usable deck once its entrance and edges are accounted for.
Measure the arrangement along the terrace and out from it, then place furniture and planters at their intended sizes on the same plan. Include room to use those items, rather than drawing only their outlines; otherwise the shed can appear to fit while the route around a table disappears. A full-size outline made with string or removable markers can reveal conflicts between the doorway, deck furniture and garden route. It is a useful reality check, not a substitute for construction drawings or professional review. Also confirm how materials will reach the site and where assembly can take place before the final deck edge closes off access.
Coordinate the order and build sequence
Settle the shed choice and the broad terrace layout before committing to an order. Check the product page and assembly instructions for exact dimensions, door arrangement, base requirements and assembly clearances. If a detail is missing, ask the seller or manufacturer rather than filling the gap from the model name. Note which measurements are confirmed and which still need a builder’s advice, and make sure everyone is using the same outline—wall, base or roof projection. If the deck proposal changes, revisit the shed’s position and the junction instead of assuming the original sketch still applies.
Agree who will prepare the base, assemble the shed and finish the deck edge, and what has to happen first. Keep the route for delivery and assembly open until the structure is in position, and confirm there is enough working room before landscaping, furniture or fixed edging goes in. Leave unresolved questions about levels, drainage or structural support with the appropriate builder or qualified professional. Agree how a late change to the position or deck design will be reviewed, rather than allowing one part of the plan to be altered without checking the other. A clear sequence helps prevent the finished deck blocking an entrance, hiding a drainage problem or forcing an unplanned change to the shed.
Frequently asked questions
Does a garden shed need to be physically attached to a deck?
No. A clear route, an independent landing or a shed positioned beside the terrace can connect the spaces for everyday use. Only plan a physical fixing if the shed instructions and a competent builder confirm that the specific connection is suitable.
Should the deck be level with the shed threshold?
Not necessarily. The finished levels depend on the site, the shed base, the threshold and the deck design. Draw these together, consider how the door will operate, and ask a builder to review any level change that affects the base or stability.
Can a deck support a garden shed?
Do not assume that it can. Check the requirements for the exact shed and deck, and get professional advice if the plan relies on one structure supporting the other. Keep them separate unless the instructions and a competent professional confirm a suitable design.
What should I measure before ordering?
Confirm the shed’s external dimensions and base requirements, then allow for its entrance, door opening, assembly space and the proposed connection. Include furniture and the route to the garden on the plan, and check how materials can reach the site.
How can I plan for rainwater at the join?
Consider where run-off already travels and avoid a layout that directs it towards the entrance or traps it against a surface. Keep the junction accessible to inspect and clean. Ask a builder or drainage professional to review any uncertain drainage detail.
A well-planned shed-to-terrace connection begins with use and layout: where the entrance faces, how people and equipment reach it, and what happens where the two surfaces meet. Decide whether you need proximity or a physical join, then confirm the exact product dimensions, base requirements, finished levels and water management before ordering. When the shed and deck are planned together—but their support and maintenance needs are considered separately—the connection can feel like a natural part of the garden without compromising access or future upkeep.
