
How to divide a 20–30 m² garden shed into functional areas
Garden shed planning
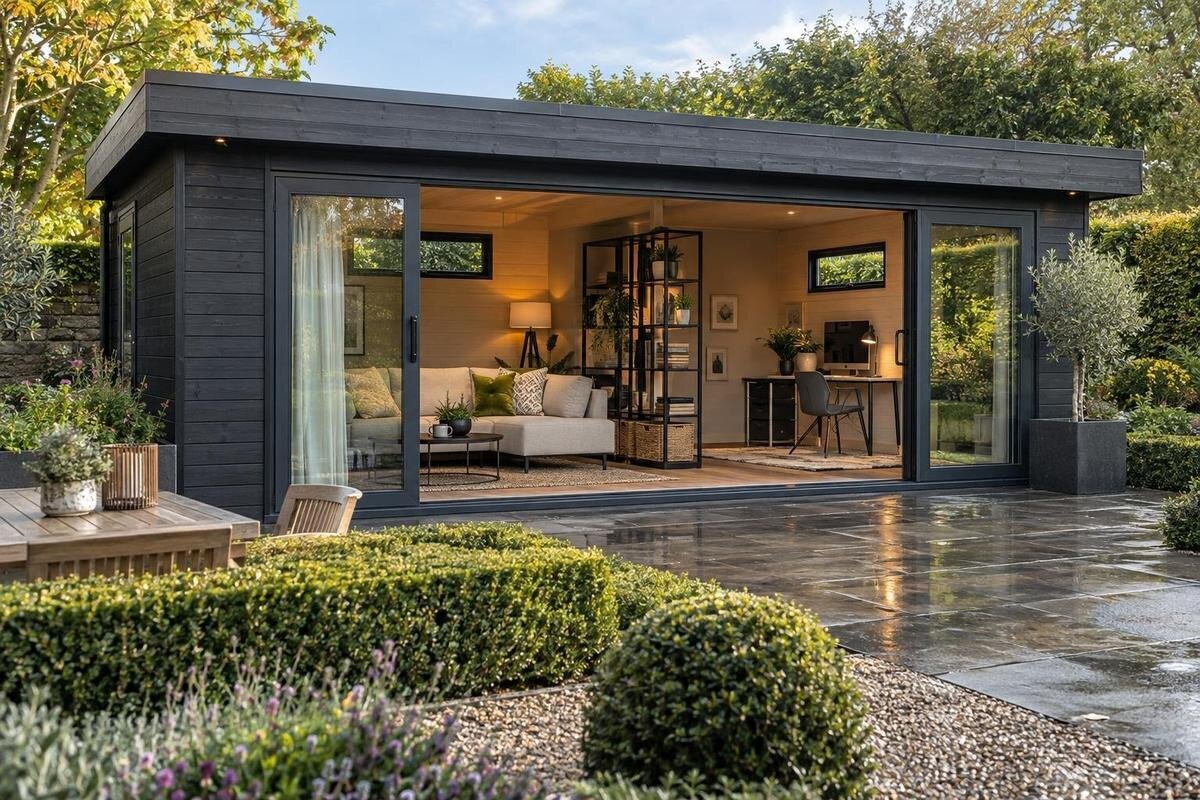
A 20–30 m² garden shed can combine storage, work and time to relax, but floor area alone does not make the arrangement practical. Each use needs room for furniture, access and movement, and the proportions of the building matter as much as its stated area. Plan the zones against the actual interior dimensions, entrance and openings before choosing dividers. The aim is a room that serves several purposes without turning the centre into a narrow passage or leaving one activity permanently in the way.
01
Decide what the garden shed must do
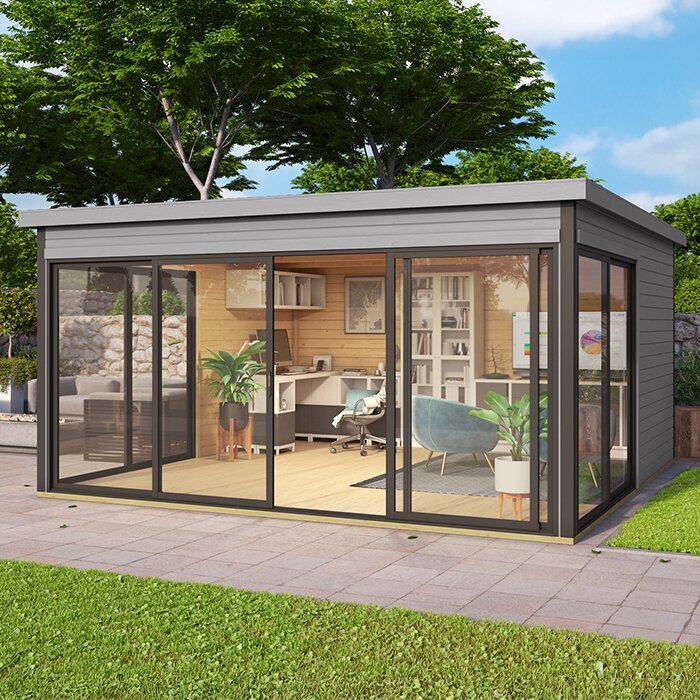
Before measuring furniture, write down what the building is for. List the activities you expect to do there in a normal week, who will use it and which items have to stay inside. A potting bench, a place to mend things, garden equipment and a chair for reading put different demands on the same floor. Separate regular tasks from occasional ones: something used once a month may share space with a task that needs to be ready every day. Also note whether activities happen at the same time or one after another; that affects whether they can share a patch of floor. This keeps the plan tied to actual use rather than a vague idea of a multi-purpose room.
Rank each use as essential, useful or occasional, then identify what can be packed away between sessions. Mark equipment that cannot be moved easily and any activity that creates noise, dust or mess; those factors affect which uses should sit beside one another. Note whether a task needs a clear work surface and its own supplies, rather than treating every activity as one generic work zone. When reviewing a product page such as that for the Verdana 1 garden house, compare your use list with the measurements and openings stated there, if provided. Keep the sketch tied to confirmed details rather than assumptions based on the model name.
Measure usable floor space before buying
The phrase 20–30 m² is a useful starting range, but it is not enough to draw furniture around. Confirm whether the stated figure refers to an external footprint, a floor-area figure or usable internal dimensions; these are not interchangeable for layout. Check the width and depth, door position and window positions against a dimensioned plan where one is available. Wall thickness and any fixed features shown on the plan can affect where furniture fits, so use details for the exact version you are comparing. If usable measurements are unclear, ask before ordering rather than using the headline area to settle aisle or furniture clearance.
With measurements in hand, draw the interior perimeter to scale on graph paper or in a simple floor-planning tool. Add the entrance, windows and any fixed features in their exact positions, then draw furniture using its real width and depth. Check existing pieces with a tape measure and note the size of anything you might buy. When reviewing the Verdana 2 garden house, use figures from its current product information, where stated, and mark which are internal or external. If comparing several buildings, copy the same furniture plan for each one; otherwise a changed layout can hide what a different footprint actually offers. Keep a note of missing figures for the seller instead of altering the sketch to fit an unclear number.
02
Compare room proportions as well as area
Equal floor areas can produce very different rooms. A simple 4 m by 5 m rectangle gives 20 m²; a 2.5 m by 8 m rectangle also gives 20 m², yet the latter is much narrower for placing work and storage side by side. At 30 m², 5 m by 6 m and 3 m by 10 m make the same contrast. These are hypothetical examples, not descriptions of any model. A narrower plan may suit activities arranged in sequence, but each item along the route can reduce room to pass. Compare proportions and usable wall lengths as well as total area. If a layout leaves a chair or cupboard tight against an opening, treat that as a warning.
Put the entrance and openings on your sketch, then test whether the main use is reached without cutting through another one. A long room may suit zones arranged one after another, while a more square plan may let uses sit around a shared centre. In either shape, a far corner needs a purpose if reaching it means walking past a worktop or chair. Try two or three furniture arrangements before considering a partition; check whether the deepest item fits along each wall without narrowing the route. Use the product information for the Durano garden shed to compare the confirmed size and shape of the selected version with your arrangement; if a dimension is not stated, do not infer it from the name.
Give storage a measured footprint
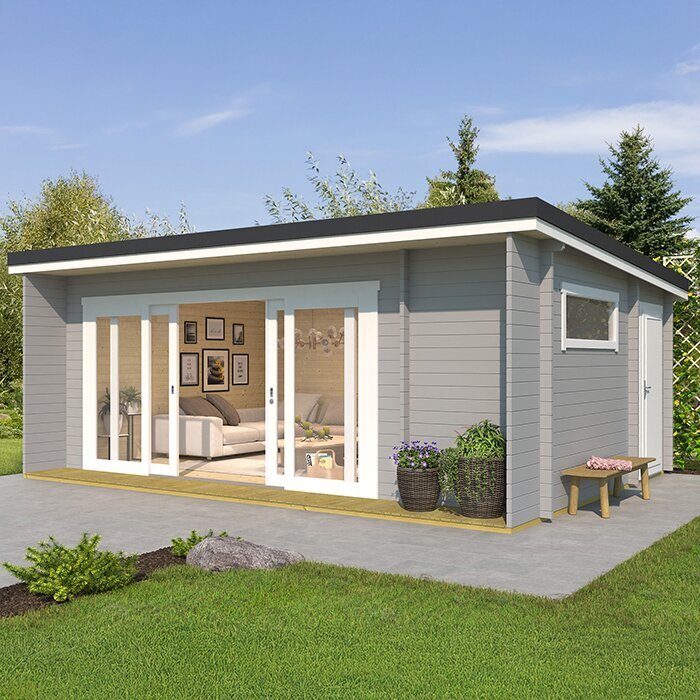
Design storage around what you own, not a vague heading such as garden gear. Group long-handled tools, containers, seasonal items and maintenance supplies; measure the longest and bulkiest pieces, including cases or handles that change how they sit. Decide which items are used weekly and which can be kept farther back, and note what must be reached without moving other things. Add the storage units’ actual depth and width to the drawing. That shows whether you need shelves, a cabinet or simply an unobstructed wall, instead of allowing mixed boxes to spread into work and seating zones. Set aside a place for seasonal items that does not block access to daily-use equipment.
Allow space to stand in front of storage, take out an item and put it back without shifting a chair or workpiece. Keep frequently used tools together and separate dirty or awkward equipment from a relaxation area where practical. If you plan wall-mounted shelves, confirm the product documentation and fixing limits before relying on that option; do not assume every wall can accept every load. Check that opening a cupboard or removing a long tool will not obstruct the entrance. Use the Veltor 1 listing as a prompt to compare confirmed dimensions and openings with your inventory, not as proof that the building meets your needs.
03
Size the work area around the task
Give the work area a footprint that includes the task, not just the table. Measure the worktop, space for a chair or stool, and room to reach drawers or open a cabinet. If you use hand tools, allow a place to set materials down; if a task involves larger objects, trace their size on the plan as well. Include the user’s working position, not just the furniture outline, and keep the approach clear. A workstation that fits only when nobody is using it is not a usable zone. Mark any equipment that needs to remain set up between sessions so other activities are planned around it.
Think about noise and mess as well as convenience. A dusty or noisy job may be better positioned away from a quiet reading seat; store materials according to their labels and the manufacturer’s instructions. Avoid fixing a worktop into a corner until you know its dimensions and how you will reach it. Draw drawers or cabinet doors in their open position, and reserve somewhere for clean-up items if the task needs them. For a purchasing comparison, add your actual bench to the plan for Orello 1, using only measurements and opening details confirmed for the chosen version. If the workstation leaves no practical space to turn or set down a project, revise the layout or compare another size.
Separate uses without losing flexibility
Separate uses without automatically adding a fixed wall. A freestanding shelf, low cabinet, screen or the back of a sofa can mark the boundary between storage, work and relaxation while keeping the room adaptable. Choose a divider for the job it needs to do: hide visual clutter, give a little privacy or make areas easier to read. Open or low furniture can preserve sightlines across the shed; a tall opaque divider may block light and make a small zone feel enclosed. Test both sides of the divider on the plan, including access to anything placed behind it.
Treat a divider as furniture with a footprint, not a line on paper. Leave room to reach around it and keep the entrance, windows and routes usable; a screen that creates a dead end beside the workbench defeats the purpose. Movable dividers are easier to change if the room’s uses evolve, whereas a fixed partition may reduce flexibility or be incompatible with the building design. Check with the manufacturer or a qualified professional before making permanent alterations. Before choosing Modano 1, put your intended division against confirmed product information and check that any proposed alteration suits the building design.
04
Keep the route through the shed clear
Circulation is part of the layout, not leftover space. Mark how you enter, turn, reach the storage, approach the worktop and sit down, then keep those routes clear on the drawing. A straight path is easy to follow, but the shortest line is not useful if it cuts through a task or puts stored items in the way. Measure the entrance and any furniture that opens or moves, then test the route with those items in their working position. There is no single aisle width for every room; the route must suit the people, furniture and objects involved. If two people may use the shed at once, consider where they will pass or wait.
Try a real-use test before ordering: imagine carrying the bulkiest item through the entrance, putting it away and taking it back out without moving the relaxation furniture. Also trace the route to the farthest zone and back while a chair is pulled out. If there is only one clear path, avoid using it as temporary storage or a place to leave materials mid-project. Compare a product page such as the wooden garden tool shed M against your drawn route, but check the exact figures and whether they suit this multi-use plan before treating the listing as an option. Test any awkward turn as well as the straight section.
Reserve space for uses that change
Not every square metre needs a permanent label. A 20–30 m² room may work better with a shared patch that can accommodate a project temporarily, extra seating or sorting garden supplies, then return to clear floor space. Draw that flexible area deliberately rather than letting it become unplanned overflow. Decide what may be brought into it, how long it can remain there and where those items go afterwards. If several activities happen on different days, note which furniture can be shifted between them and who will put it back; otherwise the open patch can quickly become storage. Keep it large enough for the temporary task, not merely as a leftover strip.
Choose furnishings that allow the plan to change: movable chairs, a table that can be shifted, or suitable storage units on castors may be easier to rearrange than fixed pieces, provided they are stable and appropriate for the building and floor. Give each item a parking place when not in use; flexibility does not mean leaving furniture in the route. For the wooden garden shed S, compare confirmed room measurements and openings with both the dedicated zones and the clear area you want to keep. A plan that works only when every seat is pushed aside is too tight; movable pieces should make the change straightforward, not create another job.
05
Place zones around openings and services
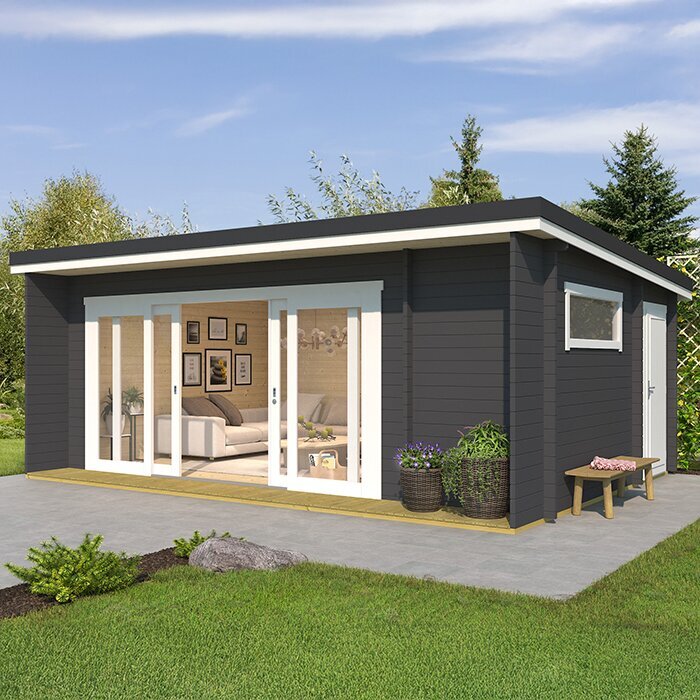
Map natural light and openings before assigning the walls. A window can make one part more pleasant for reading or detailed tasks, while placing storage in front of it can obstruct light and access. Use the actual plan to see which wall remains available for shelving and which part of the room is crossed by the entrance. Consider how the shed will be used at different times, and whether two activities can share the better-lit area on separate occasions. Check each preferred position against the openings for the exact version; an empty wall on a rough sketch may not be available in the building you choose.
Comfort also depends on services such as lighting, power, heating or water if you intend to have them. These choices can affect where a worktop, cabinet or divider belongs, and whether access to a control or connection must remain clear. Decide what is actually needed before finalising the interior arrangement; do not assume a garden house includes a service or is suitable for every alteration. Check the relevant product documentation and discuss fixed services with a qualified professional. Keep the design for the room and any service plan consistent, rather than fitting furniture first and addressing service routes later.
Test the complete layout before ordering
Before placing an order, make a scale plan for the exact product version, using confirmed dimensions and opening positions. Add every piece of furniture and test the room both as it will look day to day and at its busiest: a seat pulled out, a cabinet open, the longest item being carried and project materials on the worktop. Record what would need to move for each task. If the plan depends on shifting several things every time, reduce a use, choose more compact furniture or compare another footprint rather than treating headline area as the deciding factor.
Use the drawing to prepare specific questions for the seller or installer: which dimensions are internal, where are the openings, what is included, what preparation and assembly are expected, and whether proposed changes fit the design. Confirm answers against current product information and professional advice where needed before ordering. Check site access and positioning arrangements too; a floor plan alone cannot establish how a building will be delivered or assembled. Keep the version and measurements used for each comparison, especially when product options have similar names. Once the measurements, zones and ordering details agree, the plan can guide the purchase and help avoid choosing a space that is awkward to use.
Frequently asked questions
How many zones can fit in a 20–30 m² garden shed?
There is no fixed number. Start with the activities that need a dedicated set-up, then see whether occasional uses can share a flexible area. The floor shape, openings, furniture and routes matter more than the number of labels on a sketch; a third zone is not useful if it leaves nowhere to move.
Do I need a partition between work and relaxation areas?
No. Furniture orientation, a low shelf or a movable screen can distinguish areas without committing to a fixed wall. Choose a divider for the privacy or visual separation you need, while keeping openings and routes clear. Check with the manufacturer or a qualified professional before making permanent alterations.
Does a 20–30 m² listing always mean usable space inside?
Not necessarily. Check how the stated area is defined and compare it with any available internal measurements and dimensioned plan. If the figures are unclear, ask before ordering. Use the confirmed interior dimensions to place furniture and judge how much room remains for movement.
How do I keep the route through the shed clear?
Mark the entrance and the route to each zone, then test it with chairs pulled out, cupboards open and the largest item being carried. Keep temporary storage out of that path. Use the measurements of your actual furniture and equipment rather than relying on an empty-room sketch.
Can storage and a workbench share one area?
They can if task items stay organised and the work surface and approach remain clear. Keep bulky or dirty gear from spreading across the bench, and allow room to take stored items out without shifting the chair or the material being worked on.
A good 20–30 m² garden shed layout gives each regular activity a defined place while leaving room to move and adapt. Fit storage and work furniture to verified interior dimensions, protect a clear route and keep some space available for uses that change. When the plan still works with chairs pulled out and equipment in hand, the floor area is serving the people who use it, not just the drawing.
