
Fit windows yourself or hire a professional installer?
Planning window replacement in Ireland
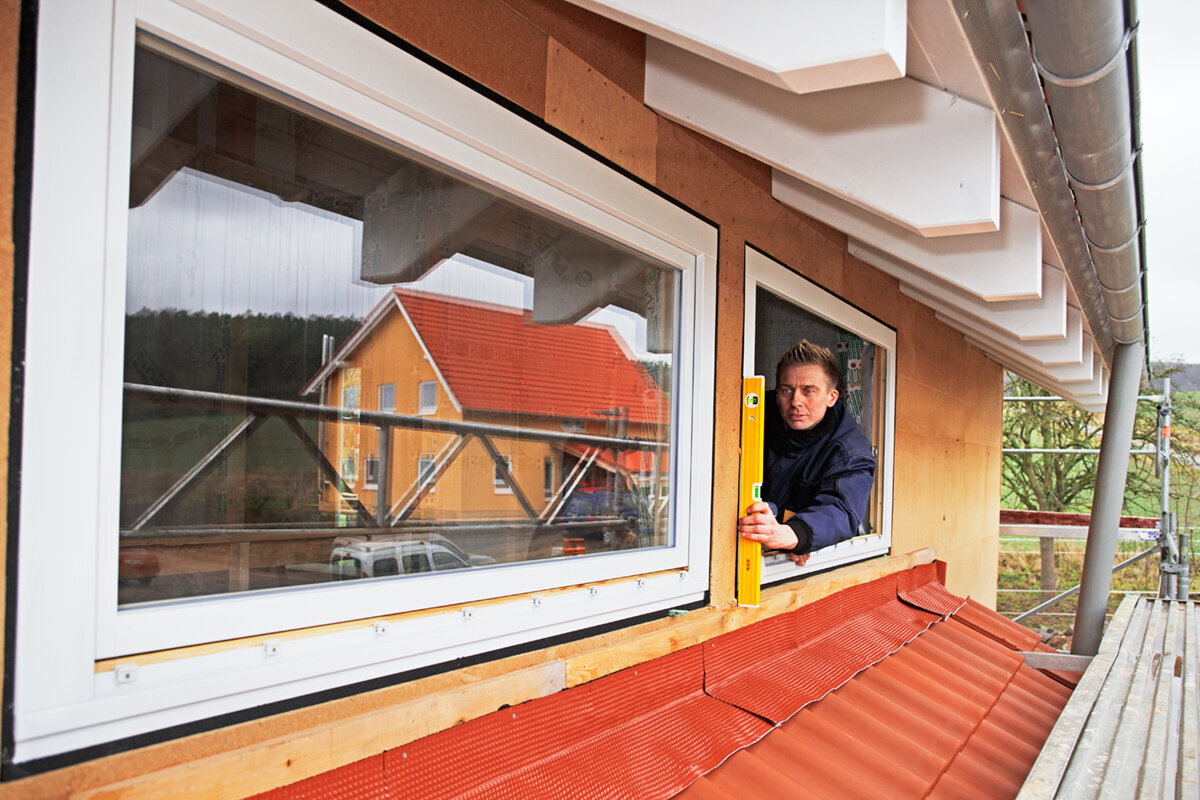
Good window replacement begins by defining the full job, rather than deciding who can carry a frame. The survey, structural opening, weather seals, fixings, sash set-up, façade repairs and internal reveal finishes must be planned together. If you have successfully installed similar components, understand the openings and can allow time for making good, selected jobs may be suitable for DIY. Using a specialist becomes more persuasive when there are numerous units, substantial weights, doubtful reveals or occupants remaining in the house. The comparison is therefore wider than labour charges: responsibility at each interface can decide long-term performance. Use this guide to set sensible limits for your contribution, interrogate quotations and resolve key details before placing the order.
Decide from the whole project
A window forms part of the building envelope; it cannot be treated like furniture that merely needs fastening. It meets the outer wall, room finishes, insulation, weatherproofing, sill, render and cladding. Begin by identifying which operations depend on one another and assigning responsibility, rather than choosing immediately between homeowner and contractor. A straightforward replacement in a stable, rectangular aperture bears little resemblance to work involving weak reveals, altered sill levels or new external insulation. Practical access also changes the job. Handling a ground-floor unit beside an open workspace is unlike moving one past stairs, a scaffold or a garden-room structure. Set out each stage, from taking out the old unit to restoring finishes, before judging whether your own labour reduces work or transfers problems further along the programme.
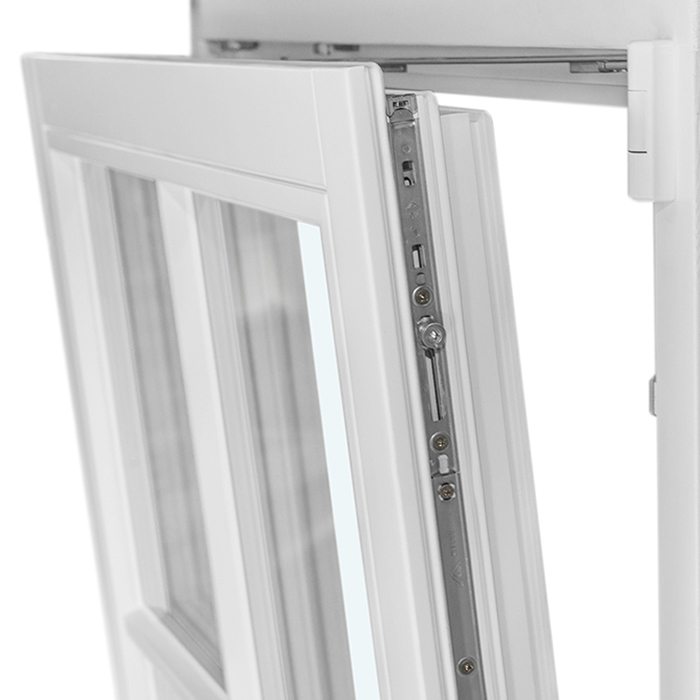
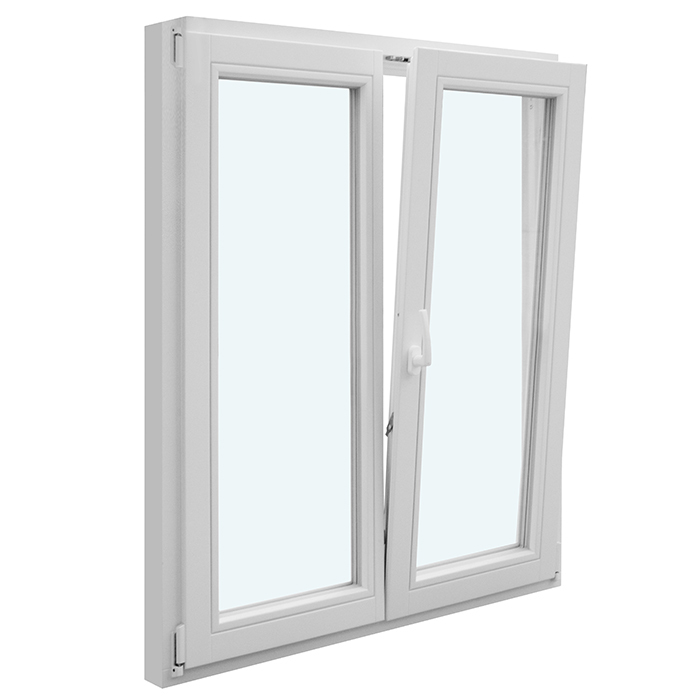
Design and size influence the challenge too. A small basic unit is handled differently from a broad window with several sashes or considerable weight. For a two-sash window that opens inwards you need compatible opening space, a controlled carrying plan, accurate frame placement and provision for setting both sashes afterwards. Its specification identifies the construction, but cannot confirm suitability for a particular wall. Review the aperture, opening sense, nearby furniture and access needed for maintenance before buying or appointing anyone. Also decide how the exposed opening will be managed while work proceeds, including rain, dust, security and continued room use. A contractor adds valuable coordination when you cannot confidently organise those matters yourself.
Surveying comes first, not last
A large share of installation trouble is created before the goods arrive. One reading across the clear aperture is inadequate because old finishes can conceal irregular, angled or narrowing reveals. Take height and width readings in several places, compare the diagonals and note the reference point used for every figure. Record the wall construction, current frame location, rebates, sill, any roller-shutter tracks and suspected services. In an older property, the supporting material may remain unknown until removal exposes it. Ordering while that question remains open leaves you carrying the risk that the window cannot occupy the intended plane or receive the proposed junction. Where the installer undertakes the survey, obtain written clarity about the dimensions covered by their responsibility and the opening conditions assumed.
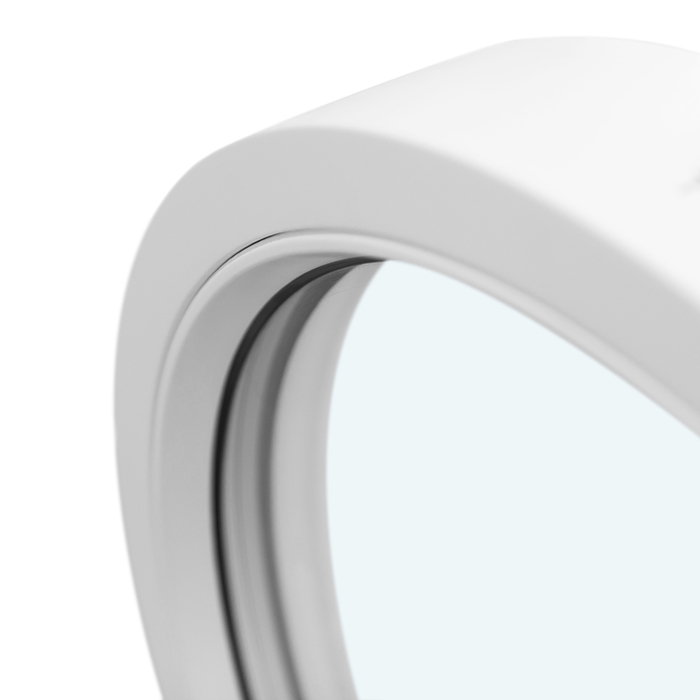
Width and height are not the only decisions: establish the frame depth and its position through the wall. That choice controls the relationship between insulation, sill and the finishes on both faces. An unchanged façade may impose tight constraints during replacement. Conversely, if external refurbishment is scheduled, do not create a junction now that must soon be dismantled. File measured notes, drawings and photographs with the order. Bespoke geometry, including a triangular and sloping fixed-glazed window, calls for particular caution. Confirm the aperture shape, supporting locations and interfaces with adjoining construction before purchase. If the existing arrangement cannot be read confidently, ask an appropriately qualified person to inspect it instead of deriving final dimensions from an image.
What proper installation includes
Lowering the frame into place is only part of the operation. Protect the components, release existing fasteners and prepare a sound, even aperture that will support the replacement without forcing it out of shape. Installation then involves setting the frame accurately and securing it. Next, treat the perimeter according to the chosen junction detail and reinstate its meeting points with the sill, façade and reveals. Operable parts must finally be tested and adjusted where necessary. An attractive exposed bead does not prove that the concealed detail beneath a lining has been completed properly. Anyone undertaking DIY fitting should select materials, assemble tools and sequence all operations beforehand; an open wall is the wrong setting for improvised decisions.
Require the quotation to describe this sequence rather than hiding it beneath one installation item. Ask who takes out the old window, removes waste, prepares unsound background material and repairs damage beside the opening. Identify the party finishing each interior and exterior junction. Sills, seal systems, plaster repair and decorating may be included, excluded or assigned to another trade, so have their status stated. Quotations with different totals can then be judged on corresponding work rather than headline price. Installing a fixed-glazed unit reduces the need to set an opening sash, yet it still demands accurate positioning, reliable restraint and properly formed wall junctions. A non-opening unit is not necessarily a simple DIY task. Arrange a recorded inspection at completion, covering agreed interfaces, visible finishes and the unit's condition.
Assess experience, tools and helpers honestly
Practical competence around the home helps, although accurate opening surveys and durable construction details are separate skills. The work involves moving delicate, weighty components under control, holding the frame precisely while it is secured and avoiding distortion when the surrounding gaps are treated. Project needs may include calibrated measuring tools, carrying or lifting devices, suitable fixings, protected work platforms and the correct junction materials. Availability matters as much as ownership: every item must be ready and understood when the aperture is opened. Unfamiliar hired equipment can introduce delay rather than solve it. Build time into your programme for checking deliveries, unpacking, organising parts, protecting the house, clearing debris and reinstating the room, not solely for placing the frame.
Crew size alone does not make the operation safe. A person who lacks experience or an assigned task may add confusion around an unwieldy frame. Allocate responsibility for receiving, checking dimensions, positioning and guarding the surrounding finishes. A Patio Life door with a lift-and-slide mechanismshows why a large moving panel requires an agreed carrying route, stable set-down space and disciplined handling. General details online cannot establish the delivered unit's exact mass or site arrangements. Unless you can explain how it will move safely from delivery point to aperture and be restrained throughout installation, engage experienced handlers for that stage. Your contribution can remain useful through clearing access, protecting finishes and carrying out approved final tasks, without resorting to an unplanned lift.
Wall junctions determine later costs
The perimeter space has several functions: absorbing construction variation, retaining the frame where designed and joining materials exposed to different indoor and outdoor conditions. Its room-side, central and weather-side zones may therefore need different treatment. The suitable detail follows from the wall composition, frame location and nearby finishes; specifying one generic sealant is not a complete junction strategy. Hidden meeting points beside sills or behind outer cladding and internal linings deserve particular attention. They can appear finished from the room or garden while concealing a weakness that later requires decorative surfaces to be opened for investigation.
Ask the installer to describe, in accessible language, how the junction will work for this opening. You need not become a product specialist, but you do need clear boundaries where window installers, dry-lining crews and façade trades follow one another. Establish the required state of the aperture, every preparatory task and the person responsible for tying into an existing outer sill or future insulation layer. For a one-leaf patio door that opens outwards the threshold introduces another meeting point between the room and the external paving. Frame placement, finished levels and water run-off must be resolved as one detail. As the number of trade boundaries increases, coordinated design and a named person overseeing the installation become progressively more valuable.
Moving elements need adjustment and testing
Visual straightness does not guarantee that a frame is free of stress; a problem may reveal itself only in operation. Each door or window sash should travel freely, latch correctly and hold its designed position. Repeat those tests after the anchors, seals and finishes have been installed, not just when the sash is first mounted. Distortion or inadequate working clearance can change how it behaves. Operate every setting and examine the handle action, consistent seating and clearances beside surrounding surfaces. Note any defect before paint, trims or reveal finishes obstruct diagnosis. A homeowner installer should know the specified adjustment method in advance. Repeatedly changing settings without identifying the reason can mask, rather than correct, an installation fault.
This also applies to unusually opening windows. A top-hung window that opens towards the outside has a different operating arc and different requirements for reaching its external face from a sash that swings into the room. During design, consider handle height, ironmongery and anything to be added later. Furniture, curtains, fly screens and outside fittings may obstruct movement despite correct frame installation. If employing a contractor, put the opening sense and intended use into the job documents before manufacture. For DIY work, adjustment should never be expected to cure a wrong location or inadequate clearance. Setting the hardware is properly a finishing operation, undertaken after the frame position, surrounding spaces and wall details have all been confirmed.
Plan removal and protect the occupied home
Taking out an old window may carry more uncertainty than placing its replacement. Releasing anchors can disturb plaster margins, wallpaper, trims, sills and other finishes. Decide beforehand what must survive and what standard of repair you will accept. Protect circulation routes, establish a clean area for detached sashes and give the team ample unobstructed workspace. Sequencing is especially important while the house remains occupied. Leaving some openings intact each day helps maintain security, weather protection and normal household use. For a multi-window project, start with a representative opening where practical. The first installation can expose weaknesses in the method, junction proposal and time allowance before they are repeated throughout the property.
Older buildings and façades with important visual character deserve extra care. A Kombi heritage casement designed to open outwards states its appearance and operation, but says nothing about the right treatment for existing reveals, interior linings or the façade. Record dimensions, elevations and construction details before disturbing anything, then identify what will be kept, repaired or renewed. For Irish dwellings, replacement work may also engage ventilation and secondary-escape guidance; historic windows should generally be considered for repair, with conservation or building-control advice sought where appropriate. A divided scope may work well: specialists undertake removal, installation and sensitive junctions, while you manage access protection or specifically approved decoration afterwards. If the fabric cannot be assessed fully in advance, require the quotation to list its assumptions and explain how unforeseen repairs will be handled.
Share DIY work instead of doing everything
This need not be an all-or-nothing choice. Written allocation of the work can preserve a homeowner's budget contribution while leaving technically sensitive operations with the installer. Clearing rooms, shielding furniture, removing agreed items, dealing with specified waste and decorating later are often sensible homeowner tasks. The accountable survey, frame positioning, perimeter treatment and operational sign-off can remain within the professional package. Success depends on order and boundaries: preliminary DIY activity must neither change a surveyed aperture nor obstruct the fitting team. Before starting, obtain agreement on the preparation you may complete, the condition expected when the crew arrives and the jobs that must wait until installation has finished.
You might instead commission professional fitting for one modest unit and observe the sequence before deciding how to approach others. Do not assume the remaining openings will present identical work. Changes in wall construction, window dimensions or outside detailing can produce a substantially different task. With a roof window that turns around a central pivot roof access, its position and integration with the covering create conditions unlike those of a conventional wall opening. Assign survey, installation, junction detailing and surface repairs separately for every unit. Recording those four responsibilities in a schedule is more reliable than saying informally that the homeowner will finish everything else. It also allows the contractor to price a defined package instead of making broad assumptions.
Compare quotations by scope
A single line marked “installation” is not enough for comparing bids. A useful quotation identifies the units and quantities, describes the proposed operations and lists assumptions, prerequisites and exclusions. Look for surveying, protection, removal, movement around the property, anchoring, perimeter details, adjustment, waste handling and repair of affected finishes. Resolve ambiguous wording before purchase. Determine whether each junction is merely left ready or fully completed, whether the sill is supplied, how newly exposed defects are treated and which party coordinates plaster, window and façade stages. A cheaper total can simply omit operations that another bidder has included, so compare equivalent responsibilities before judging value.
Ask for the intended construction detail for your own project instead of accepting a broad assurance that the fitting will be professional. Supply images, surveyed dimensions, any known wall composition and the extent of removal you expect. For a panelled entrance door opening outwards, review together the frame, approach route, threshold, external finish and any sidelight or canopy already present. Its catalogue name cannot determine the solution for that doorway. Allocate defects and remedial work at every handover between trades. A credible proposal does not pretend that unknown conditions have vanished; it identifies assumptions, inspections and contingent operations clearly enough for you to understand the consequences. Only then can contracted and homeowner work be evaluated on a fair basis.
Confirm ordering, programme and final inspection
Do not place the order until dimensions, quantities, appearance, opening sense and responsibilities have been settled. Reconcile every entry in the confirmation with a room-by-room schedule, checking location, operation and the interior and exterior faces. Number the apertures on a floor plan so choices are not dependent on recollection. Before delivery, organise suitable vehicle access, protected temporary storage and a dry surface on which units can rest. The stated lead time is 4–6 weeks, subject to order confirmation. Treat this interval as preparation time; avoid premature removal that cannot readily be reversed. Agree the programme with all involved trades so each opening is ready when its replacement arrives and completed units are not left awaiting unsuitable background work.
Completion inspection should go well beyond looking through the new glass. Reconcile the number of units, outward appearance and opening senses with the paperwork. Use every operable sash, then examine the frames, panes, handles and visible junction areas under clear lighting. Record a concern with photographs and a precise note of its position and effect, and send it without delay to the party responsible under the contract. Retain the confirmation, delivery paperwork, fitting information and your inspection record together. Bloomcabin's commercial guarantee for windows and doors lasts 5 years. It does not determine liability for a contractor's installation or remove the need for a thorough handover. Organised records later help separate manufacturing concerns, adjustment requirements and defects in surrounding construction.
Frequently asked questions
When is DIY window fitting realistic?
DIY may be feasible where the aperture is straightforward and easy to reach, provided you can competently organise measuring, lifting, alignment and junction detailing. Allow sufficient time, capable assistance and a plan for both removal and making good. If the wall, route to the opening or proposed interfaces remain uncertain, employing an installer is generally the sounder option.
May I purchase the window and contract out only its fitting?
You may, provided the arrangement is settled with the proposed installer before the purchase. Identify whose survey governs the order, what technical information must be supplied and how the aperture is to be prepared. Put the arrangements for transport, checking the delivery, the included fitting work and each wall interface into the written scope.
Which tasks are suitable for DIY work?
Homeowners can often clear the room, shield furnishings, protect access routes and undertake agreed decoration once fitting is finished. Whether taking out the old unit, removing waste or repairing reveals is appropriate depends on existing conditions and the written division of work. Leave structural frame restraint and perimeter detailing to knowledgeable people unless you genuinely have the required expertise.
What should I tell an installer before requesting a quotation?
Provide views from the room and outside, readings taken across several locations, whatever you know about the wall and sill, and your chosen operation and finish. Flag difficult access, the storey involved, intended external refurbishment and how far the requested service should extend from strip-out to repair. Comprehensive site information helps the installer define exclusions, responsibilities and price more accurately.
What signs after fitting mean I should ask questions?
Seek clarification if a sash catches, closes unevenly, has a resistant handle or leaves a visible junction unexplained. Photograph harm to nearby finishes, omitted items from the agreed scope and any opening sense that conflicts with the order. Raise the record with the appropriate contractual party before decorating or other follow-on operations hide the evidence.
Next steps
Choosing between your own labour and an installer is really about which responsibilities you can control safely and accurately. Review measurements, perimeter construction, handling, site access and coordination with removal, internal finishes and the façade. Experienced homeowners can still benefit from assigning critical positioning and junction work to specialists. When seeking quotations, compare the precise operations and trade boundaries rather than general assurances. If you will participate, record every task and its place in the programme before starting. Approached this way, the DIY decision becomes one defined element of a properly organised replacement project instead of an isolated attempt to minimise professional involvement.
