
Front Door Sizes: Frame, Clear Opening and Replacement
Front Door Guide
At first, replacing an ageing front door appears simple: take two dimensions, select a model and arrange the changeover. The reality is that several distinct measurements govern ordering, fitting and comfortable use. Outer frame dimensions relate to the manufactured unit; the masonry aperture concerns the building; clear opening width records the space actually available for passage once the leaf is open. Handing, direction of travel, threshold, floor construction, junction details and possible sidelights matter as well. Keeping each item separate during the survey helps prevent a numerically plausible door from proving unsuitable on site. The sections below treat measuring as one part of the full replacement job, setting out decisions to resolve ahead of manufacture and fitting.
Check before buying 1
Three measurements, three different purposes
External frame dimensions give the overall width and height of the frame supplied with the door. They inform pricing, production and the proposed fitting detail. With an existing entrance, plasterwork, cover trims and seals can hide its true edges, so the complete figure may be unavailable before strip-out. Masonry or structural-opening dimensions concern the vacant aperture revealed after the old assembly comes out. Space is deliberately allowed around the new component for the junction. Treating an exposed portion of the current frame as the order dimension ignores that distinction. On the survey record, label dimensions according to how they were obtained: directly visible, exposed by investigation, or awaiting verification after removal.
The usable opening can be assessed only after considering the leaf in its open position. Frame sections, hinges and other hardware, together with the attainable angle, all reduce it. Consequently, a wide-looking entrance may offer a much narrower route in practice. Test the pinch point against likely tasks—bringing in furniture, guiding a buggy or walking aid, or carrying bulky everyday items. Take the vertical clearance too, recording any handle, step or item of indoor furniture that intrudes. Each dimension answers its own question: whether the assembly can occupy the aperture, whether sound junctions are achievable, and whether people can move through comfortably. Selection becomes dependable only when all three are considered together.
Prepare a systematic survey of the existing opening
Rather than taking a solitary reading at the centre, measure across and vertically near both ends and midway. Existing masonry may be out of square, so identify every reading by location and by datum—finished face, bare masonry or exposed frame edge. Use a tape, a long straightedge and well-angled photographs to create a record that others can interpret. Check wall thickness in more than one location, since it affects where the frame sits across the reveal and how junctions are formed on each side. These observations are suitable for narrowing the initial product choice. A designer or competent fitter will still need the full site arrangement before finalising how the unit is to be installed.
Include the entrance surroundings in your notes. Measure clearances from side walls, stairs, porch posts, letterbox units, switches and radiators. Show how users arrive at the doorway, then mark the area swept by the moving leaf. Where the chosen product is an external door opening outwards its arc falls on the approach side, an important constraint beside tight steps or nearby objects. No direction is universally preferable: circulation, prevailing wind, shelter and indoor layout must be considered together. Add the arc to a simple plan of the entrance. Potential collisions are then apparent while the scheme can still be changed, instead of becoming evident only after fitting.
Check before buying 2
Assess the aperture in three dimensions
The true geometry and condition of the opening become apparent during strip-out. Crumbling finishes, irregular sides, redundant fixings, hidden cavities or lintel damage may create work that an external inspection could not reveal. Quotations should therefore say exactly what evidence supports the dimensions: an early visual check, access to the bare aperture, or a confirmed final survey. Store aperture readings separately from those for the frame. If revisions arise later, that distinction shows whether manufacture needs altering or whether only the treatment of the reveal and surrounding junctions must be revised.
Choosing where the frame sits across the wall thickness is part of the design. Deep reveals can change the character of the doorway and make a handle, doorbell or letterbox less convenient to reach. Outside cover pieces must preserve drainage paths and access for upkeep; inside, flooring and linings influence the finished appearance. During the final survey, establish the datum used for every horizontal and vertical dimension, the finishes to remain or come away, and the space reserved for sealing and making good. One properly annotated cross-section often communicates more than a collection of disconnected readings because it shows the relationship between masonry, door frame, threshold and completed surfaces in a form that everyone can review.
Check the clear passage against real use
Think about the route people and objects need, rather than focusing on leaf size. Picture carrying shopping or a parcel inside, or passing another person at the entrance. When open, the leaf may consume much of a small lobby; its handle edge and any restriction on the opening angle can further reduce manoeuvring room. At the angle normally achievable, record the smallest gap between obstructions. Note whether the leaf must stay open for prolonged tasks or usually moves just long enough for a person to enter. Those habits determine how much emphasis to place on the active leaf, hinge arrangement and clear standing area.
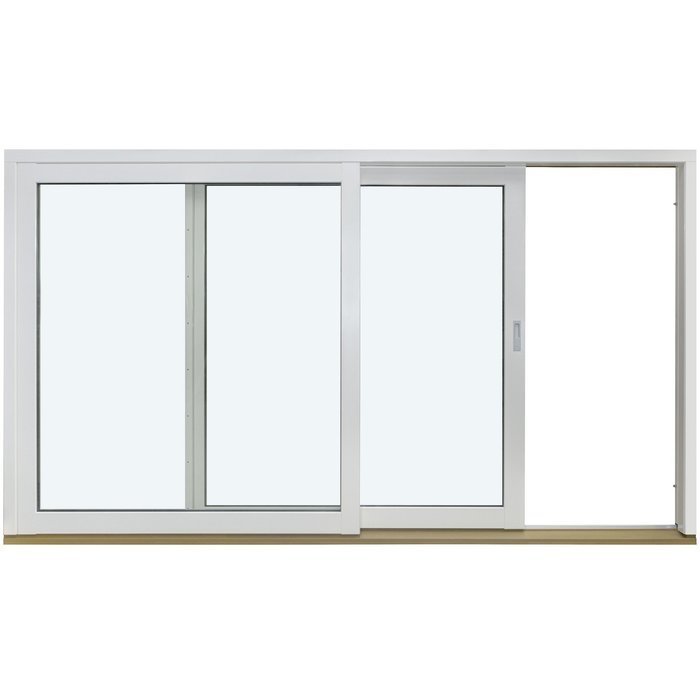
Seeking a broader entrance does not always mean choosing a larger single leaf. If the existing aperture and intended use support it, a double patio door that opens outwards could provide a wide opening. Judge it against the elevation, approach, operating method and space needed for fitting. Its function differs from that of a principal entrance door, so it should not be treated as a direct substitute. Similarly, alternative sliding-door arrangements avoid a conventional swept area but bring their own operation and junction requirements; their use at a main entrance requires separate consideration. For any arrangement, identify the leaf or panel used each day and calculate the resulting usable width. Occasional furniture moves may justify a different balance from the needs of a household that depends on generous access every day.
Check before buying 3
Threshold, height reference and finished floor
Do not leave the door's base detail until late in the project. It is the meeting point for indoor flooring, outside paving, water management, sealing and movement across the threshold. Record the vertical distance between the present internal finished floor and frame underside, then relate it to the exterior surface. List any carpet, tile, timber, slab or paving layers due to change. Extra thickness indoors may steal headroom or interfere with movement of the leaf; raising the outside surface affects drainage and the bottom junction. Replace vague remarks such as “floor nearly complete” with a sketch that distinguishes current levels from those intended at completion.
Consider the threshold in the context of movement through the doorway. A lip that passes unnoticed during a quick step can present more difficulty with a buggy or a heavy load. Resolve that practical requirement before product selection, rather than after the surrounding finishes are complete. Ask the project professional to state the vertical datums assumed for the door frame, internal finish and outside surface, and to explain their coordination at the junction. Future alterations to paving, steps or a landing belong in this discussion as well. Otherwise, the unit may be fitted correctly while the completed entrance still has an awkward or poorly coordinated transition.
Use sidelights and fanlights as a sizing strategy
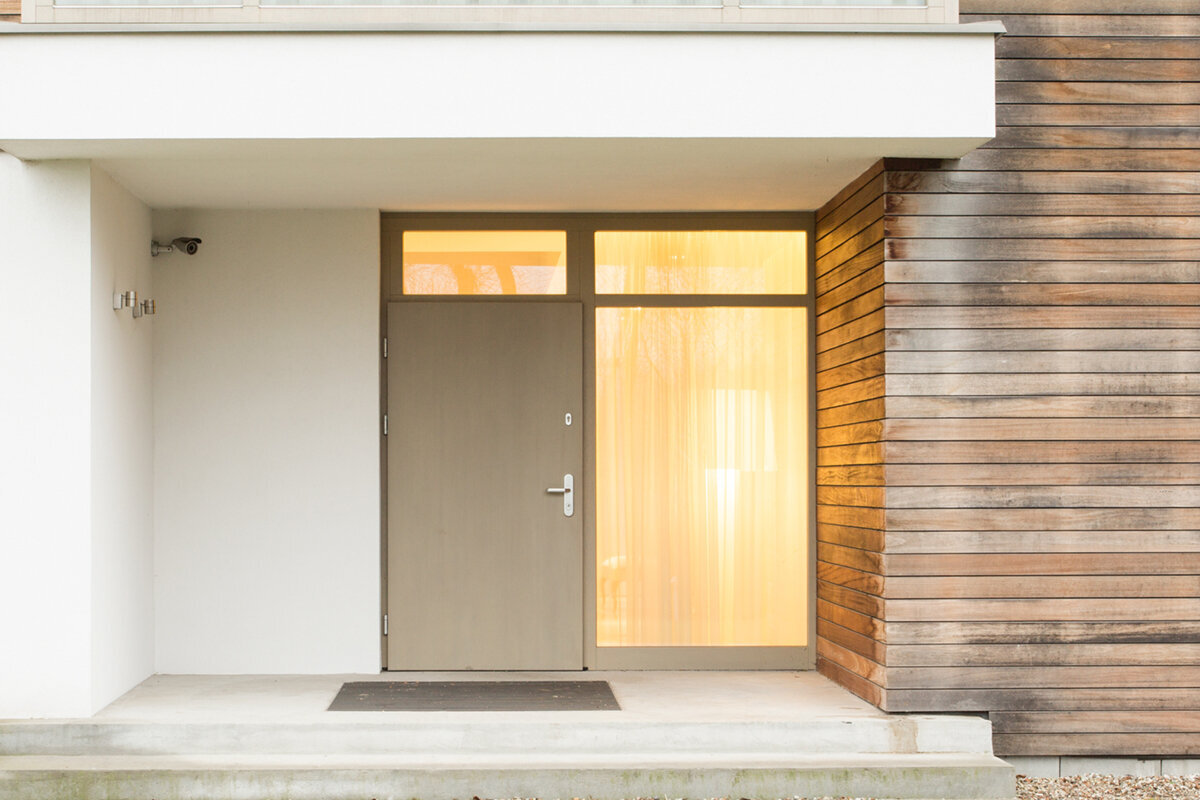
Although a sidelight enlarges the entrance composition as a whole, the normal passage through its active door may remain unchanged. A single-piece glazed sidelight may brighten the hallway and give the composition a lighter appearance. First confirm that the masonry aperture can accommodate it, decide how the frontage should be proportioned, and identify any sections intended to move. Record more than the unit's total span: sketch the active leaf, glazed side section and each frame member individually. The drawing will reveal both the everyday passage provided by the leaf and the visual relationship between the new arrangement, the house front and adjacent windows.
Within a tight aperture, increasing leaf size may be less effective than reorganising the composition. Frame members, leaf construction, perimeter junctions and the chosen sidelight location each consume available space. Conversely, a very slim glazed panel might deliver too little light or visual benefit. Begin by naming the objective: daylight, outward view, easier access or better proportions across the front of the house. Request separate drawings for the external appearance and the usable passage. A fanlight offers a different route to daylight where there is sufficient headroom above the door. Final proportions should respond to the aperture, supporting lintel, internal arrangement and the building's architecture.
Check before buying 4
Do not omit opening direction from the survey sheet
A dimensioned rectangle is not enough to specify an operable entrance. State the handing by identifying the hinge location, and describe whether the leaf travels towards the interior or exterior. Always use the same viewing side, avoiding shorthand that different people might interpret differently. On the survey drawing, label the internal face, external face, hinges and handle, then plot the travel of the leaf. Add photographs of anything that could obstruct it. This record allows both directions to be compared before a choice is fixed. Existing steps, overhead shelter, lobby space and circulation towards storage or stairs all need to support the selected arrangement.
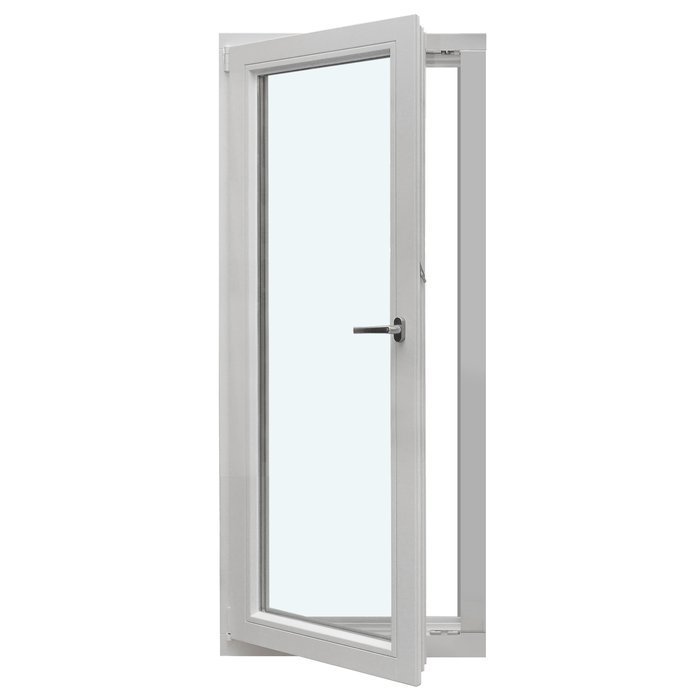
A panelled front door opening outwards describes the leaf movement, yet the description does not establish that it suits a particular doorway. Test its swept area against your site drawing rather than assuming the old arrangement should continue. Alterations made since construction may have changed the approach, while newly added storage could constrain movement indoors. A one-leaf patio door opening inwards offers a useful example of a leaf moving into the room, although its intended role is patio access rather than a main entrance. Base the project decision on the combined demands of use, approach and fitting detail.
Consider frame, wall junction and finishing together
Planning starts before anyone positions the replacement frame. Decide how the existing unit will come out, what needs temporary protection, and whether linings on either face require renewal. In refurbishment work, strip-out can expose a repair zone wider than the frame previously seen. Give the project team details of plasterwork, insulation, wall linings, window boards and adjacent flooring. Discuss the entire perimeter detail, not merely the act of fitting the unit: allocate making-good tasks, agree how interfaces meet, and sequence the trades that follow. Clearly assigned boundaries between packages reduce the risk of unfinished gaps after the door fitter leaves.
The proposed frame has to match both the available geometry and the construction at its fixing faces. Greater wall thickness alone does not make every frame position appropriate, while irregular existing fabric may need preparation or local levelling. Include photographs of staining, cracking or distortion with the initial request, rather than dismissing these signs. A suitably qualified person should investigate their cause and determine the response. Release manufacture only against verified dimensions; do not assume a troublesome reveal can simply be made to suit afterwards. Sound coordination follows a deliberate order: inspect the building, agree the design dimensions, resolve perimeter details, and then authorise the chosen configuration.
Check before buying 5
Match the format to access and façade
A door format should be determined neither solely by an old opening nor solely by a catalogue image. View the entrance from several distances: how does the door relate to the house form, eaves, windows and steps? Inside, consider whether the hall has enough circulation space and a suitable sightline. A very tall unit can emphasise the entrance vertically, but requires close checking of the lintel, opening and internal junctions. A wider unit can make access appear more generous, but needs more wall area and may alter proportions. Before comparing options, list your priorities: usable passage, light, privacy, façade appearance, operation and extent of building work.
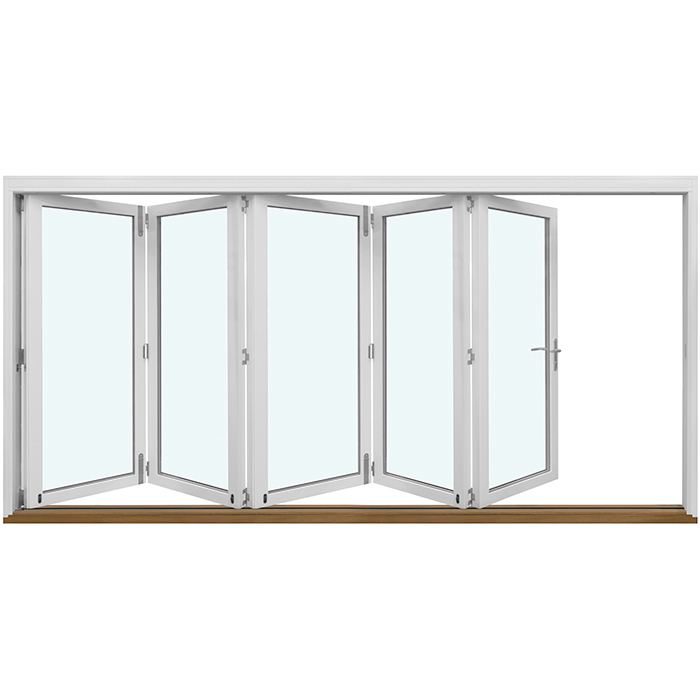
For renovations that create a larger connection between the entrance and garden, sliding assemblies and folding systems work in fundamentally different ways. Patio Life sliding-door systems offer one way to create a broad movable connection; by contrast, folding doors that travel outwards gather multiple moving leaves to one side. Compare these systems with an entrance door by function, not merely by total span. Decide what daily passage is essential, where panels rest in their open state, and how the assembly meets the wall, flooring and exterior. A dedicated everyday door will usually give the clearest solution for a conventional main entrance, though a larger remodelling project may justify another system.
From preliminary enquiry to confirmed order
Early conversations can usually begin with approximate dimensions, provided they are labelled provisional. Send photographs from both sides, wall thickness, leaf direction, unusual existing details and a description of how the entrance is used. That information supports an initial discussion without implying survey-level accuracy. Confirm the necessary dimensions and the aperture condition before committing to manufacture. The order review should identify overall frame dimensions, hinge arrangement, direction of travel, views from each side, sidelight or fanlight location, finished-floor datums and responsibility for junction work. Check the written schedule alongside the drawing rather than scanning figures in isolation. Agreement between the sketch and real-life use gives much stronger control over the order.
Treat the work as linked stages, not simply the arrival of a product. Strip-out, aperture inspection, junction preparation, fitting, making good and completion of exterior surfaces may have to follow a strict order. Windows and doors have a delivery period of 4 to 6 weeks, subject to confirmation of the order. Do not finalise trades, flooring activity or household access until that confirmation is received and the detailed survey is resolved. The commercial guarantee for windows and doors lasts 5 years. File the order, dimensioned drawings, site photographs and maintenance guidance together; this record assists with later questions and confirms the dimensions and specification chosen.
Common questions
What dimension should my replacement entrance door use?
Use the verified overall frame dimensions for the proposed unit, coordinated with the actual structural aperture and agreed perimeter detail. What can be seen on the existing door provides guidance only. Before the order becomes final, confirm which finishes are being stripped away and identify any readings that cannot be verified until the opening is exposed.
What does clear opening width mean for a front door?
This is the horizontal space genuinely available for passage once the leaf reaches its practical open position. Do not confuse it with leaf size, overall frame dimension or the full span of an entrance incorporating a sidelight. Take the reading at the tightest obstruction, including the effects of frame members, hardware, leaf position and items within the hall.
Does surveying require removal of the existing front door?
Not usually for the preliminary assessment. Photographs and visible readings, together with details of walls, floors and leaf direction, provide a helpful start. A final figure is dependable only after hidden portions, the true aperture and the state of the reveals have been examined sufficiently. Agree who will complete the detailed site check, when it occurs and who signs it off.
Will a sidelight make a narrow entrance easier to use?
A fixed sidelight chiefly adds to the complete unit's span and admits daylight; it does not widen the route offered by the active leaf. Where access needs to be broader, review the whole composition and the fitting room it requires. Explain the objects and users that must pass through before settling the division of door and glazing.
When should I include floor finishes and external paving?
Include them at the outset. Completed floor heights on both sides govern threshold position, vertical clearance and perimeter detailing. During surveying, provide the current and proposed layer build-ups, even where finishing will happen much later. Agree one set of vertical datums among door design, flooring and landscaping teams so the final entrance meets cleanly when every package is finished.
Next steps
No single pair of dimensions can define a successful replacement door. Survey the outside of the frame, the masonry aperture and the practical passage independently, then coordinate those readings with wall thickness, finished levels, threshold design, hinging and travel direction. A marked-up plan, readings from several locations and clear junction photographs provide valuable evidence. Test whether a sidelight, reversed leaf or different product category really answers the intended use. Once the existing construction, perimeter treatment and day-to-day access are reconciled, the survey can support accurate configuration, manufacture and replacement.
