
Garden Shed Assembly Mistakes That Are Hard to Fix Later
Garden shed assembly guide
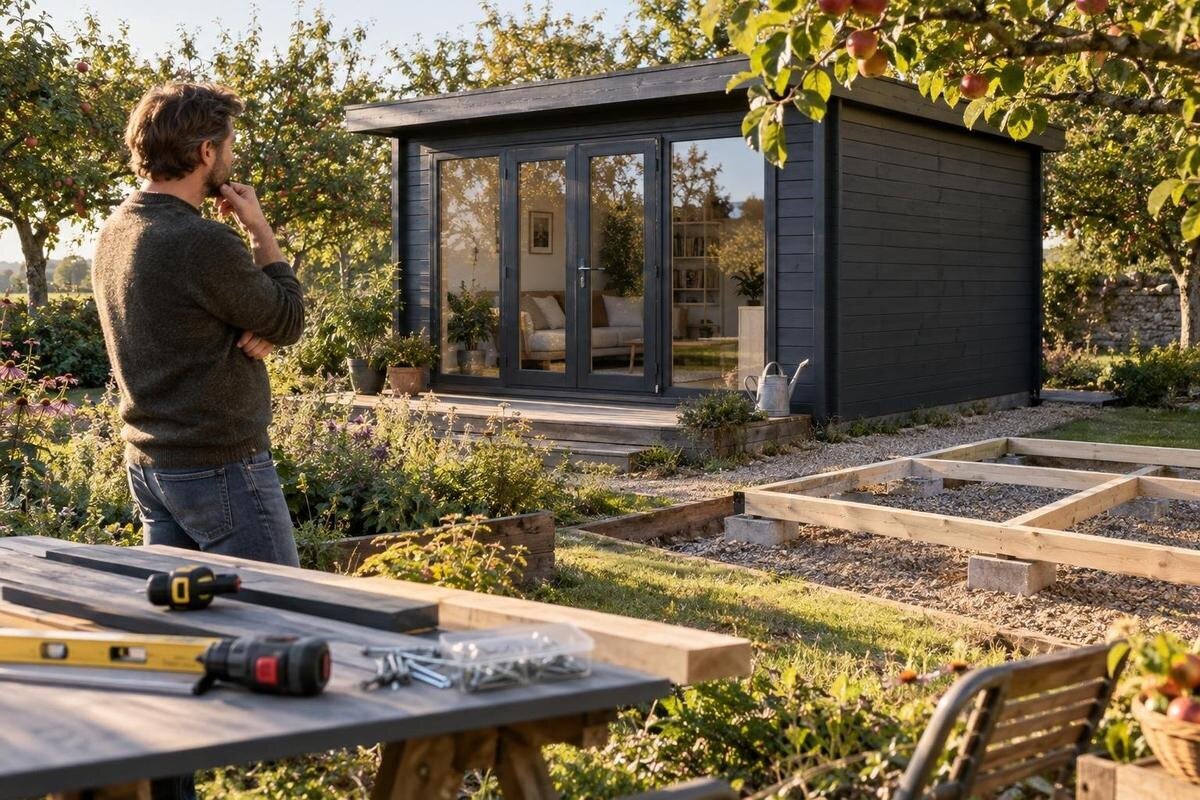
The garden shed assembly mistakes that are hardest to put right often start before the last panel is fitted: a base is out of level, a wall is facing the wrong way, or a joint is hidden before its alignment has been checked. Once the frame is fixed and later parts cover the connections, even a small error can mean undoing several stages. The useful response is not to race through a list of jobs, but to pause at the points where access is about to disappear. This guide covers checks to make while comparing a shed, preparing the site and assembling the structure, so you can resolve a mismatch before it becomes part of the finished build.
Model-specific instructions before ordering
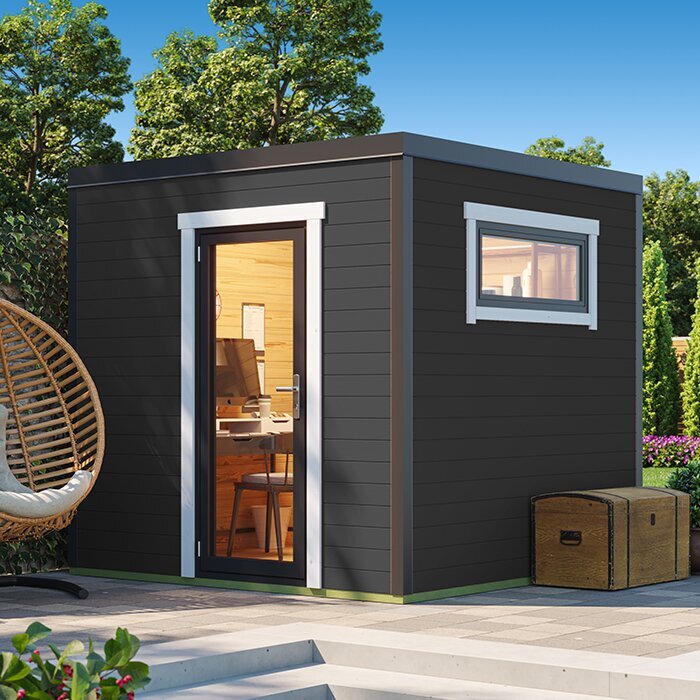
Do not treat a product photograph or category description as an assembly plan. It may help you compare appearance, but it cannot establish the steps or site preparation for the exact item. Before placing an order, find the instructions for the precise model and any chosen variant; read the sections on the base, build sequence, openings, fastening and finishing. Confirm what the supplier expects from the site and whether parts need preparation before joining. Check when the instructions should be read in relation to delivery, so that you have time to raise a question before components arrive. If instructions are not available, ask for them or for the relevant requirements before buying. That gives you a chance to spot a mismatch with your space or preferences while comparing options, rather than after panels are fixed together.
Keep the exact model name beside the instructions as you compare options. For example, the Verdana 1 garden house is a specific product reference, not a guide to its build sequence or base requirements. Make sure any instructions supplied match the item you intend to order, and ask whether a listed option or accessory changes the assembly process. Matching the documents to the order can prevent you starting with the wrong diagram or carrying assumptions over from a different shed. Save the relevant instructions with your order details so they are easy to find when you are ready to assemble.
Base preparation before delivery
A shed assembled on a base that does not meet its requirements can be difficult to bring back into alignment once the walls and roof are connected. Before delivery, compare the prepared base with the instructions for the exact model: footprint, support and levelness all matter, but the required details are model-specific. Check that the ground is ready for that base, not just clear of grass or loose items. Consider where surface water goes after rain and whether the proposed location remains practical to reach when the ground is wet. If the site slopes, feels unstable or has drainage concerns, do not improvise packing to force a flat result; get competent, site-specific advice before building.
Measure the finished base against the dimensions and notes provided for the shed, and allow for practical access around it where the instructions call for it. A listing such as the Verdana 2 garden house can help you keep track of the product you are considering, but do not derive a base size from its name or a photograph. Use information for the exact model, and confirm any unclear requirement with the supplier. Check access for components and room to work as well: a prepared base is of little use if the shed cannot be assembled in its intended position.
Shed orientation and entrance clearance
Mark the front, back and opening position before fastening the first wall. The entrance should face space where it can be used, rather than opening into a fence, hedge, stored items or a narrow passage. Leave working clearance where the instructions require it, and think about how you will reach the shed once it is built. Also consider the route used to carry tools, stored items and larger objects to the entrance, rather than judging access from an empty garden. A door or window can influence which side faces the garden; changing orientation after the frame is up may mean taking apart several sections. Check the intended layout against the site before assembly begins.
If you are comparing the Durano spacious garden shed or another model, confirm the position and arrangement of openings from information for that exact item before setting out the base. Do not infer orientation from a product image: it may show one view, while access and clearance depend on your garden. Write down which side is the entrance and mark it on the base or a simple plan. If the instructions allow more than one arrangement, choose one before assembly and keep the relevant diagrams to hand.
Part identification and correct orientation
Opening packs without identifying the components can turn a small mix-up into a frame that does not fit. Work from the supplied parts list: match labels and shapes, keep groups together, and flag any missing, damaged or visibly different piece before using it. Organise small fixings as the instructions describe, and protect components from dirt or damage while work is under way. Lay out components only where they can remain distinguishable, rather than making a mixed pile that is difficult to check later. If something is unclear, stop and check with the supplier rather than borrowing a similar-looking part from another pack or assuming it is spare. Keeping packaging and labels until you have checked the contents can also make a query easier to explain.
Parts that look alike may belong in different positions or face a particular way. Before joining them, compare their orientation, holes and markings with the correct diagram; this is quicker than undoing a wall to reach a reversed piece. Keep the guide for the Veltor 1 with that model's parts list if it is your chosen shed; a part from another kit is not interchangeable just because its shape looks close. Do not force a fitting or enlarge an opening to make an uncertain part fit. Resolve the mismatch first.
Frame alignment before final fastening
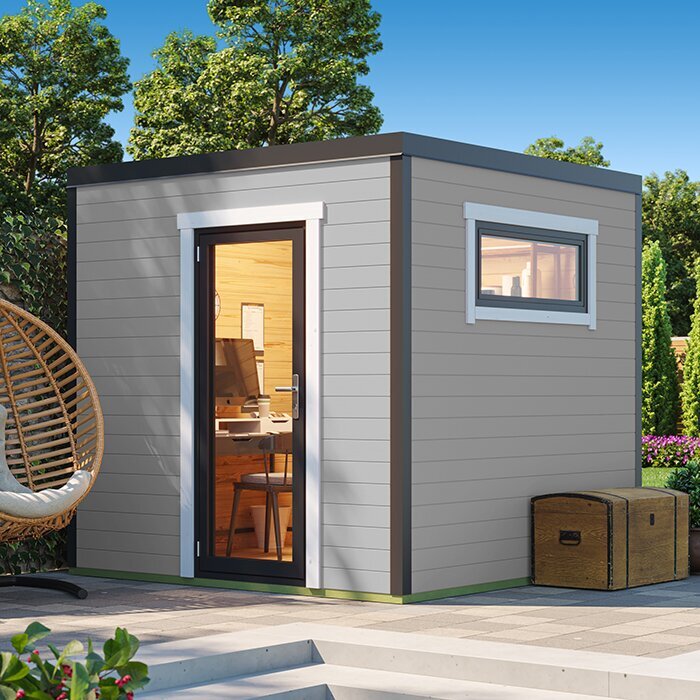
An out-of-square frame can be carried forward because each new piece seems to fit well enough. Follow the specified build order and use the alignment checks shown in the instructions before making permanent fixings. Check that the base, wall corners and top edges meet as intended, and that the frame remains upright. Repeat any check after a connection is adjusted, because correcting one point can affect another part of the frame. If a side has pulled out of line, find the cause while the joints are still accessible. Do not use later panels or fasteners to drag a skewed assembly into place. A small error at this stage can affect the fit of the roof and openings later on.
If the Orello 1 garden house is on your shortlist, make sure the instructions you receive are for that exact model before you begin. During assembly, pause after each main frame stage and compare the work with the drawings instead of waiting until all the walls are joined. Tighten or secure parts only when the instructions tell you to do so; different kits can require different sequences. If a diagram and the actual parts do not agree, pause and seek clarification rather than treating the mismatch as permission to force the frame into place.
Door and window fit
A door or window that binds at the end is not always a faulty fitting; the opening may have been distorted by a frame fixed out of line or a panel installed the wrong way round. Fit openings at the stage specified, then check their alignment and movement before surrounding work makes access awkward. Check the whole opening, not only the first point of contact, as a fitting may move at one position but catch at another. Where the design includes moving doors or windows, make sure they operate as intended without being forced against the frame. If they rub, catch or leave an unexpected gap, recheck the frame and assembly order first. Do not shave, bend or reposition components as your first response.
If the Modano 1 is one of the models you are considering, confirm which openings and any listed options apply to the exact item before ordering; a general photograph is not enough to plan how the entrance will face. During the build, keep loose parts from obstructing an opening and test moving elements when the instructions say they can be operated. Correcting alignment while adjacent parts are accessible is usually simpler than dismantling finished work. Follow the specified order rather than testing a component prematurely.
Roof-frame assembly sequence
Roof components can conceal small errors in the wall line or become difficult to reposition once connected. Before fitting the roof structure, inspect where it meets the walls and check that the supporting parts sit in the positions shown in the instructions. Compare matching sides of the frame with the drawings before lifting roof components into place, as it is easier to investigate a difference while the wall joints remain visible. Keep to the stated sequence: do not skip ahead because the next piece appears to fit, and do not use a roof part to pull a frame into alignment. If a joint will not meet as shown without force, stop and trace the issue back to the base, orientation or previous assembly stage.
For the wooden garden tool shed M, as for any selected shed, use instructions for that precise model when checking the roof-support sequence; a guide for another product may show different parts or a different order. Confirm that the wall frame has passed the required alignment check before moving to the roof stage, and correct any issue while the relevant joints remain accessible. Avoid trimming a component or changing a joint because it seems the quickest way to close a gap. Ask the supplier or a qualified professional if the intended fit remains unclear.
Cuts and drilled holes to force a fit
Cutting, drilling or reshaping a part to make it fit is one of the most difficult errors to reverse. It can hide a wrong orientation, incorrect position, unsuitable base or missing component, and may leave later joints unable to meet as intended. When a hole, notch or edge seems wrong, stop and compare the part with the diagram and parts list. Take clear photographs of the part label and the relevant stage if you need to ask about the conflict. If there is still a conflict, describe it to the supplier before altering anything. Make a modification only where the instructions for the product explicitly permit it or the manufacturer confirms it.
Before buying the wooden garden shed S, ask whether the instructions for the chosen model allow any site adjustment and what preparation or finish is required. Do not assume you can shorten a wall, move an opening or drill new fixing points to suit a tight spot. If the intended position only works after changing structural parts, reconsider the layout or get advice from a suitably qualified professional. Choose a shed for a space and requirements you can meet, rather than forcing the kit to match an unsuitable site.

Finish and treatment timing
Finishing at the wrong stage can leave work hidden or unfinished. Instructions may call for a protective product or other preparation before components are joined; other products or treatments may be intended for later. Check the exact timing and surfaces in the model guide, especially where a face will be difficult to reach after assembly. Check that any proposed product is suitable for the stated surface and stage instead of relying on a general-purpose finish already on hand. Do not assume every component should be coated, or that a treatment is included, simply because a shed is described as timber or garden-ready. If the instruction is unclear, confirm it before covering the surface.
During assembly, avoid filling, sealing or painting joints unless the instructions tell you to. An unapproved product may obscure a fit problem or interfere with a connection, while covering a joint too early can make later inspection harder. Keep the written instructions and any information for the selected finish together, and note what has been applied and when. If work must pause, protect unfinished parts in the way the manufacturer recommends rather than leaving critical surfaces exposed or sealing them on guesswork.
Inspection pauses before work is concealed
Build in inspection pauses at points that will soon be hidden: after the base is ready, when the wall frame is aligned, before the roof structure goes on, and before finishing work blocks access. At each pause, compare the current stage with the relevant instructions, check that the previous connections and openings match the diagrams, and resolve anything that differs. Record the stage reached before packing tools away or leaving work overnight, so it is clear which instruction applies when assembly resumes. A written list of questions and photographs of an unclear joint can make it easier to explain the issue to the supplier. Do not cover a concern and hope it disappears.
At the end, review the supplied completion checklist, if there is one. Confirm that required fixings are present, doors and windows included with the model move properly, and there are no unexplained gaps, loose parts or leftover items that the parts list says should have been used. Check the instructions for any requirement to secure the shed to its base; get professional advice if the site makes that unclear. Keep the manual and assembly notes, so you can distinguish later upkeep from a problem that was present from the start.
Frequently asked questions
Can I assemble a garden shed on an uneven base?
Check the base requirements for the exact model first. An uneven base can affect how parts align, and improvised packing may not be suitable. If the ground slopes or you are unsure how to prepare it, get site-specific advice before starting.
Should I tighten every fixing as I go?
Follow the sequence in the model-specific instructions. Where an alignment check is required before final fastening, pause and do that check first. There is no single tightening sequence that applies to every shed.
What should I do if two parts do not fit?
Stop and check the part labels, orientation, instructions and frame alignment. Do not force the joint or enlarge a hole to make it fit. If the mismatch remains, contact the supplier with the part details before changing anything.
Can I cut or drill a panel that seems too large?
Only do this if the instructions for your exact model permit it or the manufacturer confirms it. A part may be facing the wrong way, or an earlier alignment issue may be affecting the fit. Check those possibilities before considering an alteration.
Can I use the assembly guide from another garden shed?
Use the guide for the exact model and any variant you ordered. Similar-looking sheds can have different parts and assembly sequences. If the guide does not match the components, pause and ask for clarification rather than guessing.
The best way to avoid garden shed assembly mistakes that are difficult to fix is to check each stage before the next one hides it. Before ordering, match the instructions to the exact model and compare its requirements with your site. During assembly, confirm the part orientation, frame alignment, openings and roof sequence before fastening or finishing those areas. When something does not match, look for the cause rather than forcing, cutting or covering it. A timely pause preserves access to the joint that needs attention and makes a query easier to resolve. A final glance at the finished exterior cannot replace checks made while each part is still accessible.
