
Garden Shed Floor Insulation: What to Plan Before Assembly
Garden shed planning
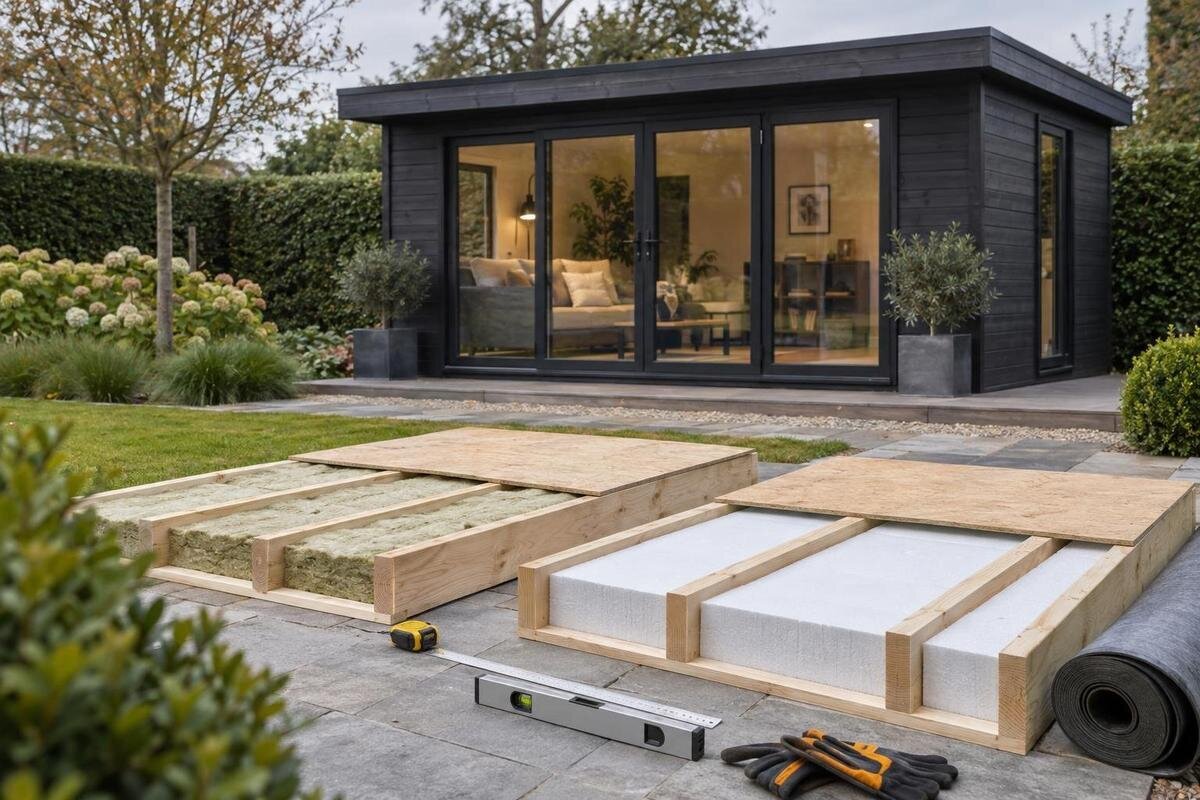
If you are considering floor insulation for a garden shed, decide on it before assembly rather than treating it as a layer to add later. Insulation can affect the floor build-up, the height at the doorway, what the base needs to support and how moisture is managed. The right choice depends on how you will use the building and on the floor system specified for the model. Before ordering, check what is included, how the base is meant to work and whether the proposed insulation is compatible. This guide helps you identify those decisions; it is not a universal construction recipe, so resolve unclear structural details with the supplier or a qualified installer.
Before ordering 1
Decide what the floor needs to do
Garden shed floor insulation is not automatically worthwhile for every storage building. It becomes more relevant if you plan to spend regular time inside or want to limit heat transfer through the floor. Insulation may make the surface feel less cold, but the result depends on the complete floor build-up and the conditions around it. It does not create heat and cannot, by itself, keep the interior at a steady temperature or solve a damp problem. Define what you want it to change before comparing products, so you do not pay for a more elaborate assembly than your use justifies.
Write down whether the building will hold tools, seasonal belongings or be used for hobbies, and how often people will be inside. Note whether you want a more usable workspace, a particular floor finish or simply a sound place to store garden equipment. Those aims can affect your priorities, and insulation is only one part of the result. If you plan to heat the space, treat the floor as one element of the enclosure rather than assuming it will make the interior comfortable by itself. Walls, roof, openings and air leakage also matter, though the first decision here is whether insulating the floor supports your actual use.
Confirm what comes with the garden house
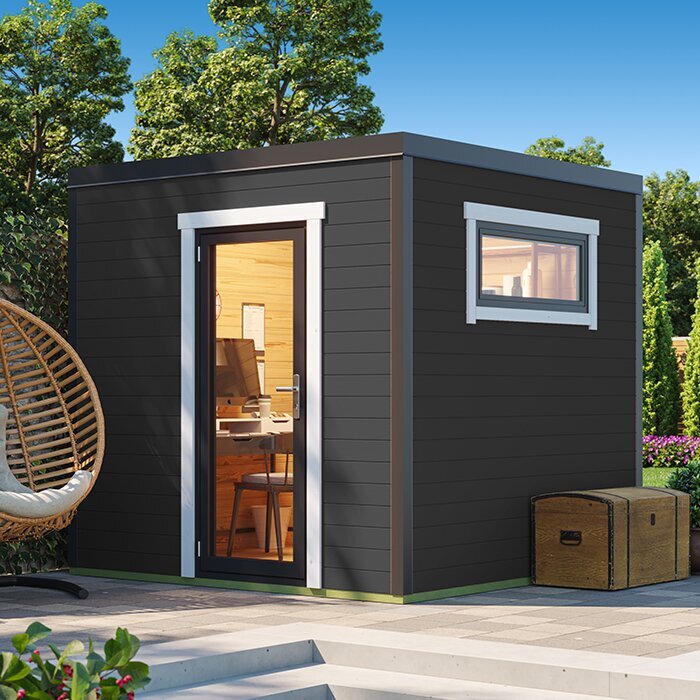
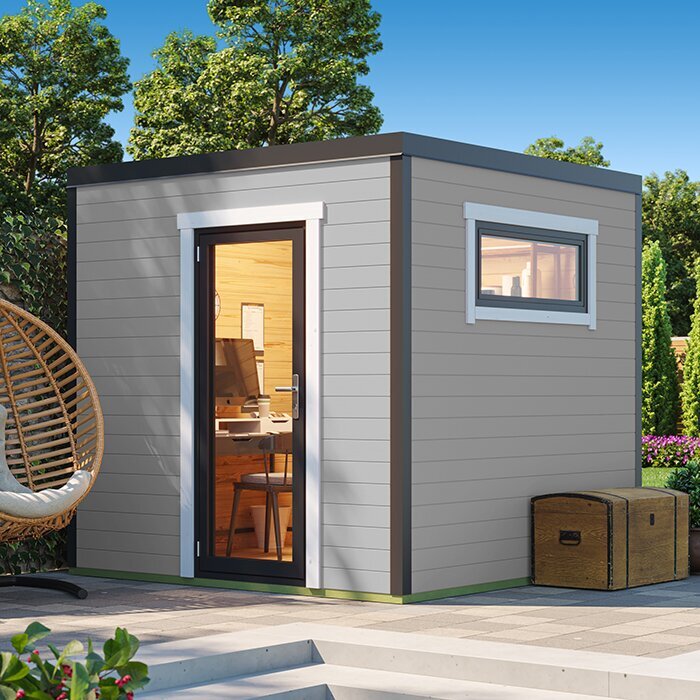
Check the order details for the exact model before budgeting. Find out whether a floor is supplied, sold separately or not included, and whether the stated floor package covers only boards or also supports and fixings. Do not infer this from a photograph, product name or display image. If the Verdana 1 garden house is on your shortlist, request the matching parts list and assembly guide, then compare them with the floor arrangement you have in mind. Ask whether any floor finish shown is part of the order, and whether separate components are needed to complete the specified floor.
Ask what the floor is designed to sit on and whether your proposed insulation and any extra layers are compatible with that arrangement. Get the answer in writing if the floor, support system and insulation come from different suppliers. A kit may require a particular assembly sequence; a separately sourced floor can use different components, so instructions for a similar-looking model are not a safe substitute. Record which items you must buy separately and who is responsible for checking that they work together. This avoids an ordering gap in which the shed arrives but its floor, insulation and supporting materials have been treated as separate jobs.
Before ordering 2
Plan the base and floor supports together
Treat the base and floor support as a paired decision. Insulation does not replace a level, stable, load-bearing base, and it should not be used as a bearing layer unless the floor design explicitly calls for it. Use the exact model’s drawings or instructions to see how the floor is supported, where its components meet the base and what clearance is needed around the structure. If a proposal adds a compressible layer beneath a support or changes its position, have the installer check it against the design. The same applies whether the Verdana 2 garden house or another model is on your shortlist: a lookalike is not a substitute for its own support details.
Consider the ground around the base as well as the footprint. Check where surface water goes and whether the proposed site is exposed to pooling or splash against the floor components. Local ground levels and soil conditions vary, so a general description cannot determine a suitable base or drainage arrangement for your plot. Where the support layout, site conditions or proposed floor changes are unclear, ask the supplier, installer or a qualified building professional to review them before assembly. Resolving the base first helps you decide where insulation belongs and avoids having to dismantle a finished floor to correct a support or moisture issue.
Choose insulation for the floor build-up
Choose a product documented for the intended floor position, not simply one described as insulation. A layer fitted between supports, beneath a floor deck or above the deck can have different demands and construction details. Check the manufacturer’s stated use, thickness and declared thermal performance, along with any limits on exposure to moisture or compression. The product must suit the whole arrangement, including its supports, edges and floor covering. A high performance figure on its own does not prove that the material suits the planned location or that the completed floor will achieve the same result. If values are difficult to compare, ask an installer to explain them for the full build-up.
Rigid boards, flexible batts and other systems are not interchangeable just because they can be cut to fit a space. Their fixing, support and moisture requirements differ, and an unsuitable choice can leave gaps or interfere with the floor design. When considering a listing such as the Durano garden shed, use it to identify the model; do not assume the listing name or image specifies a compatible insulation system. Match the material to the assembly instructions and, if they do not address the change, request advice before ordering. Adding thickness simply to increase a figure can affect the threshold, support arrangement and available space.
Before ordering 3
Allow for the finished floor height
Insulation is only one part of the finished floor height. A supporting layer, floor panel or covering may add to it, so consider the combined build-up rather than measuring the insulation in isolation. A raised floor can change the relationship between the inside surface and the entrance threshold; depending on the door design, it may also affect opening clearance or leave a more noticeable step. Use the drawings for the exact model to check door openings and floor levels. When comparing the Veltor 1 with another garden house, record the planned finished height as a question to resolve, not a value to guess.
Think through how you will use the entrance. A raised edge can matter when carrying heavy or awkward items, moving a trolley, or bringing equipment in and out, even if you do not plan to use a ramp. Check whether the manufacturer allows the floor to be raised and what clearances must remain; do not trim a sill or alter a door frame to make an unapproved build-up fit. If the available information does not show the threshold height, ask for a drawing or written measurement before placing the order. Decide on any transition only after the final floor level and the approach to the site are known.
Plan moisture control at floor level
Plan how the floor will be protected from moisture at ground level. Rain splash, water collecting around the base, damp materials during assembly and moisture moving from the ground can all affect the floor, but insulation alone is not a moisture barrier. Adding layers may change how the assembly dries, so covering every surface with an arbitrary membrane is not a reliable plan. The position and type of any moisture-control layer depend on the base, floor components and chosen insulation system. For the Orello 1 or another model, ask for floor-specific guidance rather than relying on a generic diagram that may show a different construction.
Keep the questions practical: what helps prevent ground moisture reaching the floor, how are exposed edges handled, and can the materials remain dry during delivery and assembly? Check where water can drain away from the building, rather than relying on a layer under the floor to compensate for site conditions. Avoid enclosing damp materials in a closed assembly, and follow the specified handling and moisture-control details. If advice from the floor supplier conflicts with the building instructions, pause and ask the installer to reconcile the two systems before work continues. This is a floor-interface decision, not a reason to add layers without a design.
Before ordering 4
Set the assembly sequence in advance
Agree the work sequence before the floor becomes difficult to access. Depending on the specified design, insulation may need to be fitted before a deck or finish closes the space, or it may form part of a separate floor assembly. The instructions for your chosen garden house determine the sequence; a generic how-to cannot establish it. If the Modano 1 garden house is the model you intend to assemble, obtain the correct information before booking an installer or setting delivery dates, rather than assuming the sequence matches another design. Confirm who fits each part and who checks the floor before the next stage begins.
Plan material handling as well as the order of work. Store insulation and moisture-control products in the conditions stated by their manufacturers, and arrange delivery so they are not left exposed to rain or site dirt. Check whether the base needs to be completed, inspected or allowed to dry before the kit and floor materials arrive. Keep the parts list and instructions together, and identify anything that must be on site before a stage is closed up. This coordination matters when you combine a purchased kit with separately sourced insulation, floor covering or installation work; a missing item can lead to delay or a hurried substitute that has not been checked.
Check model-specific documentation
Before committing, compare paperwork for the exact model rather than relying on a short product description. Look for an assembly guide, floor plan, support details and any stated restrictions on modifying or adding to the floor. The garden tool shed M is an identity to check against its own documents; a model name does not say whether floor insulation is included or suitable. Make sure the documents relate to the version you are buying, and ask for missing dimensions or floor details rather than transferring measurements from another model. A photograph may help you picture the design, but it cannot confirm a hidden floor detail.
Keep a short written list of unanswered questions: what comes with the order, what supports the floor, which insulation location is allowed, how moisture is managed and what finished height is acceptable. If the product information and an installer’s proposal do not match, ask for them to be reconciled before assembly. Check how a proposed change affects any applicable product terms, without assuming that it is either approved or prohibited. Note the document version and save the answers with your order details. Clear information gives you a fair basis for comparing models and helps an installer quote for the same scope you have in mind.
Before ordering 5
Budget for the complete floor assembly
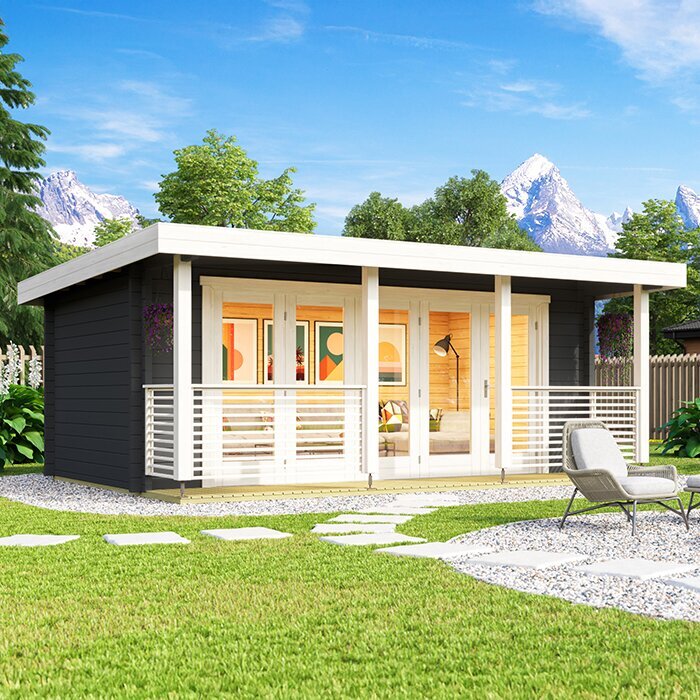
Compare the cost of the complete floor assembly, not just the insulation material. Depending on the specified design, your budget may need to account for floor components, support materials, moisture-control products, a floor finish, delivery and installation. Include any transition or entrance work that follows from the finished height, as well as tools or disposal if those are part of your plan. Ask for a quote that separates supplied items from work and materials you must arrange yourself. If the garden shed S is on your shortlist, use the same list of cost categories when comparing it with other models; do not assume the floor is included in the stated price.
Compare like with like: the proposed insulation’s documented use and performance, the complete build-up, and who is responsible for fitting and checking each part. A low material cost is not a fair comparison if it excludes the supports, covering or installation needed for the chosen design. Consider the upkeep of the finished floor too, and check that care instructions are available for the products you select. Avoid spending more simply to add thickness before confirming that it fits the base, doorway and floor system. A clear scope makes it easier to see what you are actually paying for before placing the order.
Resolve the details before assembly
Before assembly starts, bring the decisions into one record: how you will use the shed, what floor parts are included, how the base supports them, which insulation is compatible, how moisture is managed and what the finished height will be. Add the relevant model drawings, parts list and product instructions. If you are using separate suppliers or an installer, make sure each person is working from the same floor plan and knows which components are included in the order. This is more useful than relying on memory when materials arrive or when the floor is ready to be closed.
Pause if the instructions do not explain a proposed change, if support details conflict, or if you cannot resolve how moisture will be managed. Ask the supplier for model-specific information and have a qualified installer or building professional assess structural questions about the base or floor. Do not improvise a layer arrangement to keep assembly moving. Once the floor plan, order contents and work sequence agree, the insulation can be included as part of the original build rather than fitted around decisions made too late.
Frequently asked questions
Is floor insulation necessary in every garden shed?
No. Whether it is worthwhile depends on how often you use the space, what you store and what you want the floor to do. For occasional visits to collect tools, you may prioritise a suitable, durable floor. Insulation is more relevant when you spend regular time inside, but it does not replace moisture control or a source of heat.
Can I add floor insulation after the shed is assembled?
It may be possible, but access to the floor structure, the finished height and the existing moisture-control details can affect what will work. Check the instructions for the exact model before assembly or before ordering insulation; do not assume that one approach suits every garden shed.
Is floor insulation included with a garden house?
It depends on the order. A product name or photograph does not confirm what is included. Check whether floor panels, support parts, insulation and fixings are supplied, sold separately or excluded, and confirm the details for the exact model you are considering.
What type of insulation should I choose?
Choose a product documented for floor use and compatible with the proposed construction. Check its stated performance, thickness, moisture and compression limits, and installation instructions. The material name alone is not enough to establish suitability; ask a qualified installer if the floor design or product guidance is unclear.
Where should a moisture-control layer go?
There is no universal position that suits every floor. The base, floor components and insulation all affect how the assembly handles moisture and dries. Follow the model-specific guidance, and ask the installer to resolve any conflicting advice before assembly rather than adding layers by guesswork.
A useful floor-insulation plan is based on the exact garden-house drawings, your intended use and the conditions at the site, not on an insulation product chosen in isolation. Confirm the floor and base, compatible layers, moisture approach and entrance height before assembly. Once those details fit together, you can order the right components and work to a clear sequence, with fewer last-minute changes to the floor.
