
Hot Tub Garden Layout Ideas: Seating, Paths, Lighting and Storage
GARDEN LAYOUT
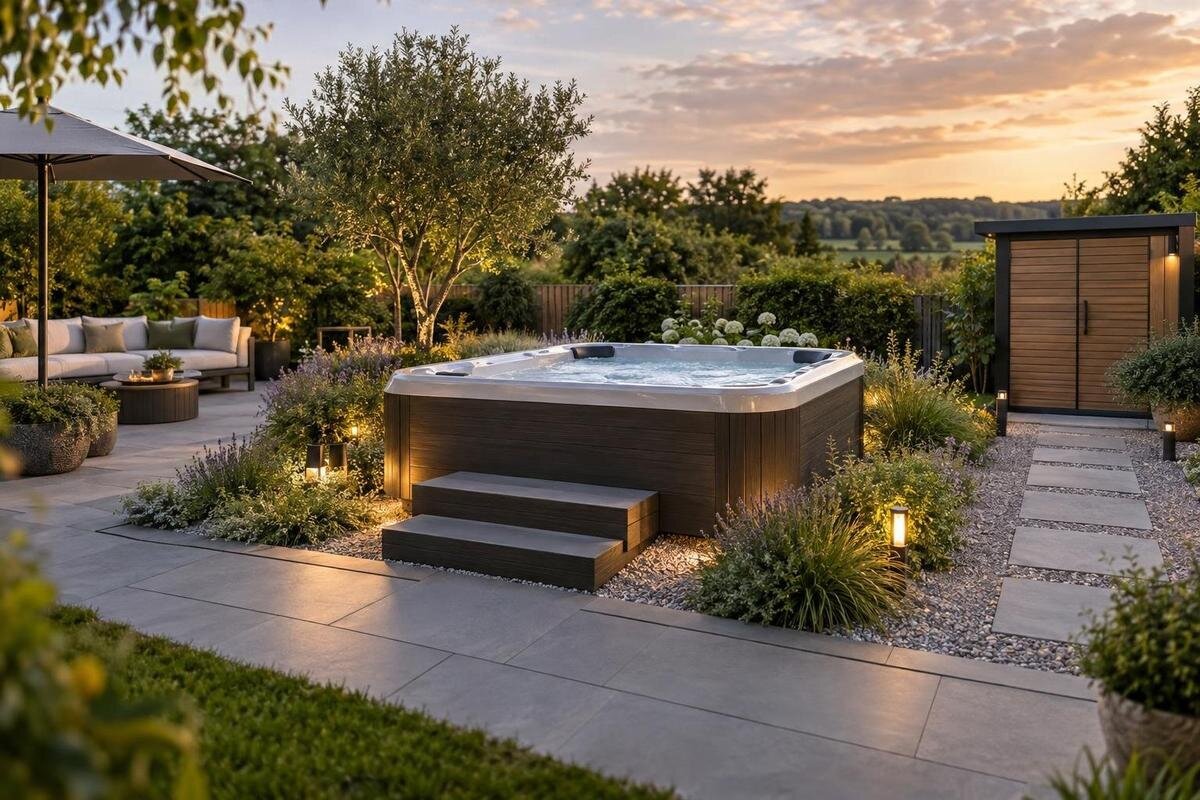
An inviting hot-tub area is more than the tub and a row of chairs: it is the route between the house, the water, a place to sit and the things people reach for. The clearest way to plan those elements is to draw the usable area to scale, then test cover movement, circulation, lighting and storage against that drawing. This guide focuses on the space around the tub, not on choosing its overall garden position. Product names alone do not establish dimensions or clearances, so treat each listing as a starting point for obtaining the specifications your layout needs.
Sketch the area around the hot tub
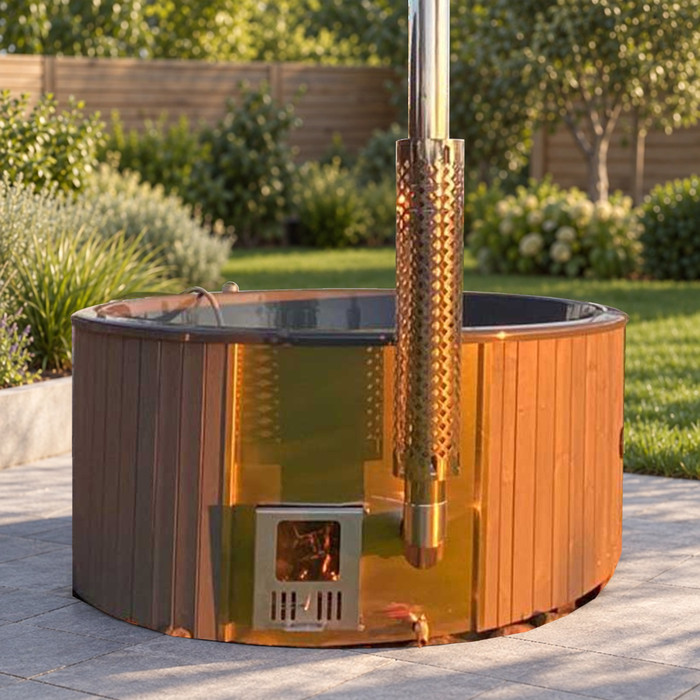
Begin with a measured sketch of the area already allocated to the tub, rather than drawing the whole garden as if every part were available. Mark fixed boundaries and features that affect movement: house walls, fences, gates, doors and their swing, steps, established beds, drains and existing paving. Note any change in level and the clear surface between these features. A quick plan on graph paper is enough if its scale stays consistent; make each square represent the same real distance throughout. That lets you compare a chair or storage unit by its measured footprint instead of judging from a photograph. The aim is to spot clashes before ordering anything.
Once you have verified dimensions for a candidate, draw its outline at the same scale and mark any additional working space separately. Show the cover in its resting and open positions, the service panel and the approach needed for maintenance; the tub’s outer dimensions do not describe those areas. Cut out paper shapes for chairs, a table and storage, then move them around the plan. If you are considering Bloomcabin Hot Tub Cove 2, label its outline clearly and record the measurements used beside it. Keep any measurements you still need to confirm separate from those already supplied, so a provisional sketch is not mistaken for a finished layout when you start choosing furniture.
Allow room for the cover and maintenance access
A cover can change how much usable space the tub needs in everyday use. Find out how the chosen model’s cover opens, where it rests and whether it needs a separate place when moved. These arrangements vary, so do not assume the cover folds, lifts or stays attached in a particular way. On the sketch, mark both the tub when closed and the area occupied while the cover is being opened and used. Check that this does not overlap a chair, table, storage door or main walking route. A clear plan also makes it easier to notice if access would be awkward when furniture is occupied.
Maintenance access deserves its own marked area rather than a note to remember later. Ask which side or sides need to remain reachable, what access the supplier specifies and how a service person would approach the tub. Do not place a fixed bench, planter or storage box across a panel just because it looks neat on the drawing. When planning around Bloomcabin Hot Tub Haven 6, distinguish permanent features from furniture you can move. A loose chair and a built-in bench create different obstacles, even if they occupy the same space on paper. Record which items would need moving and where they could go without blocking the approach.
Arrange garden seating for conversation
Treat nearby garden seats as a separate zone, not as pieces to fit into whichever gaps remain. Two chairs angled towards one another make conversation easy; a bench can suit a longer edge, while a small table gives people somewhere to put a drink or a towel. Keep the route to the tub open when chairs are pulled out, and consider where people will sit without having to cross through the main approach. Mark furniture at its full size on the sketch, including the space needed to get in and out of a chair. This is more reliable than planning from a catalogue image.
Decide how many places to sit from your household’s usual routine and the garden space available, not from a model number. Think about whether people will mainly sit together after using the tub or whether some will stay in the garden chairs while others bathe. Before choosing furniture around Bloomcabin Hot Tub Fjord 8, compare the tub’s verified outline with the actual chair dimensions and your intended seating arrangement. Leave room to move a chair for cleaning or maintenance if needed. Include the table in this test: people should be able to reach it without placing it in the gap that everyone uses to enter or leave the seating area.
Keep everyday paths clear
Map the routes people will use between the house, tub, seats and towel storage. The main approach should remain usable when someone is sitting down and when a door is open; avoid making it run behind a chair or through a planted bed. Mark turns, steps and narrow points, then check whether the route still works if two people are moving in the area. A path need not be wide or elaborate to be useful, but it should not force people to squeeze past furniture or detour around stored items. Use the same sketch to check where wet footprints or garden debris are likely to reach.
A route is easier to follow when its surface is even, firm and suited to outdoor use, with changes in level easy to notice. Choose materials only after checking that they work in the intended setting; a paving sample or garden photograph cannot establish whether a particular surface is suitable around a tub. When drawing the approach to Bloomcabin hot tub Aurora 10, use the confirmed model dimensions and show where the path joins the seating area. Check that junction with chairs pulled out and storage doors open. This reveals whether the same patch of ground is being counted as both a clear walkway and space for using the furniture.
Plan lighting along walking routes
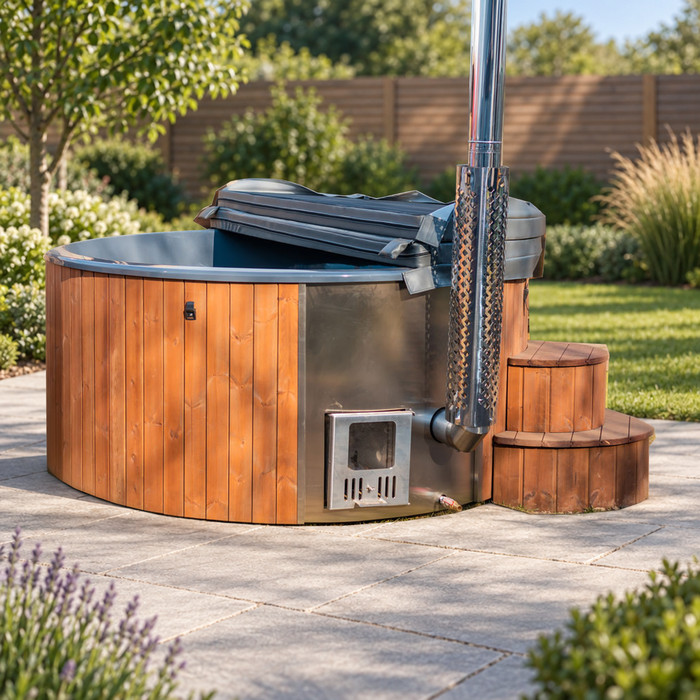
Plan path lighting around the route people actually take, especially at turns, steps, entrances and changes of surface. The goal is to make the route legible, not to illuminate every corner of the garden equally. Mark possible light positions on the sketch and check whether they show the path without shining directly into someone’s eyes. A fitting placed where it is hidden by a planter or chair may be less useful than one that reveals the turn or edge clearly. Think through the route from the house to the tub and seating as one sequence, rather than treating each light as a separate decoration.
Outdoor lighting and electrical work need to suit the setting and current requirements. Have a qualified electrician advise on appropriate fittings, their placement, controls and any electrical work, in line with current Irish requirements. Do not improvise wiring or rely on an indoor fitting for an outdoor location. Include the proposed lights in the layout drawing so they do not obstruct a path, cover movement or maintenance access. If the plan includes more than one lighting area, ask the electrician whether separate controls make sense for the space and the proposed equipment.
Light the seating area without glare
Seating needs a different feel from a walking route: people should be able to see one another and find a table without a harsh light shining across the whole garden. Consider a softer, directed light near the seating zone, with the source shielded from seated eye level where possible. Avoid positioning a bright fitting where it reflects towards people in the tub or overwhelms the path lighting. The sketch can show the direction of light as well as the fitting’s position, helping you see where shadows might fall behind furniture or a planter.
Check the plan from more than one viewpoint: standing on the route, seated in the garden chairs and looking back towards the house. A light that seems well placed from the doorway may be glaring from a seat. Think about how the path and seating lights will be used at different times, and whether their controls are easy to reach without crossing the garden in the dark. Mark these viewing positions on the lighting sketch for discussion with your electrician. Include the table and taller furniture in that drawing, so the discussion covers what people need to see as well as where fittings might go.
Keep towels and accessories close at hand
Choose a practical place for towels, robes and frequently used accessories, then measure the storage itself before adding it to the plan. A small cabinet, shelf or covered rack can keep items together, but it should not narrow the walking route or block a maintenance panel. Think about the difference between clean, dry towels and items that have been used, so the area does not become cluttered after each visit. A hook or shelf near the seating zone may be more convenient than a large unit beside the tub. Check that doors, drawers or lids can open without colliding with chairs or the cover.
Give the cover its own place on the storage sketch rather than assuming it will fit beside the towels. Confirm how it is designed to be handled and whether it stays attached when open or needs a separate resting space. If the Cove 2 listing is on your shortlist, establish that arrangement before choosing a cabinet or rack. Then draw the storage with its door or lid fully open alongside the cover’s occupied area. This helps distinguish space for storing an item from space for using it. Keep the towel shelf within convenient reach, but do not make access depend on moving the cover or shifting a chair every time.
Link paving and planting to the layout
Use paving to connect the route, tub area and seating rather than making each part look like an unrelated island. Repeating one surface or edging detail from an existing patio can help the new area feel settled into the garden. A contrasting border can make the path easier to read, while too many competing patterns may make a small space feel busy. If you are considering Haven 6 for your garden layout, add its confirmed outline and cover area before drawing paving edges. Look at how those lines meet the existing patio and beds, and whether the seating still feels connected to the route rather than stranded on a separate patch.
Planting can soften the edges without taking over circulation or maintenance space. Consider how wide plants may become as they mature, whether their position would narrow the path and whether fallen leaves or growth could make the area harder to keep tidy. Planters are easy to move, but they still need a defined place that does not obstruct the cover or service access. Use planting to repeat a shape or colour already present in the garden, rather than filling every spare gap. The result should frame the seating and path while leaving the practical parts of the layout visible and usable.
Walk through the layout before committing
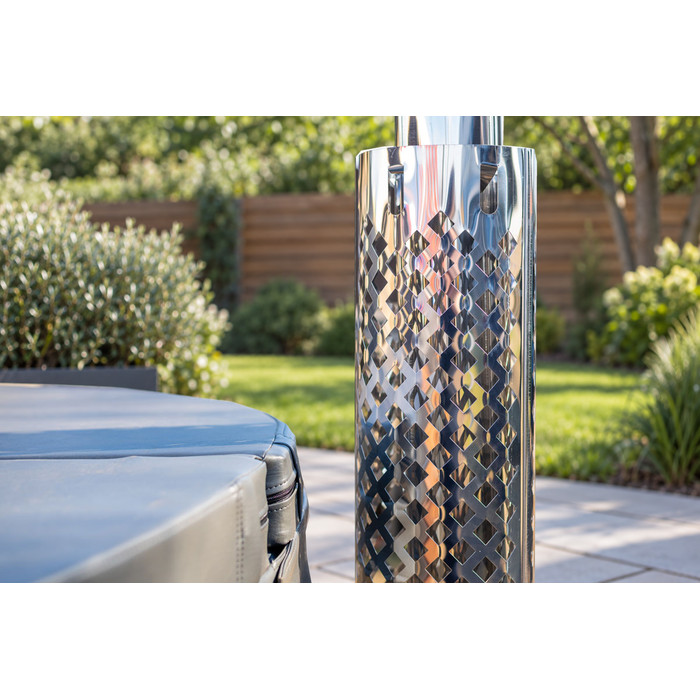
Test the drawing at full size before buying furniture or building fixed features. Use chalk, tape or temporary markers to outline the tub, path, chair footprints and storage position on the ground. Walk from the house to the tub, then to the seats and towels, and notice where a turn feels tight or a door conflicts with an item. Move a real chair into place if you can; its occupied footprint may be larger than the outline on paper. Repeat the test with the cover positions and maintenance area marked, not just the tub closed and the garden empty.
Check the arrangement as a sequence of ordinary actions: approach, collect a towel, sit down, move around and return used items to storage. Keep model-specific details in view while testing. If the Fjord 8 listing is under consideration, use the supplier’s dimensions and access guidance to complete its marked outline before judging the fit. Ask someone to occupy a garden chair while you walk the route, then swap places to test both perspectives. Note each conflict on the sketch rather than relying on memory. Where a clearance remains unconfirmed, leave that part of the test open instead of treating an apparently comfortable gap as sufficient.
Compare each hot tub with the measured plan
Use one copy of the garden sketch for each model under consideration, so the comparison is fair. For Cove 2, Haven 6, Fjord 8 and Aurora 10, fill in the verified external dimensions, the area required for the cover in use, and the maintenance-access requirements from the relevant product information. Keep those items separate from the space for chairs, paths, lighting and storage. Ask the supplier for dimensioned drawings and written guidance where details are missing; do not use a model name or product photograph as a measuring reference. The layout is only ready for a meaningful comparison when each candidate is shown at its true scale.
The product information available for this guide identifies the four models but does not establish their dimensions, cover arrangements or service clearances. For the Aurora 10 product listing, as for the other candidates, obtain those details before deciding that your preferred furniture arrangement will fit. Compare each completed drawing using the same questions: does the route remain clear, can people use the seats comfortably, is storage reachable and does permanent paving leave specified access unobstructed? Record any furniture or storage changes each option would require. This keeps the buying comparison focused on the garden you intend to use, rather than on a model name or an attractive product photograph.
Frequently asked questions
How should I begin planning the area around a hot tub?
Draw the space to scale and mark fixed features, doors, steps and existing paths. Add the tub only after you have its verified dimensions, then test seating, storage, cover movement and maintenance access on the same plan.
How much room should I leave around the tub?
There is no single clearance that suits every model and garden. Check the chosen tub’s dimensional drawing, the cover’s open and resting positions, and the supplier’s maintenance-access guidance. Include those areas before finalising paving or built-in storage.
Where is the best place for garden seating?
Place seats where people can talk comfortably without narrowing the approach to the tub or blocking access to storage. Mark the furniture’s full footprint, including the space needed to pull chairs out, and base the number of seats on your household’s needs.
What lighting should I plan for a hot tub path?
Make changes of level, turns and the route between the house, tub and seating easy to see. Avoid glare in people’s eyes and on the water. Ask a qualified electrician to advise on outdoor fittings, placement and electrical work in line with current Irish requirements.
Where should I keep towels and the hot tub cover?
Keep towels and frequently used accessories handy without blocking the walking route or maintenance access. Plan for the actual cover arrangement: confirm whether it stays in place when open or needs a separate space, rather than assuming the tub’s dimensions include it.
A practical hot tub garden layout brings the route, seating, lighting and storage together without letting one feature block another. A measured sketch helps reveal those conflicts early, while a full-size test shows how the space feels during ordinary use. Before fixing paving or built-in storage, compare the plan with verified dimensions, the cover’s actual movement and the required maintenance access for the chosen model. With those details established, the finishing choices—chairs, lights, paving and planting—can support a garden area that is comfortable to use and straightforward to move around.
