
How Much Space Do You Need Around a Hot Tub?
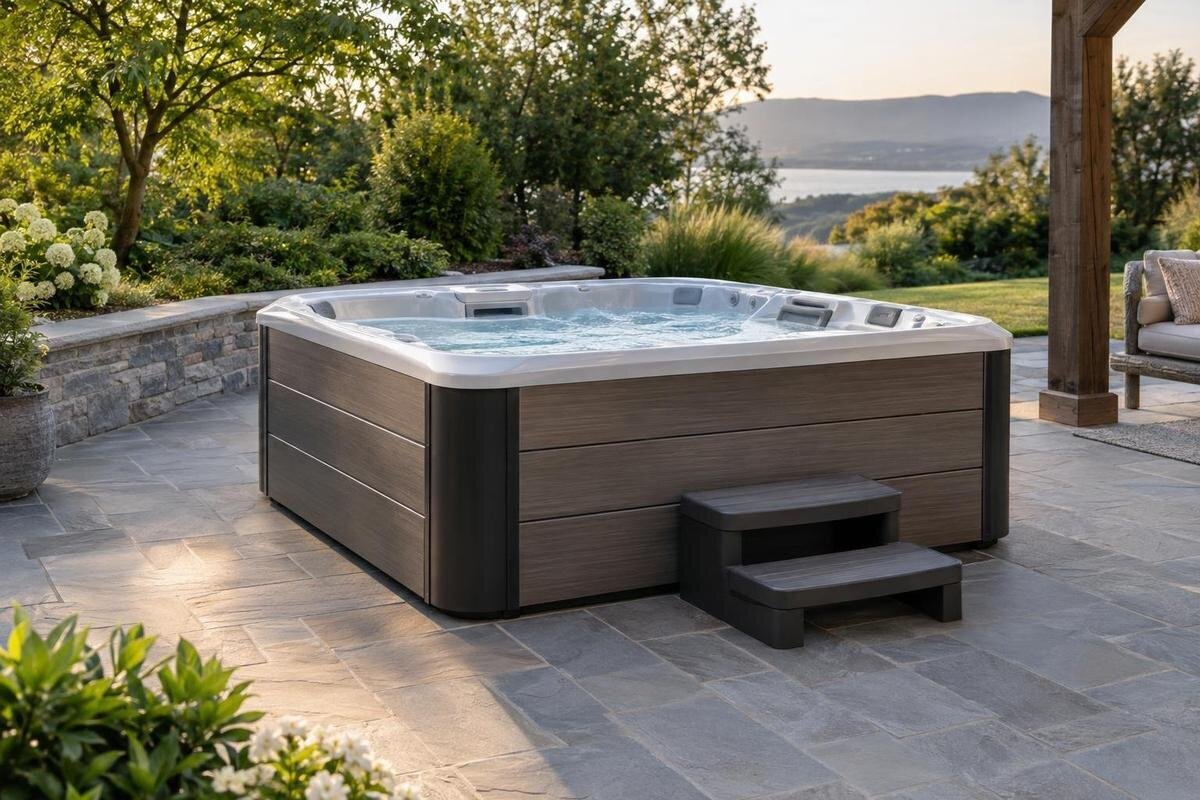
Hot tub space planning
Once you have a likely garden position in mind, it is tempting to compare its available floor area with the hot tub’s footprint and call the fit settled. That misses the space needed to approach and enter, operate the cover and reach service points. A nearby wall, fence, gate or fixed object can make an otherwise generous-looking patch awkward to use. There is no single clearance that suits every model and layout: required gaps depend on the manufacturer’s instructions, while comfortable access depends on how the space will be used. Measure the exact model, mark each activity zone and test the arrangement on the ground before committing to a position.
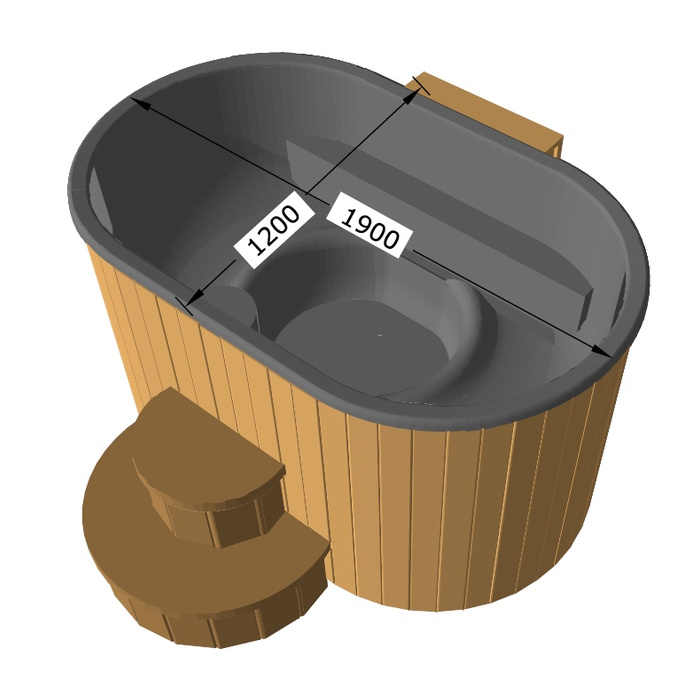
The hot tub’s footprint is only the starting point
Treat the hot tub’s full external dimensions as the starting point, rather than the bathing area or a figure guessed from its model name. A catalogue name identifies a model; it does not establish its width, length or equipment layout. For example, the Cove 2 product listing identifies one candidate to check, but you should plan from the exact model’s current specification or manufacturer’s drawing. Record the maximum outside length and width, and note any fittings or projections beyond the main shell. Include separate equipment only if the manufacturer confirms it belongs with that model, along with any stated access space.
The footprint is not the finished space allowance. Draw separate zones for the entry approach, cover movement and service access, then see how they relate to the shell. These needs may fall on different sides, so the space required is not necessarily an identical strip around the whole tub. A clear area beside the entry cannot serve as service access if the relevant panel is elsewhere and blocked. Some floor space may serve more than one purpose, but only where the fittings and movements do not obstruct one another. Keep specified clearances distinct from extra room you prefer for comfortable use.
Measure the complete outside dimensions
Use the overall external measurements, not an internal dimension or a figure for the bathing area. Check what the stated length and width include: a drawing may identify the shell separately from fittings, controls or other projections. Confirm which side each measurement describes and where any projection sits, so the tub is oriented correctly on your plan. Do not assume every product listing uses the same measurement convention. Keep the measurements with the manufacturer’s notes rather than estimating size from a photograph; if an overall dimension is not available, request it before relying on a layout.
The available space may not form a neat rectangle. Measure the narrowest clear span between obstacles and note any corner, gatepost or change in boundary that reduces it; one wide measurement can hide a pinch point elsewhere. Mark the proposed outline with chalk, tape or string in the intended orientation. If you are considering the Haven 6 hot tub, use dimensions confirmed for that exact model rather than treating its name or photograph as a guide to scale. Measure the proposed position again if you change the tub’s orientation.
Leave a clear approach and entry area
Decide which side people will use to get in before drawing the layout. A person needs room to approach, pause, reach the entry point and move across the edge without a fixed object in the way. Measuring only the gap between the shell and a fence does not show whether that movement is possible. A passage that narrows around a post or corner can be awkward even when the overall garden width looks generous. Keep the intended entry area clear of planters, bins and stored accessories during normal use, not just while you are measuring.
Mark the route to the entry side and walk it in the space, checking whether a gate or door swings into it and whether furniture would block it in its usual position. Apply the same test to Fjord 8 on your shortlist using its confirmed dimensions and intended entry side; do not infer an entrance from an image. If several people will use the tub, check that the approach remains workable without moving items each time. Where someone uses a mobility aid, assess that person’s actual route and turning needs rather than relying on a general clearance figure.
Include any steps in the access plan
If you plan to use a step, mark its full footprint outside the tub, not just the top surface. The step occupies part of the approach, and the person using it also needs room to stand and move on and off it. Consider where it will remain when not in use: storing it in front of a service panel or in the cover’s path creates a different problem. Do not assume a step is included with a model or that any step will suit it. Confirm the intended arrangement and compatibility with the manufacturer.
If Aurora 10 is on your shortlist, assess its intended entry side together with the step you plan to use. Ask whether the proposed arrangement has any model-specific instructions or clearances, and mark those on the same plan as the tub. If you have not decided on a step, reserve the area you would need before treating that part of the layout as free space. A full-scale outline makes it easier to spot when a step would narrow the approach or sit in the way of another access need.
Allow for the cover’s movement
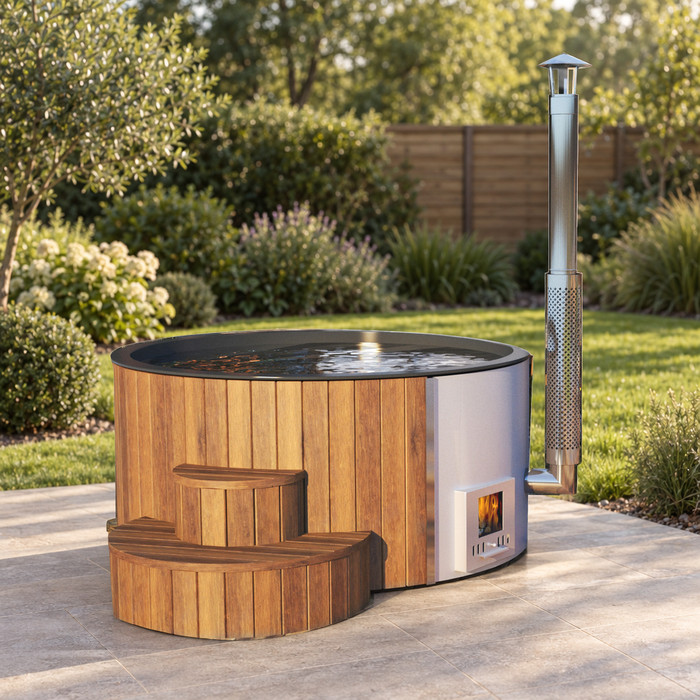
A closed cover does not show how much room is needed to open it. The movement depends on the cover arrangement and on whether a cover lifter is planned, so establish what is specified for the exact model rather than assuming how it operates. Ask for the cover’s movement path, any space needed when it is open and where it rests. If a lifter is being considered, confirm that it is compatible with the model and obtain its space requirements too. Include the person handling the cover in the layout, not just the equipment’s outline.
Repeat the check for Cove 2 as a shortlisted model once you have confirmed its cover arrangement. Mark the complete path and resting position, then look for conflicts with a wall, fence, gate, overhang or light fitting. Check that the person opening it can reach the handle and move without the cover striking an obstacle. A ground mark or simple drawing can test the horizontal space, but it cannot confirm every height or movement detail. Use the manufacturer’s instructions for those details, and do not finalise a tight position while the cover arrangement remains uncertain.
Keep service points reachable
Find out where the service panel and any other manufacturer-identified access points are before choosing the orientation. The sides do not necessarily have the same service needs, and a panel that faces a fence may be difficult to reach or open. Ask which areas must remain accessible and whether a panel needs room to be opened or removed. If the manufacturer confirms separate equipment for the model, include its position and service access as well. Do not infer the equipment layout from a model name or product image.
Make the same check for Haven 6 as a comparison option using information for that exact model. A narrow gap is not useful service access if a person cannot reach the relevant point or the manufacturer’s instructions require more room. Keep the specified service clearance separate from any extra space you would like for moving around. If the access locations or required gaps are not clear in the documentation, ask the manufacturer or a suitably qualified installer before fixing the layout. Avoid plans that depend on moving the tub or dismantling a nearby obstacle to reach a service point.
Check the gaps to walls and fences
Measure from the tub’s outermost point to the nearest part of each fixed obstacle, not simply to the line of a wall or fence. Posts, pipes, projecting fittings and gate leaves can reduce the usable gap. Also look above the proposed position for an overhang that could interfere with the cover’s movement or the person handling it. Note doors and gates that swing into the space, and include any fixed object that would make a marked access area unusable. These checks describe the physical layout; they do not establish a legal boundary distance.
There is no universal wall or fence gap to apply to every model. Check the instructions for all relevant sides, including the cover and service areas, rather than assuming that an unused-looking side can be placed close to an obstacle. If you are considering the Fjord 8 hot tub, confirm its actual outside dimensions and access details before judging a particular gap. If the manufacturer gives a clearance, use that figure for the exact model and purpose it describes. Do not replace it with a general measurement found for a different tub or layout.
Test the layout with a full-size outline
Once you have verified the dimensions, mark the shell’s outline at full scale with tape, chalk or string. Add the entry approach, any planned step, the cover’s movement, service access and the footprint of separate equipment if the manufacturer confirms it for the model. Label each zone so you can tell why that area must remain free. When comparing the Aurora 10 hot tub with another candidate, draw only dimensions confirmed for each exact model. A single generic outline may make a position appear suitable when the shortlisted tubs have different measurements or access arrangements.
Walk the marked route, stand where the step would go and check whether the cover path or service area is obstructed. Try the layout with garden furniture in its usual place, and account for gates or doors in both their open and closed positions. A ground outline is useful for horizontal space, but it will not show every issue with an overhang or a cover’s height; check those against the maker’s information as well. If one area appears to serve two purposes, test both movements and make sure neither leaves the other task blocked.
Compare each shortlisted model against the same plan
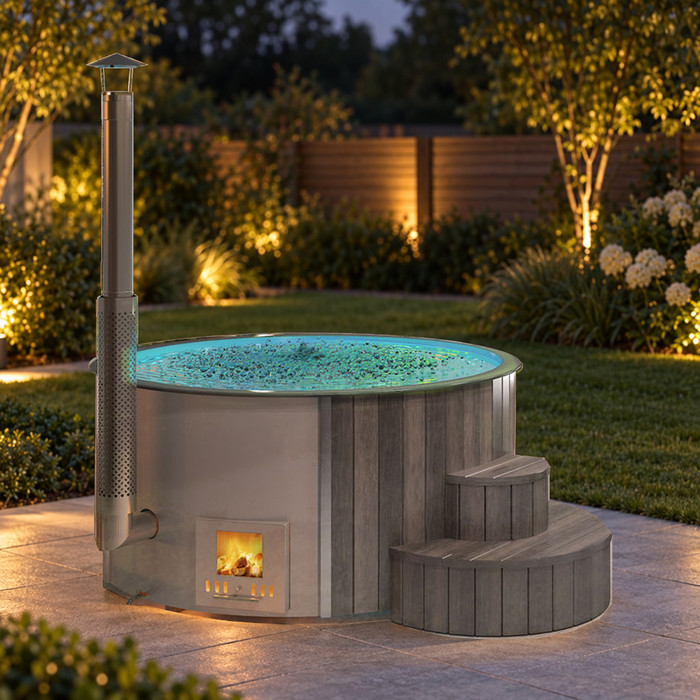
Use the same checklist for every model you are considering: confirmed outside dimensions, intended orientation, entry side, cover arrangement, service-panel location, manufacturer clearances and any equipment confirmed for that model. Note whether a measurement comes from a current specification or is still awaiting confirmation. This makes gaps in the information visible instead of encouraging you to fill them with an estimate. Keep the relevant drawings or instructions alongside your sketch, especially if a product listing and a manufacturer’s document describe dimensions differently.
Overlay each verified outline and its access zones on the proposed position. A model is a practical fit only if the shell fits and its required cover, entry and service areas remain usable. If the shell fits but an access point is blocked, try a different orientation or position, or compare another model. Record where each option leaves the tightest gap and which activity that gap affects; this makes the practical differences easier to compare. Where a dimension or clearance is still unknown, leave that part of the comparison open rather than treating an unverified fit as settled.
Confirm which clearances apply to the exact model
The word clearance can refer to different things: space required by the manufacturer, access needed for servicing or room that makes the tub comfortable to use. These are not interchangeable. Follow the siting and access instructions for the exact model, including the cover and any equipment confirmed for it. If the documentation gives a specific gap, do not treat it as optional simply because the remaining space feels comfortable. If the relevant instruction or drawing is missing or unclear, ask the manufacturer for the correct information before committing to the position.
Where your question concerns a technical requirement for an installation in Ireland, confirm what applies to your particular setup with a suitably qualified installer or relevant authority. Do not use a general comfort allowance as a substitute for a technical requirement, or assume a manufacturer’s spacing note answers every installation question. For the space decision itself, keep the exact model instructions, any applicable technical advice and your preferred access allowance clearly separate. If the layout works only by reducing a specified clearance or blocking a service area, it is not a sound fit as drawn.
Frequently asked questions
Is there a standard clearance to leave around a hot tub?
No single distance works for every model and layout. Follow the clearance and access instructions for the exact hot tub, then allow for the entry route and cover movement in your own space. Treat these practical allowances separately from any technical requirements that apply to the installation.
Can a hot tub sit close to a wall or fence?
Only if the manufacturer’s instructions allow that position and the wall does not obstruct entry, cover operation or access to service points. Check the clearance at the closest projection, not just the average gap. If the instructions are unclear, ask the manufacturer or a suitably qualified installer.
How much extra room does a cover need?
It depends on the cover and how it opens. Check whether a cover lifter is planned and confirmed as compatible, then obtain the required movement and storage space for that arrangement. Mark its full path on the ground and check for nearby walls, fences or overhangs.
Do I need clear space on every side?
Not necessarily the same amount on every side, but you must account for all manufacturer-specified clearances and keep relevant service points accessible. The entry side, cover path and service side may be different. Use the exact model’s instructions rather than assuming an unused-looking side needs no access.
What is the simplest way to check whether a hot tub will fit?
Confirm its full outside dimensions and siting instructions, then mark the footprint, entry area, step if applicable, cover movement and service access at full scale. Try the planned movements and check fixed obstacles. If any essential measurement or clearance is unknown, confirm it before choosing the position.
A workable hot tub position accommodates the tub’s full outside dimensions and still leaves room for entry, cover movement and any required service access. Mark those areas for each exact model and test the movements in the garden rather than relying on the footprint alone. If a wall blocks a required access point or the cover cannot move as instructed, changing the orientation or considering another position or model is a more reliable answer than assuming a smaller gap will be fine.
