
How to Mark Out a Garden Shed Before You Order
Garden shed planning
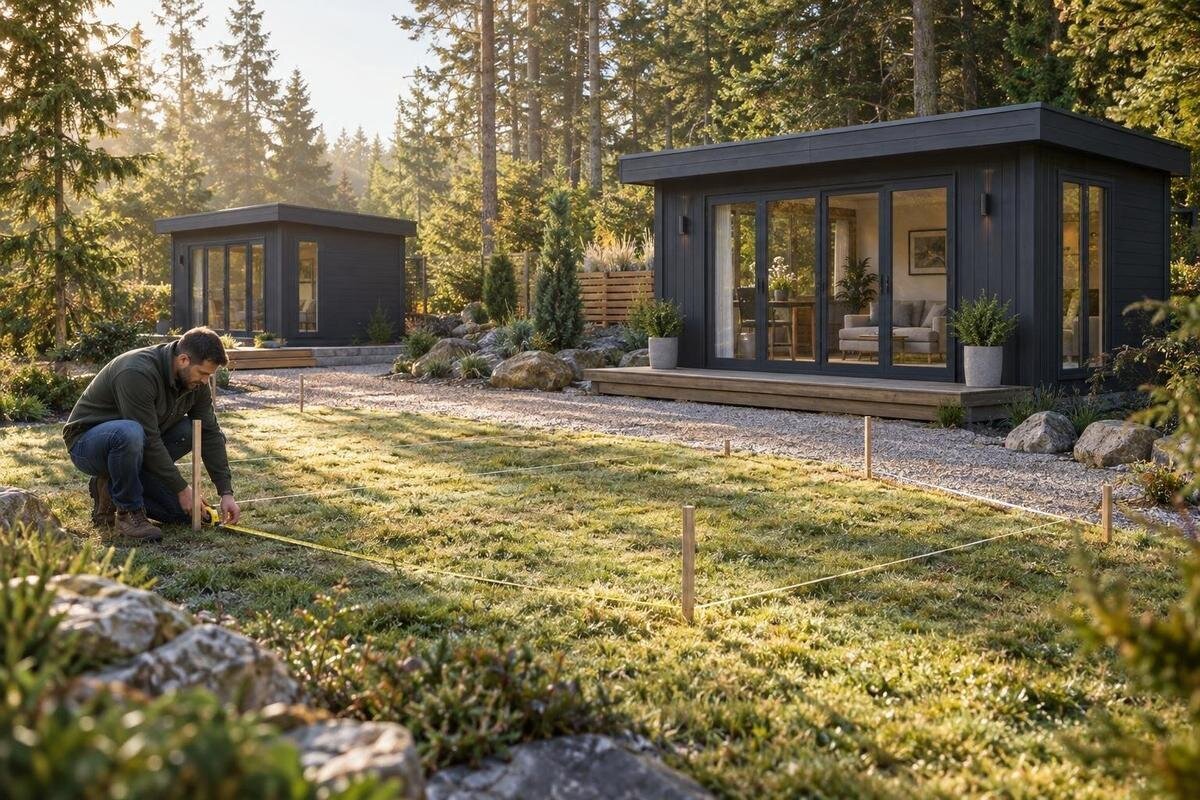
To mark out a garden shed before ordering, turn the dimensions for the exact model you have in mind into a full-size outline on the ground. Seeing its footprint in the garden can reveal awkward positioning that a product image or a number on a screen will not: a door may face a hedge, the route through the garden may narrow, or the remaining lawn may feel smaller than expected. Marking out is a practical visual test, not a substitute for checking product drawings, base instructions or planning requirements that apply to your property. Use removable markers, work from the exact model information and assess the space from the places you use every day.
What a marked footprint can tell you
A marked outline makes scale tangible. It shows how much ground the shed would occupy and where that area falls in relation to paths, planting, fences and the house. You can stand in the proposed doorway, look back towards the house and see whether the shed interrupts a useful route or sits in a spot you had not noticed from indoors. It is especially helpful where two positions both seem to fit on paper: the one that preserves a clear walk, keeps a gate accessible or leaves a favourite part of the garden open may work better in daily use. The outline puts the footprint into the same view as everything around it.
Treat the marks as a visual test, not proof that the order is ready. A cord rectangle cannot confirm that the ground is suitable, a base can be installed as marked, a roof edge will clear every obstacle or planning requirements are met. Those questions depend on the exact product information or separate advice. Nor will a temporary outline show the shed's height, appearance or finish, so it is not a full product preview. It answers a narrower question: if the shed occupied this part of the garden, would the space, entrance and surrounding routes still work for you? Keep those limits in mind as you make the buying decision.
Use the exact garden shed measurements
Start with the product page for the exact model you plan to order, rather than a similar-looking photograph or a model name. Find the dimensions that describe the outside footprint at ground level. A product page or drawing may show more than one set of figures: roof extent, wall or floor size, or an internal measurement. These describe different things and should not be treated as interchangeable. The Verdana 1 garden house listing is one product page to consult, but use only the measurements explicitly supplied for the item you intend to select. If a drawing does not identify what a figure measures, clarify it before using the number.
Write the width and depth beside the model name, and note what each measurement refers to. Check whether the drawing includes the outer roof edge, an entrance projection or only the floor area; those distinctions can affect the ground you need. Keep the units and precision shown while you lay out the shape, converting them only if your tape measure uses another unit. Do not estimate dimensions from a thumbnail or infer them from a label such as 'compact'. If you switch to another model or version, go back to its own information and redraw the outline instead of reusing the first set of marks.
Choose the shed position before marking it
Choose a candidate position before putting down the corners, but do not assume that an empty patch is convenient just because it is clear. Think about the usual route between the house and shed, access to gates, where bins or garden tools are moved, and room for mowing, watering or tending beds. Mark the route people already take as well as the shed footprint. A position beside a fence might preserve open space in the middle; a more central position might make stored items easier to reach. There is no universally best layout: decide which parts of your garden must remain easy to use, and test the shed against those priorities.
Look at the proposed garden shed placement from more than one viewpoint. Stand at the back door, a gate and a spot where you usually sit, then check whether the outline blocks a route, narrows a turn or changes a view you value. If you are comparing models, keep the Verdana 2 garden house listing beside your site sketch and use only its confirmed dimensions; do not transfer a size from another model. You can outline two possible positions separately, one at a time, so the whole garden does not become a confusing set of strings. If a position works only after ignoring a path you use, test another.
Mark out the full garden shed footprint
Use a tape measure to place the sides on the ground, then mark each corner with a removable marker, short cane or other visible object. Join the corners with string, cord or rope so the complete perimeter is clear. Mark every side rather than leaving four corner points: on grass, the gaps can make the footprint look smaller and the depth difficult to judge. Set the shape from the stated dimensions for the exact item, such as the Durano garden shed listing; the name or image alone cannot tell you its measurements. For a shape that is not a simple rectangle, follow the plan supplied for that item rather than assuming a rectangular outline. On paving, suitable temporary tape or chalk can make the edges visible; on a lawn, bright cord may be easier to reposition without marking the surface.
Before pushing any peg or stake into the ground, consider whether a buried service, irrigation pipe or cable could be in the way. If you are unsure, use weighted objects or lay the cord on the surface instead. Choose markers that will not stain paving, crush plants or create a trip hazard for anyone using the garden. View the outline from the house and the main entrance, not just from above. If an edge disappears against a hedge or dark border, use a contrasting marker; do not change the measured shape just to make it easier to see. Once the outline is legible, check its proportions before moving on.
Separate the shed outline from the base area
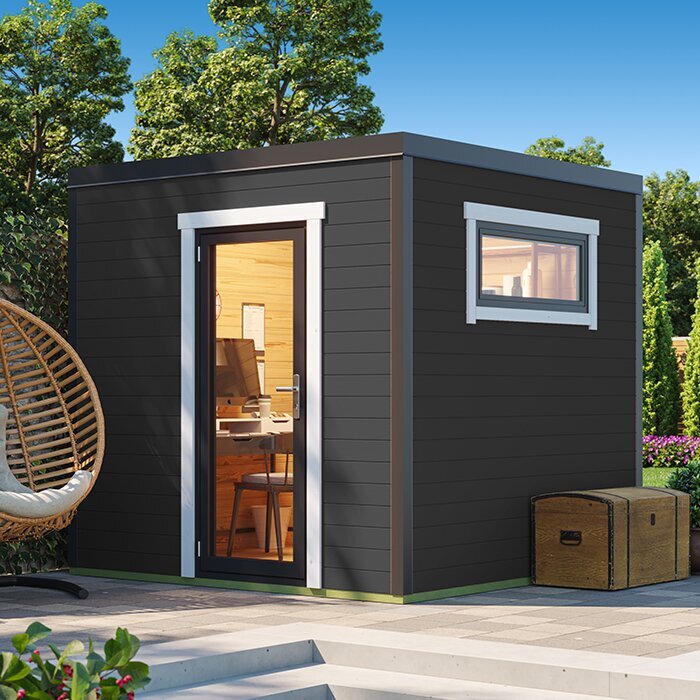
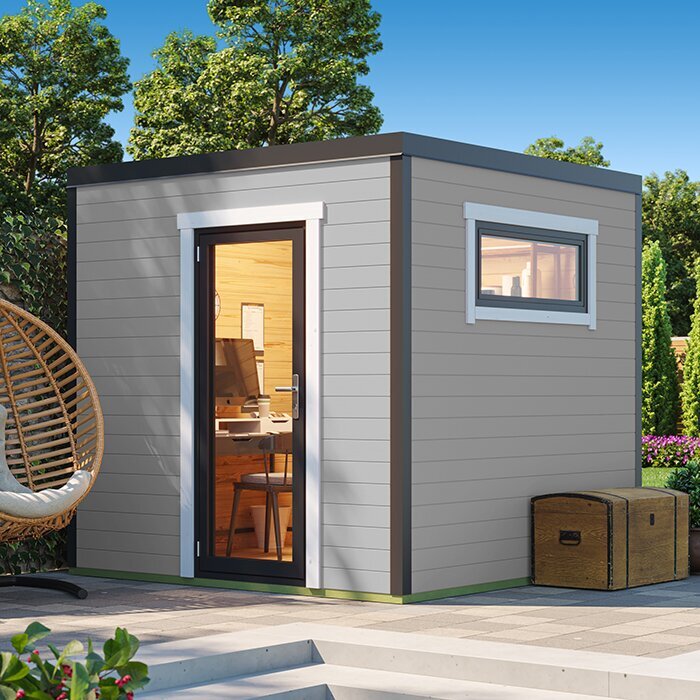
Separate the shed's outline from any base or ground-preparation area described in the product information. The outside walls, floor dimensions and outer roof projection may not describe the same boundary; a platform may also have its own stated dimensions. Do not assume the footprint is simply the floor measurement, or add an arbitrary strip and call that the required base. For a model such as the Veltor 1 garden house listing, use whatever measurements and base instructions are provided for that exact item. If two figures seem inconsistent, ask which one should guide the site layout before you mark it.
If separate outlines are available, mark them in different colours or with different types of cord: one for the shed, another for a base or roof projection. That makes it easier to see whether an overhang reaches an obstacle or whether the prepared area would occupy more ground than the walls suggest. Keep any working clearance distinct as well. The maker's instructions or installer should guide any clearance needed for construction or maintenance; the extra room you want for sweeping, opening doors or walking around is a separate practical choice. Do not treat a preferred margin as a technical requirement.
Check the entrance and route to the shed
Test the entrance as well as the body of the shed. Check the product drawing for the door position and how it opens, then represent that space with a second line, a hinged strip of card or a simple door-sized marker if the opening dimensions are available. Show the open door, not just the gap in the wall. A closed footprint can appear generous while the entrance faces a fence, shrub or narrow path. For a specific item such as the Orello 1 listing, consult whatever layout information is available; do not assume that a photograph shows the orientation or opening arrangement you intend to order.
Walk up to the marked entrance carrying something you expect to store, such as a mower, bags of compost or a wheelbarrow. Check whether you can approach without stepping over a bed or turning sharply through a tight gap. Also consider the route from the delivery point to the shed: gates, steps, narrow paths and turns can matter when moving a package or materials. Delivery and installation arrangements vary, so confirm any relevant access requirements with the seller rather than assuming the final position is the only access question. The sketch helps you identify the pinch points to describe.
Use the outline to inspect the ground
Use the outline to inspect the ground as it is, rather than judging the lawn from a distance. Notice a slope, soft or uneven patches, changes in paving height, nearby drains and places where water collects. If rain has left pooling, note whether it lies inside the outline or along an edge; a spot can fit dimensionally yet still be awkward. A level cord does not show the finished floor height, and a marked rectangle cannot establish whether the ground is ready for a structure. The base instructions for the exact shed are the reference for required preparation. If the Modano 1 product page is the item you are considering, check its own requirements rather than borrowing instructions from another model.
If levelling, excavation or drainage changes may be needed, do not choose a method from the outline alone. Ask the supplier, installer or a qualified groundworks professional what the selected product and site require, especially where there is a pronounced change in level, a drain, retaining work or an underground service. Mark the affected area and describe it when you ask, so the advice relates to the actual position rather than a vague description. This check is meant to flag questions early, not prescribe a foundation or calculate a slope. Keep covers and access points visible instead of treating them as part of the base.
Mark obstacles, boundaries and overhead space
Mark fixed and overhead obstacles around the footprint: boundary fences and walls, downpipes, drains, service boxes, trees and low branches. Include the outermost dimension that affects the site, such as a roof projection only where the product drawing gives one, rather than measuring just from wall to wall. Look above the outline as well as along the ground; branches, eaves or cables can affect access or the chosen position even though they do not appear on a ground plan. For an item such as the garden tool shed M listing, use its stated measurements if available; neither the product name nor the image tells you its exact extent.
Physical fit does not answer whether a position works with a boundary, shared path or requirements that apply to your property. If the outline is close to a boundary or neighbouring feature, check the relevant requirements for your address before ordering rather than assuming that the gap is available to use. Likewise, do not assume you can reach across another person's land for assembly or later maintenance; clarify access arrangements where needed. This article is about visualising the site, not interpreting planning rules. Resolve those separate questions before an order makes the marked position harder to change.
Test the position in everyday use
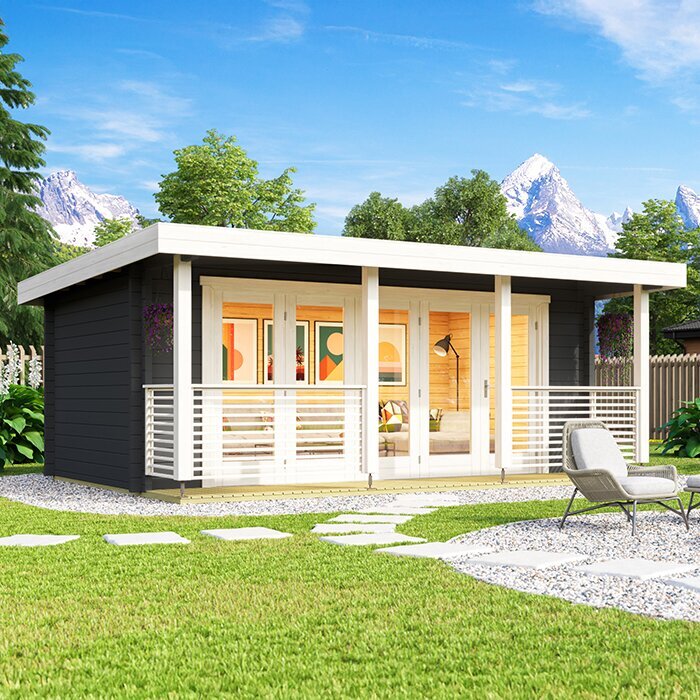
Once the outline is down, use it as if the shed were already there. Walk the routes you take during ordinary gardening: open the gate, move a bin, water plants or carry something from the house. Check whether the remaining space still has a clear purpose and whether the new building would block access to a tap, compost area or planting bed. If practical, leave the markers in place for a while and look from different spots at different times of day. A second view may reveal that the proposed position feels cramped from a window or dominates the patio view. There is no required waiting period; the point is to avoid deciding from one angle.
Take a photo from the back door and main approach, with the outline and a fixed reference such as a fence post in view. Note which side faces the entrance and why you chose that position, such as preserving a path or avoiding a drain. If you compare another size or turn the building around, change the marks and repeat the walk-through rather than trying to imagine the difference. Remove low markers when the test is finished so they do not become a trip hazard or get left in the lawn. Assess the garden shed S listing from its own stated information, not by assumptions based on the name.
Match your final outline to the order
Before placing the order, compare the outline with the exact item selected for purchase. Confirm the model name and version, outside dimensions, door position and any drawing that defines the base or projection. Check that you marked the item you actually intend to buy, not a similar model, and do not infer a size from a word such as 'small' or from the order of numbers in a product name. If one important measurement is unclear, pause and ask for clarification; matching the drawing to the markers is easier before you commit than after delivery.
Keep the product information with a note of the measurements and position you tested. If the outline works, that record helps you explain the selected layout and any site questions when arranging the purchase. It does not confirm what is included, how a base must be prepared, whether the position meets relevant requirements or what access is needed for delivery; confirm those details with the seller or an appropriate professional. Once the exact dimensions and separate practical questions agree, the mock-up has done its job: it turns figures into a garden-specific decision before you order.
Frequently asked questions
What should I use to mark out a garden shed?
A tape measure, visible corner markers and string or cord are enough for a straightforward outline. On a suitable hard surface, temporary tape or chalk can show the edges. Keep markers easy to remove and avoid driving stakes into ground where buried services may be present.
Which garden shed measurements should I mark?
Use the dimensions that describe the outside footprint at ground level for the exact model you intend to order. Check what the drawing includes: wall or floor size, roof projection and internal measurements are not interchangeable. If the labels are unclear, ask before setting out the shape.
Should I mark the base separately from the shed?
Yes, if the product information gives a separate base or ground-preparation area. Mark the shed outline and the base outline differently so you can see how each relates to paths, fences and other obstacles. Follow the exact product instructions rather than adding an assumed margin.
How much space should I leave around a garden shed?
There is no single clearance to assume for every model and site. Check the maker's instructions for any space needed for installation or maintenance, then decide how much extra room you want for walking around, cleaning and using the entrance. Mark those areas separately.
What if the marked position is sloping or close to a boundary?
Treat the outline as a way to identify questions, not as proof that the site is ready or that the position is suitable. Check the product's base requirements and get appropriate professional advice if ground preparation may be needed. Check any requirements for your address separately before ordering.
A full-size outline gives you a practical way to judge garden shed placement before you commit: it shows the footprint alongside the paths, obstacles and entrances you use every day. If the marked size or access does not work, adjust the position or compare another model and repeat the check. Order only once the outline matches the exact item you have chosen and the separate questions about the base, access and site have been answered.
