
How to Measure a Garden Shed Site Accurately
Garden shed planning
Getting a garden shed to fit is more than checking that two numbers appear smaller than the lawn. The measured patch has to match the dimensions relevant to the intended shed, while leaving room for the access and work its position requires. Ground levels, awkward corners, fixed obstacles and the route through the garden can all change what is practical. A careful site survey helps you compare possible locations on facts rather than on a glance at a photograph. This guide explains how to take and record those measurements, then use them when choosing a garden shed and preparing to order.
Site-measuring checklist 1
Use the product dimensions as your reference
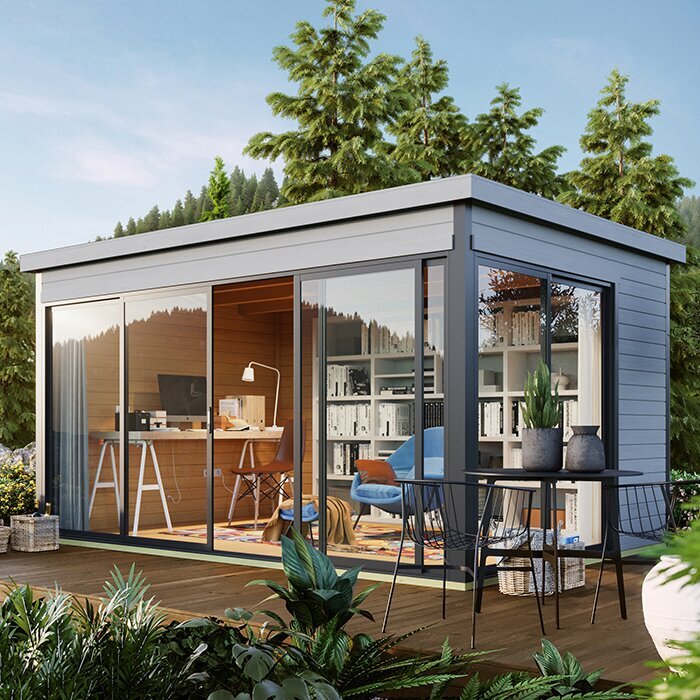
Start with the exact garden shed you are considering, not a size guessed from a photograph or a broad product label. Find the current dimensioned drawing or product information and note the stated width, depth and units. Check what each figure measures: the ground footprint, an overall projection or another part of the structure may be listed separately, and those figures are not automatically interchangeable. If the dimensions needed for site planning are unclear, ask the supplier or manufacturer which measurement the location must accommodate. The page for Verdana 1 garden house is a place to check product information; its name or image alone cannot confirm a fit.
Write the dimensions in a consistent format, such as front width and side depth, and note which edge faces the entrance. If the outline is not a simple rectangle, record the full shape and its widest points rather than reducing it to two figures. Keep the original units beside any conversion you make, and avoid rounding down: a small rounding difference can matter where space is limited. Note the date beside the product information, as drawings or listings can be updated. Keep footprint measurements separate from projections, roof overhangs or entrance details so that each can be checked against the appropriate part of the site. A dated note of the figures and where you found them also makes it easier to check that you are using the same product information throughout your planning.
Measure the clear ground area
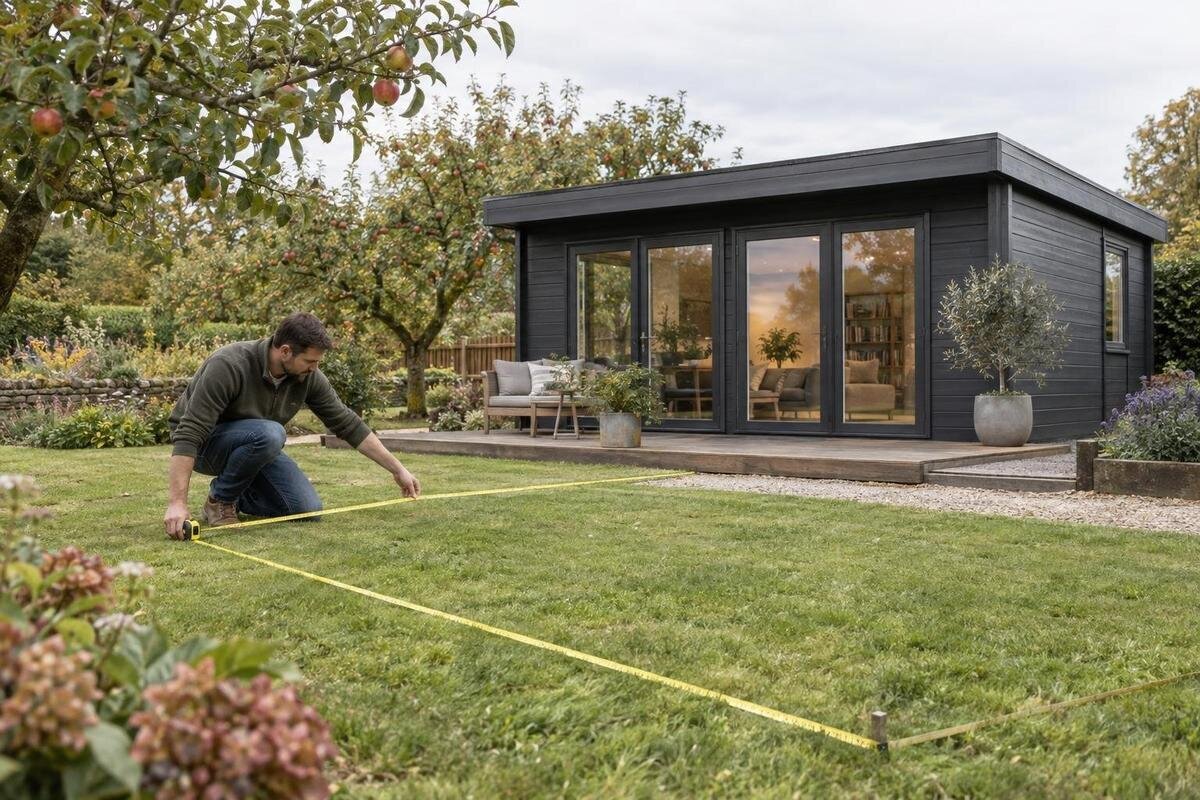
Measure the space at the position you are considering, rather than taking one convenient measurement across the lawn. Use a tape measure along the intended width and depth, keeping each reading straight and aligned with the shed’s sides. Mark the proposed corners temporarily with pegs, string or other removable markers, then measure between those reference points and the actual obstacles that would limit the footprint. This makes it easier to repeat the readings and to see whether the intended orientation is realistic. A diagonal measurement is not a substitute for width or depth: it can make a space seem larger than the distance available in either direction. If the ground is uneven, record that separately rather than letting the tape follow its contours.
List anything that occupies the ground or must remain accessible: a drain cover, tap, step, path, planter or fixed garden feature. Separate removable items from things that will stay, so you do not base the decision on an obstacle you cannot move. Repeat the same method for every option, including the listing for Verdana 2 garden house; do not assume that one product’s measurements apply to another. A clear note of the measured area and its fixed limits is more useful than an estimate of how much lawn looks available.
Site-measuring checklist 2
Find the narrowest points in an irregular site
A garden area may taper, curve or have a corner cut away by a path or planting bed. Take readings near the front, middle and rear of the proposed position, then add measurements wherever a feature projects into the space. The narrowest relevant width can control whether the footprint fits, even if the area is much wider elsewhere. Avoid averaging different readings: an average can hide a pinch point. If you could rotate the shed, measure the clear space again in the new orientation, as the width and depth will then meet different parts of the garden.
For a corner or uneven outline, note each straight section and the distance to the obstruction that affects it. Record where each reading begins and ends, especially if a fence changes direction or a border has an irregular edge. If you are checking whether a roughly rectangular patch is square, measure both diagonals between opposite corners; different results mean you should not treat the area as a perfect rectangle. With a candidate such as Durano garden shed, compare the confirmed product dimensions against both directions and every pinch point, not just the largest reading. This helps distinguish an area that looks open from one that is clear across the whole proposed footprint.
Record slopes and changes in level
A tape laid along sloping ground measures the surface distance, not the horizontal distance across the site. For the plan dimensions, keep the measuring line level where you can do so safely, or take a series of level horizontal readings. Where you use several readings, label their positions on the sketch so the total can be understood later. Do not use the longer surface measurement as if it were the available width or depth. Note which way the ground rises or falls and where the change begins. This gives a more accurate picture of the position than a single measurement taken along the soil.
Check the corners and the area where the shed would sit for dips, raised roots or other changes in level. Record what you observe rather than assuming that a flat-looking patch will need no preparation. If the slope is noticeable, levels vary across the proposed space, or water collects there, ask a qualified installer what the specific site requires. If Veltor 1 garden house is on your shortlist, confirm the relevant site-preparation guidance for that model; its name or photograph cannot establish whether the ground is suitable.
Site-measuring checklist 3
Allow for assembly and ongoing access
The area needed for the shed itself may not be the only space to consider. Assembly can require room to reach different sides, while later access may be needed for maintenance. Consider whether nearby planting, stored bins or garden furniture would occupy that space at the relevant time of year. The space required depends on the particular design and its instructions, so do not apply an arbitrary clearance figure. Check the product guidance for any stated allowances and consider whether the surrounding space will remain accessible once other garden features are in place.
Think about which sides can realistically be reached from a path or open part of the garden, and whether a wall, hedge or fixed item would block access. If there is only room to approach from one side, check that this suits the assembly and access guidance for the shed. For Orello 1 garden house, as for any option, verify the model-specific requirements rather than assuming that a footprint which fits tightly is enough. A little additional room may be important, but the amount should come from the relevant instructions or a qualified installer, not a general rule.
Include the entrance and door movement
Check the door position and opening method on the product information before deciding which way the shed should face. An outward-opening hinged door needs room to move; other opening arrangements have different access requirements. Do not infer the arrangement from the product name or a photograph. If the details are not clear, confirm them with the supplier or manufacturer so you can measure the correct area around the entrance.
Measure the approach from the garden path or gate to the proposed entrance as well as the space immediately in front of it. Include any permanent narrowing caused by a step, wall, raised bed or gate post, rather than measuring only the most open section of the route. Consider how you will walk in and out and whether you expect to carry particular garden items through the opening. Turning space or a nearby step may affect access even if the route is wide enough on a straight run. Before choosing Modano 1 garden house, check the current product details for the door position and operation; then compare those details with the route and clear space you have measured.
Site-measuring checklist 4
Check the route to the site
A shed that fits in the garden still has to reach its intended position. Measure the narrowest clear width along the access route, including gates and the gaps between fixed features. Record the route in order from the property entrance to the site, because a restriction near either end can matter. Check tight turns, steps, changes in level and overhead obstructions such as low branches. A wide gate does not necessarily make a route passable if the path narrows or turns sharply just beyond it. Measure the usable opening with the gate in the position it will be in during access.
Ask the supplier or installer how the particular shed is delivered and what access is needed for its components or handling equipment. The finished shed dimensions alone do not establish whether the route is suitable. For wooden garden tool shed, confirm the relevant delivery and assembly details rather than guessing the size of any parts. If the route includes a narrow passage or difficult turn, share the measurements with the person arranging delivery or assembly before you commit to a location.
Map services, drainage and fixed features
Include visible services and features on your site notes, such as drain covers, taps, outdoor lights, cables or inspection points. Add measured offsets from a fixed reference point, rather than relying on a rough indication on the sketch, where a feature may affect the proposed position. Note anything that needs to stay accessible and where water tends to collect or run after rain. This information can affect which position is practical, even when it does not change the measured footprint. Do not assume that the absence of a visible feature means there are no buried services. Before any ground disturbance, arrange for relevant services to be identified by an appropriate professional or provider.
A simple map can show how a product’s confirmed dimensions relate to the fixed features that remain in the garden. When reviewing wooden garden shed S, compare its verified product information with your site measurements; neither a model name nor a product image describes the conditions at your chosen position. If drainage or ground conditions are uncertain, include that uncertainty in your notes and ask a qualified installer how it affects the proposed location. Avoid treating a clear rectangle on paper as proof that the site is ready.
Site-measuring checklist 5
Record the measurements on a simple plan
Draw a basic top-down sketch of the garden area and label the proposed position, its width and depth, and the obstacles that limit it. It does not need to be a formal drawing or to scale if every measurement is clearly written beside the relevant feature. Give the sketch a clear reference edge, such as the rear wall or fence, and show which way the measurements run. Mark the direction of any slope, the likely entrance side and the route to the position. Use a fixed reference point, such as a wall corner, so that a second person can understand where each reading was taken.
Write down the units and note which measurements are approximate and which you have rechecked. A photograph can help explain a tight corner or an obstacle, but it should support rather than replace the tape measurements. Recheck readings where the fit is close, and keep the product dimensions separate from the site measurements so they are not confused. If someone else will assess access or installation, this compact record gives them a clearer basis for reviewing the position than a verbal description.
Review the figures before settling on a position
Compare the confirmed dimensions for the chosen shed with the smallest clear measurements at the proposed location. Check the intended orientation, the entrance and any model-specific allowance for assembly or access. If another orientation might work, compare it separately rather than assuming the same clear space remains available. A close match is a reason to recheck the measurements, not to round them down. Allowances should come from the product instructions or a qualified installer; there is no single extra distance that can be applied to every garden shed.
If your notes reveal uneven ground, unclear product dimensions, hidden services or a difficult access route, resolve those questions before treating the location as settled. Set out outstanding questions beside the relevant measurement or feature, so that they can be answered without relying on memory. Ask the relevant supplier or qualified professional to confirm any detail that could change the fit or installation. Keep the measurements with your product information, and repeat the comparison if you change the model, entrance orientation or proposed site. That final review helps make the purchase decision reflect the actual space rather than a rough estimate.
Frequently asked questions
Which dimensions should I compare with the garden shed site?
Use the dimensions the manufacturer identifies as relevant to the shed’s ground footprint and site clearance. Note the width and depth, check what each figure refers to, and compare them with the clear space at the proposed position. If the drawing is unclear, ask before relying on the measurements.
Where should I measure the available space?
Measure at the intended position and in the same directions as the shed’s width and depth. Take readings at several points, especially where walls, fences, paths or other fixed features narrow the area. The widest point alone may not show whether the full footprint will fit.
How do I measure a sloping site?
For the shed’s plan dimensions, measure horizontally rather than following the slope of the ground. Record where the ground rises or falls and note uneven or low spots. If the levels vary noticeably, ask a qualified installer what the chosen shed and its site preparation require.
How much extra space should I leave around a garden shed?
There is no single clearance that suits every shed or site. Check the instructions for the specific model and allow for any stated assembly, access and maintenance space. Also account for the door’s opening method and the route to the entrance.
What if my measurements only fit after rounding?
Measure again and compare the unrounded readings with the product’s confirmed dimensions and any required clearance. A close result may leave too little room for access or installation. If the fit remains marginal, confirm the figures with the supplier or installer before settling on the position.
A reliable site measurement is a set of linked facts: the shed’s confirmed dimensions, the narrowest clear area, changes in level, access and any fixed feature that will remain. Record them together and revisit them if the product or orientation changes. That gives you a sounder basis for choosing a garden shed than a rough estimate of the open lawn.
