
How to Measure Sliding, Patio and Bifold Doors

Planning patio door openings
On paper, a broad area of glass leading to the patio may appear to need only a chosen width and height. The real survey is more involved. The masonry aperture, final floor, wall layers, direction of travel and exterior paving all influence whether the proposal can be built sensibly. One reading is inadequate for sliders and folding systems. Committing to a nominal size too soon may conflict with finishes, blinds, furnishings or the drainage junction. Keep three stages distinct: what exists on site, the dimensions used to develop the design, and the sizes eventually released for manufacture. The following process creates a consistent record and identifies matters to raise with the specifier, fitting contractor and vendor.
Check before enquiring 1
Start by choosing the door movement
Decide first what motion suits the intended use, because that determines the survey. A hinged patio leaf sweeps through an arc, a slider travels across the opening, and multiple bifold leaves gather together. Each arrangement changes the effective walkway, operating hand and possible furniture positions, not merely the total span. Plot the room and terrace, including seating, an island and radiators, then trace the routes people will use. A wide glazed elevation might still need only a modest daily access leaf. By contrast, frequent movement of bulky items to the garden may favour another division of panels, while a balcony door opened only occasionally could have different priorities.
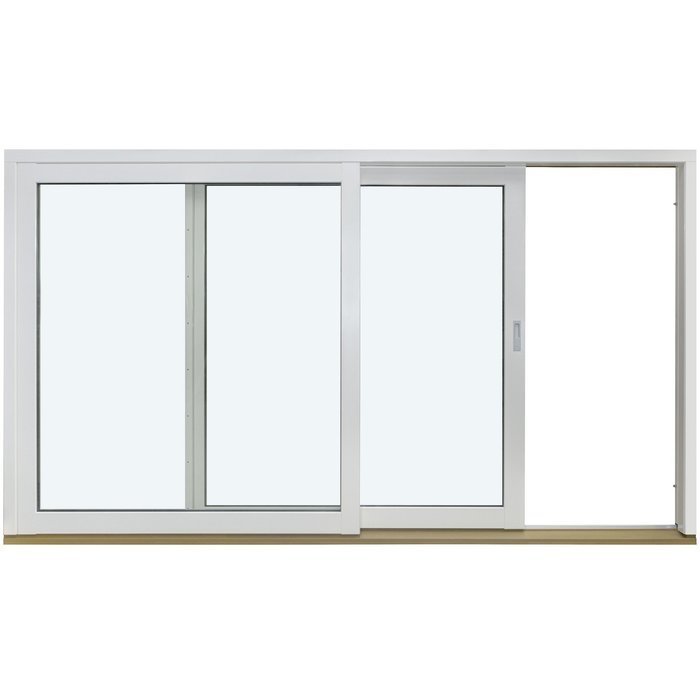
For an early comparison, look at a Patio Life lift-and-slide system beside a conventional hinged design. Treat it as an illustration of format only: obtain its dimensions, specification and options separately. Your drawing should show the stationary panel, the travelling panel and the side occupied after opening. Add any visual alignment wanted between full-height glass and a neighbouring window. On a refurbishment, decide whether the masonry aperture is to be retained or redesigned. Recorded figures have a dependable context only after the intended use, viewing faces and sequence of movement have been settled.
Record structural and clear openings separately
Before any frame is fitted, the structural aperture is the gap formed by the building work. Clear opening refers instead to the usable passage, or the visible space inside an existing assembly. Keep separate records for these different conditions. On new work, take three horizontal readings between the reveals—low, middle and high—and three vertical ones—left, middle and right—measured from the nominated datum. In an existing home, architraves, retained frames, plaster returns and thresholds may hide the underlying aperture. Label the exact start and end surfaces for every reading. Marking those locations on a photograph makes the survey easier to interpret later.
Choose a firm measuring tape or an appropriate laser device, then verify any surprising result by hand. Enter each reading in millimetres instead of retaining only the greatest. Although the tightest point may constrain the design, investigate why figures differ. Distorted reveals, a floor out of level and unknown plaster thickness each require different consideration; a consistent aperture presents another case. Compare both corner-to-corner dimensions as a check on squareness. If they differ, the geometry needs attention. This record supports informed option discussions, but a competent contractor must still complete whatever site measurement is required before manufacture.
Check before enquiring 2
Set the finished floor level datum
A vertical reading is meaningless unless everyone uses the same datum. For a patio doorway, nominate finished floor level and identify it both on the wall and in the sketch. On a new build, calculate that plane from all outstanding layers, including build-up, screed and final covering. In an existing home, record whether the current finish stays, will be renewed, or is being replaced with a different thickness. Take the opening height from the proposed finished plane to the lintel soffit. If floor construction remains undecided, separately note the present distance to the bare slab. Labelling each figure this way distinguishes today's incomplete state from the level users will eventually experience.
Repeat the level exercise externally. Carry the common datum through the threshold zone and relate it to the proposed top surface of the patio. Put the intended fall, paving thickness and façade junction on the section, even where decisions remain open. An apparently correct internal fit does not settle the outdoor connection. A sliding door must be reviewed against the future relationship between indoor flooring and exterior paving, rather than the exposed construction edge alone. Ask the project designer or fitting contractor what survey details their installation method requires and appoint the person who will reconcile the levels. For refurbishment, the brief should also state whether neighbouring rooms are expected to share one finished plane.
Capture the opening width, wall depth and frame location
Wall thickness matters alongside aperture width because it governs the meeting of frame, reveals and interior finishes. Check it at several positions and describe every layer you can identify, such as the load-bearing wall, insulation, lining, plaster and any independent inner leaf. Do not assume that a picture of the exposed return reveals the full construction. In a layered external wall, select the frame plane in relation to the whole assembly. If that plane has already been chosen, show it on a cross-section. Otherwise, the outside elevation cannot be reconciled properly with inside returns, shutters or cills. Mark any unidentified material as unknown rather than guessing. Compare the apparent depth at each jamb and across the head and sill; variations can indicate local finishes or hidden junctions. A labelled cross-section distinguishing room side from weather side usually communicates this better than a collection of detail images without captions.
Measure the wall sections available to left and right, up to corners, downpipes, posts, sockets, radiators or other openings. With a side-sliding system, a fixed panel can shape the view while the moving section needs no swing space when opened. A Siegenia sideways-sliding door should not be judged from overall span alone. Specify the intended travelling side and name the viewpoint used for each internal or external elevation. Reserve space on the same drawing for curtains, blinds and fitted cabinetry. This lets the team check at an early stage that the operating hardware, handles and surfaces needing cleaning can still be reached.
Check before enquiring 3
Always mark opening direction from the correct view
Left and right become ambiguous as soon as the observer's position is omitted. Make a simple elevation from the room and another from the patio for every doorway. On a hinged unit, locate the hinges, add the arc of travel and write whether movement is towards the interior or exterior. On a slider, arrows should trace travel while labels distinguish stationary and movable panels. For folding doors, plot the hinges between leaves and the side where the bundle rests. A site photograph remains useful evidence of existing conditions, but it cannot communicate the chosen movement of a replacement as clearly as an annotated sketch.
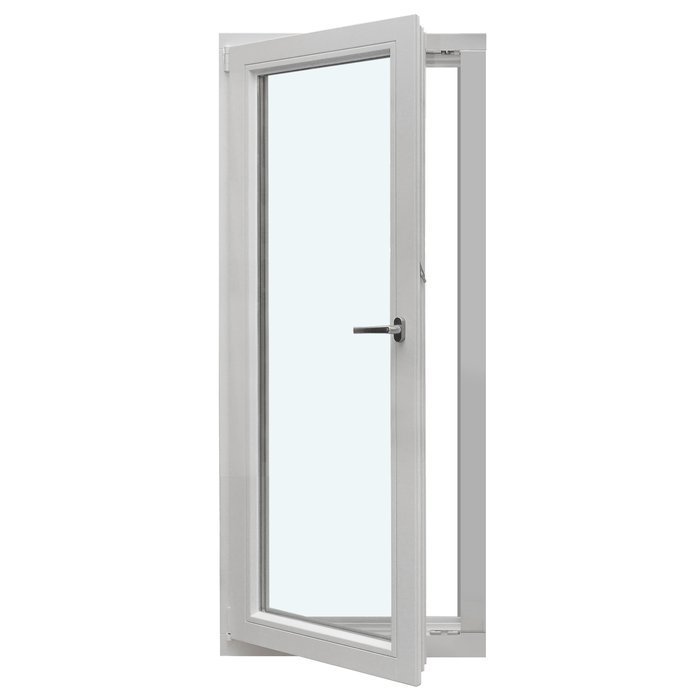
Opening towards the patio releases room space, provided the leaf has a clear area outside. A single patio door opening outwards must be tested against pots and planting, balustrades, steps and outdoor furnishings. A leaf opening into the room uses floor area there instead, potentially beside seating or a table. Replace a vague left-or-right description with three precise statements: the observation side, the direction travelled and whether the full arc stays free. Those answers make the requested configuration far less ambiguous. Think through everyday traffic too. A person carrying a tray, pushing a buggy or moving garden furniture should be able to follow the intended route without awkward detours.
Measure a bifold system as a movement sequence
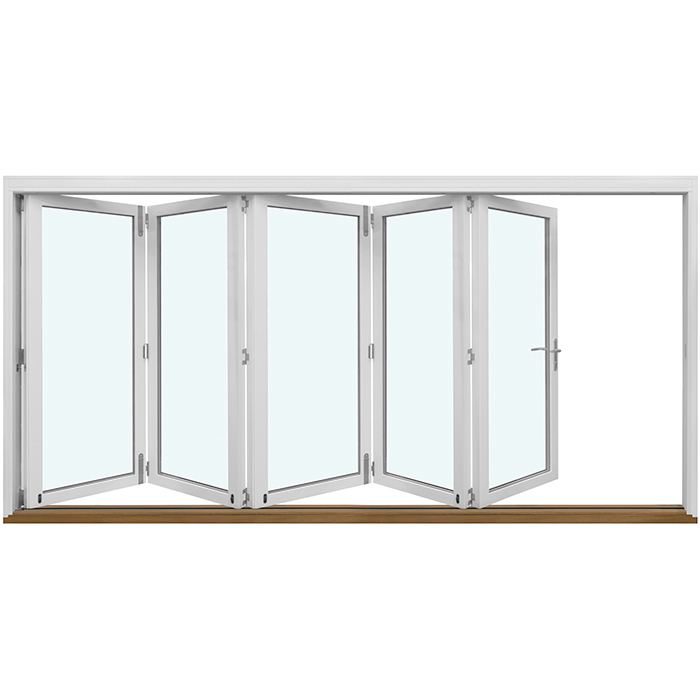
For folding doors, usable access depends on both the leaf count and the way those leaves are grouped. Survey the complete aperture, then plot the footprint occupied when the panels are folded together. Identify whether this bundle rests indoors or outdoors and at the left or right. Check the chosen position against corners, lamps, screening and the main approach to the patio. Where the design includes a lead leaf for ordinary entry, label it clearly; otherwise even a quick visit outside might require operating the entire assembly. For a broad opening, cut or draw the leaves to scale on paper and move them through the sequence before settling the layout.
An bifold arrangement opening outwards illustrates why the patio area and the side used for parking the leaves need close study. Use the chosen product data and installation proposal to verify panel division, operating method and clearance before confirming the design. On an existing terrace, record nearby parapets, steps or other changes of level, plus posts supporting any cover. A folded bundle may appear acceptable in a static drawing yet constrict the busiest route once people use it. During refurbishment, include retained hardware, linings and canopies that might interfere. Resolve this practical movement test before choosing equal panel widths or decorative glazing bars.
Check before enquiring 4
Assess the passage, not total width
Nominal system width tells you little about the space left for people to pass. Frames and swinging leaves reduce access in one way; sliding panels and folded bundles do so in others. Some multi-panel layouts retain a stationary section, while the gathered leaves occupy part of the potential route. Write a practical brief instead of requesting the biggest possible opening. Consider a person bringing food outside, regular movement of garden furniture, circulation between kitchen and dining area, and whether the doorway chiefly provides air and outlook. Describing these routines directs attention to the right operating type and panel division.
A inward-swinging single patio door may suit a narrow stretch of wall if its arc remains free within the room. A broader assembly can increase both access and the glazed view, although structure, perimeter junctions and the terrace then require closer coordination. Show furnishings at their true dimensions and include curtains plus the area swept by the leaf. Where kitchen and patio traffic is busy, rehearse two people passing in opposite directions. Convert what you learn into a functional access brief, not a manufacturing dimension chosen by the homeowner. The actual clear width can only be known from the selected construction after the site survey has been confirmed.
Document the lintel, reveals and existing fabric carefully
Give the head of the aperture as much scrutiny as its base. Take lintel heights near each jamb and midway across. Photograph and locate cracking, cables or pipes, shutter housings and any unusual interfaces. When an old unit is being replaced, its frame can mask the underlying returns; do not dismantle parts merely to obtain a reading where fabric or weather seals might be harmed. Instead, identify what can be seen and flag what remains uncertain. Enlarging the aperture in either direction goes beyond selecting a door. Appropriately qualified people must assess work to the wall and consequences for connected elements.
Lay a long straight edge against each side to identify hollows, projections or changes of plane. Even an exact width does not tell the installer whether the receiving surface is suitable. Record nearby interior features, including cills, heating appliances, linings and electrical items. Externally, masonry finish, render, cladding and retained weather seals can alter the junction design. Organise the survey under three labels—structural aperture, room-side connection and weather-side connection—so the contractor can distinguish the evidence. Never assume the new detail is resolved simply because the existing leaf appears to sit neatly in its present frame.
Check before enquiring 5
Draw the patio, water route and outdoor space
Extend the survey beyond the frame and map the immediate patio area. Show surface finishes, direction of fall, steps, drainage, overhead cover, rails, containers and circulation paths. If this space is due for renewal, add the proposed arrangement as well as present conditions. Rainwater has to be considered with the threshold and façade details from the outset, especially in Ireland's wet, Atlantic-influenced climate; it is not a finishing thought. This article is not a drainage or weatherproofing design. Its purpose is to prompt timely coordination: identify the future paving level, intended route for water and the professional responsible for bringing patio, façade and doorway details together.
For a two-leaf patio door opening outwards draw both arcs on the patio elevation, then check them against steps, routes and places to sit. A different product is not the only possible response: repositioning furniture or a barbecue, or altering circulation, may remove the conflict. Make the compromise deliberately rather than discovering it after installation. Add proposed awnings, external blinds and insect screens so their mounting zones and controls can be coordinated. In the confined garden of a terraced home, a slim route at the side may govern the layout; on a larger terrace, the priority may instead be keeping furnishings away from the glass.
Turn the survey, enquiry and order into a clear process
Build the enquiry from a controlled survey sheet. Give each aperture its own position code and record the site address, room, survey date and contact. Attach labelled photographs from both sides, a plan, an elevation and the full set of millimetre readings. Separate existing conditions from proposals such as replacement flooring, patio work, room fit-out, blinds or new linings. Never put measurements taken at different stages into one unqualified column; write “unresolved” where evidence is missing. The enquiry should describe the aperture type, viewing face, leaf travel and whether each size relates to unfinished structure or completed surfaces, rather than sending only two headline dimensions. Maintain revision identifiers and clearly cancel superseded sheets. Before approval, confirm the current drawing, authorship of changes and common level reference used by interior, façade and patio designers. This disciplined trail stops individually correct details from separate revisions being assembled into an incorrect whole.
A two-leaf patio door opening inwards is unambiguous only when the survey identifies hinge positions, active traffic leaf, interior constraints and the height datum as well as the full aperture. Have the supplier reconcile each position with your drawing before release, and agree who undertakes the definitive site survey and coordinates every junction. Bloomcabin provides a five-year commercial guarantee for its windows and doors. The stated delivery period is four to six weeks, subject to confirmation of the order. Neither term substitutes for technical sign-off or a project-specific review. File approved drawings, readings and revision histories together; where a façade has several openings, position codes reduce the risk of assigning an accurately surveyed unit to another location.
Door-measuring questions
Which opening reading should I submit—the smallest or the largest?
List every reading and identify where it was taken; do not submit a single chosen figure. The tightest area often guides design development, but the cause of any variation also needs investigation. A distorted reveal, sloping surface or incomplete floor each prompts different questions. A professional should approve the manufacturing dimension.
Which viewpoint defines left and right on a patio door?
Name the viewpoint each time, such as “looking from the room”. For a hinged leaf, show its hinge location and draw the direction of swing. On sliders, label stationary and travelling panels with an arrow. Annotated elevations from indoors and outdoors are safer than writing “DIN left” on its own.
Can the old door dimensions be reused for its replacement?
Existing dimensions provide evidence, not a manufacturing size. Retained framing may hide the masonry aperture, while changed flooring, perimeter details or a new operating style can alter the required design. Document visible conditions, limits on opening up the fabric and proposed finishes. Have a competent contractor verify the installation before manufacture.
Does the patio need to be fully planned already?
No, but establish the important levels and features, or label undecided items clearly. Record proposed paving level, falls, steps, routes and nearby obstacles so threshold connections can be developed. Where no exterior scheme exists yet, keep the level question open rather than selecting the door against an invented patio height.
What details should accompany width and height in an enquiry?
Describe the operating type, viewing faces, leaf travel, structural and finished sizes, wall thickness and floor datum. Supply labelled images and a drawing, noting patio layout, shading, nearby furniture and adjacent construction. For refurbishment, identify distorted reveals, retained linings and proposed alterations.
Next steps
An effective survey anticipates daily use as well as construction. Trace who will use the doorway, how each leaf travels, where indoor and patio levels meet, and what adjoins the frame. Treat wall, aperture, room and exterior as a single coordinated setting. Attach a datum and location to every reading instead of promoting one figure directly to an order size. With annotated drawings, site images and unresolved matters clearly listed, you can compare operating systems on dependable information. The chosen configuration and installation details should then be completed through coordinated work by the relevant competent professionals.
