
How to measure windows correctly for replacement
Guide to replacing windows
Begin a replacement project by surveying the opening already in the wall rather than relying on a catalogue dimension. The visible pane and the old frame tell only part of the story; either can give a misleading impression of what will suit the aperture, fitting method and junctions. If several windows are involved, prepare the same measurement sheet for each one. A consistent record highlights differences between rooms and keeps dimensions, opening direction and non-standard shapes together. Your own readings are useful for comparing options, but the installer or surveyor responsible for the work should verify every manufacturing dimension before an order is placed. The window, seals, cill and fitting details can then be coordinated as one job.
Start by defining what you are measuring
A replacement survey involves three separate dimensional references. First is the masonry aperture: the unobstructed space available in the wall. Second is the outside dimension of the proposed frame, meaning the component that will occupy that aperture. Third is the visible opening or pane area, which cannot establish by itself whether the replacement will fit. Dimensions taken from the old frame may be unreliable too, as plaster, trims or other finishes can hide part of it. Label every entry on the survey sheet as aperture, existing frame or visible area. Keeping those references separate gives the supplier usable information and reduces confusion when the survey, manufacture and fitting stages are handled by different people.
Decide at an early stage whether the existing frame is coming out completely or a different replacement method is proposed. The choice affects the resulting sightlines, available pane area, junction details and where the new frame sits in the wall. Its outside dimension may need to be reduced to leave the specified fitting clearance, without making the chosen window inherently too small. Conversely, an aperture reading taken tightly against the edges cannot simply become the manufacturing dimension. An installer must consider the condition of the supporting material, the reveal and the sealing arrangement together. For early comparisons, a one-sash window opening inwards is useful only when its intended operation and the circumstances of the proposed installation are recorded alongside the aperture.
Take widths and heights in several locations
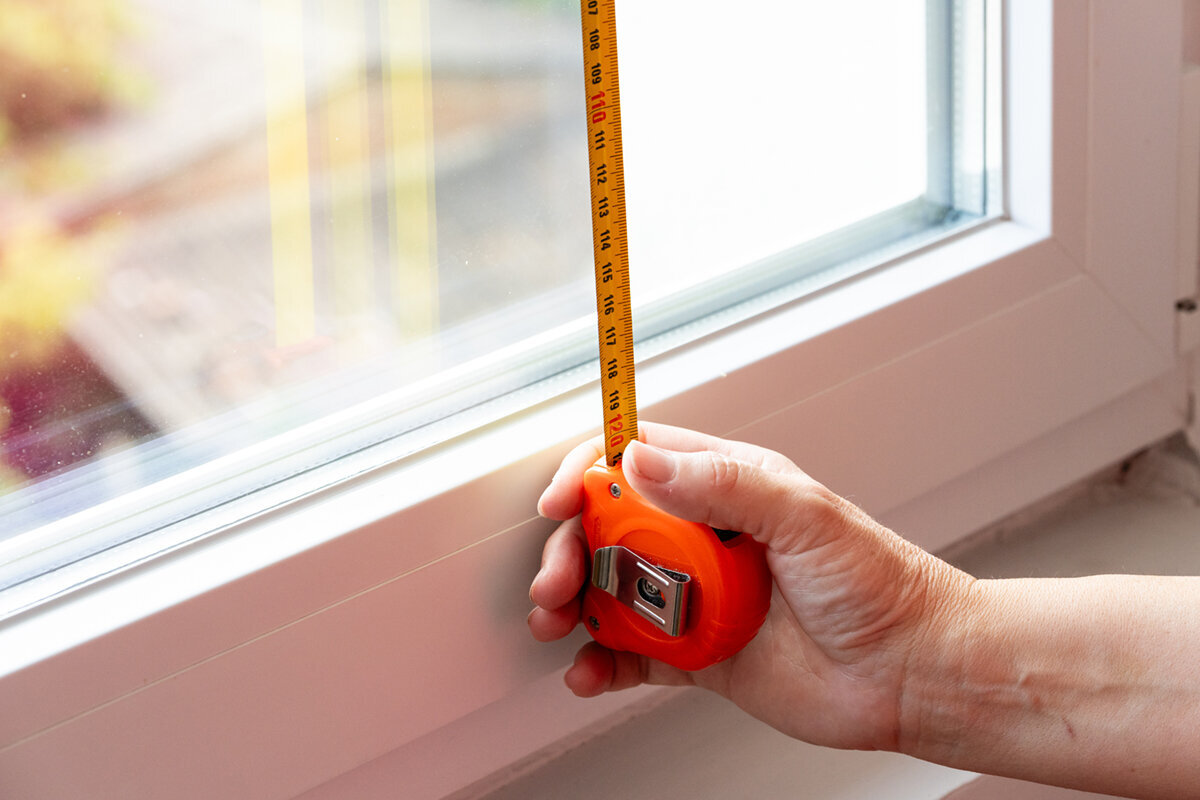
Across the exposed aperture, take a width near the head, another halfway down and a third near the base wherever possible. For height, work at the left, centre and right from a firm lower datum up to the head. Older openings are rarely perfectly regular: shaped plaster, uneven reveals or a sloping masonry cill can produce different results. Enter each measurement in millimetres instead of calculating a rounded average, and highlight the lowest figure. That reading identifies the constricted area where fitting clearance and tolerance require close attention. If an internal window board is merely an added finish rather than the true lower junction, do not use it as your datum.
Suppose the upper and lower widths are close, yet the reading halfway down is appreciably narrower. A plaster ridge, local bulge or uncertain edge may explain the difference. Keep the result, photograph the tape against that position and add any visible explanation to the record. Treat height datums with the same care: the finished floor indoors may bear no useful relationship to an external threshold or cill built at another level. Add a simple drawing of the measuring positions for every opening. The surveyor can then decide whether an irregular result affects the design or whether a firm conclusion must wait until finishes have been removed.
Find the true edges without causing damage
Curtains and blinds are not the only obstructions: internal linings, shutter-box covers and removable trims may hide the boundaries that matter. Detach only items that are safe to remove and already included in the planned strip-out. Leave seals intact and avoid cutting into a reveal merely to obtain an early reading. The purpose is to understand the existing arrangement without destructive work: identify the frame boundary, the beginning of the wall, the depth of the junction and any finish that reduces the visible area. A torch, firm rule or tape, a square and paper will cover most preliminary surveys. A laser may assist, although every result still needs to be checked against the physical edge concerned.
Hold the measuring tool at right angles to the aperture each time. If it runs diagonally, the resulting distance will be overstated. In a deep reveal, compare the dimensions at the room face with those nearer the exterior, as the two may not match. Record both planes where the wall tapers or the plaster has a pronounced profile. Rather than guessing which plane the installer will adopt, describe and photograph what is present. Useful coverage normally includes a room-side view, an exterior view and a close-up of a lower corner. Put a rule in shot to show scale. This evidence informs the work, but the final site survey must still address the opening that will actually receive the frame.
Consider the reveal depth and every junction
The survey must extend beyond the aperture’s face dimensions. Check reveal depth on more than one side and indicate any difference between its indoor and outdoor formation. Record where the current frame lies through the wall thickness—towards the room, around the centre or nearer the exterior. That location affects the meeting points for new linings, the cill, weathering details and possible shading. Without disturbing the fabric, describe visible materials and defects, such as masonry, concrete, timber finishes or an area that appears soft or damaged. These observations do not determine a manufacturing dimension, but they help the installation designer choose suitable fixing positions and junction details.
Examine the base as a set of separate levels. The internal board, external cill, masonry below the opening and frame junction may not align. A later-added board can obscure the real datum, while an outdoor cover or drainage fall may conceal an edge. Write the endpoints beside each figure, such as “clear internal height from firm masonry cill to head”. For a fixed-glazed window the same precision is required even though there is no opening arc. A fixed light may suit an inaccessible position, but its frame, drainage and junction with the wall still need a coordinated design.
Establish operation independently of the product photograph
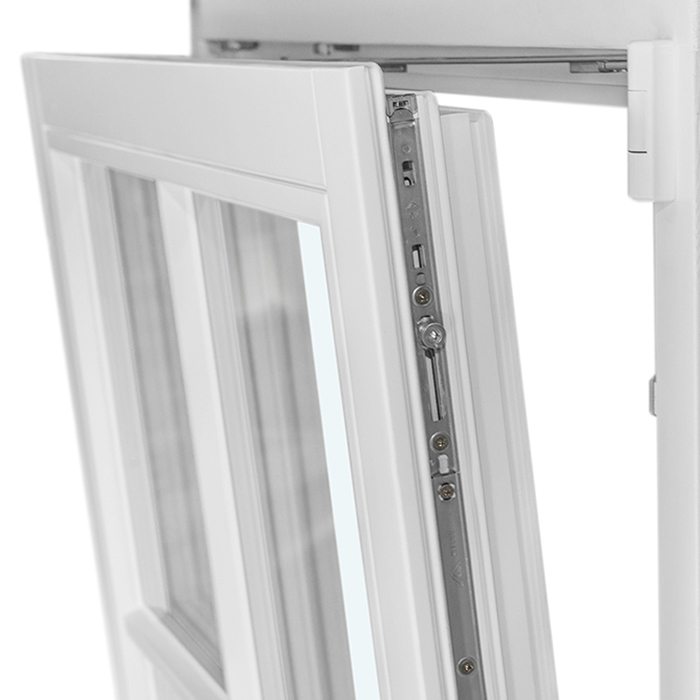
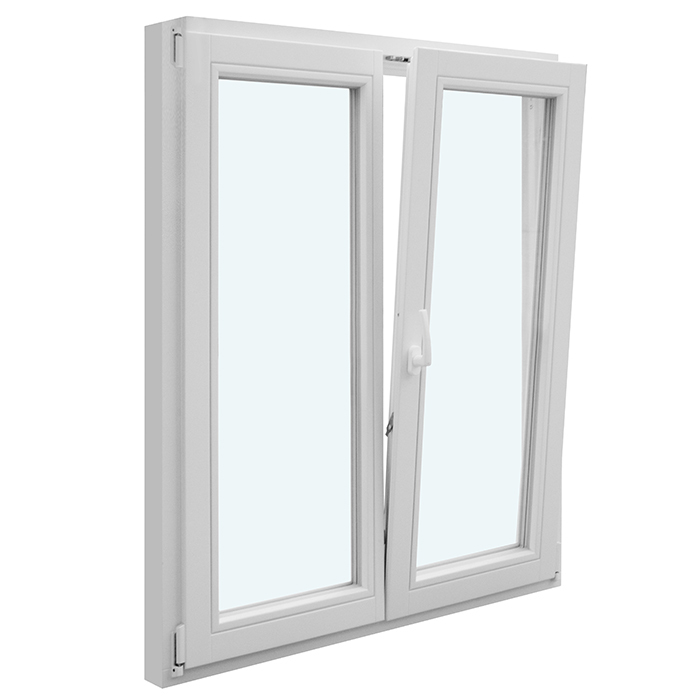
A set of dimensions cannot tell you whether the sash will move freely. For each operable window, state the viewpoint used to describe its action; “seen from the room” is usually the clearest convention. Note inward or outward movement, one or two sashes, the operating style—such as side-hung, tilt or pivot—and the hinge side if chosen. Show the sweep of each sash on the drawing. Potential clashes with radiators, taps, furnishings, curtains and paths outside will then be easier to spot. Size and operation must be reviewed together, because an element that fits the masonry can remain inconvenient to open, clean or use.
Look beyond a comparison between the existing unit and the preferred replacement; consider how the entire room or route will be used. A sash moving into a kitchen may meet the tap, while one moving outwards could narrow an external passage. For a larger aperture, a two-sash window opening inwards behaves differently from a single-sash design with an equal total width. Its division affects the outlook, cleaning access and free space needed for operation. Identify which sections are intended for routine opening so fixed lights and movable sashes can be arranged deliberately rather than repeating the old layout by default.
Survey non-rectangular openings individually
Circular, semicircular, triangular and raking openings require a fuller set of readings. Sketch the outline against a clearly identified baseline. On a circle, take diameters in at least two directions. For a semicircle, add the length of its flat base and the rise of the curved section. For triangular and sloping fixed-glazed windows the designer will usually require the baseline width, relevant vertical dimensions and either an unmistakable angular reference or an accurate plot of every corner. A scaled photograph is supporting evidence, not a substitute for the geometry. An opening that appears balanced may not be truly symmetrical, particularly where an older building has irregular arches or slopes.
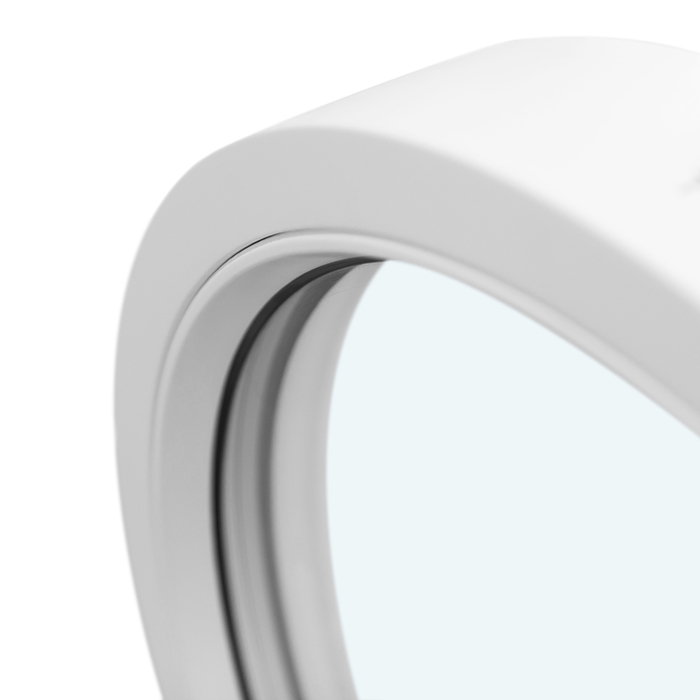
For a circular fixed-light window , distinguish the apparent circle from the aperture into which the frame will be installed. Plaster, linings and the form of the reveal can change the shape visible from a room. Identify the face from which each reading was taken and say whether any frame edge is exposed. A cardboard pattern may help during an early conversation about a raking opening, but it is unsuitable for manufacturing: the material can change shape and may not follow the actual frame plane. Supply measured geometry, well-chosen photographs and a description of the wall build-up instead. Before a bespoke item is approved, a qualified site surveyor should validate the shape and all junction dimensions.
Capture glazing divisions and their visual balance
Even a replacement that fits correctly may look wrong if its divisions have not been defined. Take a square-on photograph of every window. Where several sashes or lights are present, measure their visible widths, locate the central mullion and mark the level of horizontal divisions. Explain which lines are significant: true divided glazing, applied bars and frame-only subdivisions produce different effects. An order described merely as “with glazing bars” leaves too much open to interpretation. Add dimensions and a key to a hand drawing, and label it as an interior or exterior elevation. Choose one consistent origin for dimension chains—for instance, the clear edge on the left when viewed from the labelled side—so nobody reads the subdivision positions in reverse.
A period character may be desirable in an older building without requiring every detail of the former window to be reproduced. Identify what creates that impression: sash count, the level of a division, narrow lights or perhaps an arch. Only after that should you compare, for instance, a traditional double casement window against other operating arrangements. The product label describes one configuration; it cannot determine the right proportions for a particular elevation. Review sightlines, glazing bars and opening functions as part of the building’s overall composition, not window by window. A simple elevation drawing for the street and garden façades will show whether related apertures should align or whether their different room uses justify an intentional variation.
Include cills, shutters and exterior details
Survey the components around the frame as carefully as the aperture itself. Note whether an internal window board enters the reveal and whether there is an external cill, cover or other finish, including the amount each part projects. Take depths from a named wall plane and photograph both ends. Mark the locations and approximate clearances of shutter boxes, tracks, external shading or awnings. Flyscreens, guarding and rainwater pipes may also restrict movement or access. Recording these relationships early shows how a revised frame position could affect the surrounding work and reduces the likelihood of improvised alterations when the replacement arrives.
Give extra scrutiny to any opening close to floor level. For a single-leaf patio door opening inwards , include the threshold and the permanent indoor and outdoor floor build-ups as well as the fall of the adjacent surface. A loose mat, removable decking layer or temporary cover is not a reliable datum. Identify which finishes will stay and the direction available for drainage. Images can document the arrangement but cannot settle whether construction changes are required. The installer should review the materials, weather seal and adjoining details as one system. At enquiry stage, concentrate on an accurate account of what is present instead of proposing an unverified technical fix.
Use a separate survey sheet for every aperture
Assign a distinct code to each element—for example, G-W01 for the first ground-floor window or F-D02 for the second door on the first floor. Repeat that code on its drawing, every image and the corresponding product enquiry. The entry should identify the room and façade, all width and height readings, reveal depth, intended operation, nearby obstacles and both interior and exterior photographs. Include when the survey was completed and who took the measurements. This system stops records from similar-looking windows becoming mixed. A combined schedule will also reveal which apertures truly share dimensions and which appear alike only at a glance.
Set out the information in two columns headed existing and proposed. Confine the first to observed conditions. Use the second for preferences such as fixed glazing, sash direction, glazing bars, privacy glass or a revised division. Keeping them apart prevents an intended dimension from being mistaken for a site reading. Where the opening is broad, a Patio Life lift-and-slide system is one possible alternative to hinged leaves. Its presence in the range does not establish that the existing aperture can accept it. Compare the overall dimension, threshold design, side junctions and operating area required by each proposal. In this way, the survey sheet becomes both a record of the building and a practical aid when selecting the wider project approach.
Obtain final approval before ordering and organise the sequence
Preliminary readings help narrow the choices and make early discussions productive, but manufacturing dimensions must correspond to the final installation proposal. Arrange the definitive survey after deciding which frames, linings, boards and shading components are to be stripped out and which finishes will stay. The surveyor needs safe access on both faces of the opening and a method for noting discrepancies on site. Agree who signs off dimensions, designs the junctions and coordinates later plastering, cill or decorating work. Measurements passed on verbally from different project stages are too easily confused. Clear furniture, curtains and removable covers before the visit. If an important edge cannot be exposed until removal begins, decide beforehand who will assess it and when the manufacturing release can occur. A provisional assumption will then remain clearly provisional.
For the final review, have the completed sheets, images, preferred products and outstanding questions together. Confirm the measurement plane, the dimensions authorised for manufacture, and the treatment of the head, base and side junctions. Ask what must be removed beforehand and how hidden damage or an unexpected aperture will be handled after strip-out. Record each amendment against its element code. Bloomcabin’s commercial guarantee for windows and doors lasts five years. Typical delivery is four to six weeks, subject to the confirmed order. Do not programme removal or associated trades until the order and timing have both been agreed.
Questions customers often ask
Do I measure the existing frame or the masonry aperture?
The wall aperture is the primary reference for replacement planning, although a visible outside frame dimension is useful supporting information. Write down both where accessible and label each clearly. The manufacturing size can be established only after considering the aperture, intended frame position and fitting clearance. Have the installer or appointed surveyor approve the definitive site dimensions.
What if my width readings do not agree?
Keep every result: the three widths across the head, centre and base, plus the three heights taken at the left, centre and right. The lowest clear figure reveals the constricted location but does not itself become the manufacturing dimension. Plaster, supporting fabric, frame position and proposed junction details must also be assessed by the surveyor.
Is an indoor-only survey useful when the exterior is inaccessible?
Yes. Room-side readings can support an early enquiry, provided the record says that the exterior remains unexamined. Add any safe exterior photographs you can obtain. Outdoor reveal geometry, shading, cills and frame junctions may differ from what is visible indoors, so the outside face must be assessed before dimensions are finally released.
Should similar-looking windows each have their own survey?
Yes. Apparently identical apertures on one façade may vary because of their plaster, masonry cills, earlier alterations or settlement. Survey and code every one separately. Group elements under a shared configuration only after the complete records demonstrate that their dimensions and other relevant conditions genuinely match.
At what point should the order be placed?
Wait until the configuration, manufacturing dimensions, sash direction, junctions and responsibilities are settled. Compare the confirmation line by line with the coded element schedule. Bloomcabin windows and doors usually require four to six weeks for delivery, subject to order confirmation, so arrange removal and later trades only around confirmed information.
Next step
A useful self-survey records the current aperture clearly while recognising what only an installation professional can decide. Repeat the width, height and depth readings; label every datum; separate operating preferences from existing conditions; and connect each photograph to the correct code. With shaped apertures, doors near floor level and prominent subdivisions, the answer comes from the relationship between the building fabric, intended use and fitting design rather than one measurement. A thorough sheet makes product comparisons more focused and exposes questions that still need answers. Final manufacturing dimensions should be approved by the professional responsible for coordinating the frame installation and its junctions.
