
Making a Window Opening Larger: What to Plan First
Before the Wall Is Opened
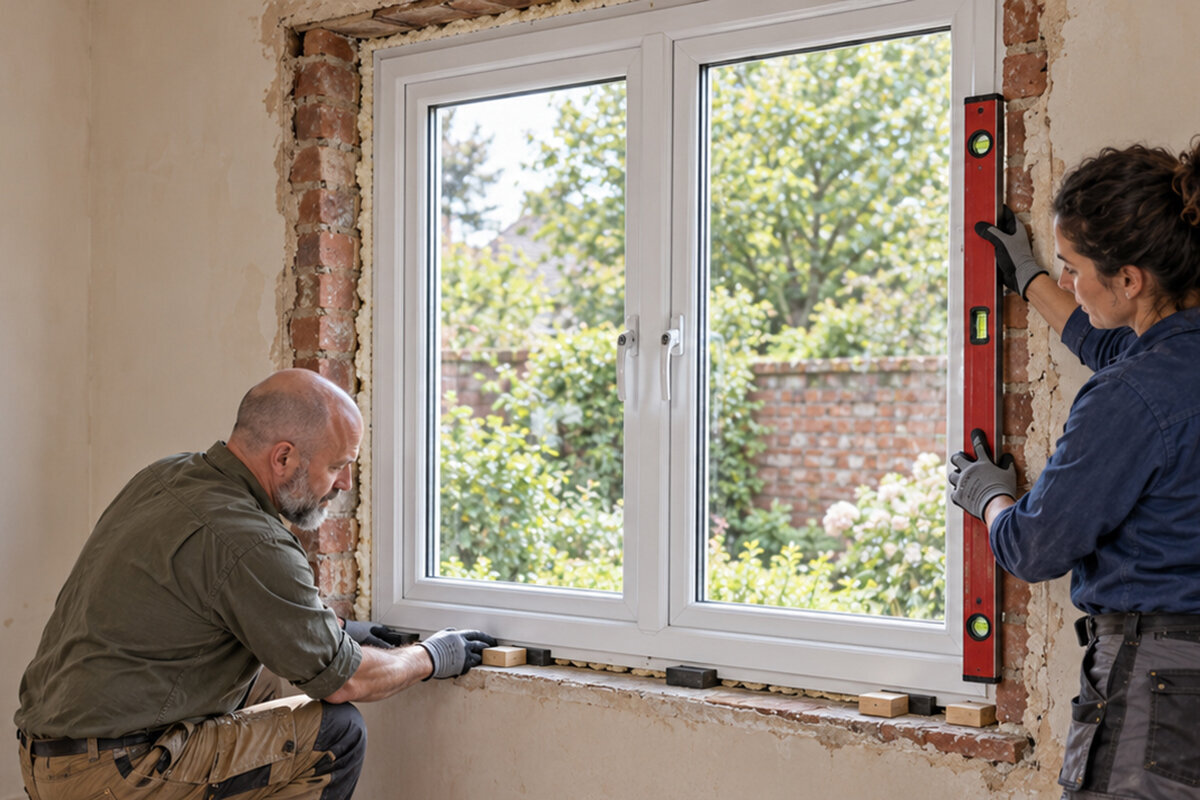
More glazing can recast a gloomy room by admitting daylight, creating a stronger visual link to the garden and broadening the outlook. The process, however, should begin with the building rather than a chosen window format. Removing masonry connects structural support, the external-wall build-up, interior finishes, drainage, perimeter detailing and installation. Selecting the unit first, or recording only the visible dimensions, may leave difficult remedial work. Plan outwards from the existing fabric: assess the wall and loads, establish intended dimensions, draw each junction, and organise access and work stages before choosing the window. The following sections arrange the necessary questions logically and help ensure competing quotations cover an equivalent scope.
Define the room outcome before choosing a product
Decide first what improvement the opening should provide. Perhaps a compact kitchen window needs to brighten the worktop, the living room should look towards the garden, or the present window is to become a route outside. Each purpose calls for its own layout. A low, broad opening emphasises the horizontal view; extra height can bring daylight deeper indoors. Taking the opening close to floor level affects the threshold, floor construction and everyday use. Draw the room, including furniture, radiators, curtains, switches and walking routes. The sketch will show whether the proposed glazed area is practical and where its daylight will be most useful.
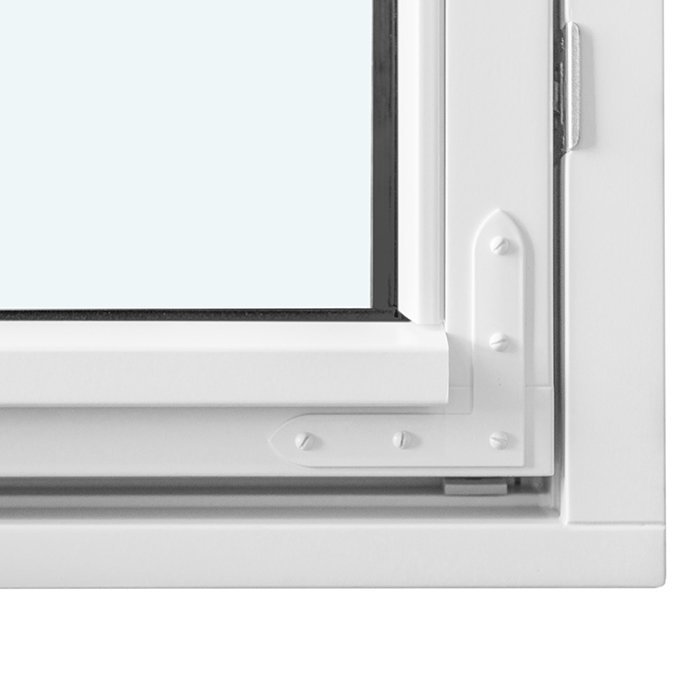
Review several solutions before fixing the format. A broad fixed pane can give a clear outlook, while an opening sash supports ventilation. If garden access may be added, treat a door as a different design problem from an oversized window. Its threshold, outdoor paving, ironmongery and movement area all require early decisions. For an example of generous glazing that does not open, use a fixed-pane window as a starting reference. The name identifies its basic arrangement only; project suitability still depends on dimensions, glazing, frame and perimeter details. Note both the benefit of each option and every additional part of the building it changes.
Assess the existing wall before removing anything
Begin by establishing how the masonry around the present opening contributes to the building. An external load-bearing wall may transfer forces from upper floors, roof construction or other elements through this zone. Even apparently straightforward walls can conceal columns, ring beams, lintels, services or work from separate building phases. Drawings, alteration records and visible cracking provide useful evidence, but the fabric on site still needs competent appraisal. That appraisal should identify what remains, how temporary stability will be maintained and what permanent member can bridge the enlarged opening.
A useful survey records far more than the opening’s height and width. Establish wall thickness, materials and layers, the existing lintel position, floor supports, masonry condition, and nearby services or connections. Older properties often differ from their surviving drawings. Ask the responsible professional what must be investigated before work starts and whether small inspection openings would help. The permissible extension sideways or upwards can be determined only after the intended support arrangement and bearing locations are understood. Simply taking out the current window does not demonstrate that the proposed alteration is safe.
Distinguish opening, window order dimensions and exposed glass
Design work uses several dimensions, each describing something different. The clear room-side measurement indicates the opening that will appear usable from indoors. Masonry must provide space for the frame, fixings and surrounding connection, while the unit’s overall dimensions come from the verified site survey and installation design. Glass occupies less area than the outer frame. A desired viewing width therefore cannot be copied directly into an order. Put every datum and reference edge on one drawing so the designer, builder and window supplier are working from the same geometric information.
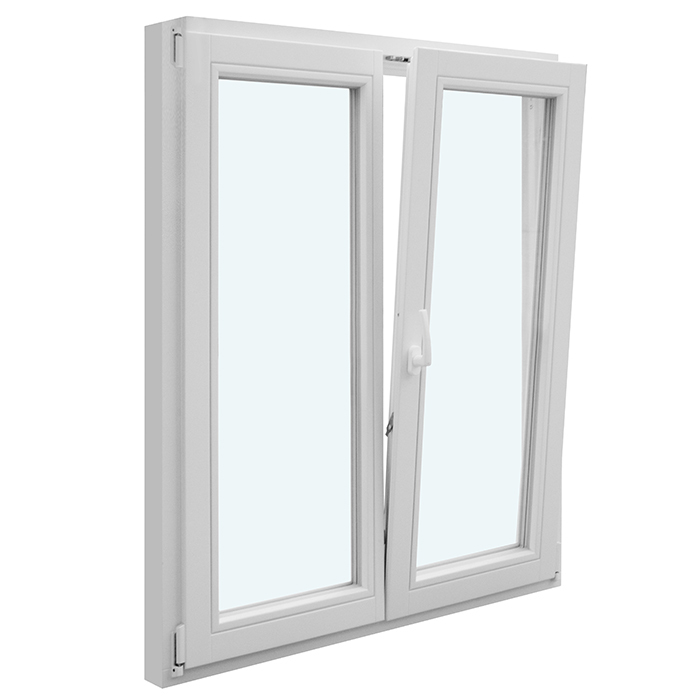
Take readings at several positions. Reveals may lean, wall thickness can vary in an older property, and new floor layers may alter the finished height datum. Agree who completes the final site measure once the opening is formed and who has authority to accept revisions. On a two-sash unit, the meeting section and sash proportions influence outlook, operation and nearby clearance. One possible arrangement is an inward-opening window with two sashes . That label defines the basic movement, but not the proportions, reveal depth or clearance swept by the sashes. Record those matters in approved elevations and dimension drawings instead of inferring them from a catalogue image.
Coordinate permanent support and temporary stability
Forming the enlarged opening changes the structure rather than merely removing finishes. The design should set out temporary support, the masonry-removal sequence and the method for placing the new spanning member. Its end bearings also require sound, properly prepared support. A design that is stable when finished does not address hazards arising midway through the work. For the site meeting, prepare a sequence sketch showing propping, cuts, the route for bringing components in and when the replacement structure becomes capable of taking load. Include hold points so unexpected cavities, weak masonry or unfamiliar construction can be examined before demolition resumes. Structural designer, builder and window planner should coordinate this information before materials are ordered or dates agreed.
Prepare an explicit responsibility schedule. Identify who cuts the opening, constructs the bearings and lintel, repairs internal plaster and exterior finishes, carries out the final measure, supplies the unit and seals its perimeter. A wide floor-level alteration may also require the builder to prepare a door threshold. If the goal is a generous route outdoors, the options could include the Patio Life lift-and-slide door in the option review. Its suitability depends on the surveyed opening, threshold design, exterior construction and full perimeter detail. No contractor should proceed on assumptions that belong to another trade.
Design reveals, insulation and sealing together
Long-term performance depends on treating the complete perimeter as a continuous system. At the reveal, room finishes meet frame and external wall; at the head, insulation often intersects with structure; and the base may combine a cill, drainage and floor construction. Extending the opening changes all these zones. The important questions are how the sealing and thermal layers pass around the frame and whether any gaps interrupt them. Prepare separate sections through the head, jamb and cill, because these show the construction much more clearly than the external elevation by itself.
Inspect the construction exposed as the existing frame comes out. Old sealants, insulation pieces and plaster edges should not be presumed suitable for a larger replacement. Agree how rain driven against the façade will escape, how the cill transition is built and how the room-side joint accommodates movement while remaining neat. At floor level, coordinate the detail with the future outdoor surface and its fall. Require the proposed products and responsibilities to appear as separate, understandable items rather than being hidden beneath “installation”. They can then be checked before plaster, linings or finishes cover the work.
Match the opening action to space and daily routines
Extra glass need not make every section operable. Moving sashes support ventilation and access for cleaning, yet their arc occupies space. An inward movement can interfere with worktops, plants, radiator covers and curtains. An outward movement requires unobstructed exterior clearance and must work with the patio, path or planting arrangement. Fixed panes provide a visually simple composition and may sit beside a smaller ventilating sash. Test the plan from a user’s perspective: mark where someone stands, trace the sash movement and establish how the exterior face can be reached.
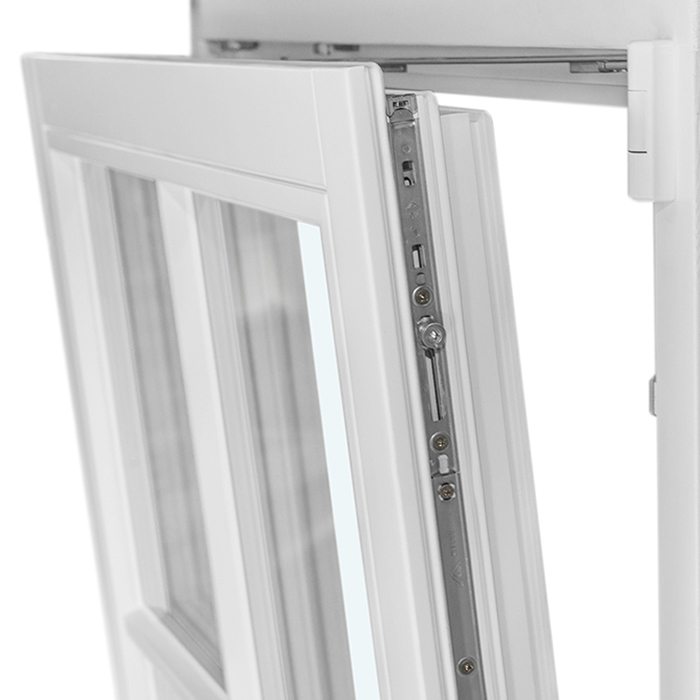
The division of a broad glazed zone also changes how it works. A pair of modest sashes uses the room differently from one large sash, while a central meeting line frames the outlook differently from side mullions. To relate a proposal to an existing elevation, compare it with an outward-opening double casement window . Where ventilation is required only near the top, look at an outward-opening top-hung window . In either case, examine accessibility, the operating movement, exterior clearance and cleaning arrangements. The configuration name does not establish mounting height or controls. Confirm handing, handle position, sash weight and free space on both sides while comparing options, then record those decisions before placing the order.
Review light, views and privacy as a whole
Orientation, shade and surroundings determine how extra glazing alters the room. Greater height may project daylight farther across a deep interior, whereas a closer view towards neighbours can create a stronger privacy concern. Reproduce the proposed outline on the inside wall using tape or a temporary card template. Observe it at different times to test sightlines, furniture positions and comfortable access to the handle. Then inspect the proposal from the garden, where its scale can be judged against the whole façade and the pattern of the existing openings.
Examine sightlines in both directions. A fixed toplight can increase illumination while leaving the lower portion unchanged. An asymmetrical pane may brighten stairs or a work area, although it requires carefully set-out reveals. For spaces bounded by an angle or triangle, available options include fixed glazing for triangular or sloping shapes . Do not pursue these forms until the supporting construction, route for weatherproofing and effect on the full elevation are understood. Their distinctive geometry increases the need for accurate drawings and well-managed interfaces; it cannot compensate for weak detailing.
Resolve façade design and conservation matters early
Viewed from outdoors, the alteration changes the composition of the building. Pier widths, cill levels, window axes, shutters, rainwater pipes and façade features all affect whether the result looks integrated or obviously altered. Photograph the complete elevation from a useful distance and draw the proposed outline onto that view, rather than studying the room alone. On rendered walls or facing masonry, determine how repaired areas will meet the existing work in appearance and construction. Select samples, colours and edge profiles in good time whenever they influence the façade repair.
For a protected structure or a property affected by conservation requirements, do not infer what applies from its age or from nearby buildings. Ask the relevant Irish planning authority to confirm the project-specific position, including whether permission or specialist conservation advice is needed, before finalising drawings or ordering. For elevations where traditional proportions matter, use an historic “Kombi” casement opening outwards only as a visual reference. Its wording identifies appearance and movement; it does not establish approval or suitability for this property. Supply the designer and contractors with consistent photographs, elevations and proposed glazing patterns so the architectural and technical decisions develop from the same information.
Control sequencing, household protection and timing risks
Map the work from the initial survey through to reinstated finishes. Before opening the wall, decide how the area will be isolated, how dust is contained, where materials enter and how vulnerable floors are protected. Note anything requiring temporary removal or relocation, including radiator covers, socket faceplates and internal blinds. For an occupied room, agree when normal use can resume and who inspects the barrier each day. Pre-start photographs record existing defects and the surfaces due for repair. If the replacement cannot be fitted at once, provide secure temporary closure against weather and unauthorised entry. After fitting, complete internal and external junction work in a coordinated order covering plaster, seals, cills, façade repairs, paint and any flooring.
Do not place the order until dimensions and construction details are confirmed. Bloomcabin delivery takes 4–6 weeks, subject to order confirmation, but that period is only one part of the site programme. Align delivery, safe storage and installer availability so the unit does not remain exposed on site. Add a post-structural-work inspection: verify width, height, vertical alignment, level and the location of every intended junction layer. The result determines whether the order can continue without amendment. Programme pressure should never displace measurement checks or temporary protection.
Test every quotation against one defined scope
A useful quotation makes its boundaries transparent. Request separate entries for structural alterations, the window, fixings, perimeter products, internal reveals, outside cill, façade making-good, waste and protection. Compare them in a table headed “included”, “by client” and “unresolved”. Allocate each task once, noting whether design, materials, work and final checks come from one party or several. This reveals missing responsibility between lintel construction, fitting and finishes before it causes extra charges or delay. Record the drawings, surveyed sizes and assumptions about wall construction behind each price. Replace phrases such as “connection where necessary” with an agreed description. Also define who records concealed discrepancies, who decides the response and how variations receive approval.
Create an approval sheet before purchase, covering the verified masonry opening, elevation, sash layout, handing, handle position, height datums, perimeter details, cill or threshold, assigned responsibilities and sequence. Where the alteration is intended to provide an exit, consider an inward-opening single patio door where it works with both the room arrangement and outdoor area. The name confirms only one leaf and its inward movement. Judge each supplier’s scope against the approval sheet, not merely against the named product. Bloomcabin provides a 5-year warranty for windows and doors; review its coverage and conditions with the documents for the specific order.
Common Questions
Can the opening simply be widened at one side?
No. First establish the wall’s construction and the route taken by structural loads. Masonry beside the window may contain bearings, load-bearing sections or services. The decision must follow evidence from the property, the proposed temporary and permanent support, and the required junctions—not the old window dimensions or alterations seen at neighbouring homes.
How do the masonry opening and window dimensions differ?
The masonry opening provides the prepared space for installation. Dimensions for the manufactured unit are derived from a checked site survey and the chosen fixing and perimeter-detail strategy. Neither is the same as the room-side visible measurement or the area occupied by glass. An approved drawing should name and locate every relevant reference edge.
At what stage should I order the window?
Order after the structural solution, opening dimensions, operating arrangement and perimeter details have all been agreed and the final survey recorded. Then programme the confirmed lead time. Bloomcabin delivery takes 4–6 weeks, subject to order confirmation. Purchasing earlier can turn normal differences found during the structural work into avoidable complications.
Must a larger window always become a patio door?
No. It may remain a larger glazed window when daylight and outlook are the objectives. Choose a door only where the project genuinely requires passage outside. Its threshold, external surface, drainage, circulation clearance and opening movement then need coordinated design from the beginning rather than being treated as later additions.
Which information is useful at the first planning meeting?
Bring photographs from indoors and outdoors, any existing plans or sections, notes on earlier alterations, measured details of the present opening and a drawing of the proposed outline. Show furniture in the room photographs and capture the full exterior elevation. List what matters most to you, such as daylight, outlook, ventilation, access, privacy and the way the area will be used.
Next Step
Increasing a window opening is chiefly an exercise in coordination. Begin with a survey of the existing fabric, develop the load-support strategy and verified masonry dimensions, and then resolve the perimeter construction before selecting a product. Daylight, outlook and opening action should be considered alongside façade composition, insulation, cill design and work sequencing. A shared set of drawings and an explicit responsibility schedule make supplier proposals easier to assess and limit problems during construction. Obtain suitable professional input on structure, building fabric and execution; once that work is complete, specify the window or door from confirmed dimensions.
